Looking for a cute and fun Holiday baking treat? This Christmas Cookie Cake is not only delicious and adorable, but it’s super approachable, too. With a simple design and easy recipe that anyone can replicate!
This cookie cake is not just a giant cookie. It is truly a cookie-inspired cakey dessert that puts those giant cookies you get at the mall to shame.
It’s packed with flavor, has a great, thick texture, and is loaded with chocolate chips. Plus, the white chocolate ganache and candy-coated chocolate on top just add another level to the texture and flavor.
Making Your Christmas Cookie Cake
You’ll Need A Hand Mixer
A hand mixer is the best tool to cream the sugar and butter together for the base of your cookie cake. It’s also the easiest way to combine the rest of the ingredients.
I use this Cuisinart Hand Mixer for almost all of my baking and love it! Aside from your hand mixer, here’s what else you’ll need:
The Secret is in the Softening
The butter you use should be unsalted, so you can control the amount of salt you are adding to your Christmas Cookie Cake. You will also want to make sure your butter is nice and soft.
If you take it out of the fridge before you get started, and set it near your oven while it’s preheating, that should be plenty of time for it to soften.
If you forget to take it out—don’t worry! Just microwave it in 15-second intervals until you get the right consistency.
Remember, we are striving for softened, not melted. You’ll know your butter is softened when your finger leaves an imprint when you poke it.
Green tip: Look for organic and palm oil-free butter if you can. Buying organic means you are supporting farms that do not use damaging pesticides and fertilizers, and palm oil production is a huge driver behind deforestation.
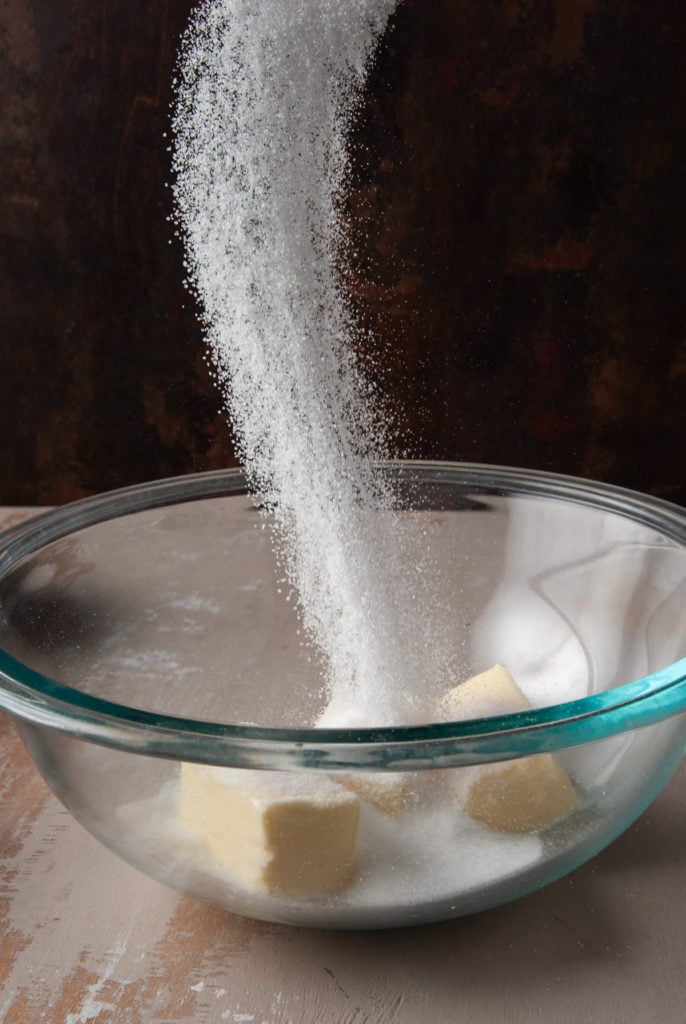
Cream the Butter and Sugar Together
Creaming your fat (in this case butter) and the sugar together doesn’t just combine these ingredients together, it actually aerates them.
Adding these air pockets is a super-effective way to get that soft and chewy Christmas cookie cake. Add both sugars to the softened butter and use your hand mixer on high until well combined.
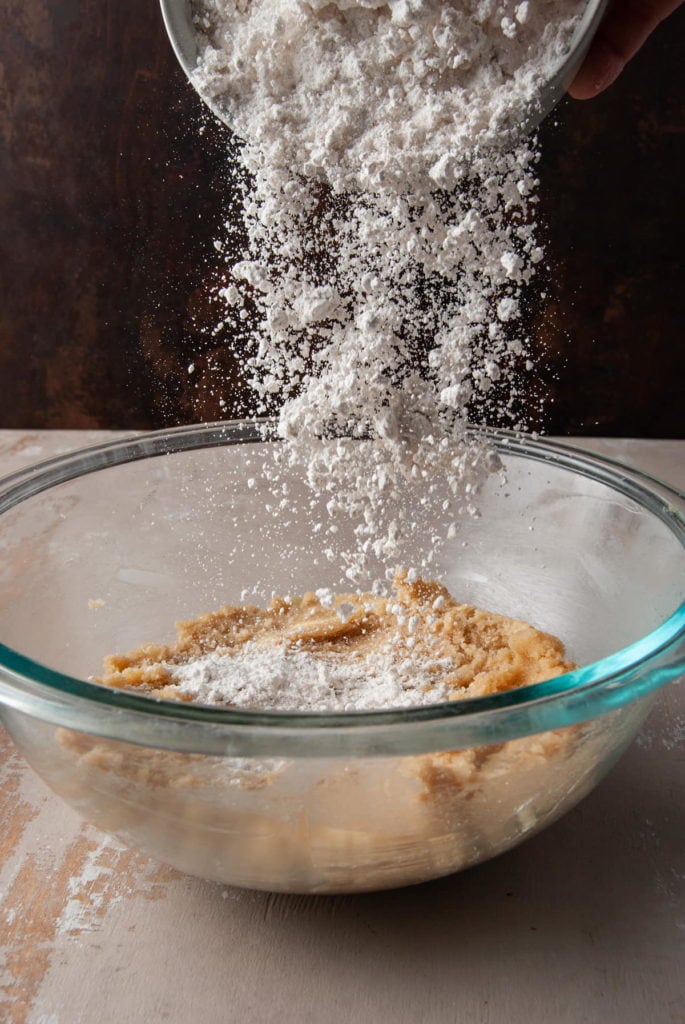
Add Your Dry Ingredients Next
As a busy mom and sustainability advocate, I’m all for one-bowl baking recipes. Less clean-up simply means you save on both time and water.
But in order to mix everything effectively with no lumps, it’s best to do so with some methodology.
Once your butter and sugar are creamed together, add your dry ingredients next. Use your hand mixer to combine the butter and sugar mixture with your flour, cornstarch, baking soda, and salt.
You’ll be left with a dry, sandy mixture at this point.
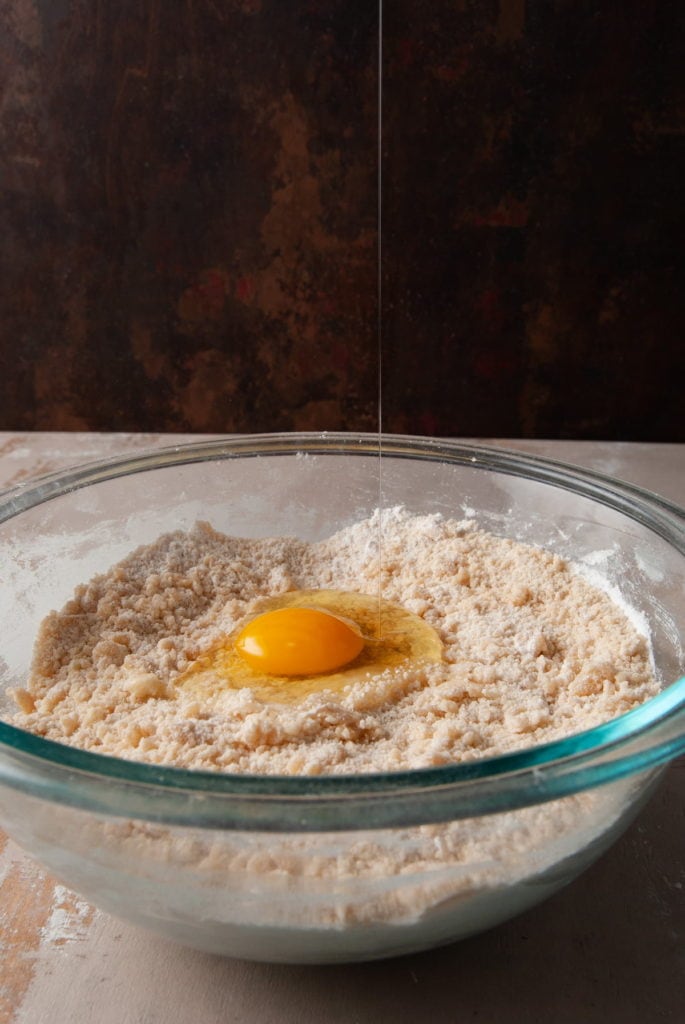
Next Comes the Egg
We add the egg and vanilla extract last so that we don’t overbeat the egg.
Use your hand mixer to integrate the egg and vanilla extract into your batter. At this point, your dough should start to smoothen. It will be thick like cookie dough.
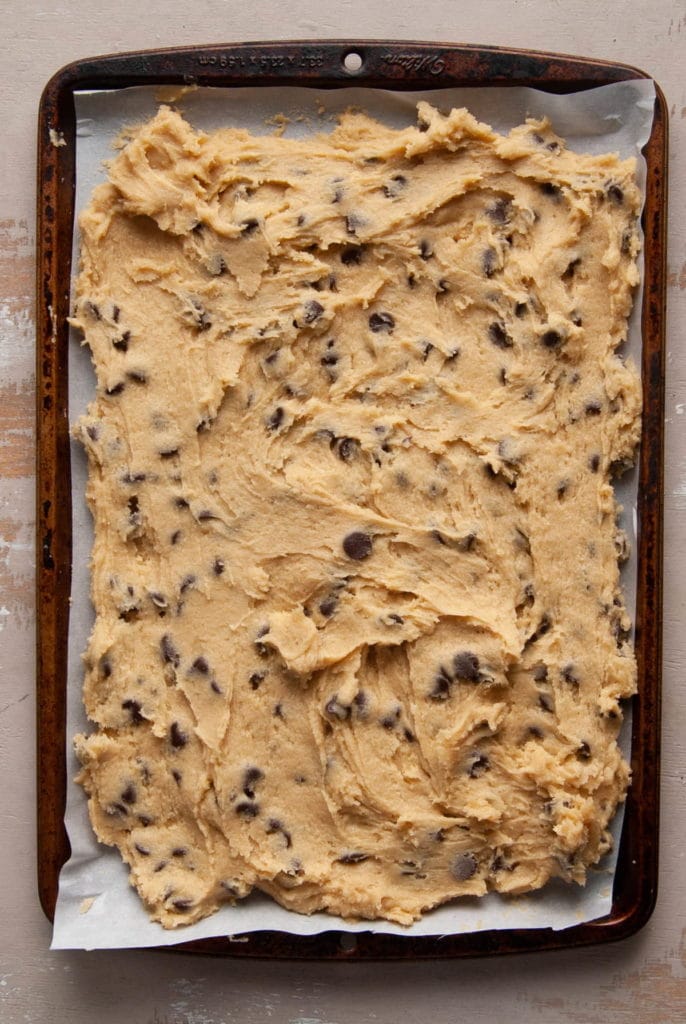
Fold in Your Chocolate Chips
Use a spatula to fold in the chocolate chips, distributing them as evenly as possible.
Green tip: Make sure your chocolate is sustainably sourced. Look for Fair Trade, Rainforest Alliance, or UTZ certifications as opposed to self-proclaimed sustainability labels that sometimes falsely advertise “sustainably sourced”.
Spread it Out
Once you’ve formed your dough, line an 18″ x 13″ baking sheet with parchment paper or a reusable baking mat.
Use a spatula to spread the cookie cake batter onto your baking sheet. It will spread more in the oven, so no need to get it perfect!
Bake, Cool, and Cut
Once it’s fully baked, allow it to cool completely before using a sharp knife to cut your cookie cake into a long triangle.
Cut two straight lines from the center point of the short side of the baking sheet to the corner on the opposite side. Remove the two outer pieces and you’ll be left with a long triangle.
As you know, we really try not to waste food in my house! These outer pieces are delicious eaten as is, or you can spread the white chocolate ganache a little thinner across each piece, or increase the amount of ganache you make.
Maybe even cut them up into bite-size Trees or Stars—feel free to be creative and have fun with it!

Decorating Your Christmas Cookie Cake
Heat Your Cream for The Ganache
The first step is to make your green-colored white chocolate ganache.
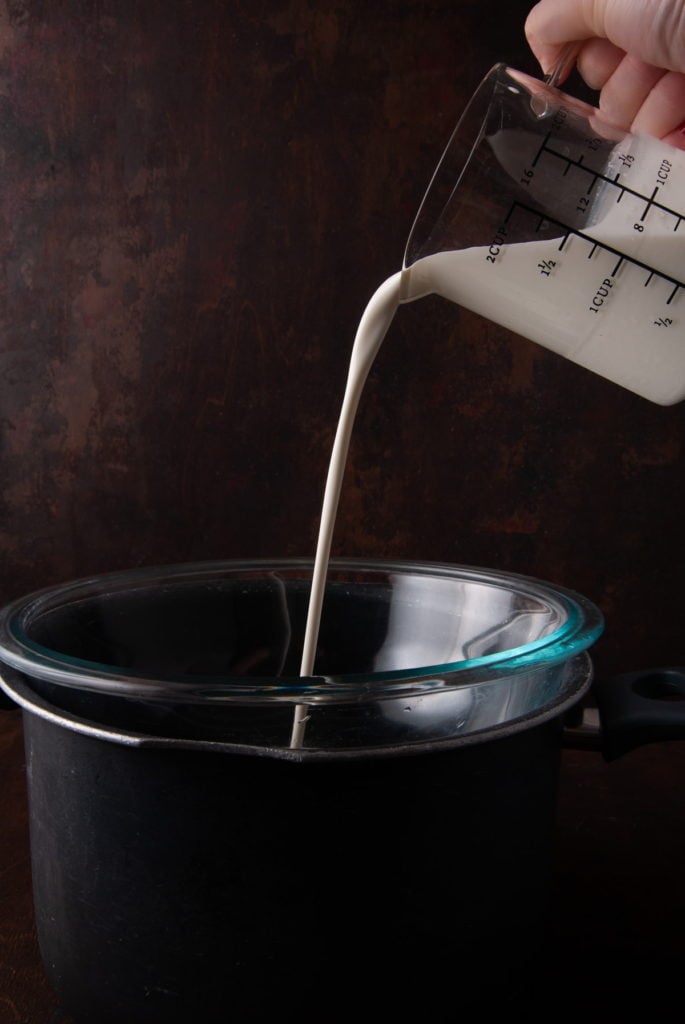
You’ll heat your cream first. If you don’t have a double boiler, simply boil a large pot of water and place a large, heat-safe bowl or a second, small pot on top of the water.
Put your heavy cream in the top bowl, so that it does not get direct heat from the burner. This just ensures you won’t curdle it.
As soon as your cream starts to simmer, remove it from the heat.
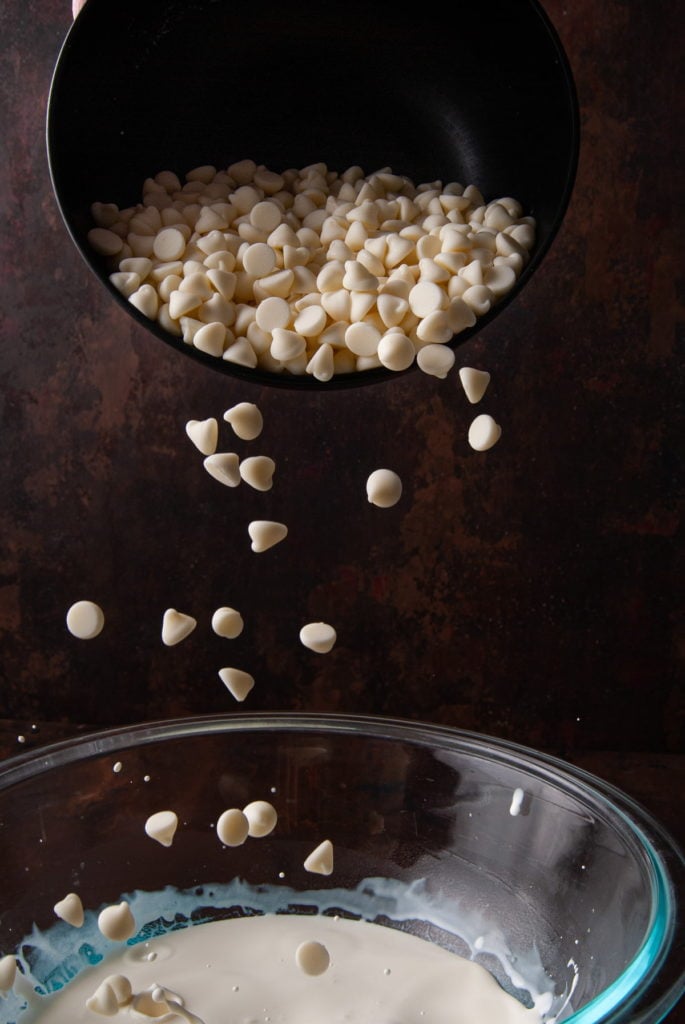
Add White Chocolate Chips
Add your chocolate chips to your hot heavy cream. Use a hand mixer to whip until the chocolate chips are completely melted and integrated into your cream.
Once your white chocolate chips are melted, stop whipping. It’s time to add your food coloring.
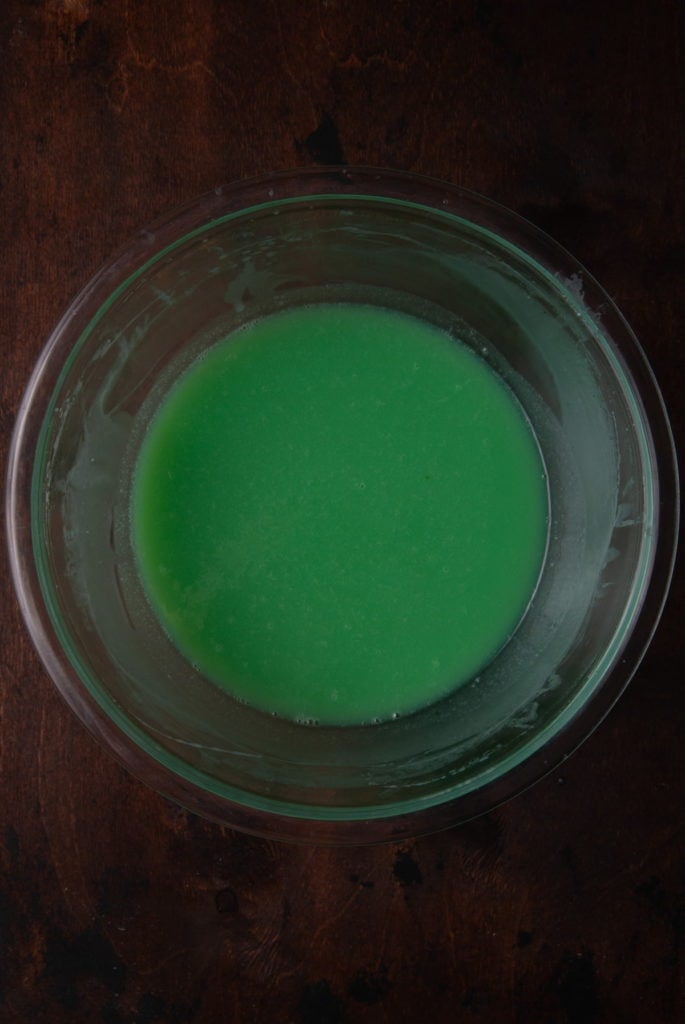
Add Your Food Coloring
Add your green food coloring to the white chocolate cream mixture while it’s still warm. I usually add anywhere from 5-10 drops to get my desired color.
The color will lighten a bit once the ganache cools and you whip it, so get the green a little darker than you want it to look once it’s whipped. Use the hand mixer again to fully integrate the food coloring into your ganache.
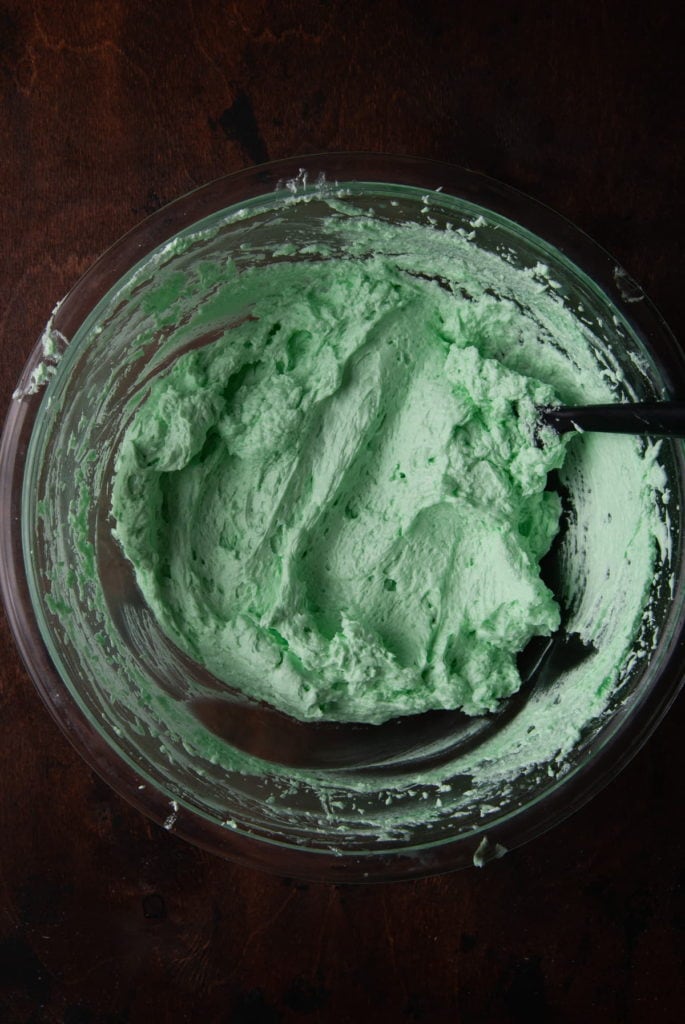
After adding the food coloring and reaching your desired green hue, put the ganache in the refrigerator for at least 30 minutes to cool.
Once it’s completely cooled, use your hand mixer on high to whip the ganache until it thickens. It should be light and airy.
If the food coloring starts to separate from the fat in the ganache, don’t fret. Just place your bowl of ganache in a larger bowl filled with ice to keep it cool while you continue to whip.
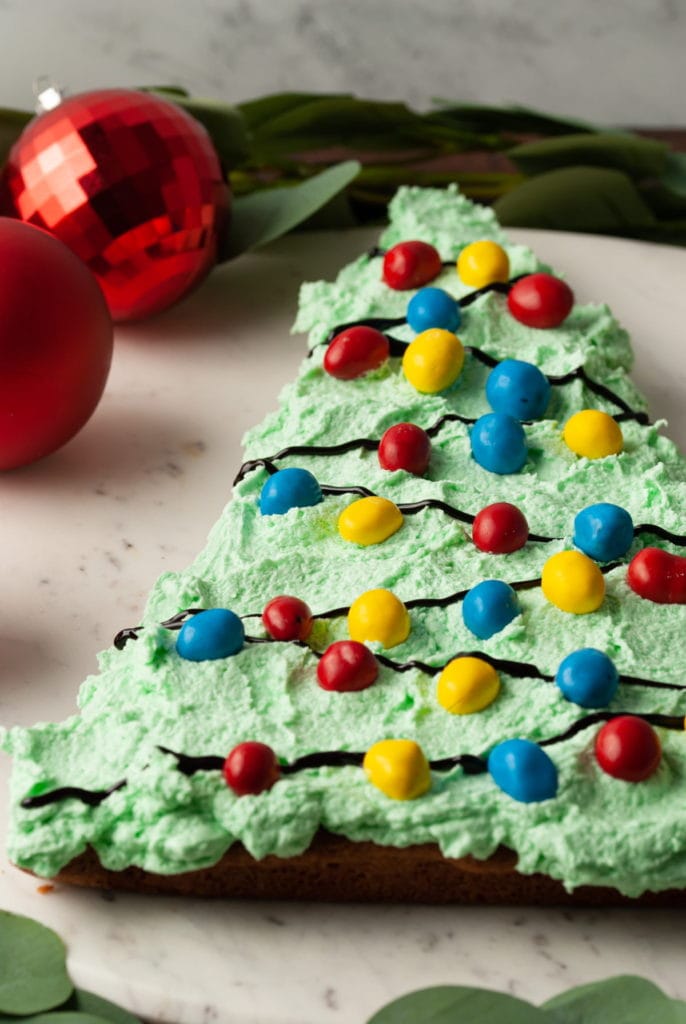
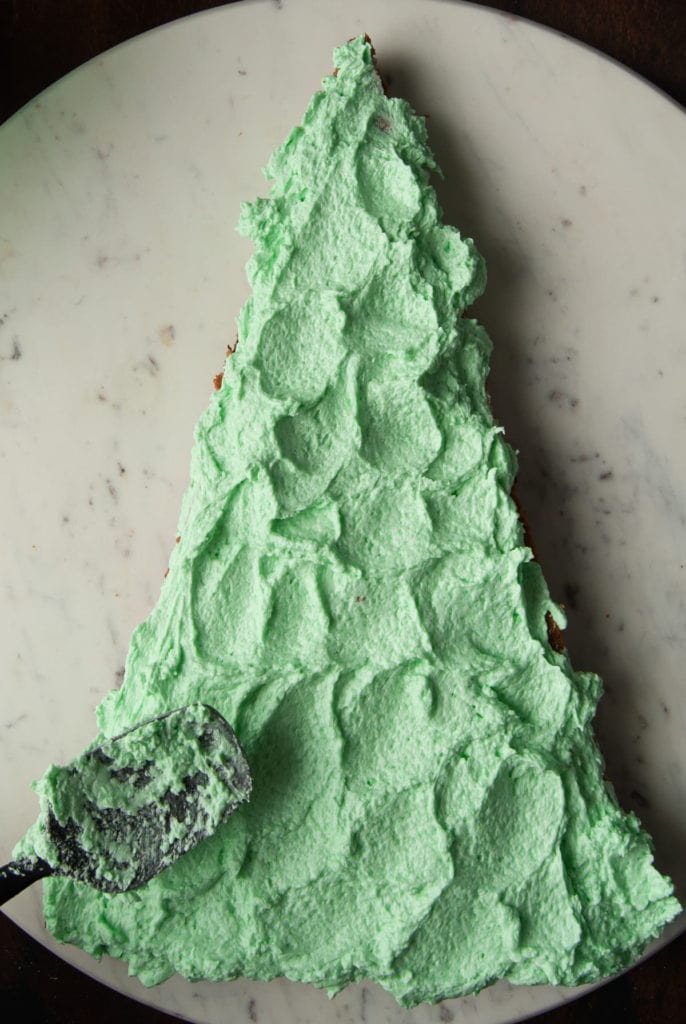
Add Texture with Your Ganache
Use a spatula to spread your green ganache over your cookie cake, adding a generous amount. Swirl the ganache with the spatula to give your Christmas tree some texture, resulting in a “leafy” look.
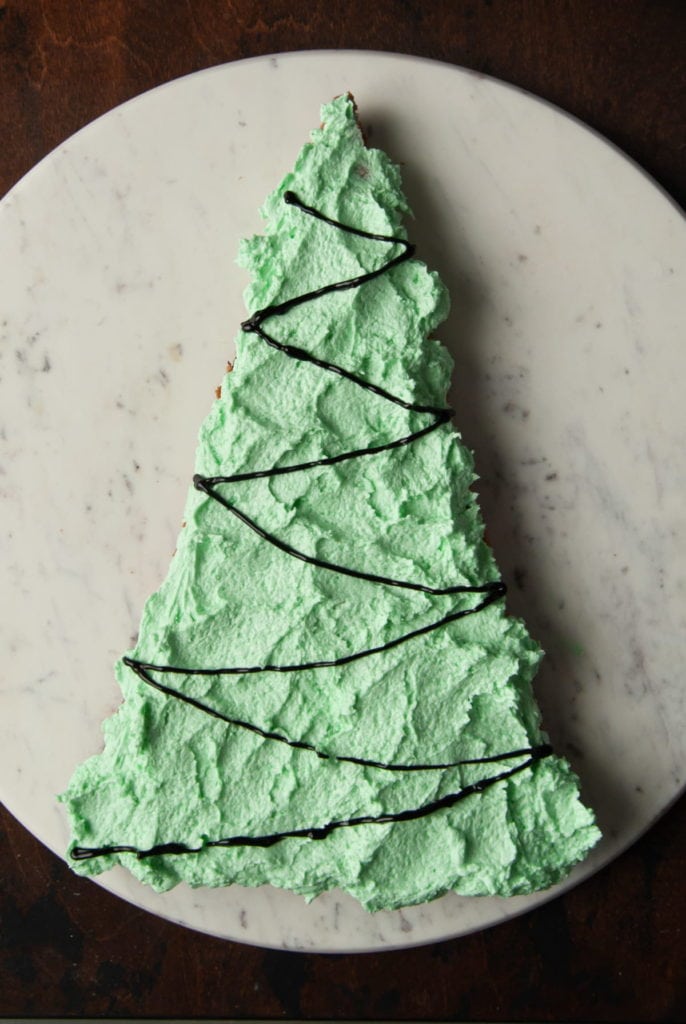
Grab Your Gel
Next, grab your tube of black writing gel.
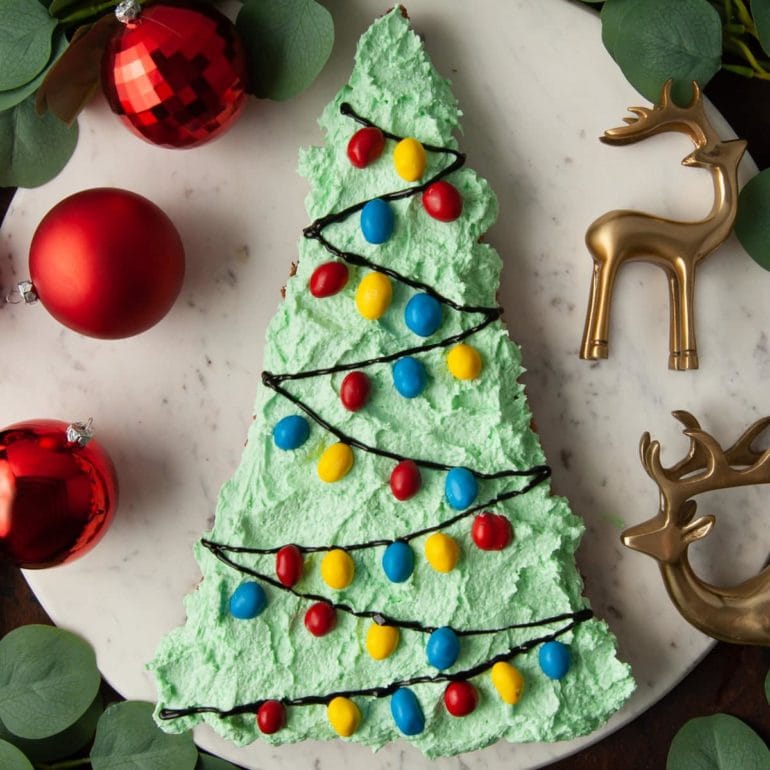
Start at the top and draw swooping, diagonal lines, back and forth from side to side, moving down to the bottom of the tree, as pictured below:
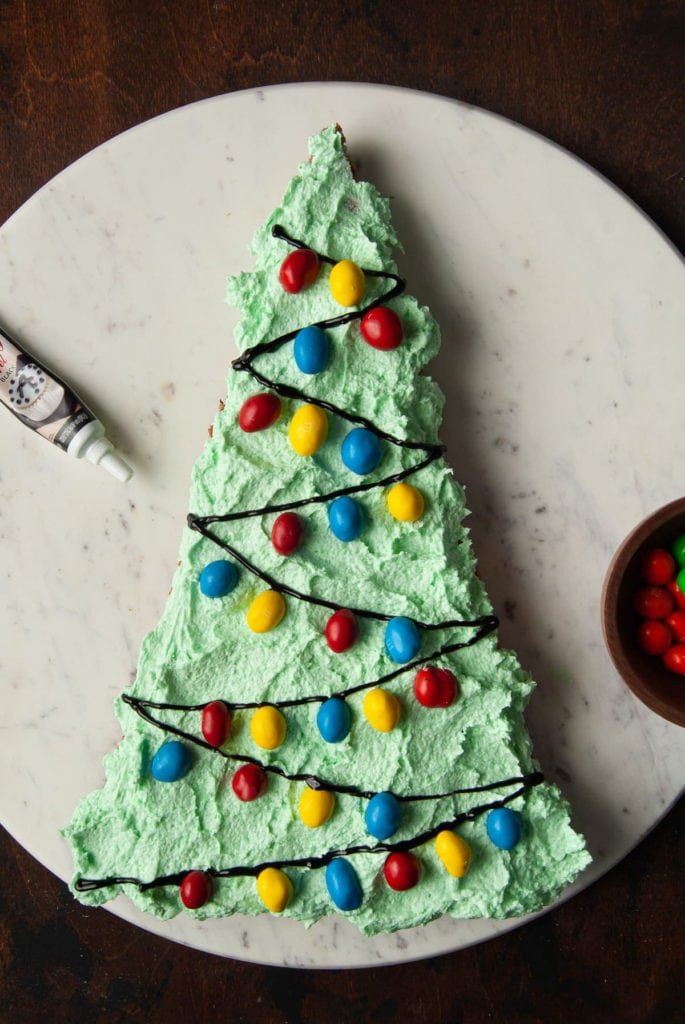
Add the Lights
Next, it’s time to add those lights. Use any colored M&M’s you like. I used peanut M&M’s because of their oblong shape.
I chose a combination of yellow, red, and blue M&M’s to represent Christmas lights, distributing them sporadically and placing them just underneath the black lines to look like they are hanging on the tree.
Storing Your Christmas Cookie Cake
Your cookie cake will last in an airtight container on the counter at room temperature for 3-4 days, or up to 6 in the refrigerator.
If you have leftovers still, you can freeze the leftovers for up to a year. Just thaw before enjoying. It’s best to store in a freezer-safe bag or container to avoid freezer burn.
Why You Should Make this Christmas Cookie Cake
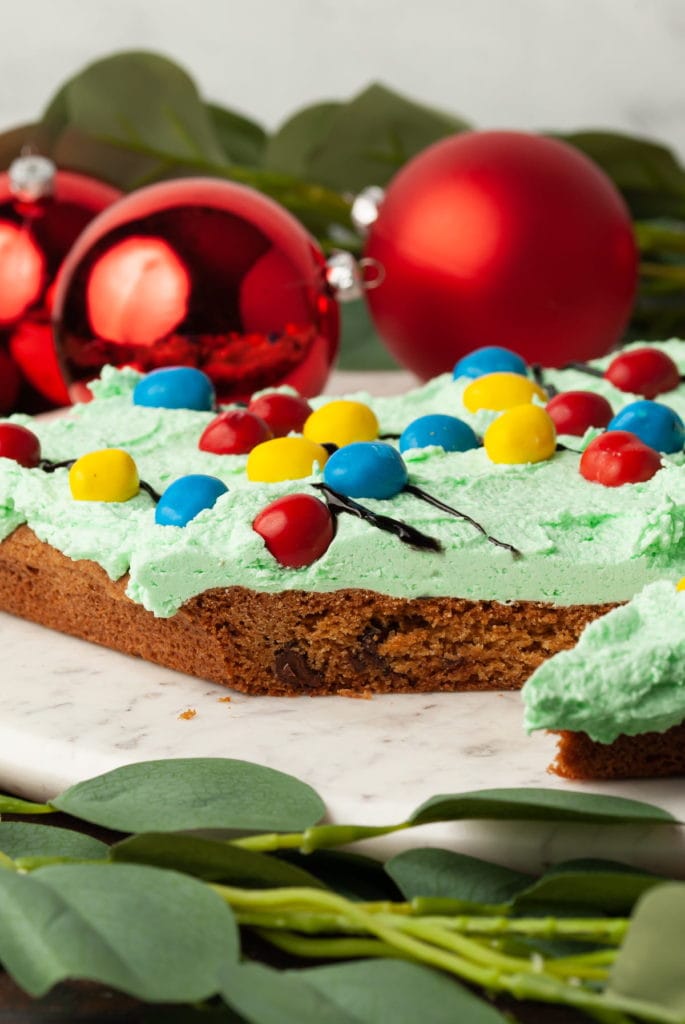
- It’s cute. Between the festive design and Holiday colors, it’s sure to spread Christmas joy.
- It’s delicious. Chocolate cookie dough cake with white chocolate ganache and crunchy M&M’s. Need I say more?
- It feeds a crowd. You’ll get 8-10 servings out of this, plus a little extra cookie cake from the sides you cut off to form your triangle.
If you’re loving this Cute Christmas Cookie Cake and want more fun Holiday treats, check out these Baileys Hot Chocolate Bombs and Baileys Hot Chocolate Tart.

Cute Christmas Cookie Cake
Print Save RateEquipment
- Reusable Baking Mat (optional)
Ingredients
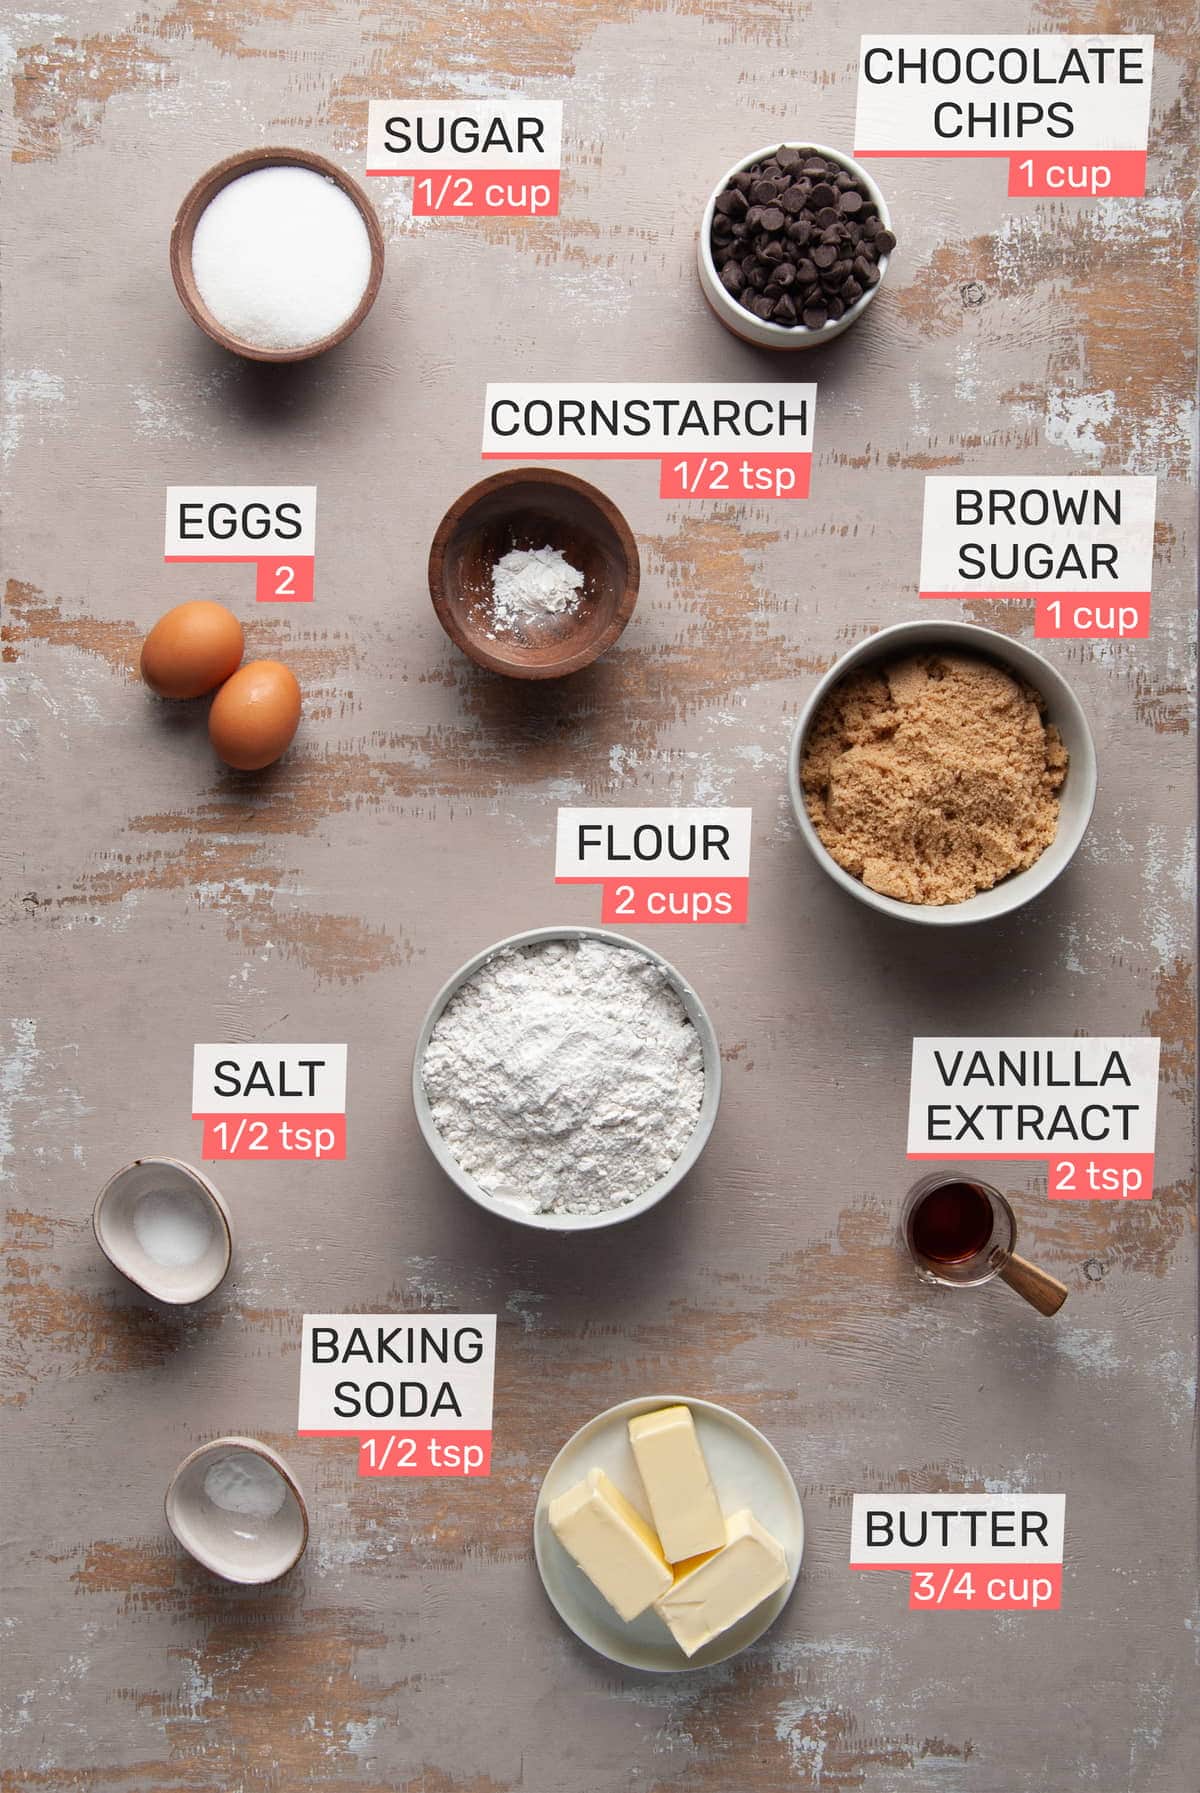
Christmas Cookie Cake
- ¾ cup unsalted butter, softened
- 1 cup light brown sugar
- ½ cup granulated sugar
- 2 cups all-purpose flour
- ½ teaspoon cornstarch
- ½ teaspoon baking soda
- ½ teaspoon salt
- 2 large eggs
- 2 teaspoons vanilla extract
- 1 cup chocolate chips (dark or semi-sweet)
White Chocolate Ganache and Christmas Tree Decor
- 12 ounces white chocolate chips (12 oz = approx 1 ½ cups)
- 8 ounces heavy whipping cream (8 oz = 1 cup)
- 5 drops green food coloring
- ⅔ ounce black writing gel (⅔ oz usually = 1 small tube)
- ¼ cup M&M's of choice (I used peanut!)
Instructions
Christmas Cookie Cake
- Preheat your oven to 325°F and line an 18" x 13" baking sheet with parchment paper or a reusable oven mat.
- In a large mixing bowl, add softened butter and both sugars and beat with a hand mixer on high to aerate.
- Next, add the all-purpose flour, cornstarch, baking soda, and salt and combine with your hand mixer. At this point, your dough will be dry and crumbly.
- Add your eggs and vanilla extract last, using your hand mixer once again to combine until smooth.
- Fold in your chocolate chips and use a spatula to spread the dough onto your cookie sheet. It will spread some during baking, so don’t worry about getting it perfectly even.
- Bake for 45-50 minutes until the top is golden brown. Allow it to cool completely before cutting longways into a triangle shape.
White Chocolate Ganache and Christmas Tree Decor
- Heat heavy cream in a double boiler until it just starts to simmer. If you don’t have a double boiler, just add the cream to a large, heat-safe bowl and place it on top of a large pot with boiling water.
- Once the cream starts to simmer, remove it from heat and add white chocolate chips. Use a hand mixer or whisk to combine until the chocolate chips are completely melted.
- Add anywhere from 5-10 drops of food coloring and mix to achieve your desired color. Bear in mind that the ganache will lighten slightly in color once it is whipped.
- Place the ganache in the refrigerator for at least 30 minutes to cool completely. Then whip with your hand mixer on high until it aerates and thickens.
- Once your cookie cake is cooled and your ganache has thickened, spread a generous amount of ganache onto the Christmas cookie cake. Use a spatula to spread it back and forth, leaving you with a "leafy" texture.
- Grab your black writing gel and start at the top and draw swooping, diagonal lines, back and forth from side to side, moving down to the bottom of the tree.
- Place your M&Ms just under the black lines you drew, about 1 mm apart, alternating colors of your choice to resemble hanging Christmas lights.
Pro Tips
- If the food coloring starts to separate from the fat in the ganache, don’t fret. Just place your bowl of ganache in a larger bowl filled with ice to keep it cool while you continue to whip.
- If you’re having trouble following along with the decorating directions, scroll up for more detailed directions with images to help you replicate that cute Christmas tree!
- Whether you’re hosting a party, it’s someone’s birthday—or it’s just a rainy Tuesday!—this selection of my best cake recipes has a great cake for every occasion.
Share This Recipe