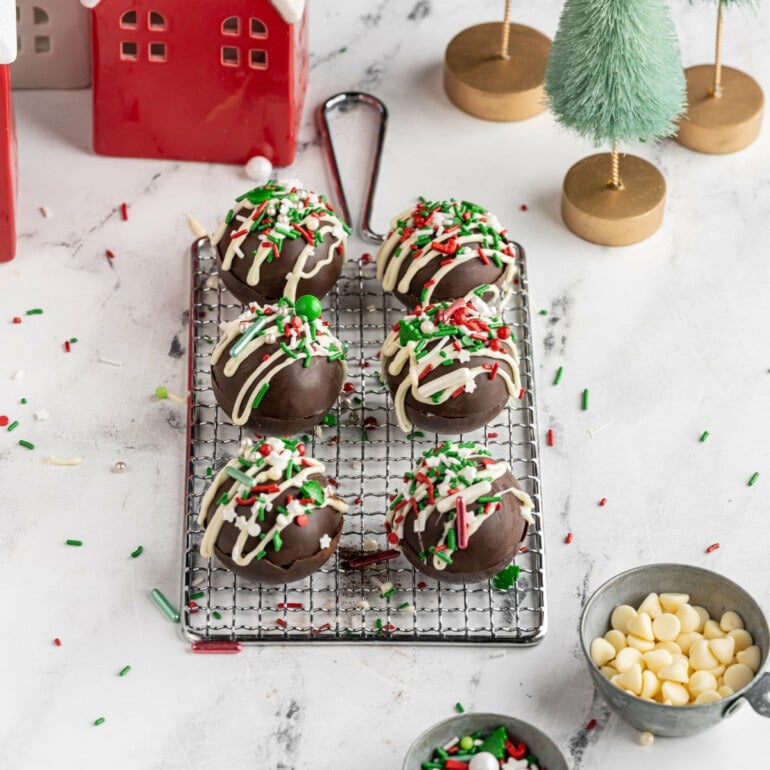
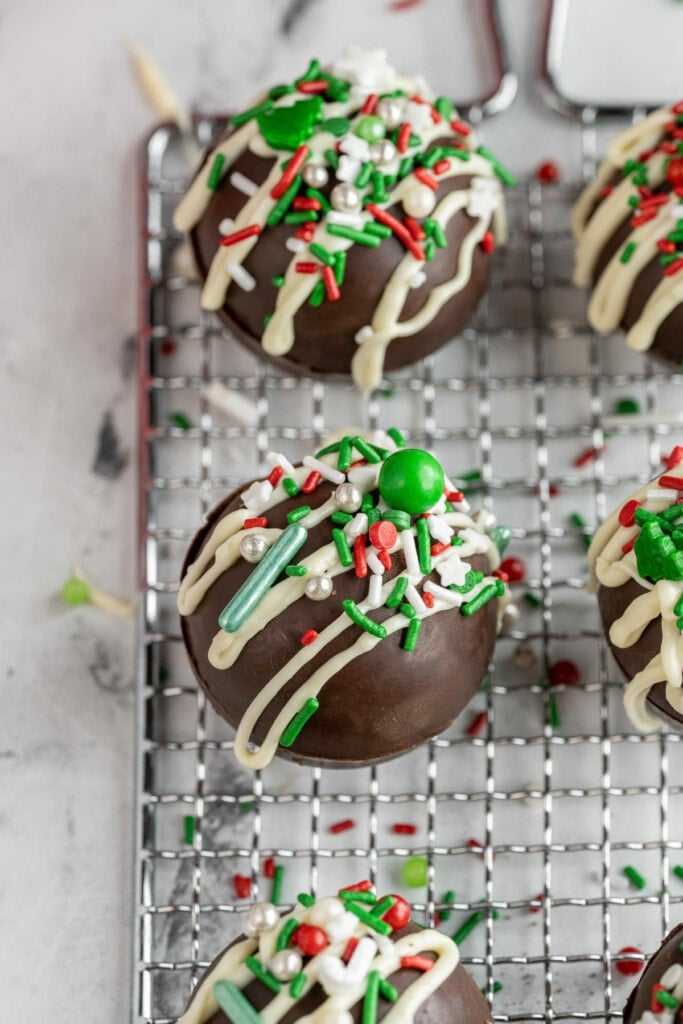
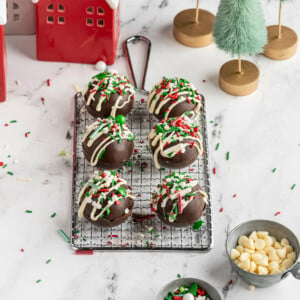
Looking for a festive way to enjoy your favorite cozy chocolate treat? These Festive Christmas Hot Cocoa Bombs are interactive, fun, and equally decadent and delicious.
These pure chocolate spheres coated in fun Christmas sprinkles and filled with homemade hot chocolate mix can be made ahead of time and enjoyed when you’re craving warming cocoa. Plus, these Hot Chocolate Bombs make a beautiful homemade Holiday gift!
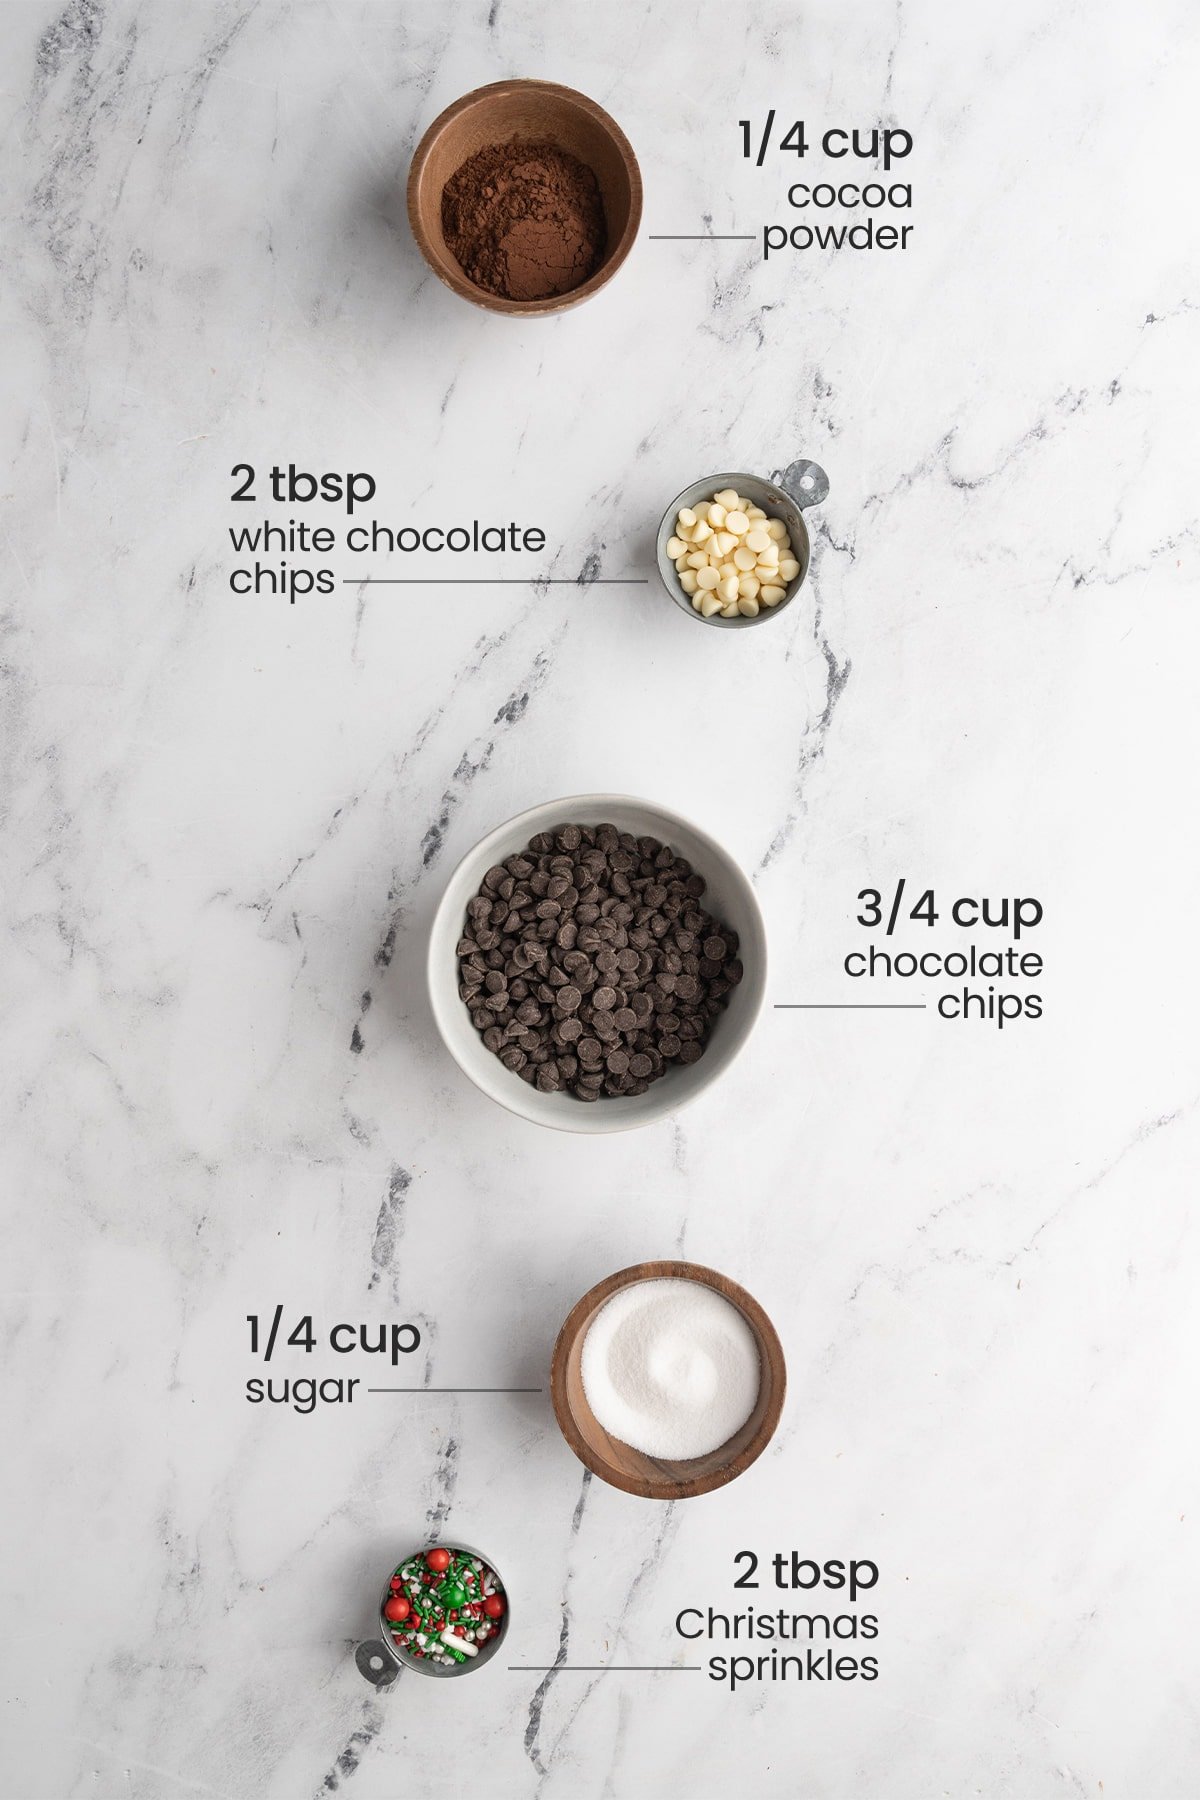
Christmas Hot Cocoa Bombs Ingredients
Here’s everything you need:
- Chocolate chips. You’ll melt them down and temper them to make a perfect outer hot chocolate bomb shell.
- Cocoa powder. The chocolaty half of the hot cocoa mix.
- Granulated sugar. The sweet half of the hot chocolate mix.
- White chocolate chips. Just for the festive decoration on the outside.
- Christmas sprinkles. You have the option to add them on the inside, and they’re also used to decorate the outside.
Christmas Hot Chocolate Bomb Equipment
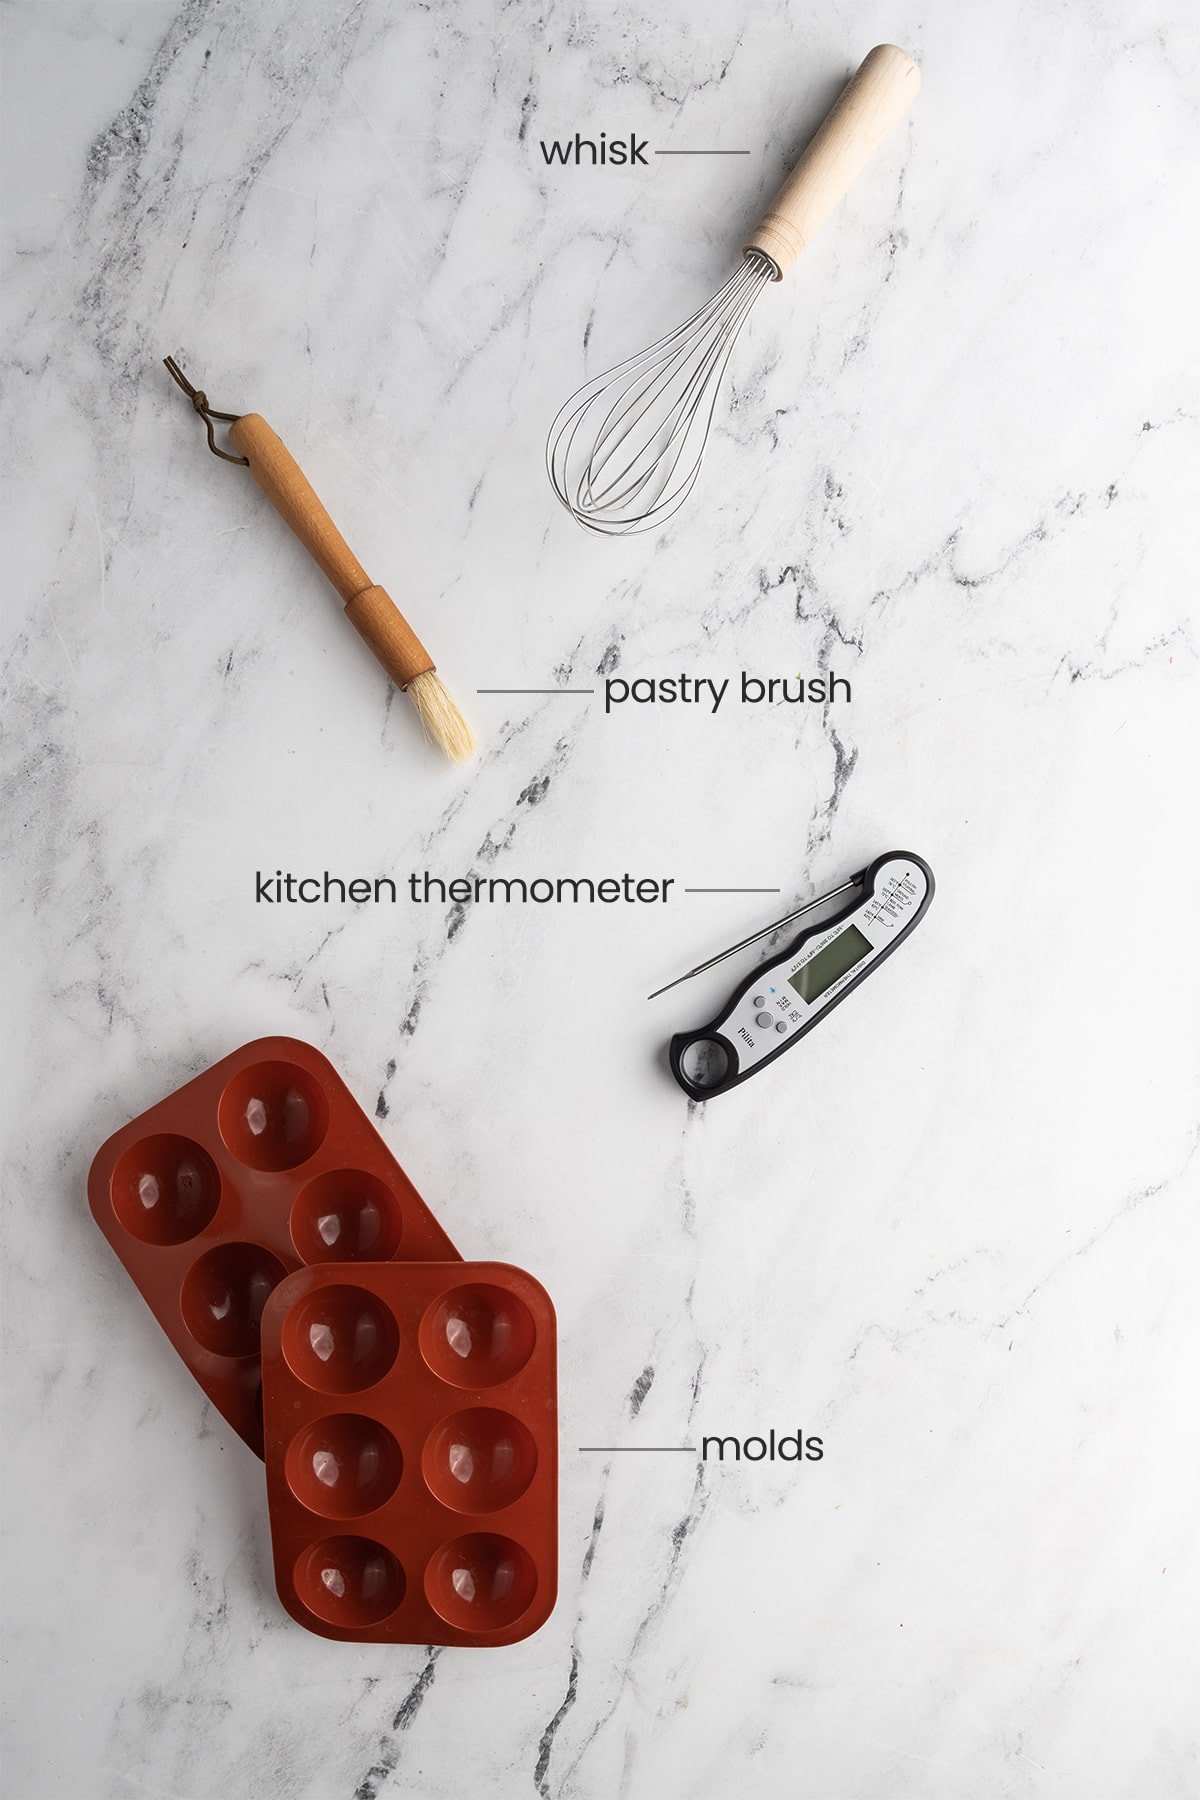
Here’s all the equipment you’ll need to make these Christmas Hot Cocoa Bombs:
- Whisk. The best way to get smooth melted chocolate and no lumps in your hot cocoa mix.
- Pastry Brush. The easiest way to evenly coat your molds with melted chocolate.
- Kitchen Thermometer. To monitor the temperature of your chocolate in order to temper it. More on that later.
- Spherical chocolate molds. To form your hot chocolate bombs!
Christmas Hot Cocoa Bombs Tips and Tricks
Start by Tempering Your Chocolate
Tempering your chocolate is the key to getting hot chocolate bombs that will firmly hold together and stay solid at room temperature. It also means you are able to handle them easily without getting melty chocolate all over your fingertips.
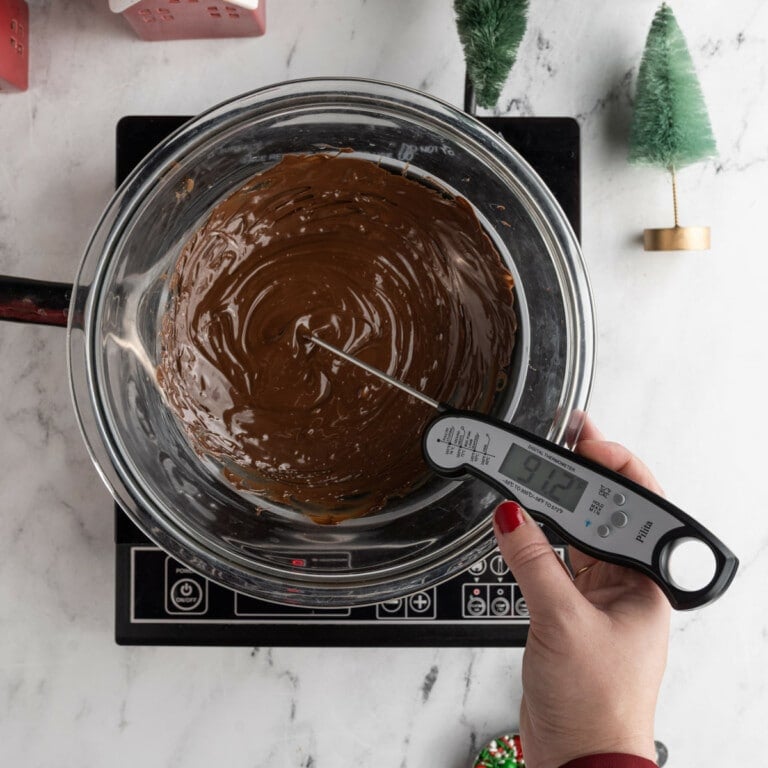
In order to temper the chocolate, you’ll need your trusty kitchen thermometer and a makeshift double-boiler. If you have a fancy double-boiler—great! If not, it’s super easy and just as effective to make your own.
Green tip: Make sure your chocolate is sustainably sourced. Look for Fair Trade, Rainforest Alliance, or UTZ certifications as opposed to self-proclaimed sustainability labels that sometimes falsely advertise “sustainably sourced”.
Just fill a large pot with about 2 cups of water and place either a large, heat-safe glass bowl or a second, smaller pot on top. The idea is that the bowl or smaller pot to rest inside the larger pot, preferably without touching the water underneath.
Add your chocolate chips to the bowl or pot on top and bring the water to a boil to carefully heat the chocolate in the upper bowl (or pot). This is the best way to maintain control over the temperature of your chocolate.
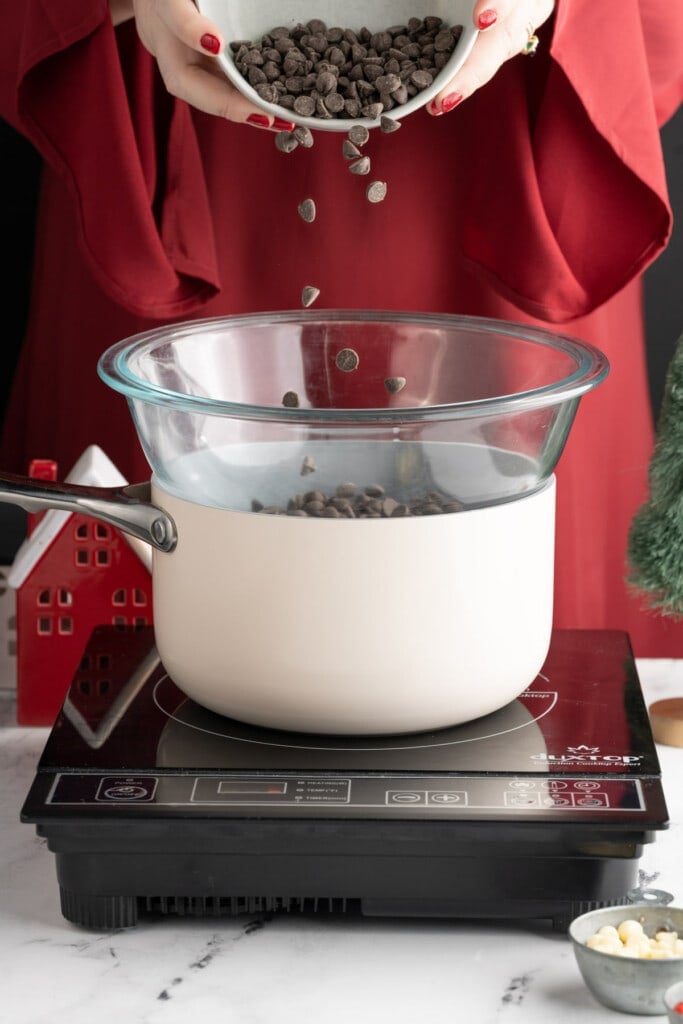
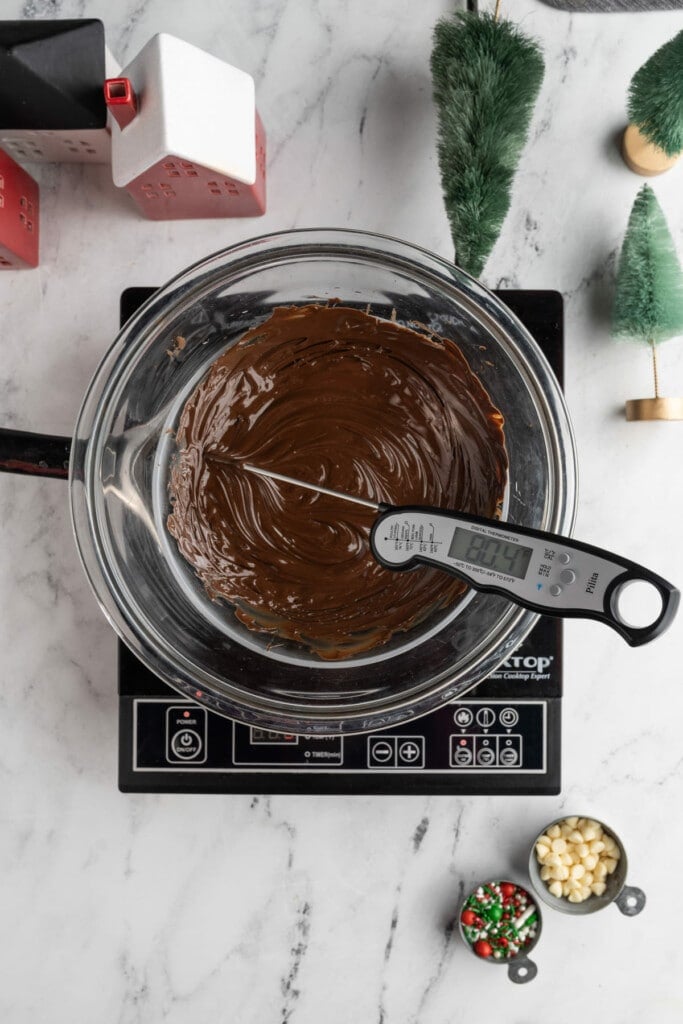
Once the chocolate chips start to melt, remove the bowl from the pot with boiling water, and stir until the chocolate is completely melted.
Stick your thermometer into the melted chocolate and monitor the temperature as it starts to cool down. To temper it properly, you will have to bring the temperature of the chocolate all the way down to 80°F.
This may take up to 20 minutes, depending on the starting temperature and the temperature in your kitchen.
Once the chocolate comes down to 80°F, put it back over your boiling water and bring it back up to 90°F. This change in temperature from hot to cold, then back to hot is what prepares your chocolate to be molded into spheres.
Fill Your Molds
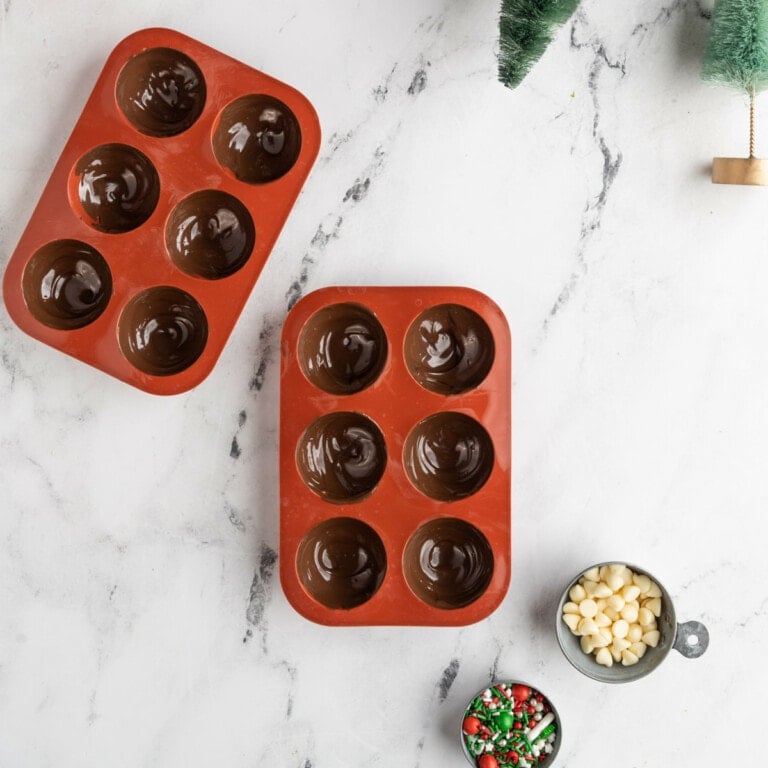
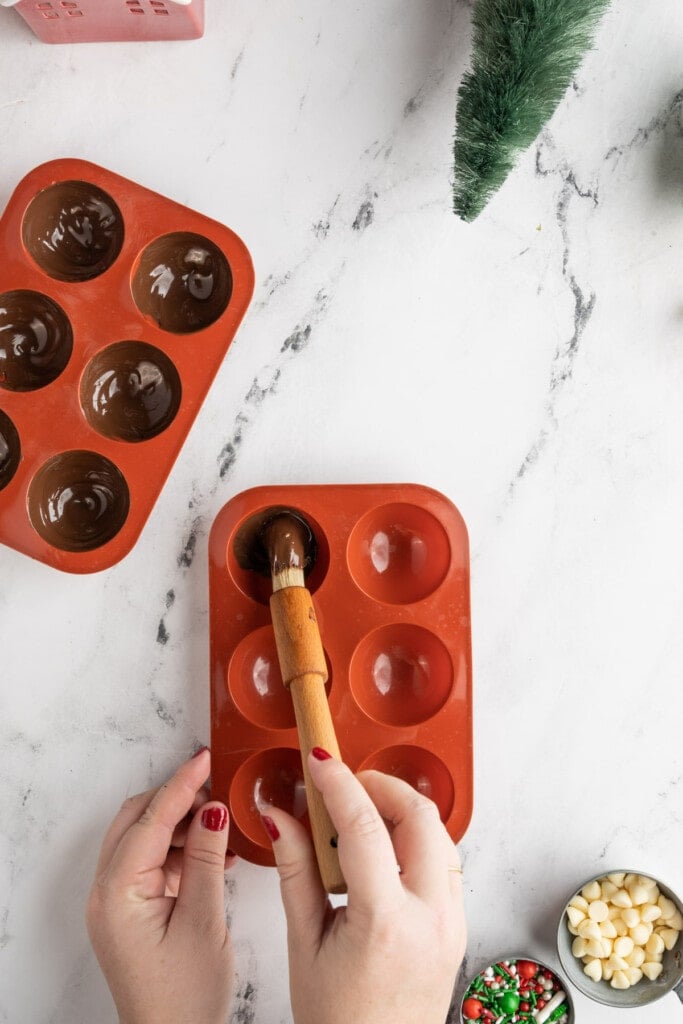
Once your chocolate is tempered, use a pastry brush to add a thick layer of chocolate to your spherical molds. Carefully brush the melted chocolate up the sides, ensuring that the chocolate comes all the way up to the top.
We want a pretty thick layer of chocolate, so be generous with the amount of chocolate you add to each mold. You shouldn’t have any chocolate remaining once your molds are filled.
Then, place your molds in the refrigerator to solidify for 15-20 minutes.
Stir Up Your Cocoa Mix
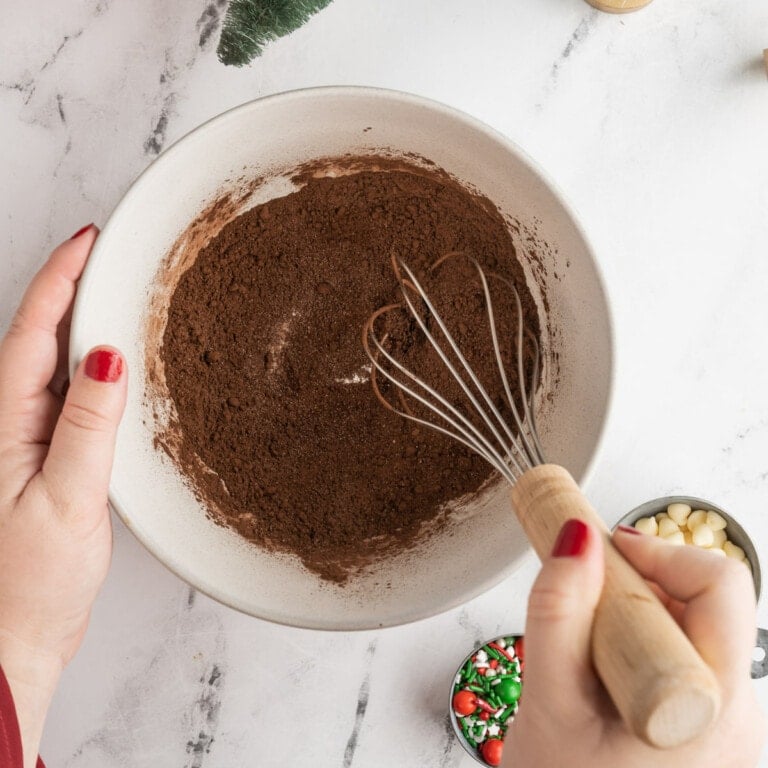
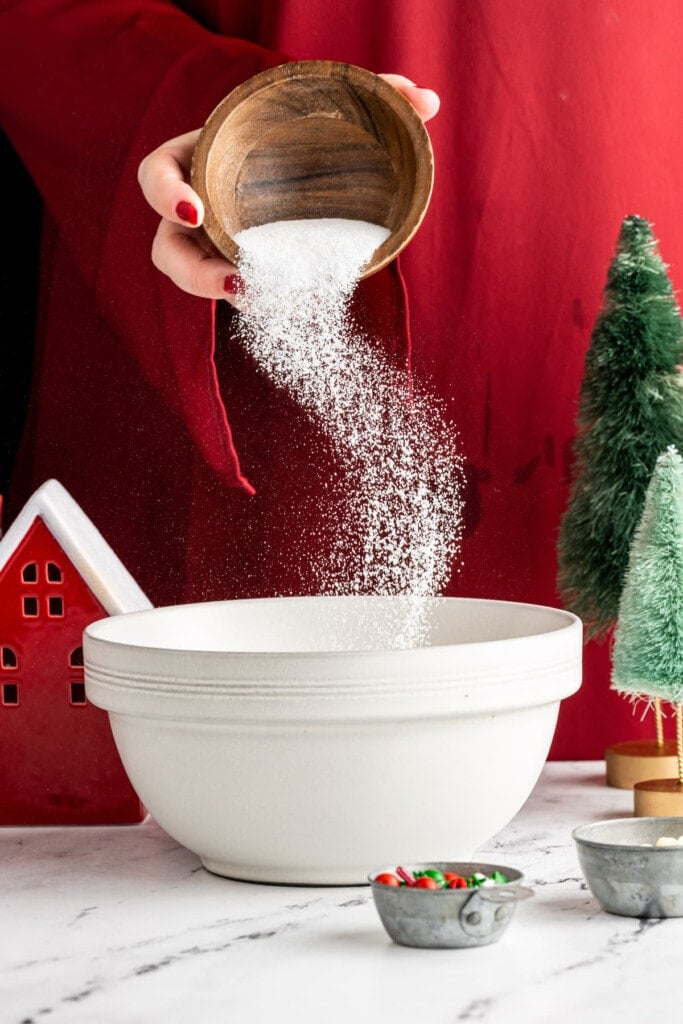
Use a whisk to mix together the granulated sugar and cocoa powder. You can also opt to use about 6 tablespoons of hot chocolate mix in place of the sugar and cocoa powder blend.
Remove the Chocolate from the Molds
Make sure the chocolate is completely solid and set. You should be able to tell from looking at the spheres or touching them gently.
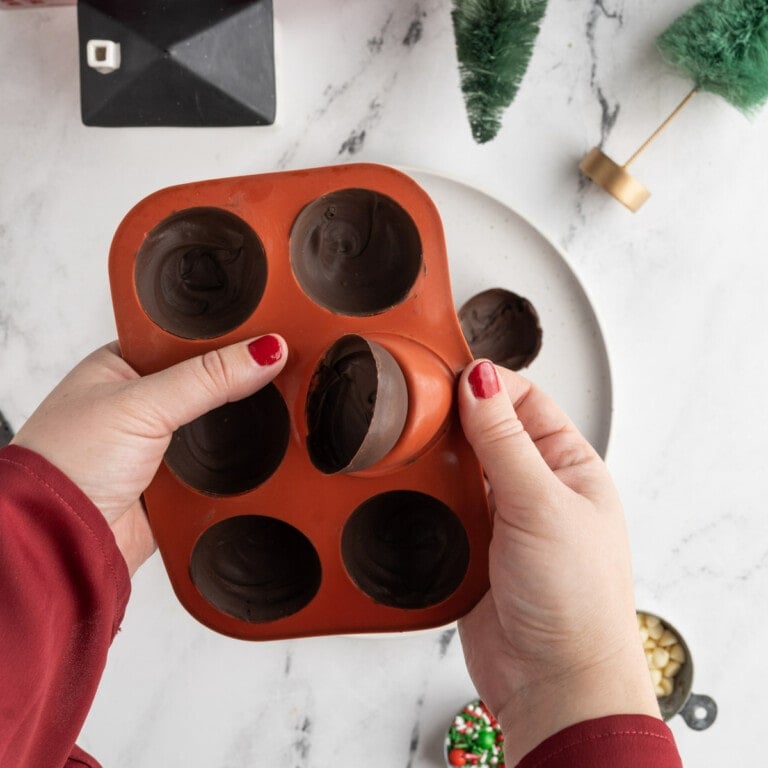
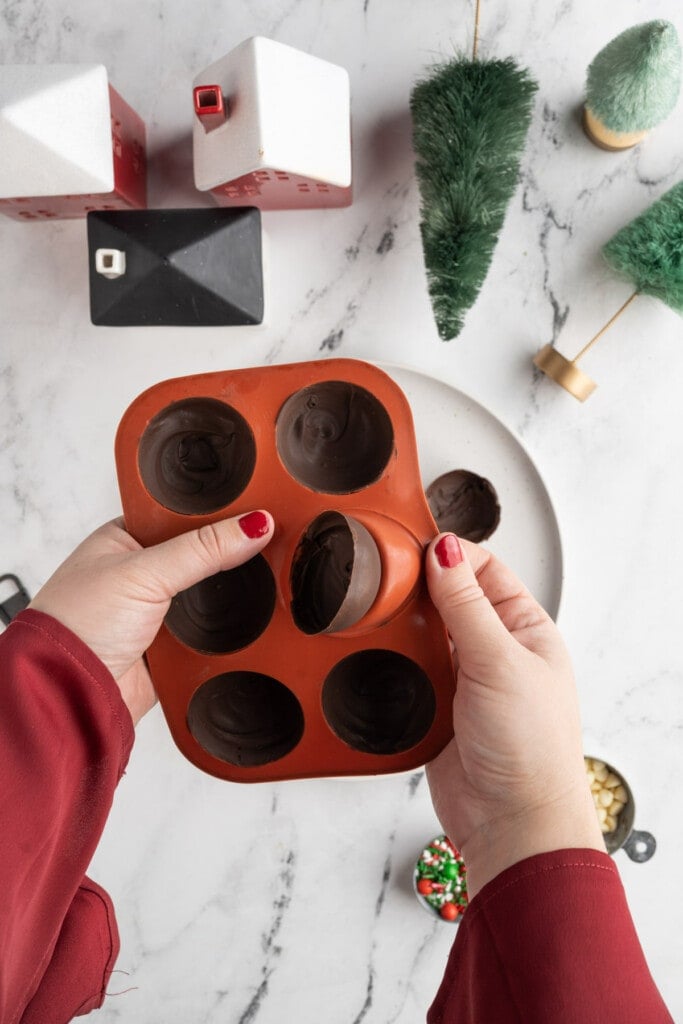
The best way to remove the chocolate spheres from the molds is to pop them out from the back. Push the bottom of the mold outwards until it turns inside out.
This will pop the sphere out. Grab it carefully with the opposite hand and set it on a plate. Repeat until you’ve carefully removed all 12.
Fill Half the Spheres
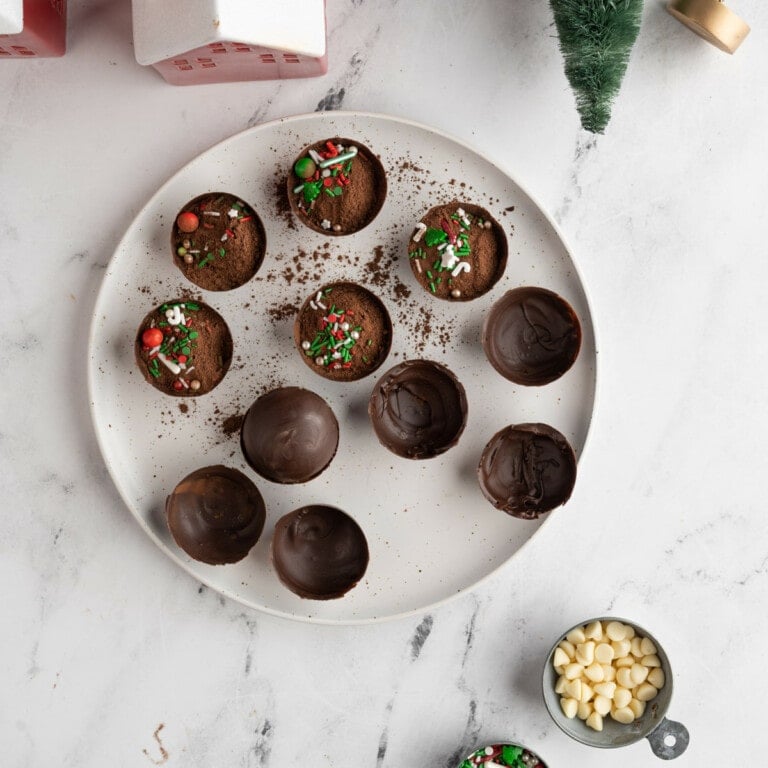
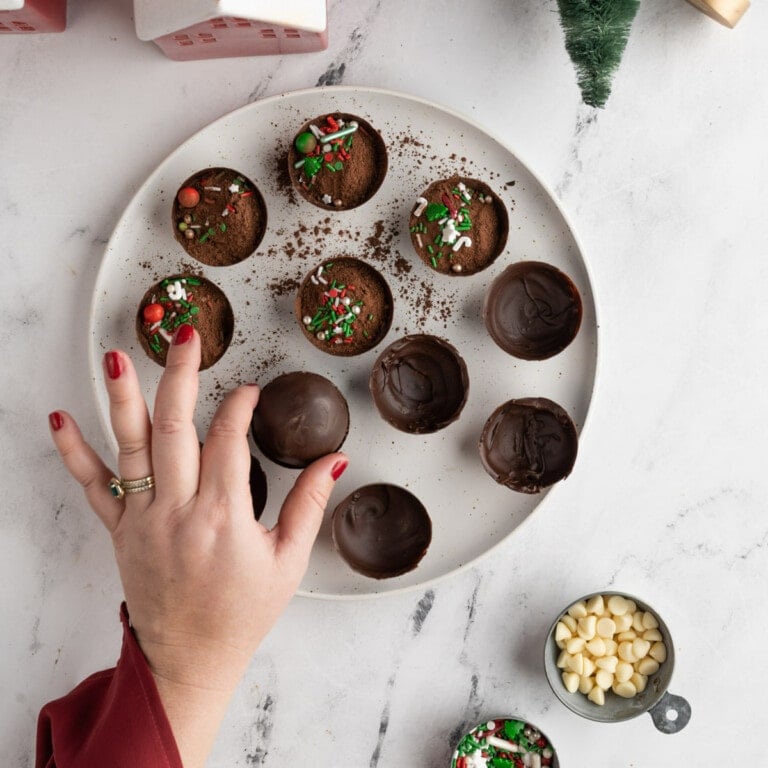
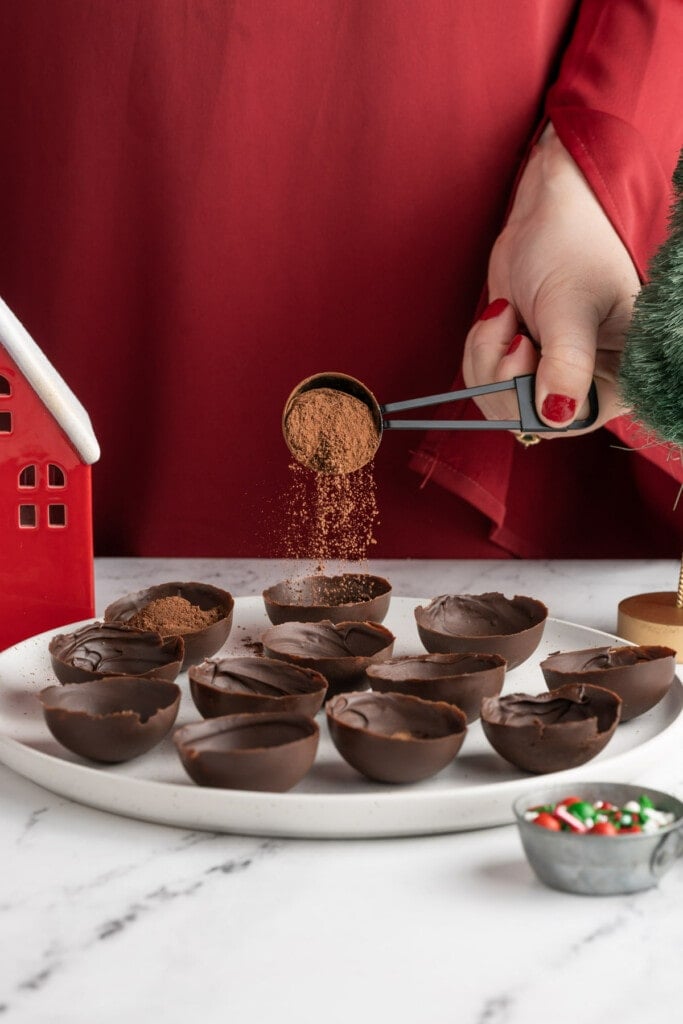
Fill 6 of the spheres with the hot cocoa mix. The other 6 will be fastened on top to seal the hot chocolate mix inside.
Use a heaping tablespoon for each of the 6 spheres, adding an equal amount to each one. You also have the option to add a teaspoon of sprinkles or even mini marshmallows to the spheres as well.
Heat the Edges
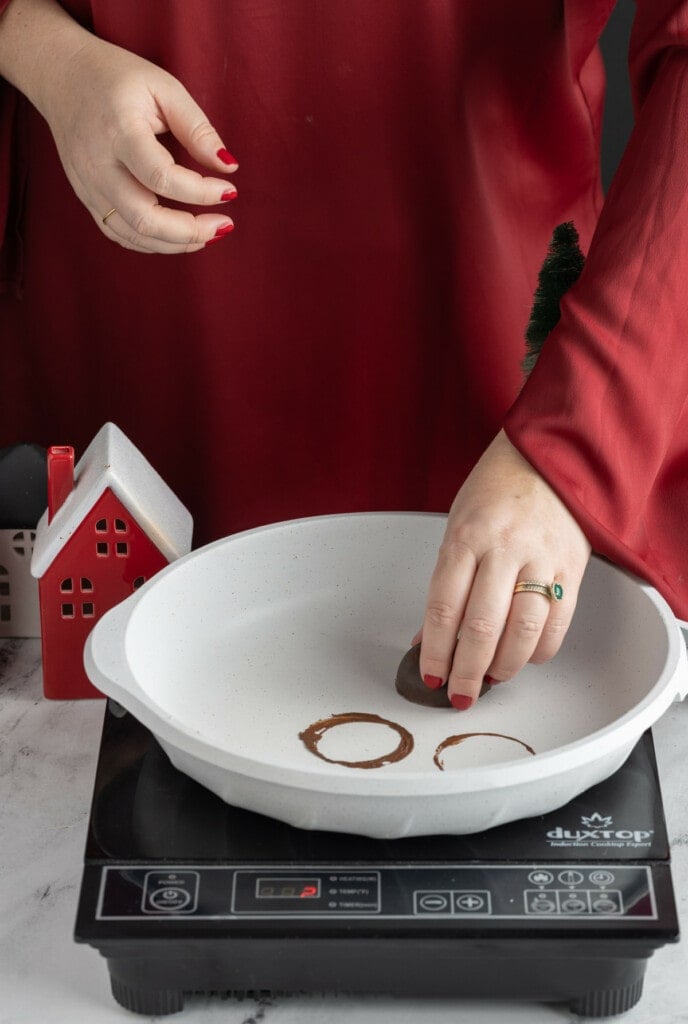
Now it’s time to seal the hot chocolate bombs. I find the easiest way is to melt the edges of the top sphere so that the melted chocolate acts as a “glue”.
Get a pan hot over low heat and lightly press the edges of an empty sphere onto the hot pan. You will see it leave a little ring of chocolate on the pan.
Seal the Hot Cocoa Bombs
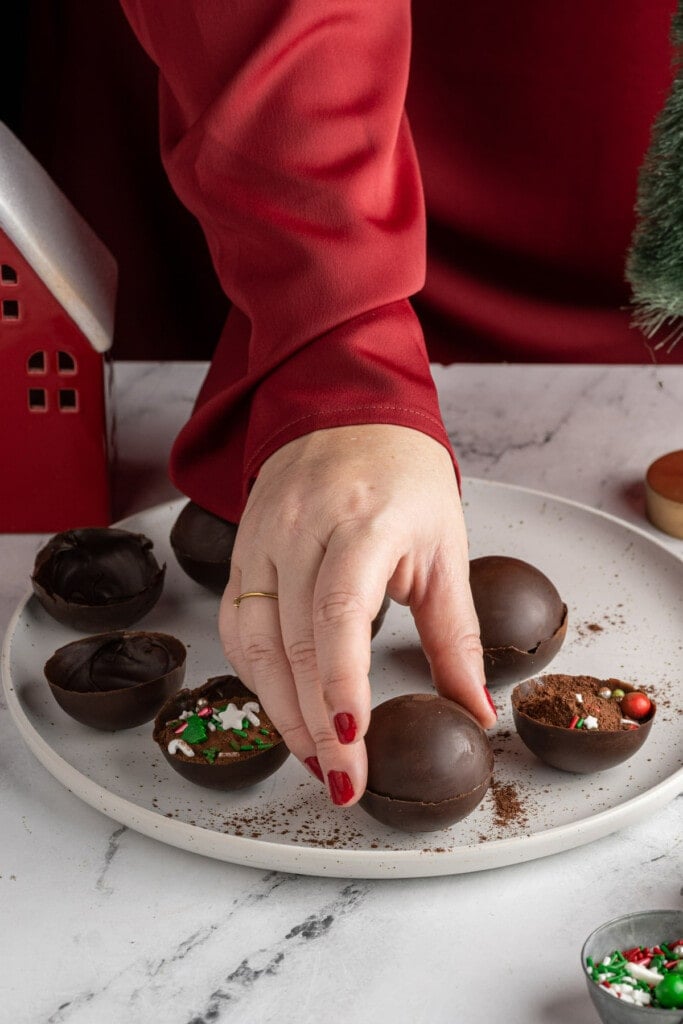
Then, working quickly and carefully, press the melted edges onto the edges of a filled sphere, sealing it shut with the hot cocoa mix inside.
Add the White Chocolate Drizzle
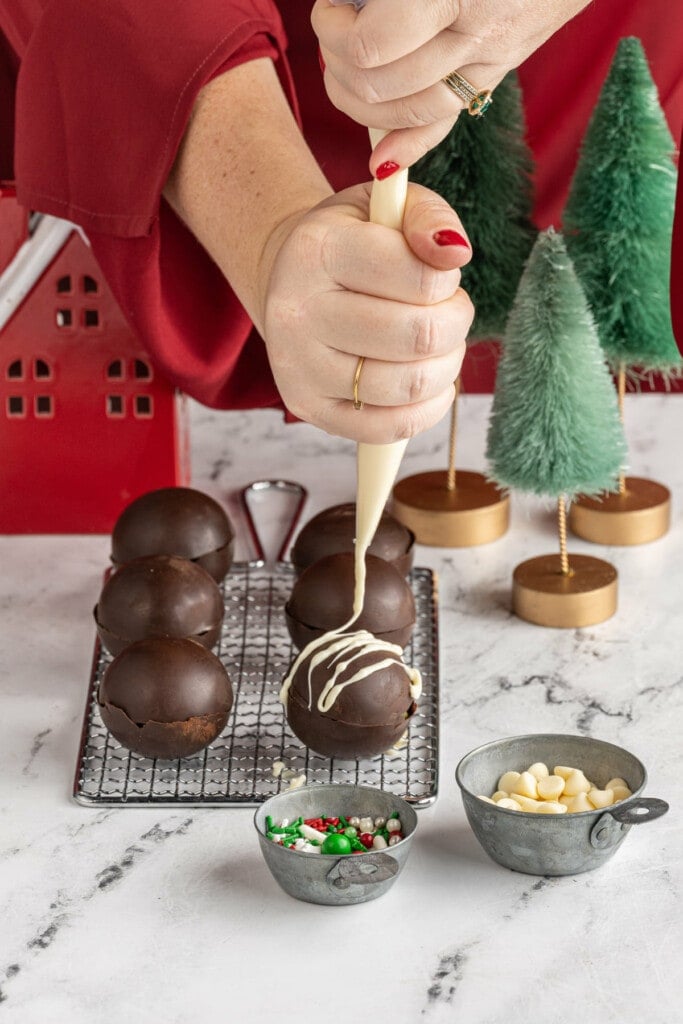
Heat your white chocolate chips in the microwave in ten-second intervals, stirring in between until completely melted.
If you accidentally overheat your white chocolate or it starts to seize up, you can stir in a splash of coconut, canola, or vegetable oil until it’s smooth.
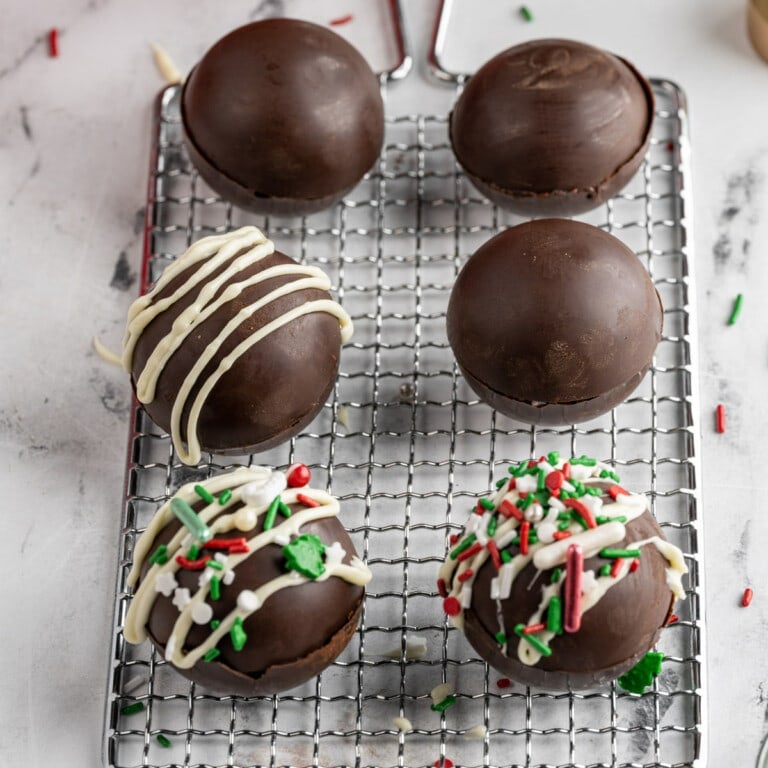
Add it to a piping bag or small spoon and drizzle the white chocolate over top.
Sprinkle on Some Christmas Cheer
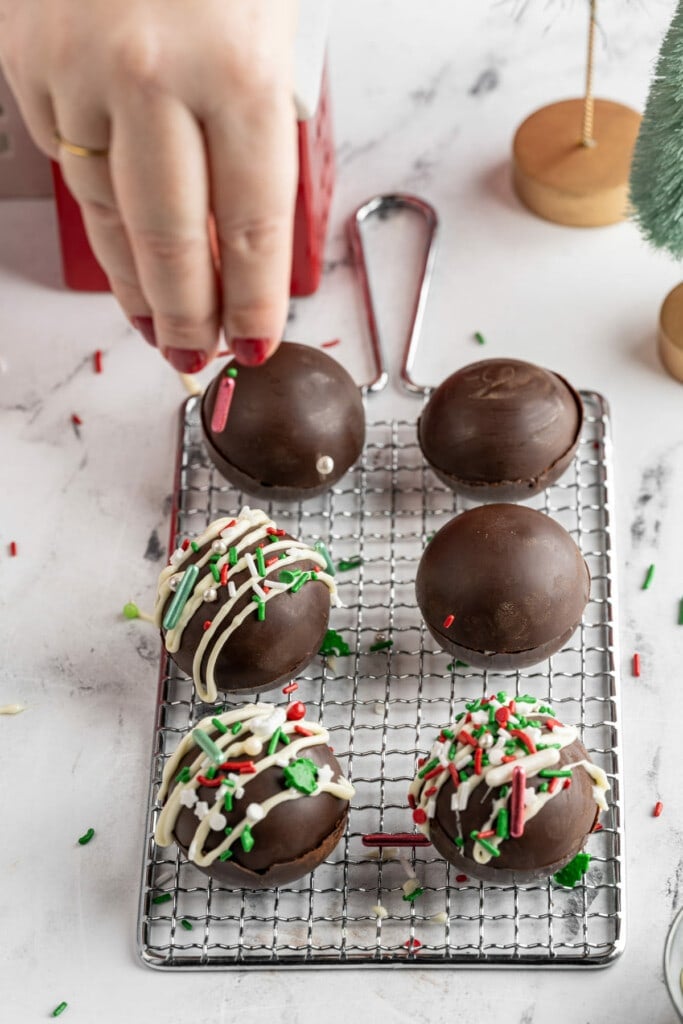
Next, add the sprinkles on top. It’s best to add it immediately after drizzling your white chocolate. If your white chocolate is still wet, the sprinkles will easily stick to it!
Enjoying Your Christmas Hot Cocoa Bombs
Choosing Your Ratio
Depending on how rich you want your hot chocolate to be, you can use one or two hot cocoa bombs per 1 cup of milk.
One hot chocolate bomb is enough to turn your hot milk into a delightful cozy hot cocoa, but if you like a super thick drinking chocolate, add two!
Green tip: Coconut milk is one of the lowest impact milk choices when it comes to our environmental footprint. Coconut trees use little land, little water, and the production of coconuts requires no deforestation.
Heat Your Milk
The milk needs to be hot enough to completely melt the hot chocolate bomb, so we want it to be simmering. You can choose to use any milk you like—dairy milk or non-dairy, both work perfectly.
If you do opt for a non-dairy milk option, it’s best to use unflavored and unsweetened milk so you have more control over the amount of sugar added to your hot cocoa.
You can heat your milk on the stove or in the microwave until it starts to simmer. Just make sure to watch it closely. It’s best to remove it from heat quickly right when it starts to simmer because overheated milk can have an almost burnt taste.
Depending on your microwave, it will take anywhere from 60-90 seconds, but it’s best not to do it all in one shot. Start with 30 seconds and then continue to heat in 15-second intervals, checking in between. You’ll know it’s ready when you see steam escaping from the top.
For the stove method, you can either use a double boiler until it simmers or heat directly over low heat, stirring frequently and watching closely to remove it as soon as it starts to simmer.
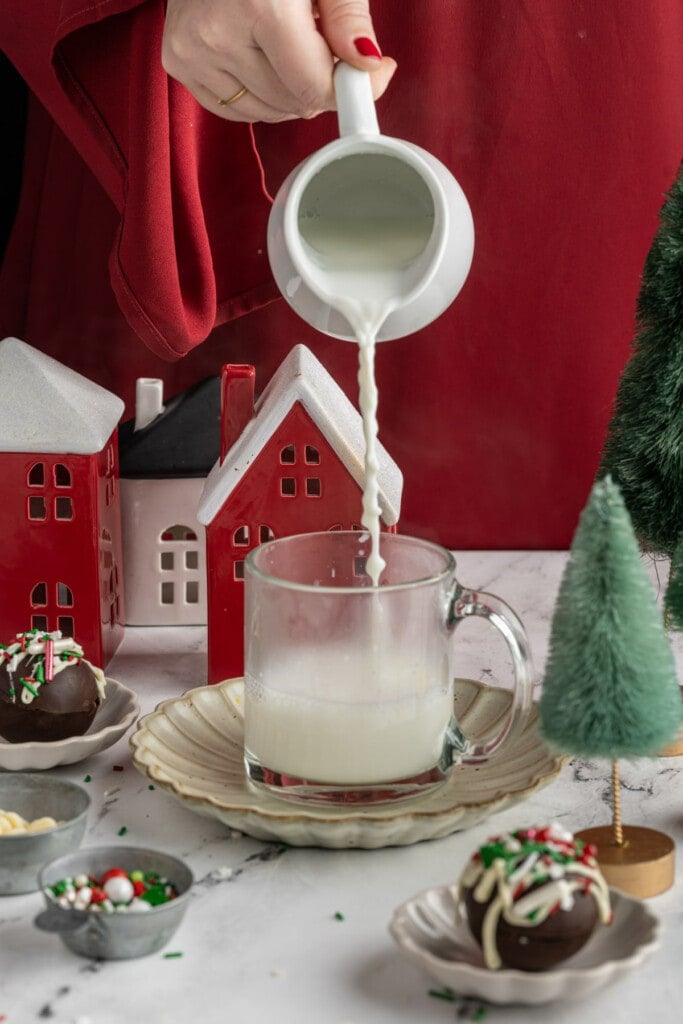
Pour Over or Drop it In
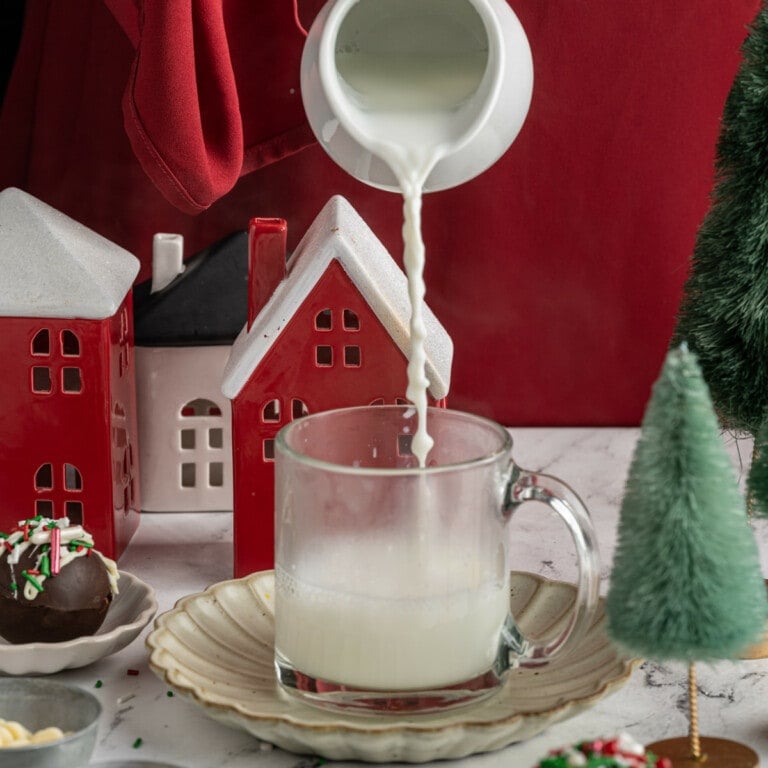
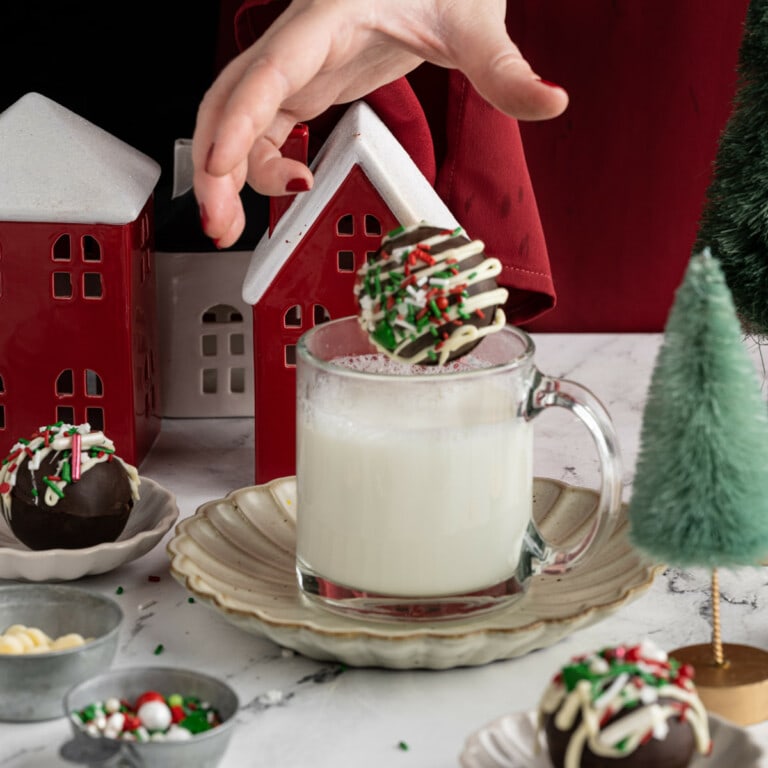
You can choose to either pour your hot milk over top of the bomb in a mug or you can heat up your milk in the mug and drop the hot chocolate bomb into it! Whichever you prefer, they both totally work.
Whichever technique you decide to use, just make sure to use a heat-safe mug.
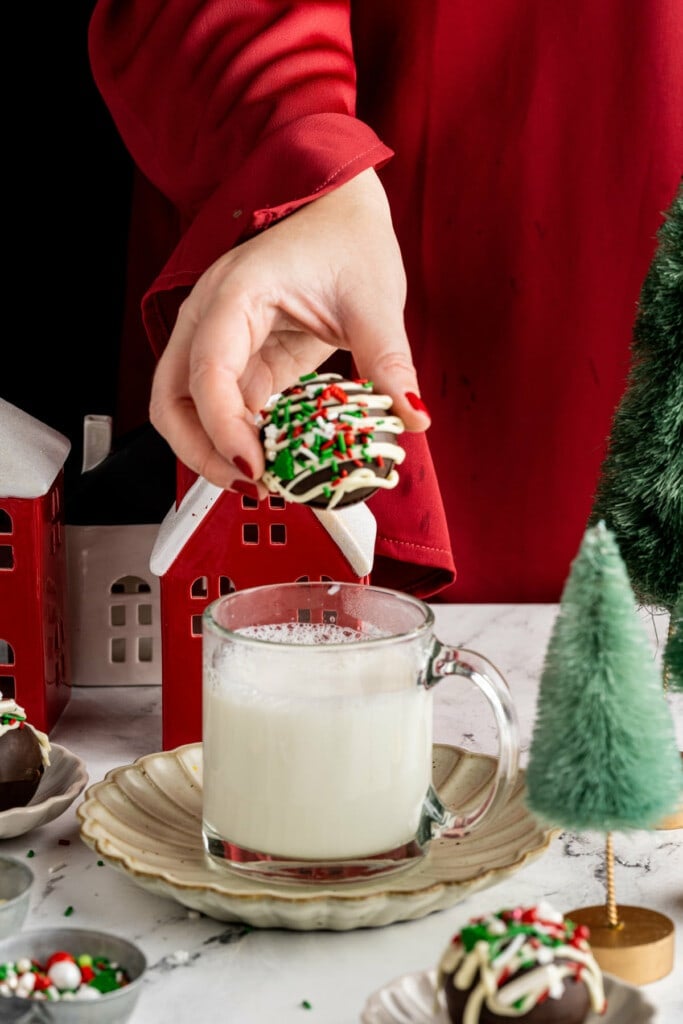
Stir it Up!
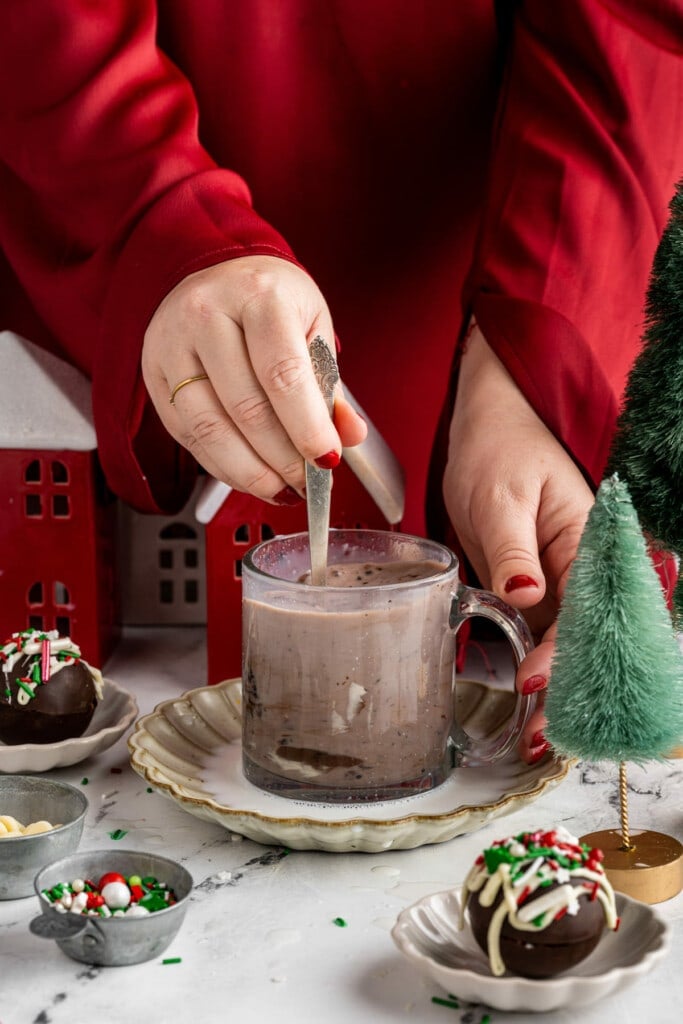
The hot milk should easily melt the chocolate bombs but stirring it well will help it along.
Use a spoon to stir until the hot chocolate bomb is completely integrated into the milk and your Christmas Hot Chocolate is nice and smooth.
if you taste it and find it’s not hot enough for your liking, you can continue to heat it even after the hot cocoa bomb is added.
Storing Your Christmas Hot Chocolate Bombs
These bombs will stay tasty for up to two weeks (assuming you have the willpower to keep them that long 😉). Just store them at room temperature in a bag or sealed container. No need to refrigerate them, unless your kitchen is especially warm.
Green tip: Did you know that of the billions of pounds of food wasted annually, it is estimated that 50% of it happens in our homes? Reduce your household’s contribution to food waste by properly storing your food.
Giving Christmas Hot Cocoa Bombs as a Gift
These delicious hot chocolate bombs make such a wonderful homemade gift around the Holidays!
Here’s my best advice for making this recipe to give to your friends and family:
- Make sure you use clean hands to make your Hot Cocoa Bombs.
- Make sure you package them up in a nice gift box for easy transport.
- Make sure you provide instructions for how to use the hot cocoa bombs.
- Make sure you pay attention to any dietary restrictions the person you are gifting may have. This can easily be made dairy-free or vegan by selecting the right ingredients.
- Make it cute! Tie a little ribbon around the top or decorate and personalize the box you are gifting.
Christmas Hot Chocolate Bombs Frequently Asked Questions
How do you make hot chocolate bombs for Christmas?
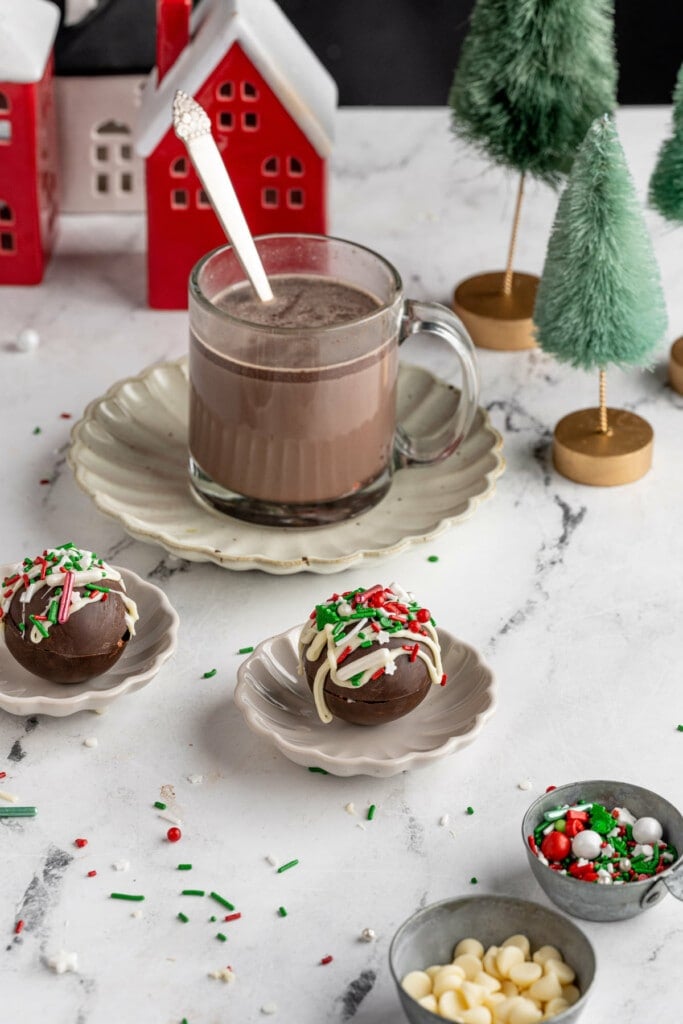
The easiest way to make your hot chocolate bombs festive for Christmas is by adding Christmas sprinkles on top!
Drizzle your hot chocolate bombs with white chocolate. While the white chocolate is still hot and wet, add your sprinkles on top. They will stick to the white chocolate and transform your hot cocoa bombs into a Christmassy treat!
Are Hot Cocoa Bombs better with milk or water?
Milk will always make for a richer, smoother hot chocolate. Hot Cocoa Bombs (these Christmas ones included) typically require hot milk to easily dissolve the outer chocolate shell that makes up the hot chocolate bomb!
What kind of chocolate is best for hot chocolate bombs?
Any chocolate can be used for hot chocolate bombs, including dark, milk, semi-sweet, or even white. Regardless of which chocolate you use, it will have to be tempered in order to have the stability it needs to hold in your hot cocoa powder.
Why You Should Make These Festive Christmas Hot Cocoa Bombs
- They’re festive and fun! What’s better than an interactive chocolate treat covered in cheery sprinkles?
- They’re decadent. The outer chocolate shell and homemade hot cocoa mix on the inside make for a delicious hot chocolate.
- They make for a great homemade gift! Surprise and delight your family and friends with a delicious D.I.Y. gift from the heart.
If you’re loving these Festive Christmas Hot Cocoa Bombs and want more fun Christmas treats, check out this Cute Christmas Tree Cookie Cake and these Chocolate Peppermint Christmas cookies!
Festive Christmas Hot Cocoa Bombs
Ingredients
Christmas Hot Cocoa Bombs
- 3/4 cup chocolate chips (dark or semi-sweet)
- 1/4 cup cocoa powder
- 1/4 cup granulated sugar
- 2 tablespoons white chocolate chips
- 2 tablespoons Christmas Sprinkles
Christmas Hot Cocoa
- 1 cup milk (dairy or unsweetened non-dairy)
- 1 or 2 Christmas Hot Cocoa Bomb(s) (2 will make it extra decadent!)
Instructions
Christmas Hot Cocoa Bombs
- Start by tempering the chocolate to prepare it for holding in your hot cocoa mixture. Add chocolate chips to a double boiler or glass bowl over a large pot with boiling water. Melt the chocolate chips and remove from heat. Monitor the temperature of the chocolate with a candy thermometer. Allow it to come down to 80°F (this can take up to 20 minutes). Then, put the chocolate back over the heat and bring it back up to 90°F.
- Use a pastry brush to fill 12 chocolate molds, spreading on a thick layer of melted chocolate in each half-sphere, coating it as evenly as possible and ensuring the chocolate comes all the way up the sides. You should use up all of the melted chocolate.Place the molds in the refrigerator for 15-20 minutes to set.
- To a separate, small mixing bowl, add the sugar and cocoa powder and whisk to combine to make your hot cocoa mixture.
- Once the chocolate has set, carefully remove the half spheres from the molds and place them face-up on a plate.
- Fill 6 half-spheres with about a heaping tablespoon each of the hot cocoa mixture, evenly distributing the mixture until it is all used up. You can choose to add about 1 teaspoon of sprinkles inside each bomb, or you can save them just for the outside decoration.
- Get a frying pan hot over low heat. One at a time, press the empty chocolate half-spheres onto the pan to melt the edges. Then, use the melted edge to fasten it to a filled half-sphere, to form a hot cocoa bomb. Repeat until you have 6 hot cocoa bombs.
- Heat the white chocolate chips in the microwave in ten-second intervals, stirring in between, until melted. If you overheat or it starts to seize, add a splash of coconut, canola, or vegetable oil and mix rapidly until smooth.
- Add the melted white chocolate to a piping bag or spoon. Working one at a time, drizzle the white chocolate on top of each hot cocoa bomb, and add the sprinkles on top of the drizzle. Repeat until all 6 are decorated.
- Allow the Christmas Hot Cocoa Bombs to set for about 15 minutes at room temperature.
Enjoying your Christmas Hot Cocoa Bombs
- Heat your milk on the stove until it is just simmering. Alternatively, you can heat the milk up in the microwave for 60-90 seconds until you see steam coming off the top.
- Drop 1 (or 2 if you want your hot cocoa extra thick and decadent) into the hot milk and stir until the chocolate is melted and the powder is integrated and you have a smooth, rich hot chocolate!
Pro Tips
- This recipe can easily be made vegan by using dairy-free cocoa and chocolate chips and dropping your hot cocoa bomb in plant-based milk.
- These make for such a great gift!
- If you want to make a boozy hot cocoa bomb, check out these Baileys Hot Chocolate Bombs!
- If, like me, you’ve got a weakness for a cozy warm mug of hot chocolate, you *definitely* shouldn’t check out all my other Hot Chocolate treats, it would be too dangerous!
Share This Recipe
