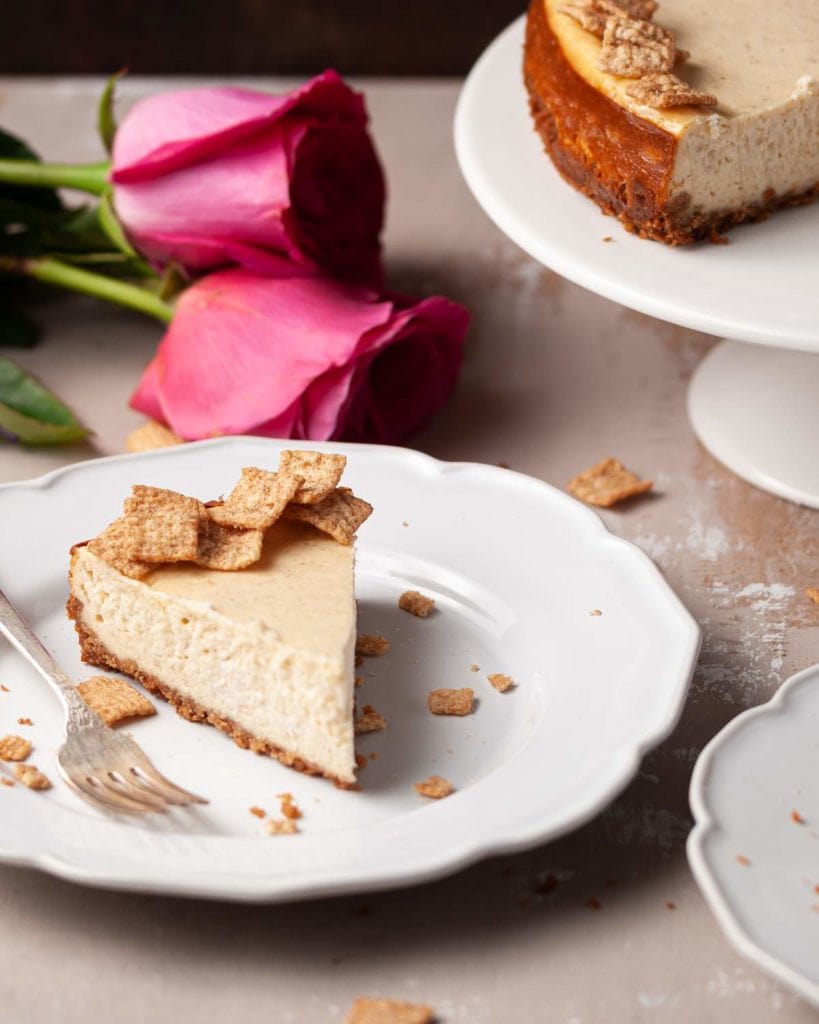
Ever dreamed of combining your favorite breakfast cereal with your favorite decadent dessert? This Cinnamon Toast Crunch Cheesecake is here to make your childhood dessert dreams come true!
With a crunchy, buttery, Cinnamon Toast Crunch crust and creamy, cinnamon-forward cheesecake filling, this foolproof cereal-based recipe will be your new go-to!
As an environmental scientist, I am always trying to find ways to combat food waste, and cereal is one of those things I buy on sale, thinking they’ll be a great solution to busy mornings, but then forget about the box in the back of the pantry.
But when you use it as a base for a creamy cheesecake, you better believe no one in my family is letting that go to waste!
Green tip: Of the billions of tons of food wasted annually, 50% of food waste happens at home. Taking inventory of your pantry and fridge and finding inventive ways to use ingredients you have is a great way to reduce food waste.
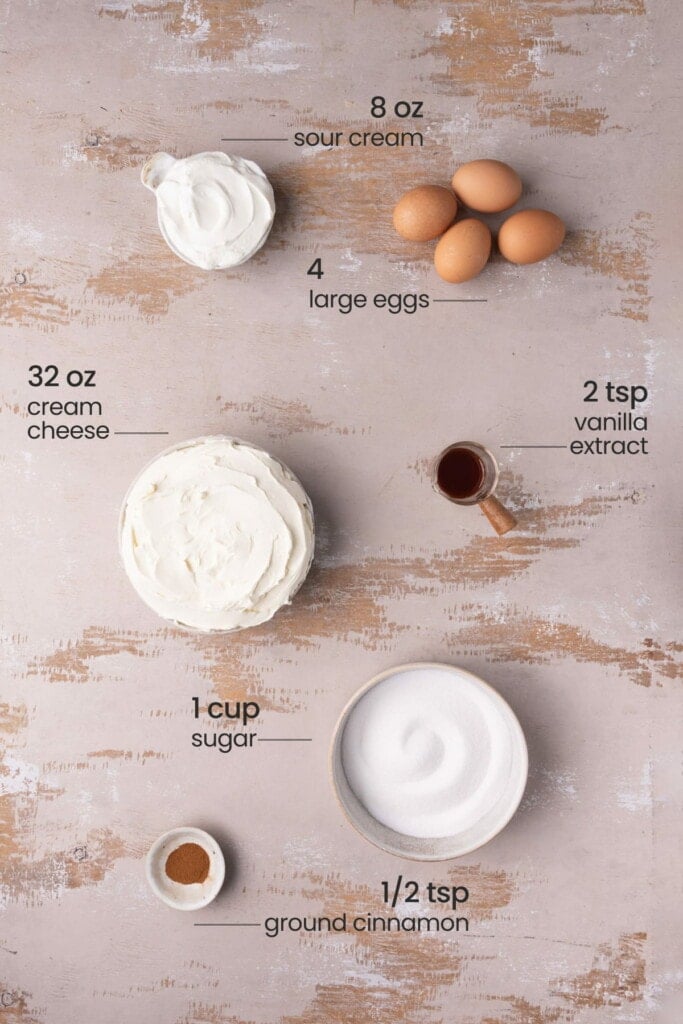
Cinnamon Toast Crunch Cheesecake Ingredients
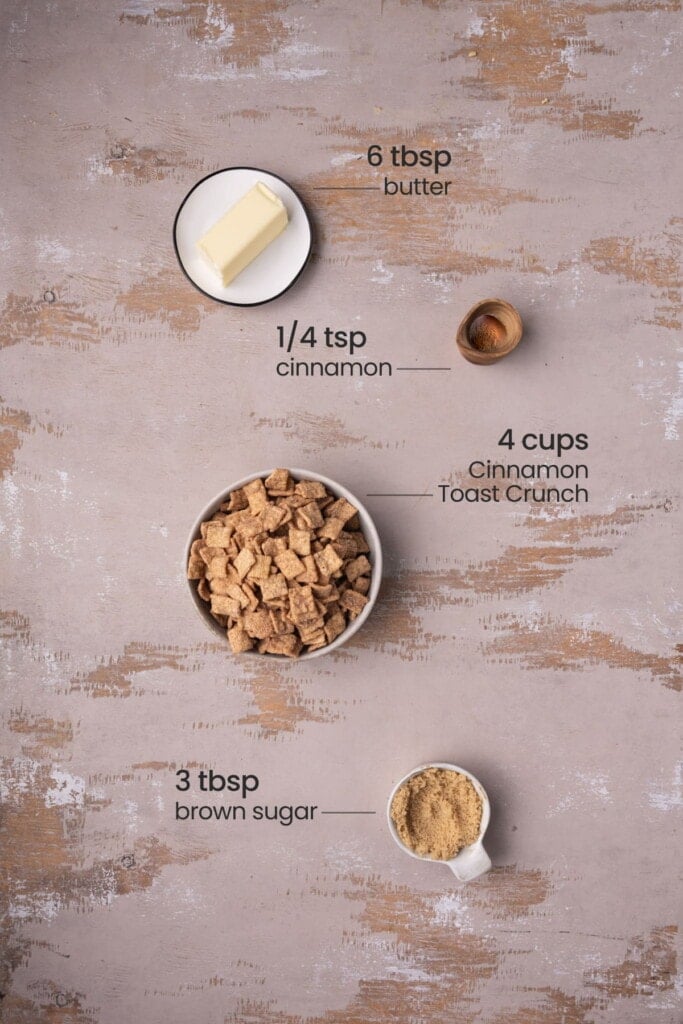
Outside of a blender, here’s everything you’ll need for the crust:
- Cinnamon Toast Crunch cereal.
- Brown sugar.
- Cinnamon.
- Melted unsalted butter.
Here’s what you’ll need for the filling:
- Cream cheese. Make sure it’s softened. This recipe uses 4 blocks of cream cheese. If you would like, you can use 2 reduced-fat cream cheeses, but I highly recommend using at least 2 full-fat blocks, if not all 4.
- Granulated sugar.
- Sour cream. At room temperature.
- Vanilla extract.
- Cinnamon.
- Eggs. At room temperature.
How to Make Cinnamon Toast Crunch Cheesecake
Start by Making Your Cinnamon Toast Crunch Crust
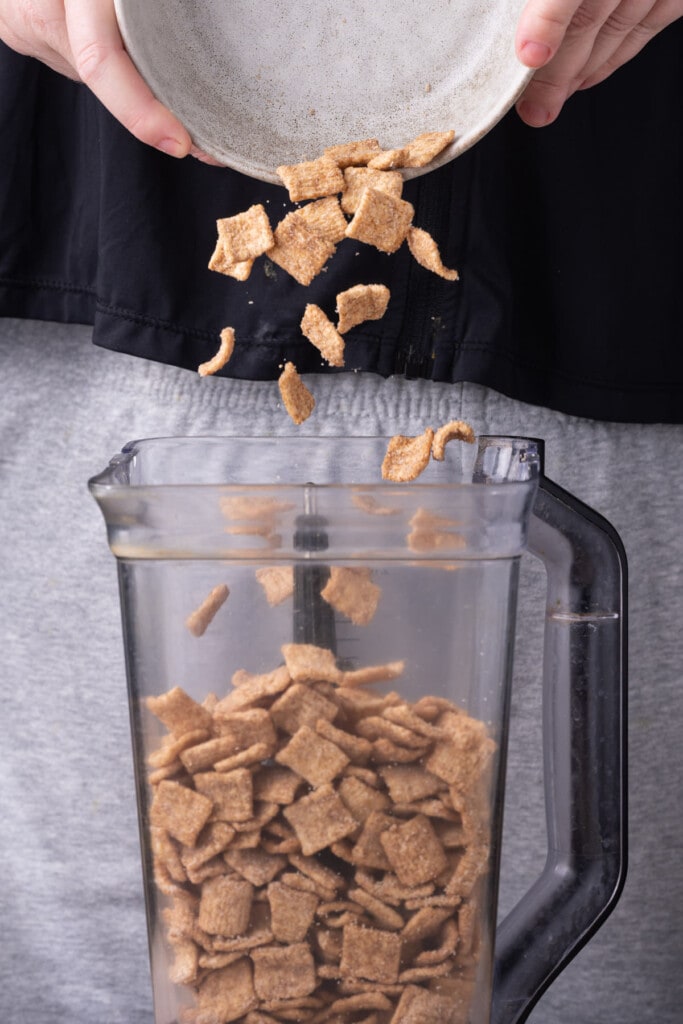
The main ingredient for this crust is the cinnamon toast crunch itself (we LOVE a fun recipe incorporating cereal at Marley’s menu!). We will need to grind it up into crumbs. I find the easiest way to make this happen is by using a high-powered blender or food processor.
Melt the butter either over the stove or in 30-second intervals in the microwave, stirring in between. Add the cereal, butter, sugar, and cinnamon to your blender or food processor and blend on high until it’s mostly broken down.
It’s okay if there is a few remaining larger pieces. The sugar is important in the base. I tested the crust with and without it and it simply does not get as crispy without the sugar.
If you are worried about the sweetness level you can reduce the amount of sugar, but do not omit it completely.
Quick note: Blind baking is just baking the crust without the filling to ensure that it’s nice and crunchy.
We want to keep our Cinnamon Toast Crunch well, crunchy! And the best way to do that is by blind baking your crust.
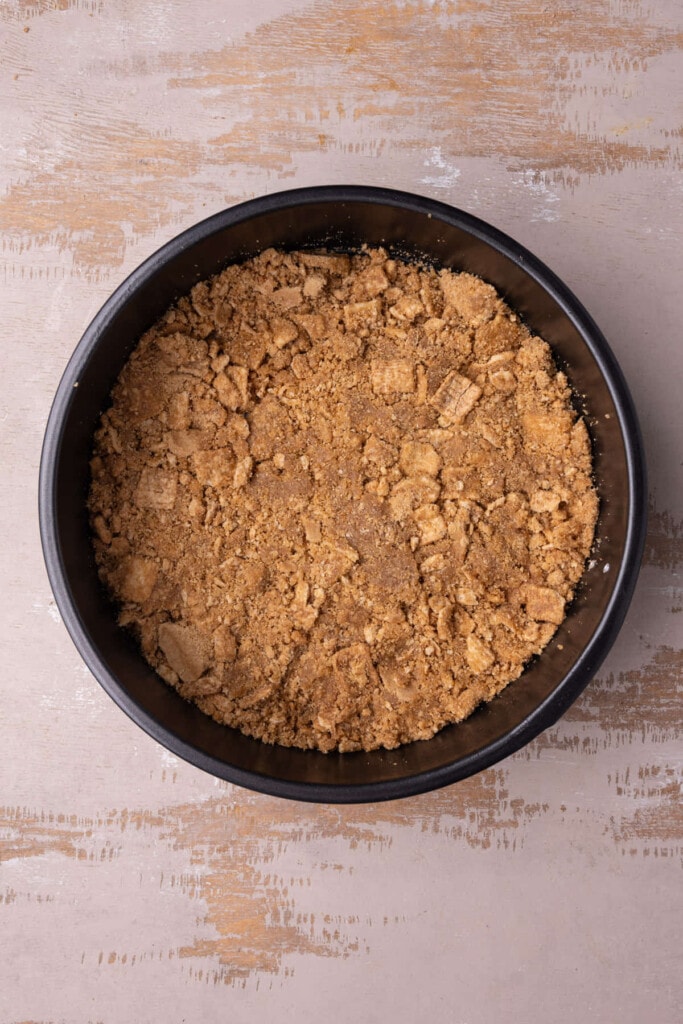
Once you’ve blended your crust ingredients together, transfer the mixture to a 9-inch cake pan.
Use clean hands to press the mixture down flat into the pan—no need to line or grease it, the crust is buttery enough to release from the pan on its own.
How to Make a Simple Cinnamon Cheesecake Filling
The only way to ensure a smooth, creamy filling is to make sure the cream cheese is softened and the eggs and sour cream are at room temperature before starting to mix your filling.
If you don’t have time to allow the cream cheese to come to room temperature naturally, you can put it in a large mixing bowl and microwave it for 20 seconds.
You’ll know your cream cheese is softened if your finger leaves an imprint in it when you poke it. If 20 seconds isn’t enough, keep heating in ten-second intervals, checking in between.
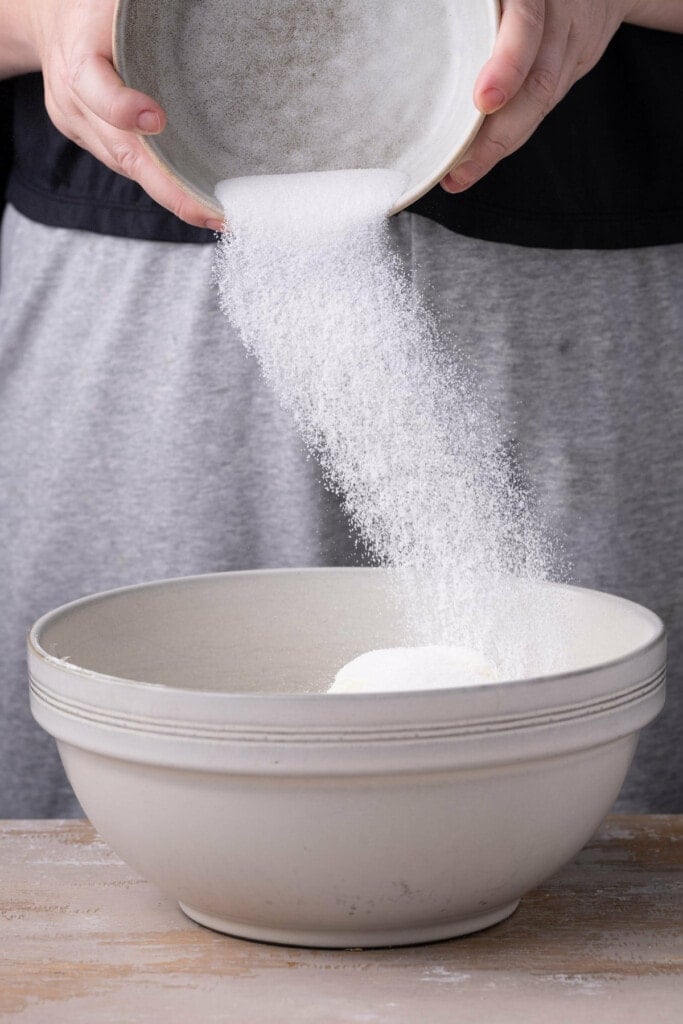
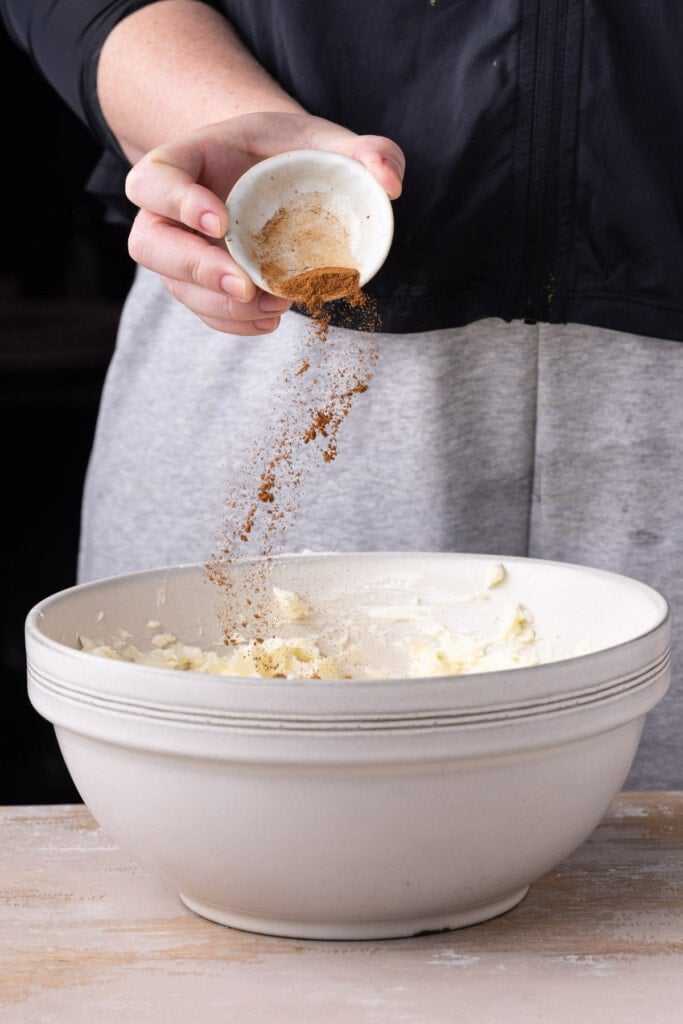
Use a hand mixer to beat together the cream cheese and sugar in a large bowl. Then, add the sour cream, vanilla extract, and cinnamon and beat again to combine.
Green tip: Look for pasture-raised eggs (over free-range or cage-free) to support agriculture that is less reliant on chemicals and fossil fuels.
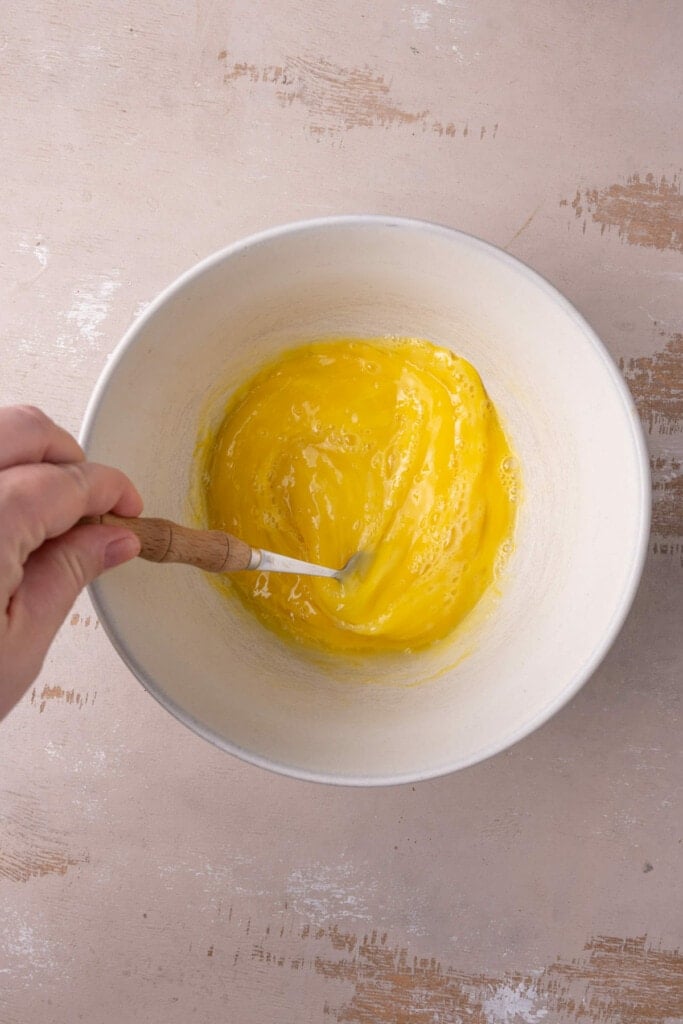
Next, crack your eggs into a separate bowl and use a fork to beat them until the egg whites and yolk are combined. It’s important not to over-beat the cheesecake filling, so taking the time to do this step is important.
With the hand mixer on low, slowly add the eggs, mixing until just combine.

How To Avoid Cracks
To get that perfect cheesecake without any cracks, we have to bring our temperature down slowly.
The only way to guarantee there are no cracks is with a water bath. I personally feel like a water bath is too much trouble and not worth it for the small risk of a crack or two that will not effect the taste.
However, if you want to ensure there are no cracks you can absolutely opt to do a water bath. The oven temperature stays the same as outlined, but you will have to add a baking dish with about 1 inch of water in the oven while it’s preheating.
Then, you will wrap up your springform pan in aluminum foil, and very carefully place the cheesecake in the hot water to bake.
Quick note: the only way to absolutely guarantee no cracks is by using a water bath. To me, it’s not worth the hassle, so I opt not to use a water bath, and take the small risk that my cheesecake may have a small crack or two.
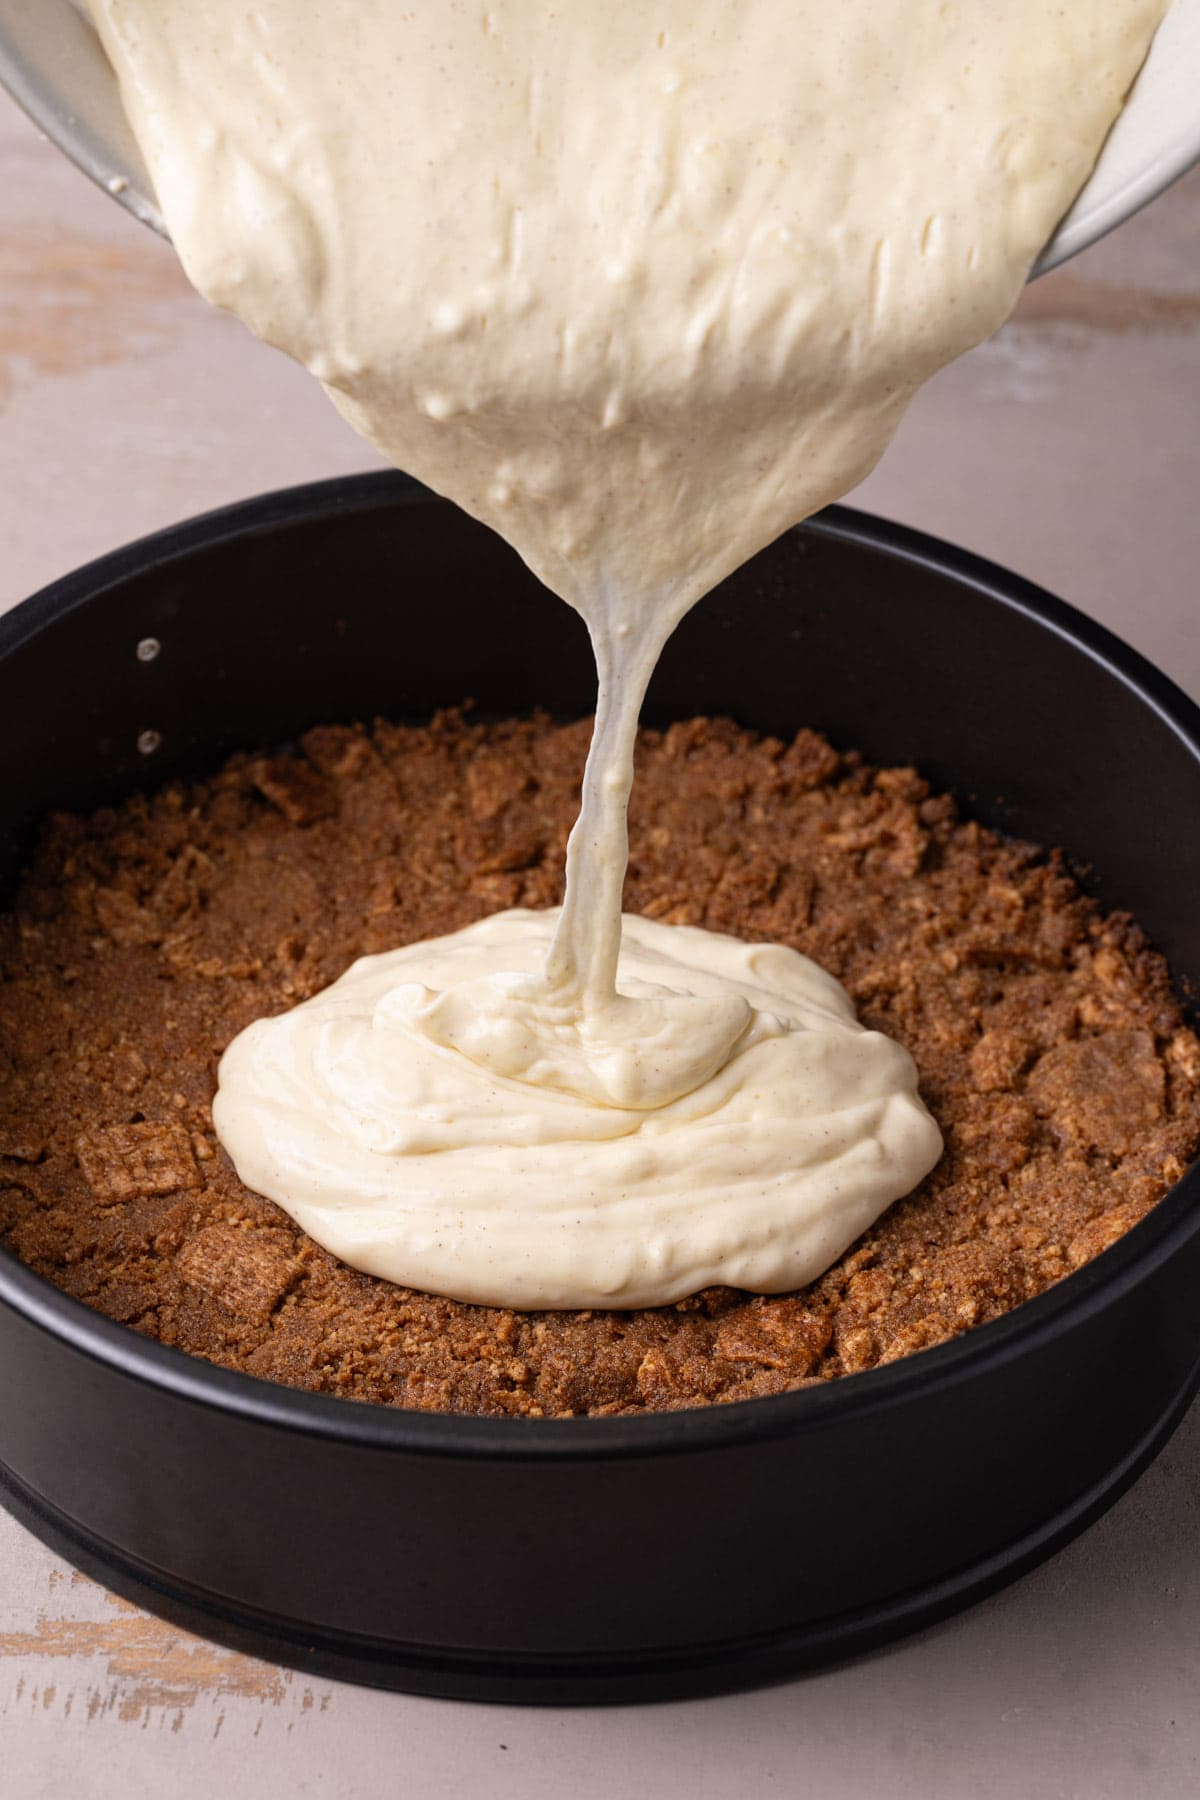
To bake my cheesecake (this will be the same whether or not you use a water bath) I first add my cheesecake filling to my cooled crust. Then, I place the cheesecake in the middle of the oven and slowly lower the temperature as the cheesecake bakes.
This is done in a series of 3 simple steps. it will bake 30 minutes at 325°F first, then 30 minutes at 250°F. Then you will turn your oven off and crack it open, keeping it in there for an additional hour before removing it from the oven.
This will allow your cheesecake temperature to come down very slowly. The cheesecake should still be a little wobbly in the center even after it’s baking. Make sure it’s completely cooled at room temperature before placing it in the refrigerator.
How to Properly Store Leftover Cheesecake
Cheesecake will last for 5-7 days covered in the refrigerator! You can also freeze it for up to 6 months! Just allow it to thaw out by transferring it to the refrigerator the day before you are ready to enjoy.
Green tip: Reduce your contribution to food waste by properly storing and consuming leftovers.
What Makes this Easy Cheesecake Awesome
- It’s nostalgic! Your fave breakfast cereal baked into a cheesecake? C’mon now.
- It’s foolproof. Perfect silky cheesecake every time!
- It’s cinnamon sugar perfection. The addition of cinnamon really makes this cheesecake special.
If you’re loving this Cinnamon Toast Crunch Cheesecake and are looking for more ways to level up your cereal, check out these Captain Crunch French Toast and Peanut Butter Rice Krispie Treats.

Epic Cinnamon Toast Crunch Cheesecake
Print Save RateEquipment
- Blender * or *
- 9-Inch Springform Pan
Ingredients
Cinnamon Toast Crunch Crust
- 4 cups Cinnamon Toast Crunch cereal ( plus more for decorating)
- 6 tablespoons unsalted butter, melted
- 3 tablespoons brown sugar (light or dark, tightly packed)
- ¼ teaspoon cinnamon
Cinnamon Cheesecake Filling
- 32 ounces cream cheese (32 oz cream cheese = 4 blocks)
- 8 ounces sour cream (at room temperature)
- 1 cup granulated sugar
- 2 teaspoons vanilla extract
- ½ teaspoon ground cinnamon
- 4 large eggs
Instructions
Cinnamon Toast Crunch Crust
- Preheat your oven to 375°F and prep a 9-inch springform pan by lining the bottom with parchment paper and greasing the sides with spray, butter, or oil.
- Melt your butter in the microwave by placing it in a microwave-safe bowl and heating for 30 seconds on high. Stir and continue to heat in 10-second intervals, stirring in between until completely melted.
- Add cinnamon toast crunch, melted butter, sugar and cinnamon to a blender or food processor and process on high until cereal turns into fine dust. It's okay if there's a few larger chunks left.
- Transfer mixture from blender into your prepped pan. Use your hands to press the mixture into the pan until it's flat.
- Bake for 11-12 minutes until crispy, remove from the oven, and set on cooling rack for at least 15 minutes to cool.
Cinnamon Cheesecake Filling
- Bring oven temperature down to 325°F.
- Use a hand mixer to beat together the softened cream cheese and sugar until just combined.
- Add the sour cream, vanilla extract, and cinnamon and beat again until smooth.
- Crack the eggs into a separate bowl and beat until the whites and yolks of the eggs are combined. We don't want to overbeat the cheesecake filling, so taking this extra step to beat the eggs before adding them is worth it.
- With hand-mixer on low, add the eggs and mix until just combined.
- Pour filling into the cooled crust and tilt the cake pan back and forth until filling is spread out evenly in the pan.
- Place on the middle rack and bake for 30 minutes at 325°F. Then, turn your oven down to 250°F, and bake for another 30 minutes. Finally, turn the oven off and crack it open. Leave the cheesecake in for another 45 minutes before removing. Allow to cool completely before enjoying and storing in the refrigerator. (see notes)
- Optional: sprinkle some extra cinnamon toast crunch cereal around the edges of the cheesecake to decorate and add a little extra crunch. Enjoy!
Pro Tips
- Don’t peek! Keep the oven door closed until the cheesecake is completely finished to avoid cracks.
- If you’re really determined to have no cracks in your cheesecake, you can opt to use a water bath. A water bath is the ONLY way to guarantee you will get no cracks. I don’t usually do it because it’s not worth the effort for me, but I thought it was worth mentioning. To make a water bath, fill a large baking dish with about an inch of water and stick it in the oven to warm. Then, place your pan inside the water to bake. I recommend wrapping the bottom of your springform pan in aluminum foil so no water can enter through the crack.
- Whether you’re hosting a party, it’s someone’s birthday—or it’s just a rainy Tuesday!—this selection of my best cake recipes has a great cake for every occasion.
- Love cereal? I’m sure you’ll love this collection of my best recipes using cereal!
Video
Share This Recipe