Can’t decide between chewy chocolatey brownies and the light and airy layers of classic banana pudding? Get the best of both worlds with these Layered Banana Pudding Brownies!
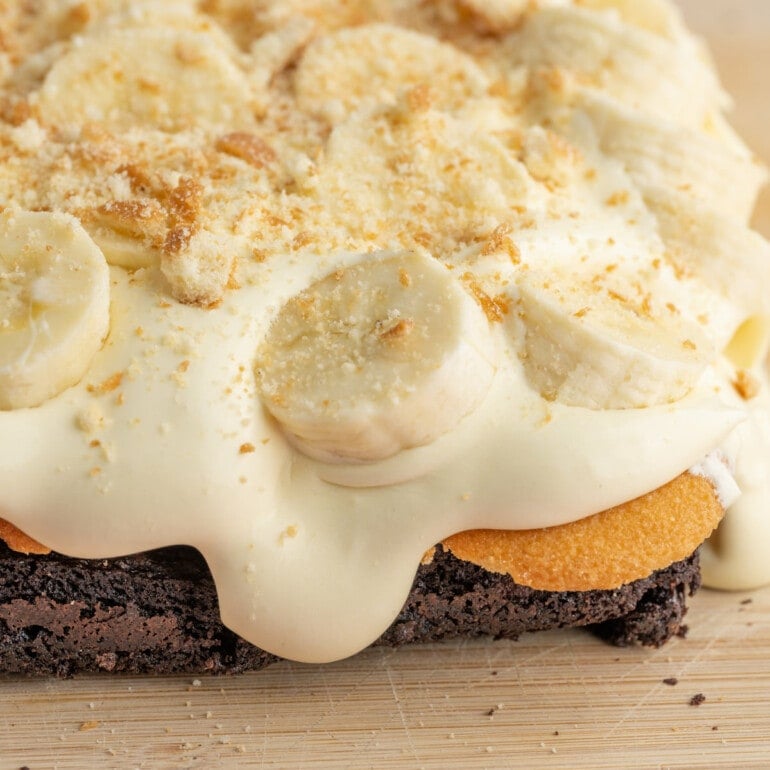
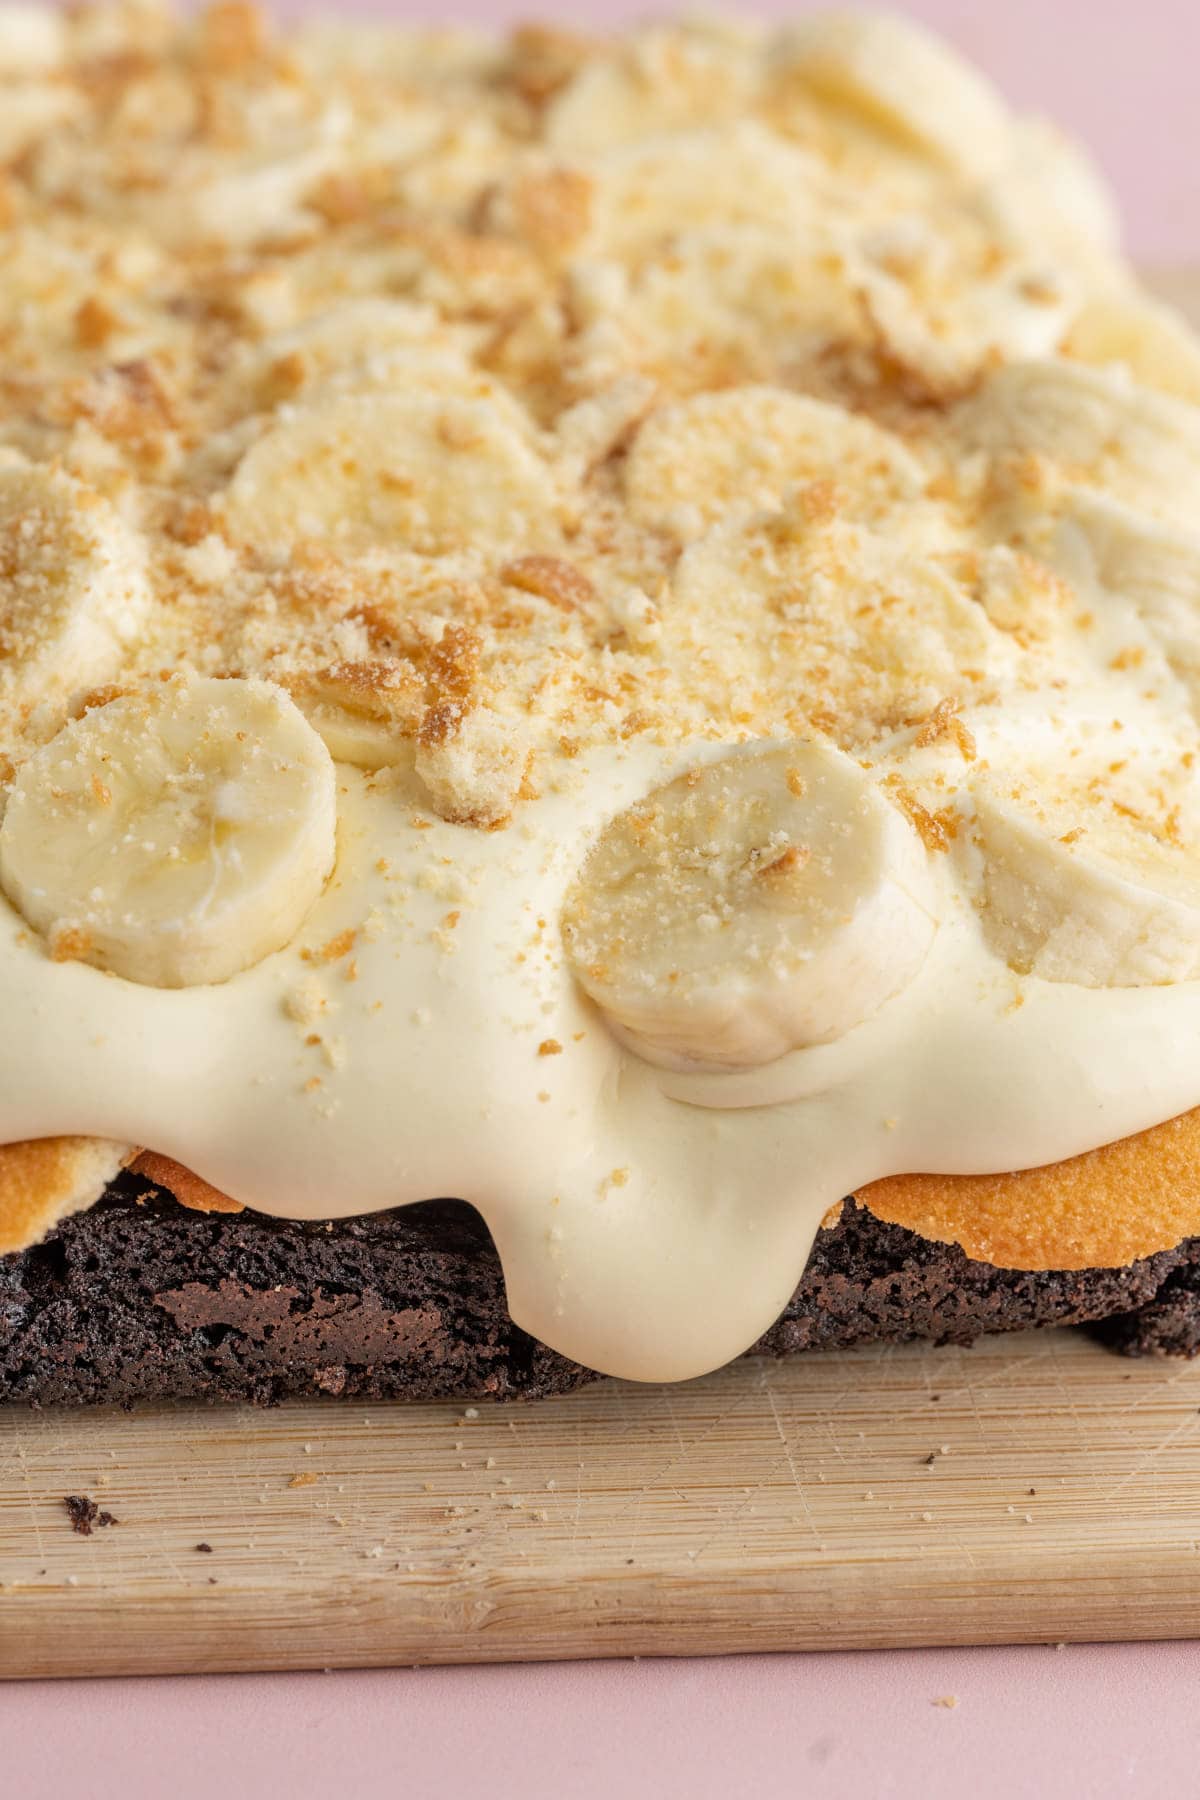
These layered brownies boast a super chewy and chocolaty homemade brownie layer on the bottom, followed by a thin layer of crispy and sweet vanilla wafers, topped with light and creamy vanilla custard and topped with fresh and firm sliced banana!
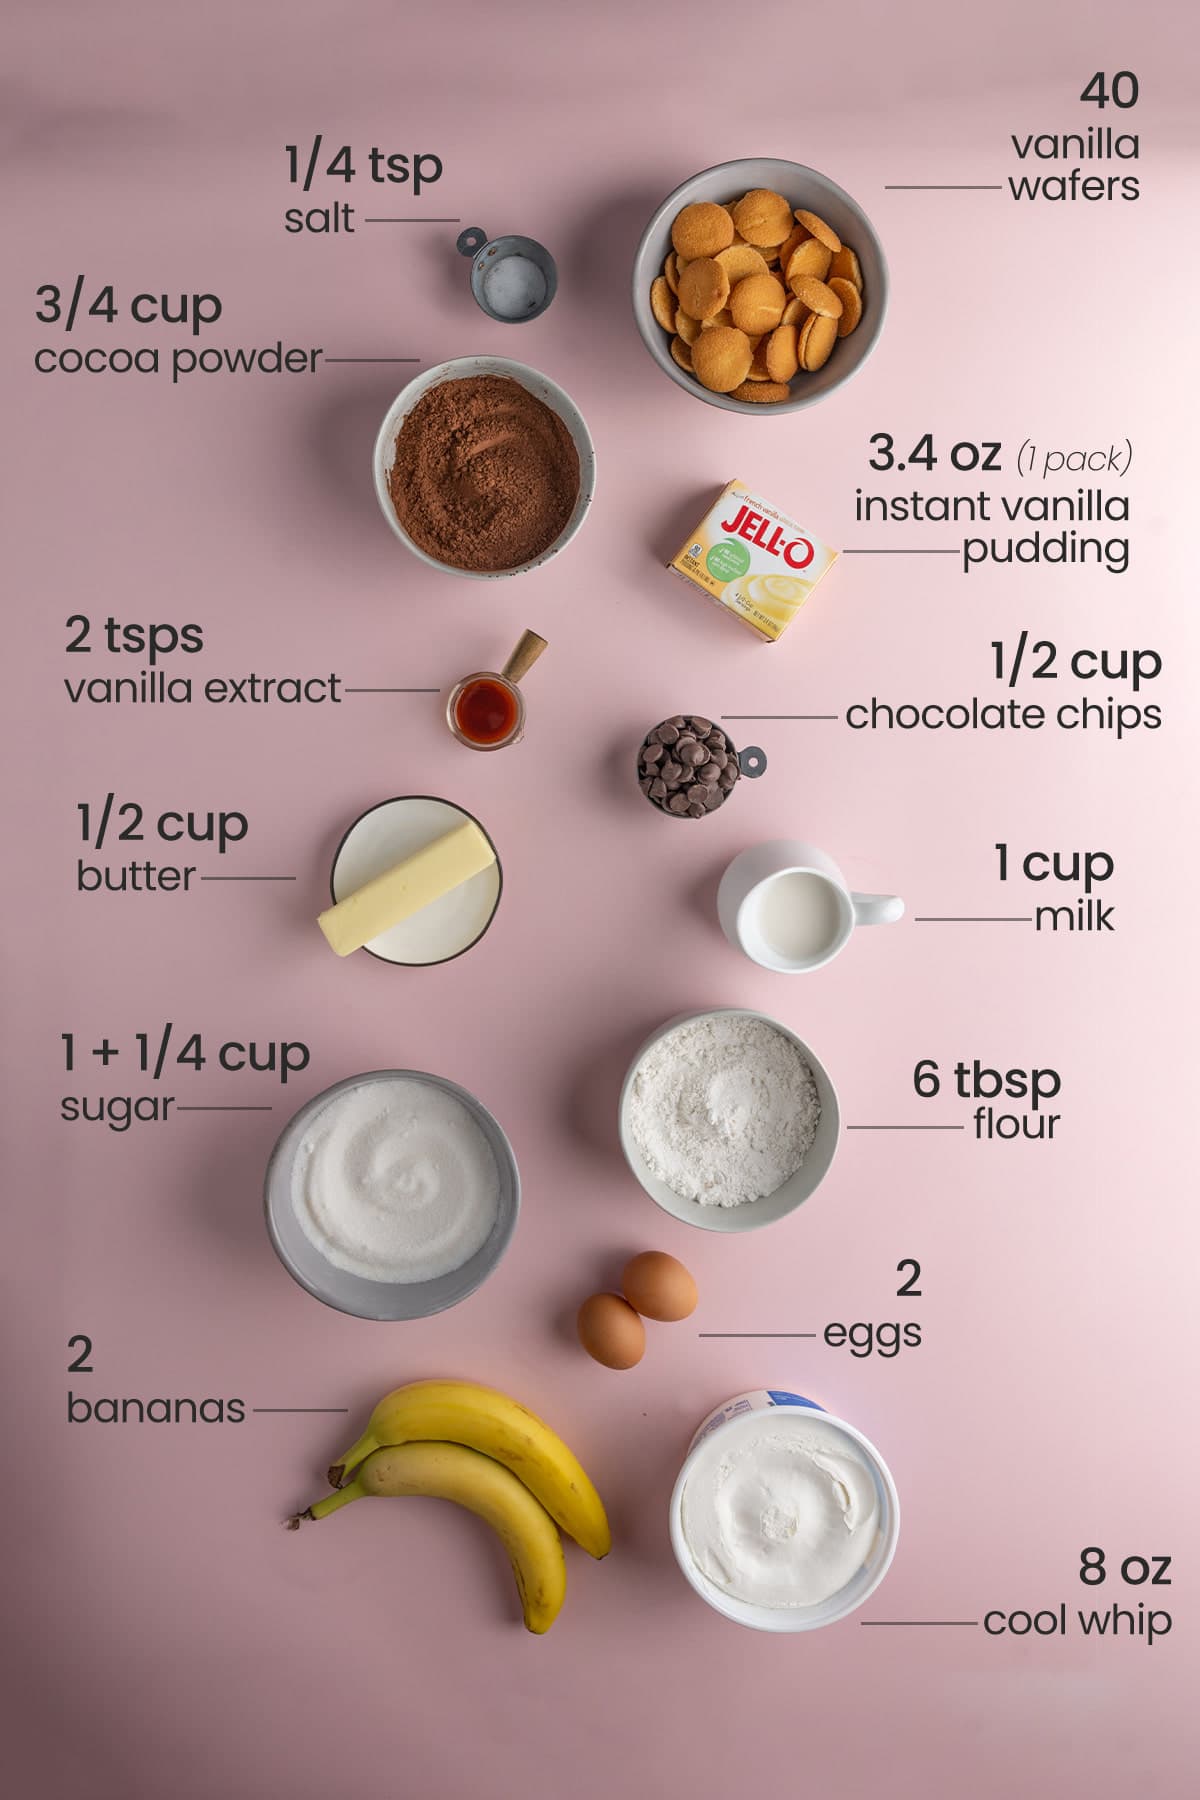
Banana Pudding Brownies Ingredients
Here’s everything you need:
- Unsalted butter. Make sure it’s softened for the best brownie batter consistency.
- Granulated sugar. You can also opt to sub date or coconut sugar for a lighter option. If you only have brown sugar on hand, that will work, too. Just make sure to tightly pack it when you measure.
- Oil. Vegetable, canola, coconut (in liquid form), or even grapeseed oil work.
- Eggs. For binding the brownies together.
- Vanilla extract. For a little boost of flavor.
- All-purpose flour. All-purpose flour is much preferred in this recipe, but if you wish to substitute whole wheat flour, you can. Or better yet, if you want some whole grains in there, use half all-purpose flour and half whole wheat flour.
- Cocoa powder. I love using dark cocoa powder, but any unsweetened cocoa powder works well here.
- Salt. To ramp up all the other flavors.
- Chocolate chips. Dark or semi-sweet chocolate chips are optional, as there are tons of flavor in the layers of these brownies, but I love chocolate chips in brownies and highly recommend it!
- Instant vanilla pudding mix. For a quick 3 ingredient custard. You can also opt to use banana flavored pudding mix if you want a super banana-y flavor to hold its own against the chocolate, but classic banana pudding contains vanilla custard.
- Milk. Cold milk is best to help the custard set more quickly. You can use any milk you like, either dairy or unsweetened nondairy.
- Cool whip. Or a dairy free alternative like TruWhip or this coconut whipped cream.
- Vanilla Wafers. Buy them at the store or make your own vanilla wafers.
- Fresh banana. Peeled and sliced into coins to place on top.
Quick Note: If you are using dairy-free alternatives in your banana pudding layer and want to make this whole dessert dairy-free, use this Dairy Free Brownies recipe for the base!
Brownie Banana Pudding Tips and Tricks
What are banana pudding brownies?
A traditional banana pudding is a trifle made up of three delicious layers including vanilla custard, vanilla wafers (or ladyfingers), and fresh sliced banana.
So, my interpretation of banana pudding brownies is a chocolaty brownie base layer topped with a layer of vanilla wafers, followed by a layer of vanilla custard, and topped with freshly sliced banana. In my mind, this is the perfect fusion of brownie and banana pudding!
Make Sure Your Butter is Softened
Though salted butter will certainly work if that’s all you have at home, I recommend using unsalted butter in this recipe. This will give you control over the amount of salt you are adding to your brownie batter.
But most importantly, your butter absolutely must be softened in order to get the best consistency. That’s right, softened—not melted, and not too cold and solid.
The easiest way to soften butter is to simply allow it to rest at room temperature for about 30 minutes before you start baking your brownies.
However, if you forget to take out your butter or decide to bake up a batch of homemade brownies last minute—don’t fret! You can soften your butter in several other, much quicker ways.
In a pinch, I typically just soften butter in the microwave. Start by microwaving for 15 seconds on high, then drop down to 5-second increments if it’s still too solid.
You’ll know your butter is perfectly softened when you poke it and your finger leaves an imprint.
Green tip: Look for organic and palm oil-free butter if you can. Buying organic means you are supporting farms that do not use damaging pesticides and fertilizers, and palm oil production is a huge driver behind deforestation.
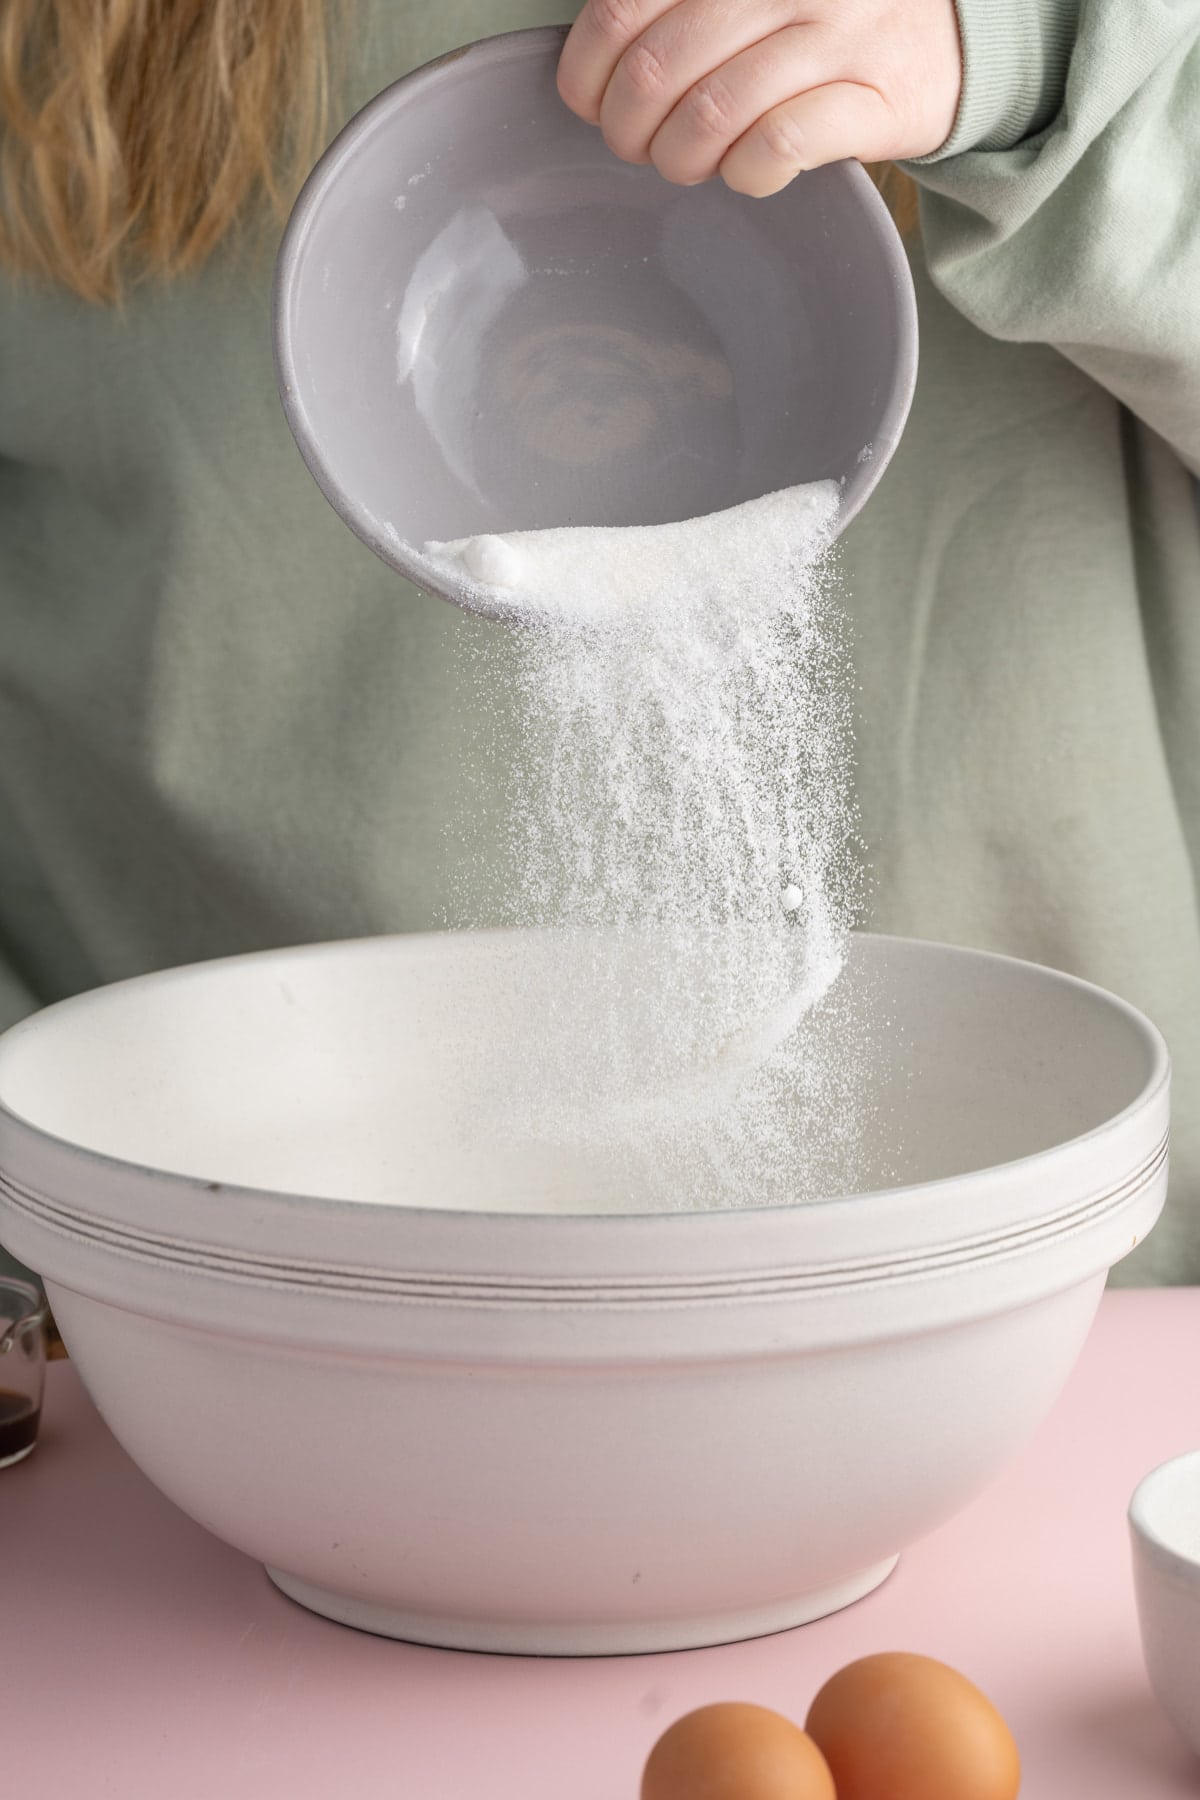
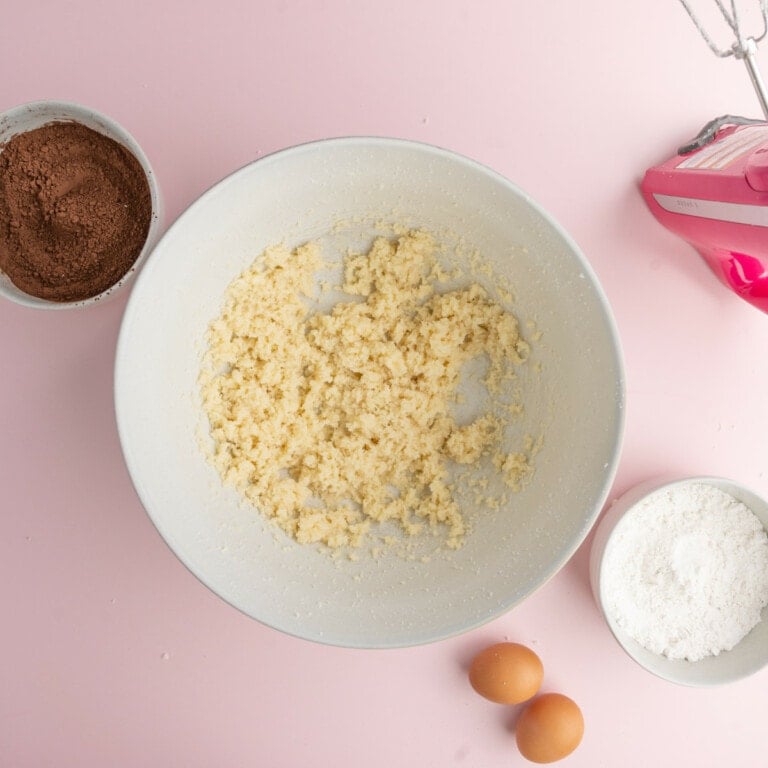
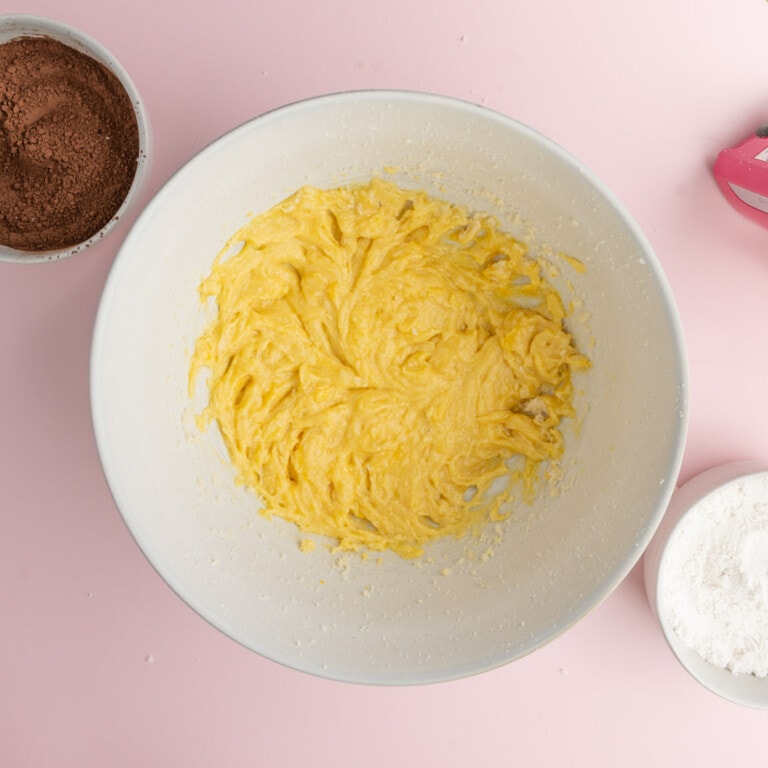
Add the softened butter to a large mixing bowl with the sugar and use a hand mixer on high to beat for about 3 minutes until smooth.
Creaming your fat (in this case the butter) and the sugar together doesn’t just combine these ingredients together; it also adds little air pockets to the batter.
Aerating the batter is an effective way to get a chewy texture for your brownie base layer.
You Can Expect a Thick Brownie Batter
After creaming your sugar and butter together, add the eggs and vanilla extract.
As a general rule of thumb, it’s always safest to crack your eggs in a separate bowl first, rather than adding them directly to your batter. It’s the best way to avoid egg shells or a rare bloody egg.
Use your hand mixer again, on low this time, to combine the eggs and vanilla extract into your batter until it is nice and smooth.
Green tip: Look for pasture-raised eggs (over free-range or cage-free) to support agriculture that is less reliant on chemicals and fossil fuels.
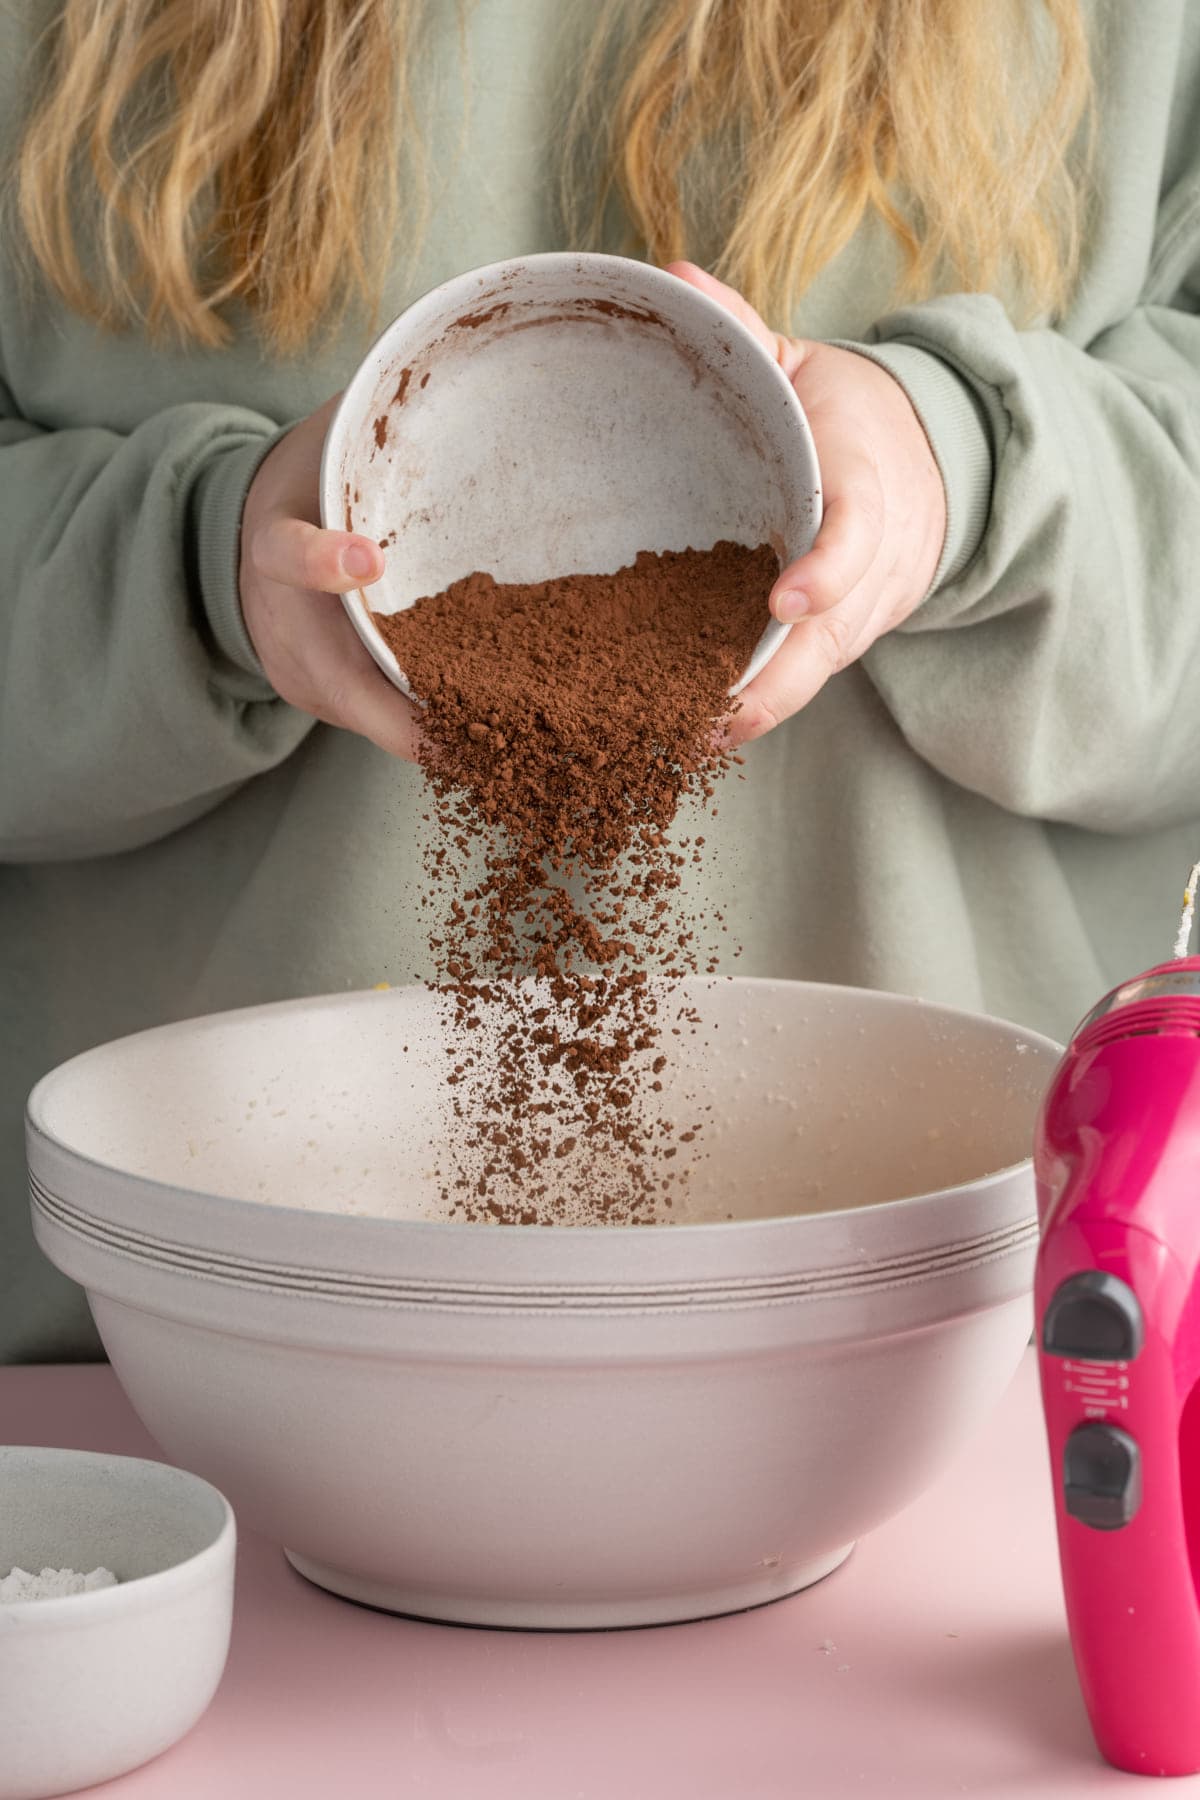
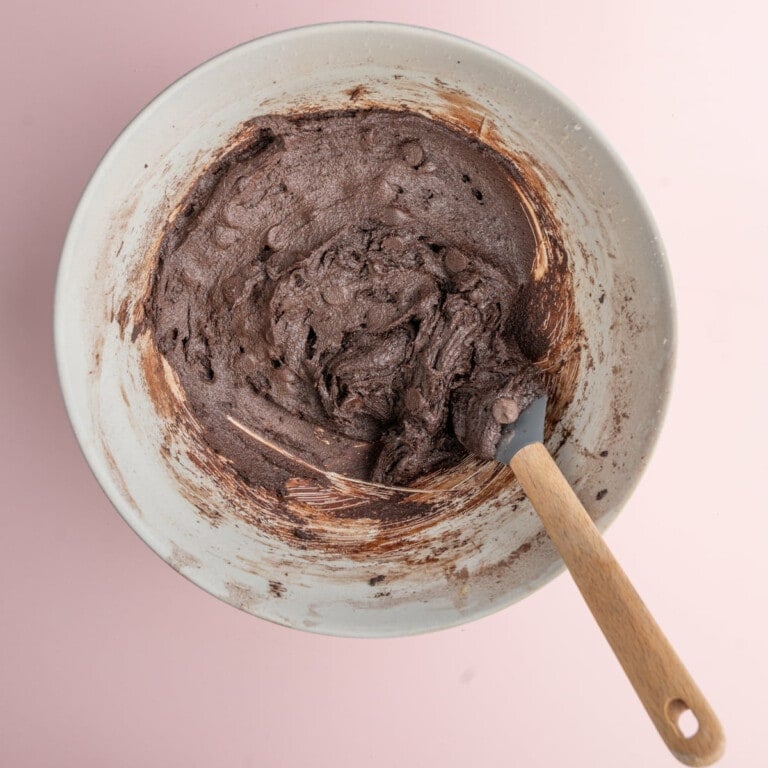
Next, add your flour, cocoa powder, and salt. Use the hand mixer once again and combine. Use a spatula to scrape any extra dry ingredients off the bottom and sides of the bowl, making sure everything is nicely integrated.
This brownie batter is slightly thicker than a typical brownie batter by design. That is because we want a sturdier brownie to hold up to the custard and make a great base for all the layers.
Consider Adding Chocolate Chips to Your Brownie Batter
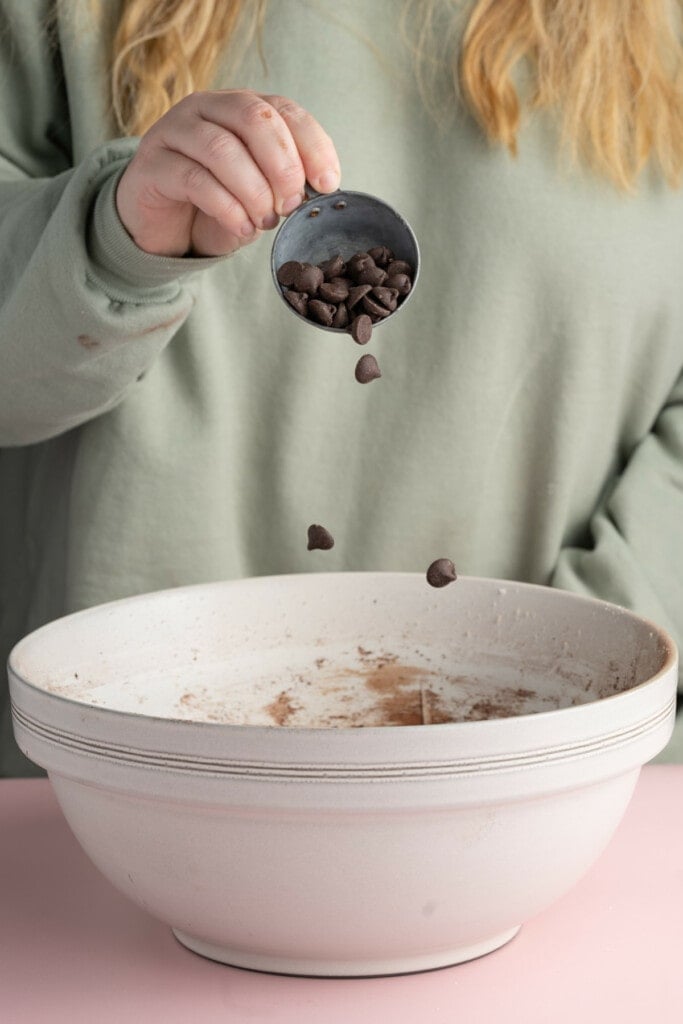
The chocolate chips in this recipe are optional, mostly because there is a lot of added flavor in the banana pudding layers.
These banana pudding brownies are delicious with and without it, and I wanted to give you the option to have one less ingredient in these if you don’t have chocolate chips on hand.
If you are adding chocolate chips, add them to the batter last and use a spatula to fold them into the batter.
Always Line Your Dish While Baking Brownies
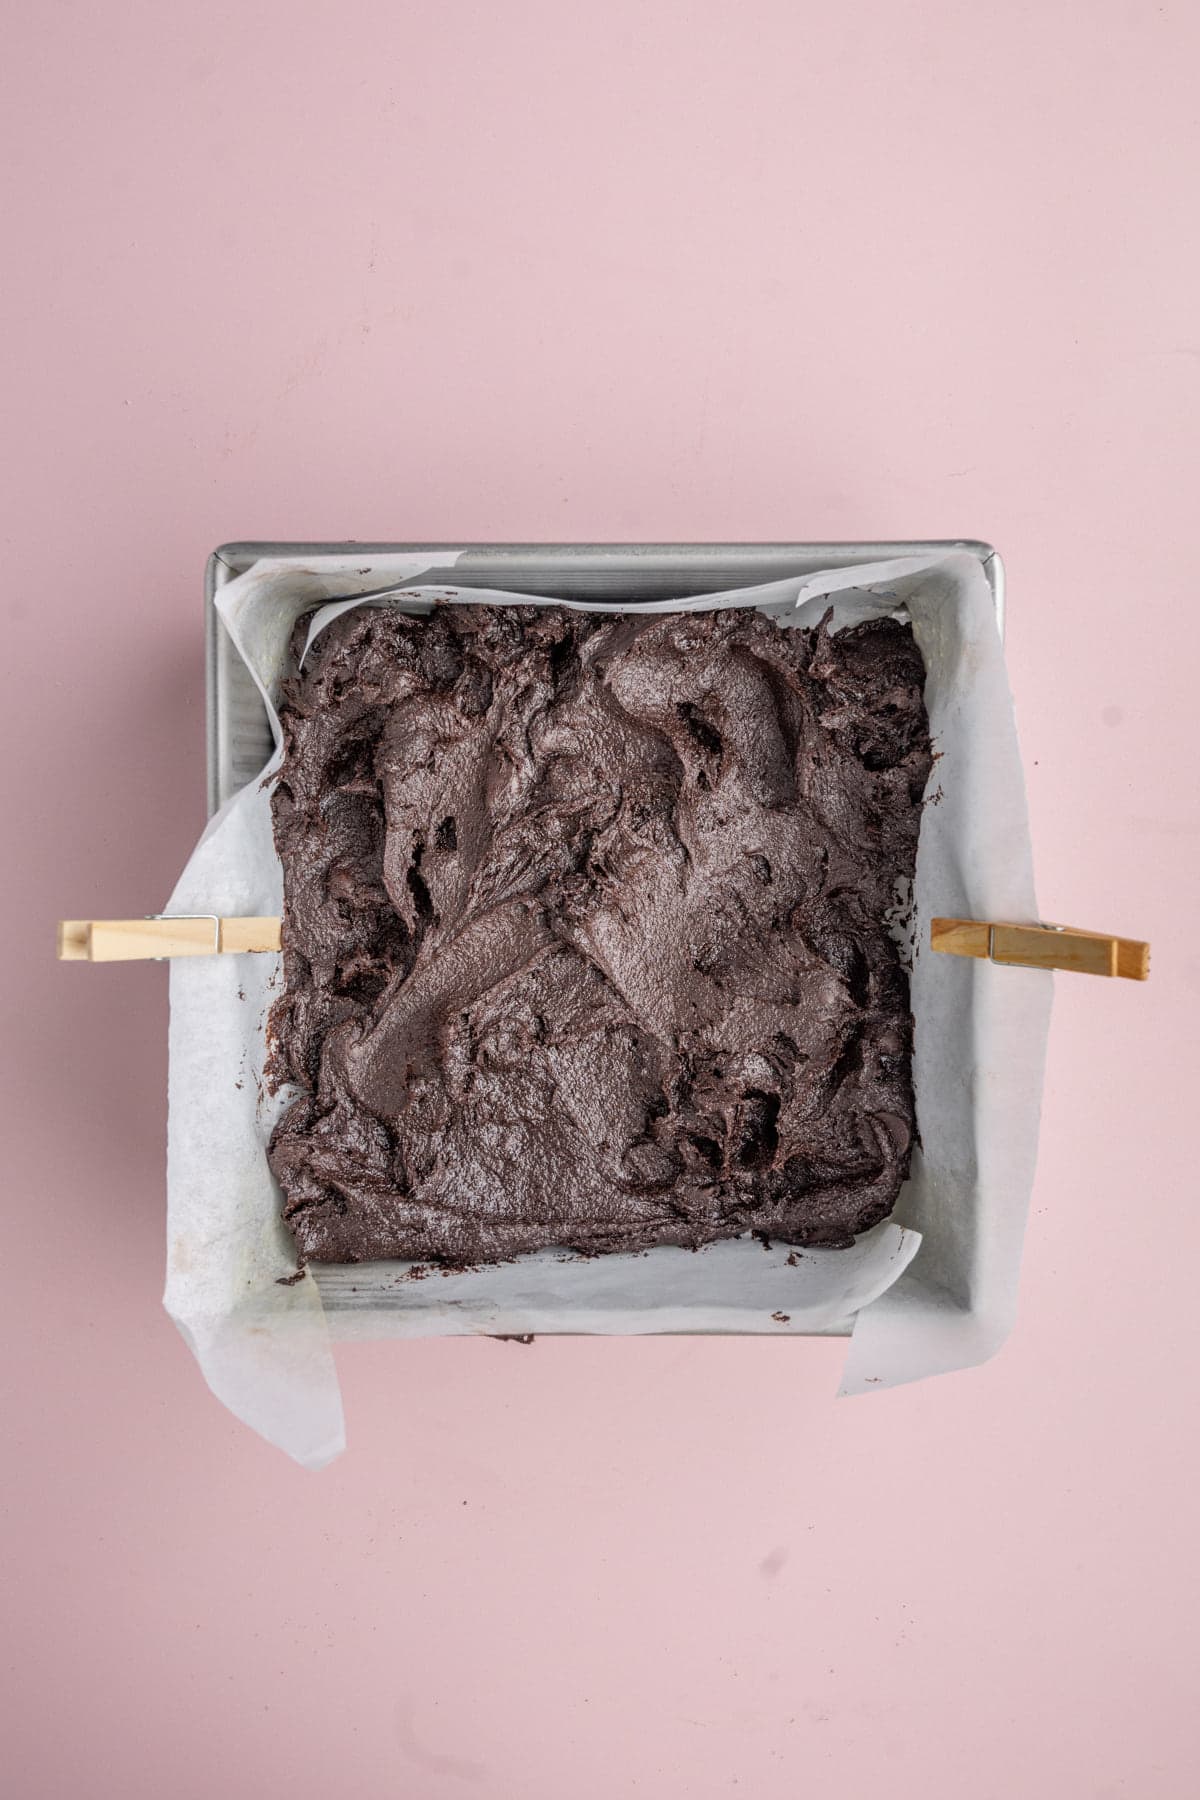
Line a 9 x 9-inch baking pan with parchment paper so that your brownies are easy to remove. To prep your paper, cut a piece that is about 1-2 inches larger than your baking dish on all four sides.
Then, cut a diagonal slit from each corner, which will allow you to insert the parchment paper into the baking dish, folding and tucking it where necessary to fit snuggly.
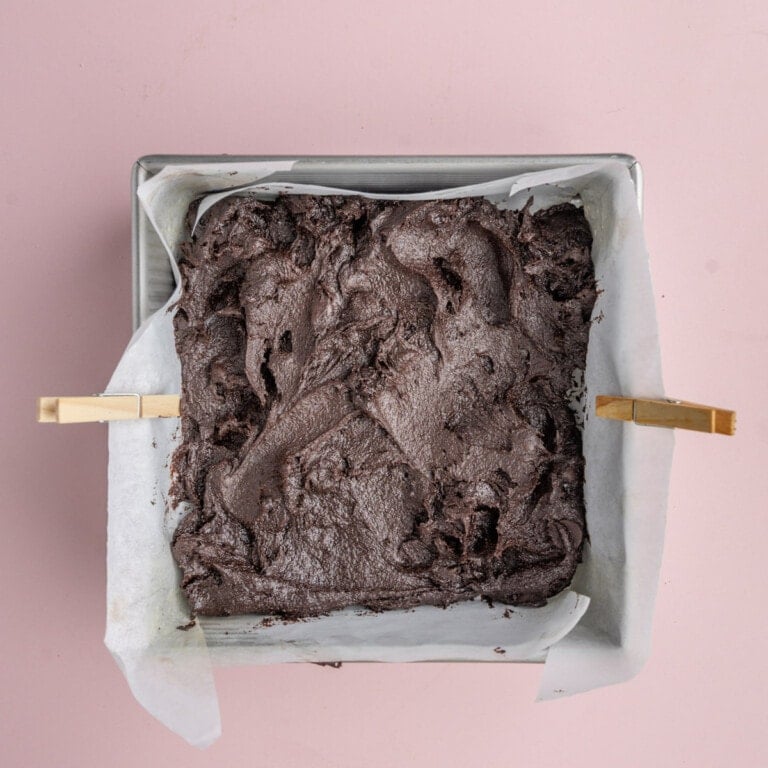
I use two clothespins to secure my parchment paper as I pour the batter in, but you can also spray the bottom of the pan to help the parchment paper stick and hold in place.
Add the brownie batter to the prepped baking dish and use your spatula to smooth it out to all four corners of the pan. Try to smooth it out so that it’s roughly even in thickness, but don’t worry about getting it perfect.
Bake at 350°F for about 25-30 minutes until a toothpick comes out clean.
How to Make a Quick Vanilla Custard
While your brownies are baking, quickly whip up your 3-ingredient vanilla custard so it has plenty of time to set.
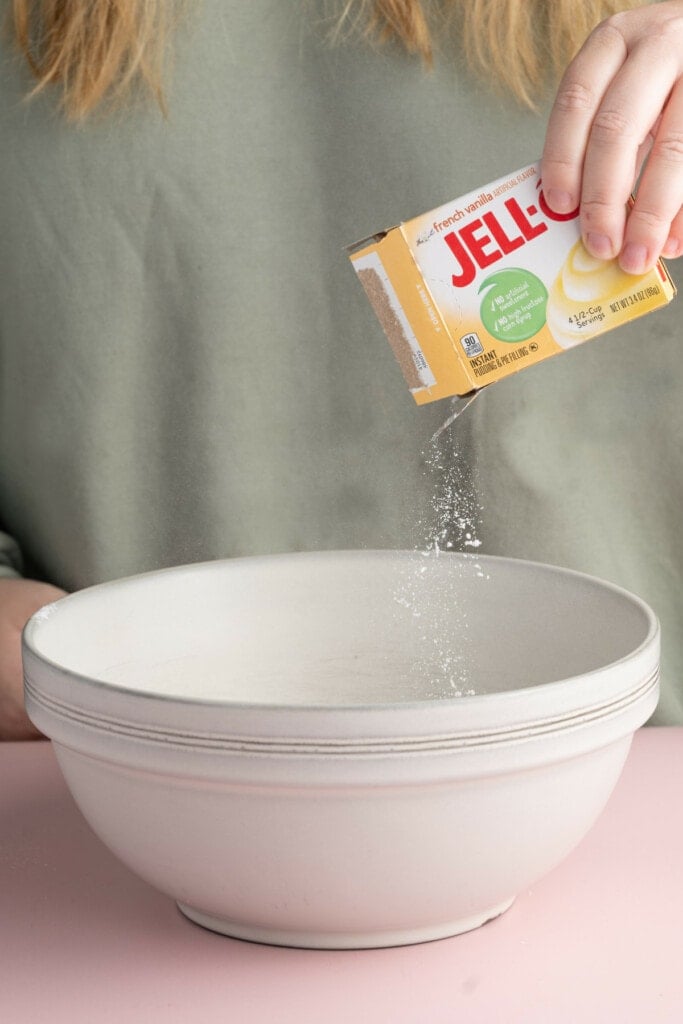
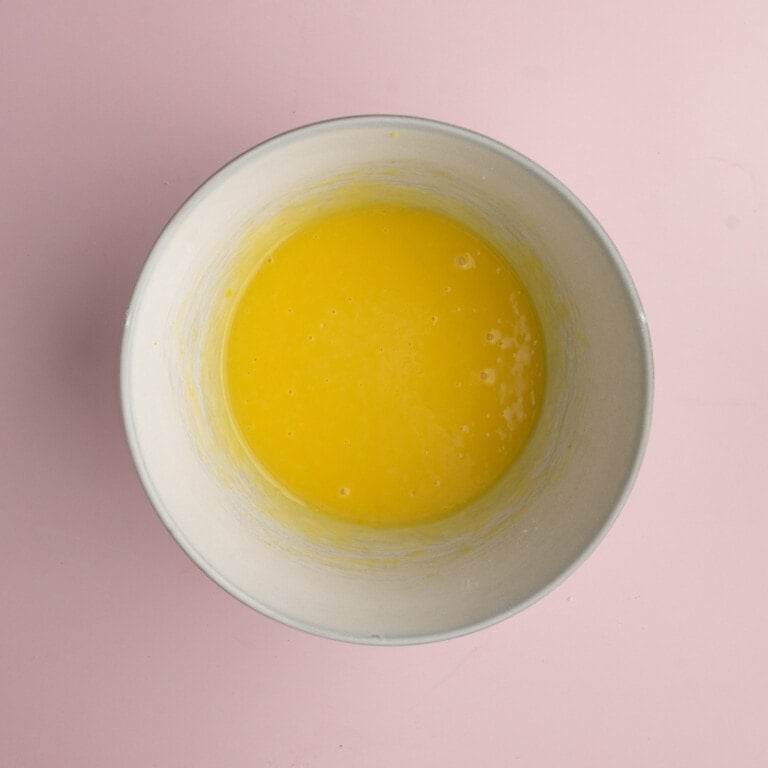
Start by adding the package of Jell-O instant pudding mix. I recommend the French vanilla flavor, but you can also use classic vanilla or banana flavor for an extra punch of banana.
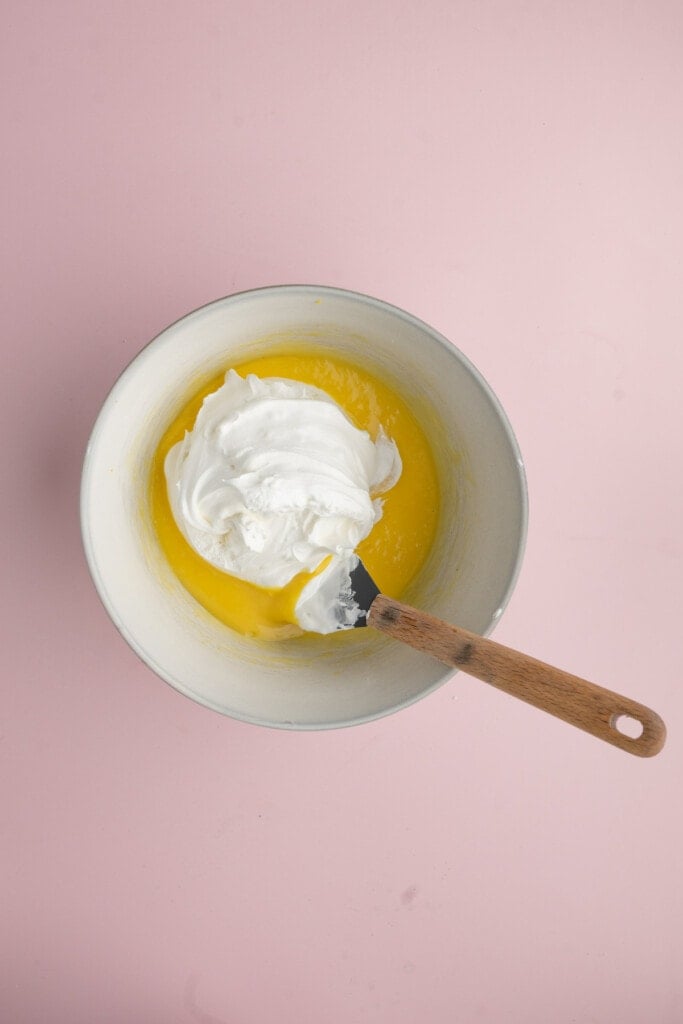
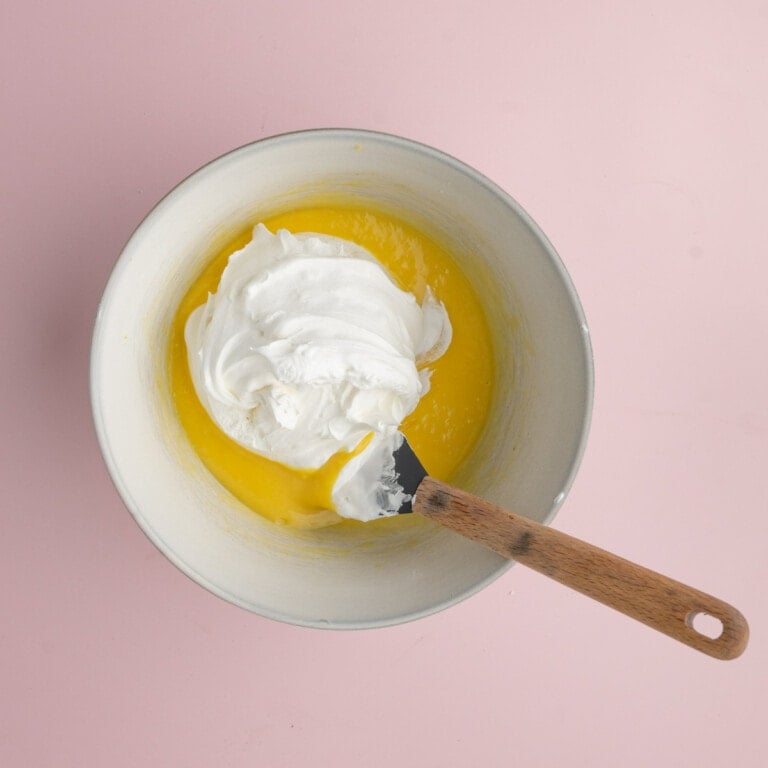
Add the cold milk and whisk continuously until you feel the mixture thicken. Once it’s nice and thick, add your cool whip. Use a rubber spatula to gently fold it in, working the mixture from bottom to top, until smooth.
Its best to use a whisk rather than a hand mixer, as overmixing your custard can actually cause it to be too runny. Mix the Jell-O and milk until it just start to thicken, and stop whisking the cool whip in as soon as your mixture is smooth.
Then, set your custard in the refrigerator to set.
How to Assemble Your Banana Pudding Brownies
There are two key factors to getting these unique brownies right: ensuring the brownies are completely cooled before adding the banana pudding layers, and making sure the custard is completely set before adding it on top.
You can remove your brownies first and add the layers on top on a serving board or plate, which makes it a little easier to serve.
However, if you are not serving the brownies right away, it’s a little easier to assemble your layers while the brownies are still in the pan, so you can easily cover the baking sheet and store the banana pudding brownies in the fridge until they are ready to serve.
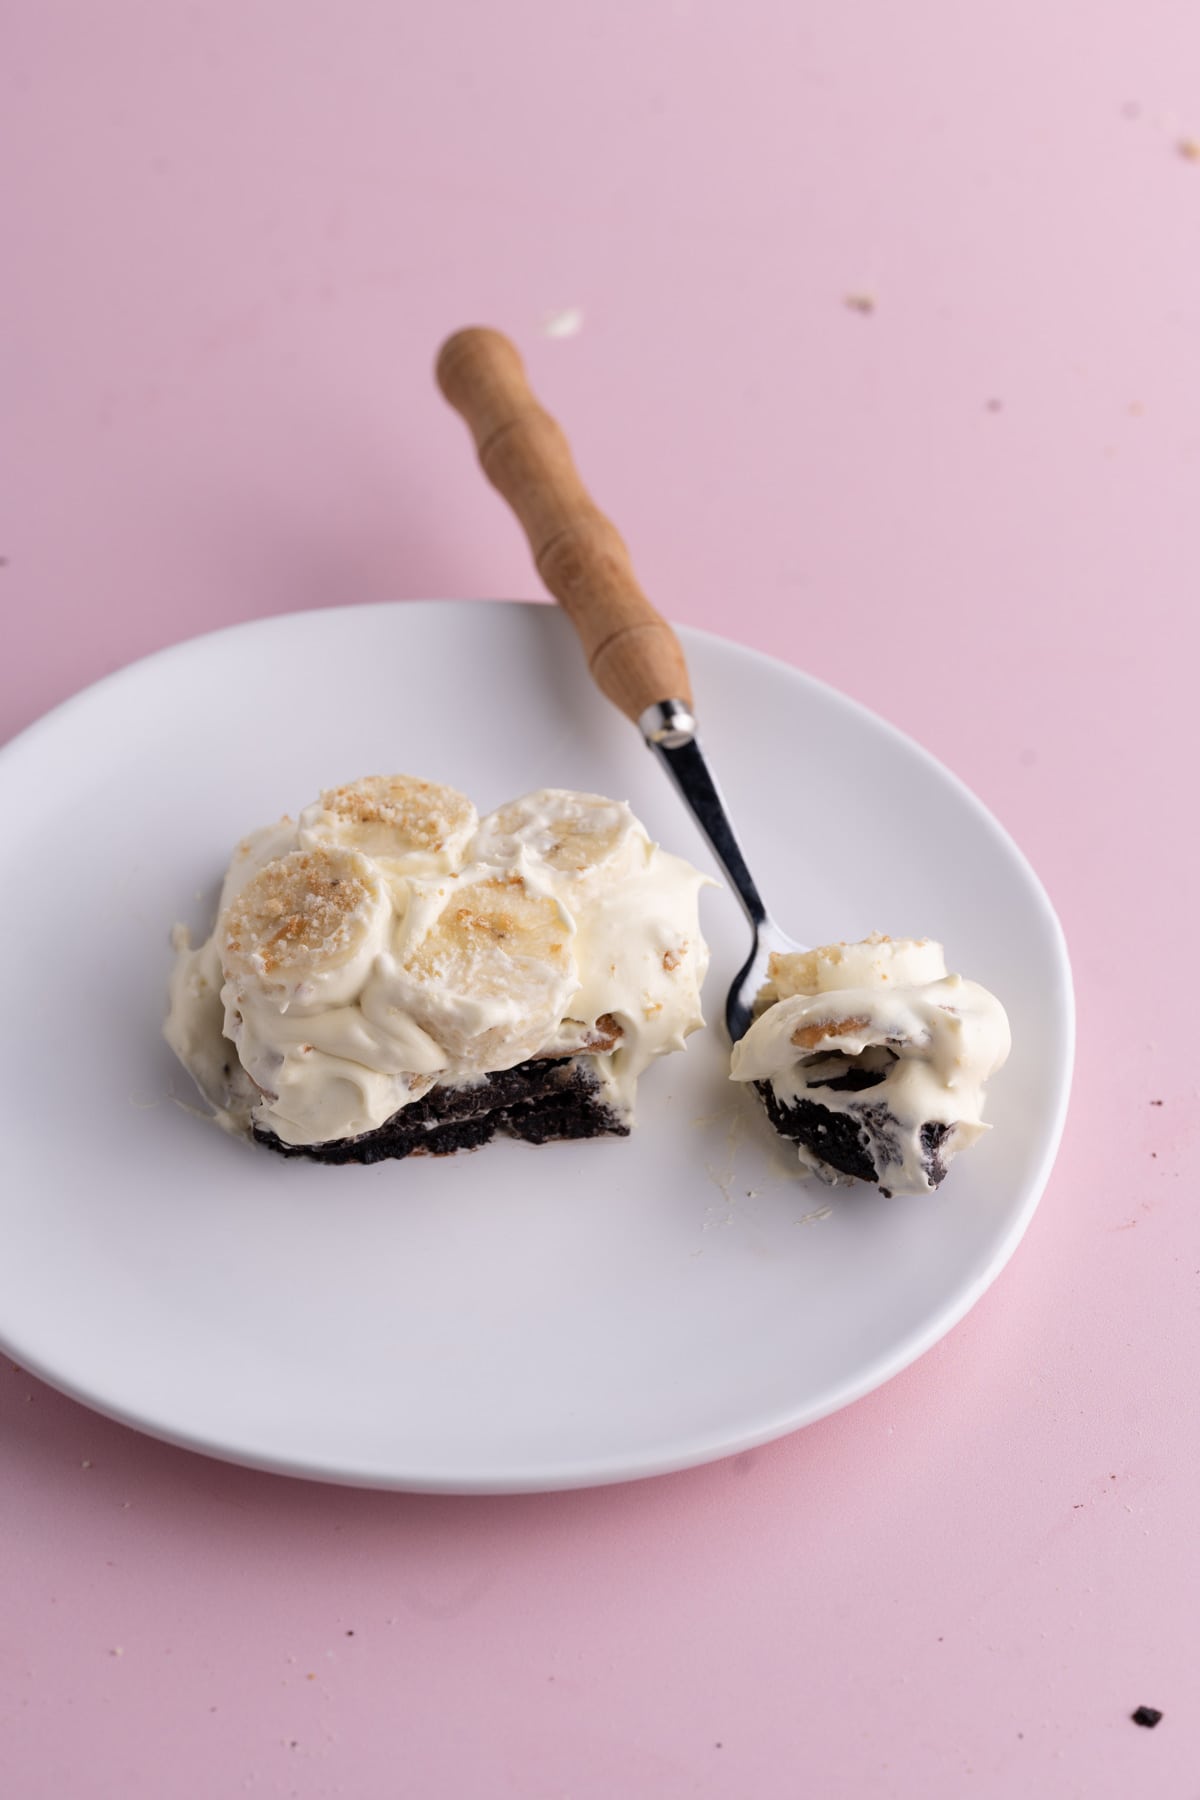
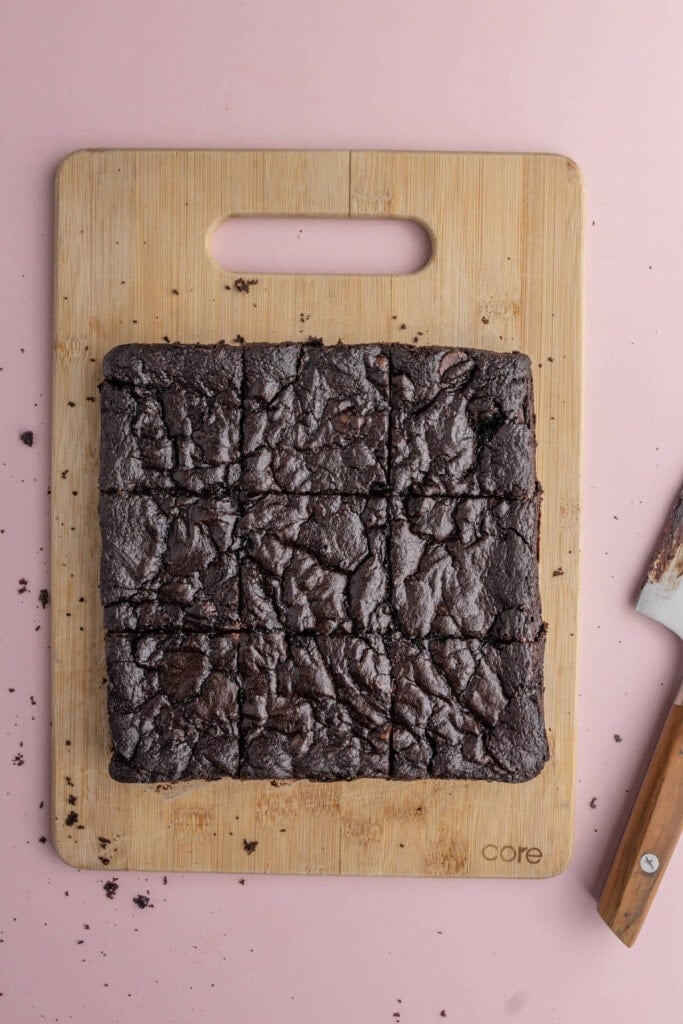
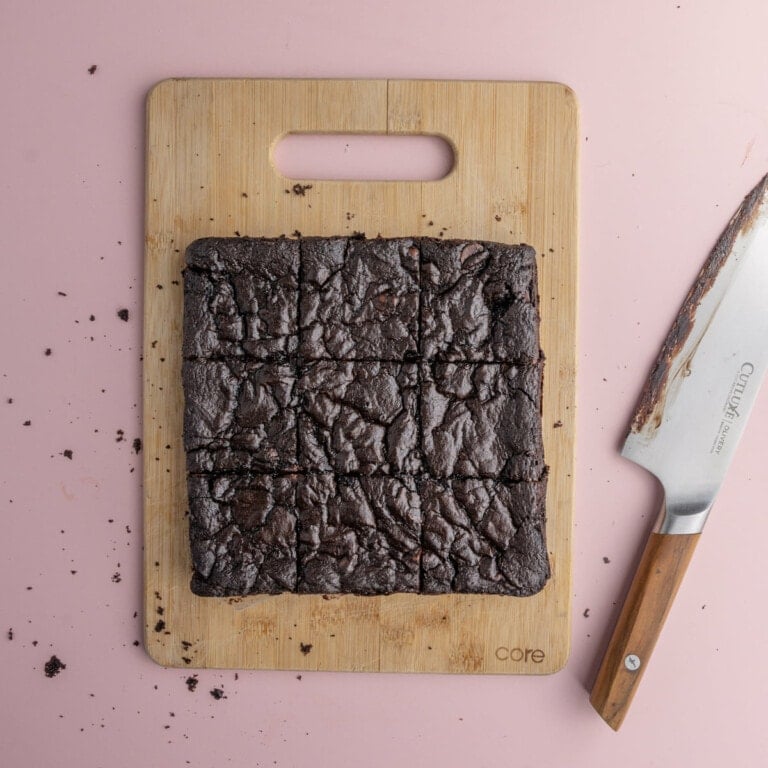
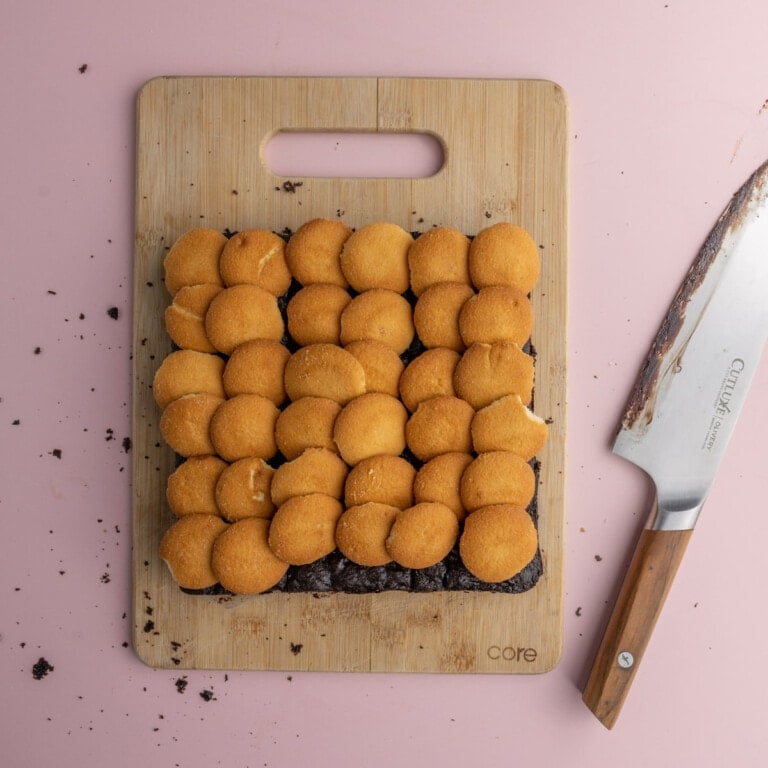
Either way, start by slicing your brownies. This makes them easier to serve up later.
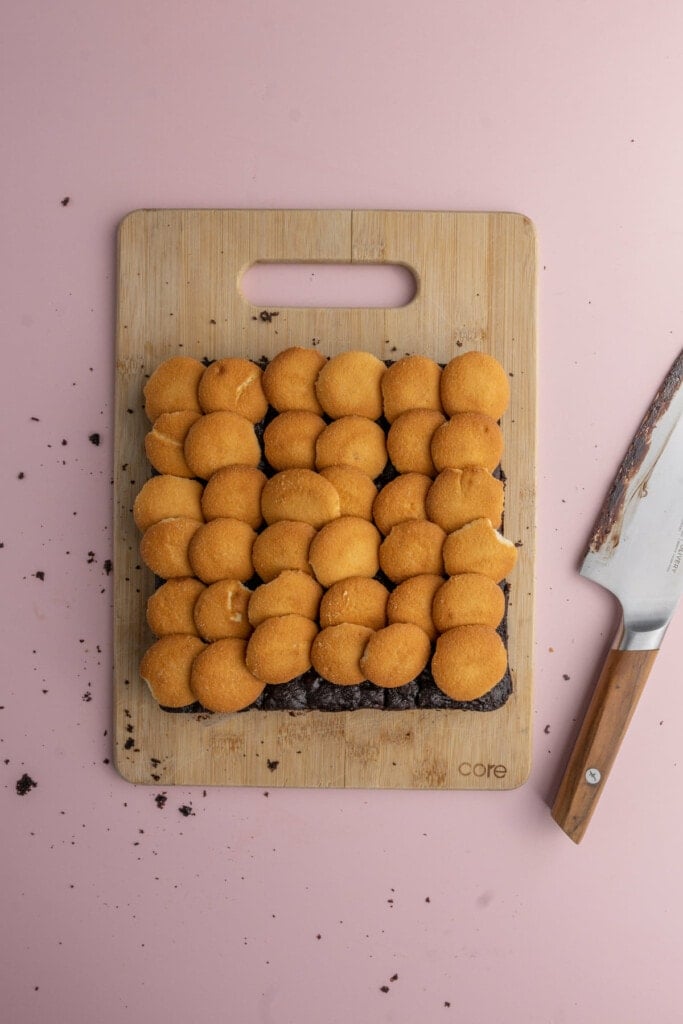
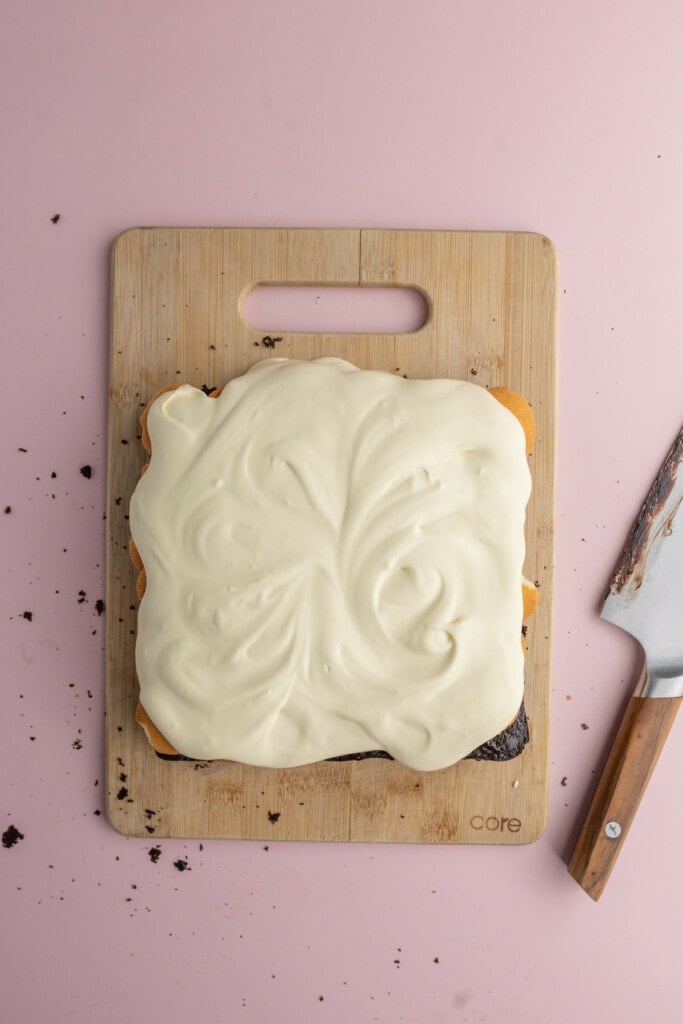
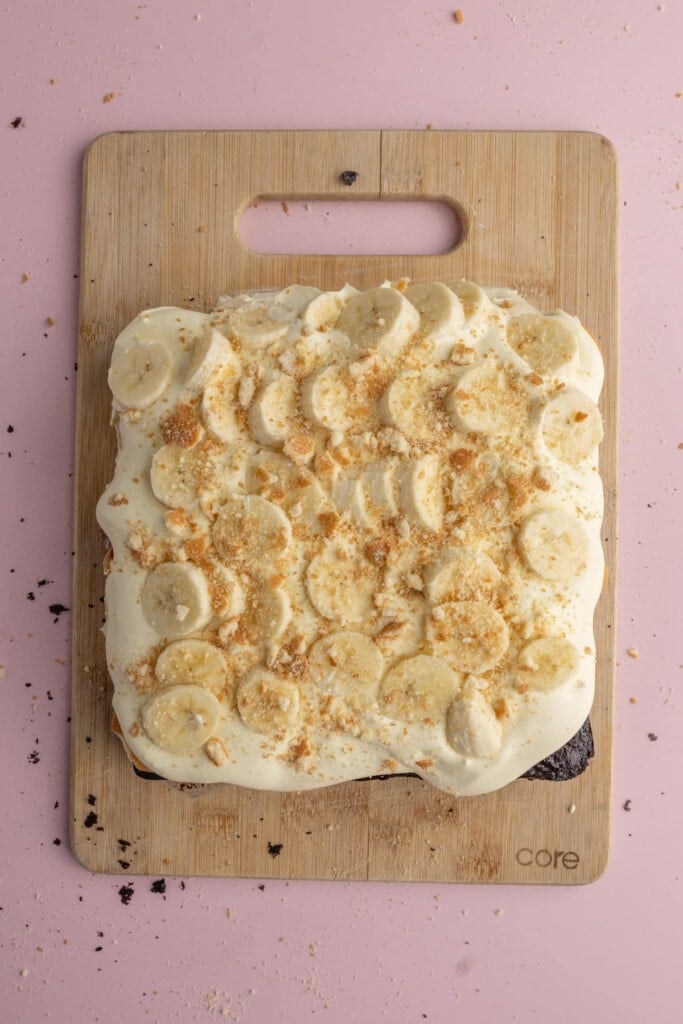
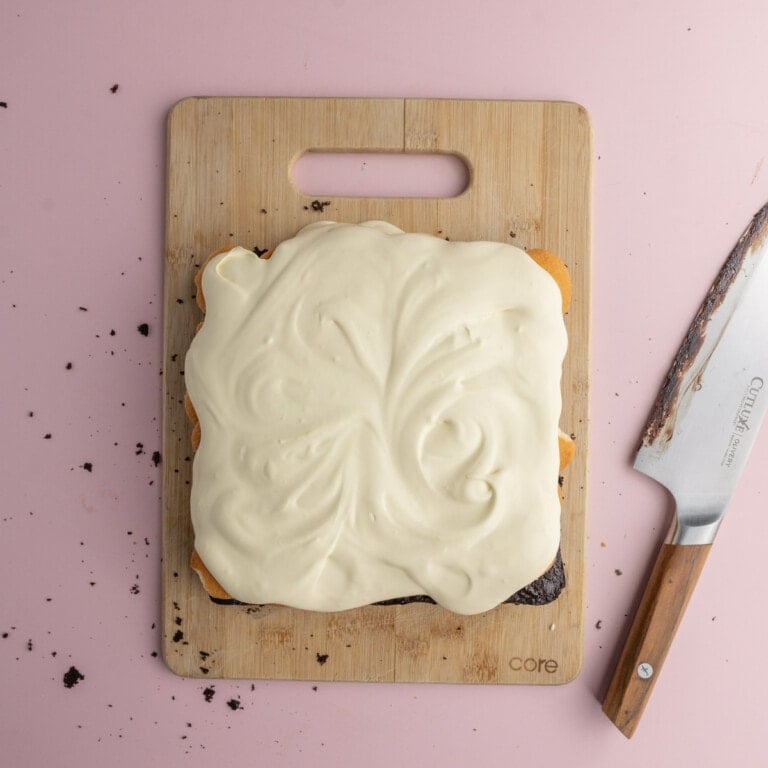
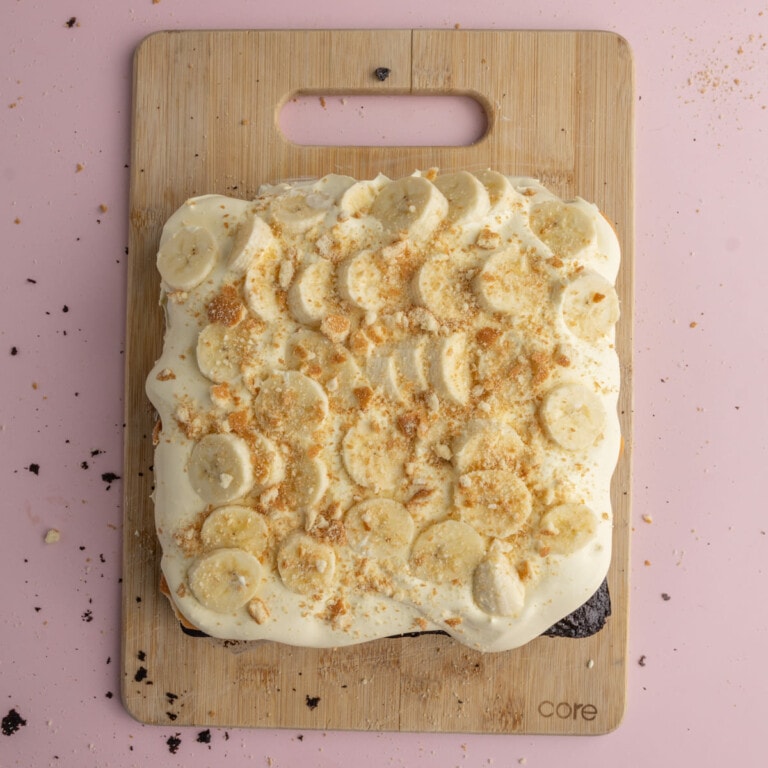
Once sliced, add a generous layer of vanilla wafers, followed by your custard. Add a thick layer of custard and then use a spatula to smooth it out.
Finally, add you sliced banana and top it with some crumbled vanilla wafers (this last step is optional, but adds some visual appeal).
How to Store Leftover Brownies with Banana Pudding
These banana pudding brownies are best when enjoyed within 3 days. It’s best to store it in an airtight container, or tightly seal the pan by adding aluminum foil on top and store it in the refrigerator.
To make it last a little bit longer, you can opt to remove the banana slices and later add fresh ones on top.
They can also be frozen for up to 2 weeks. From frozen, they will have to thaw for about 12 hours in the refrigerator before they are ready to eat.
Banana Pudding Brownies Frequently Asked Questions
How do make banana pudding not runny?
To make sure you have a thick, firm custard for these banana pudding brownies, there are two key factors. First, make sure you do not overmix your custard. Use a handheld whisk instead of a hand mixer and only mix your Jell-O and milk until you feel it thicken.
Once you add your cool whip, make sure to mix only until it is combined and smooth. Secondly, make sure your brownies are completely cooled before piling on your banana pudding layers.
Are there any shortcuts in this banana pudding brownie recipe?
Absolutely! This recipe is all about the layers, so if you want to make these even easier, you can use store bought brownies or a boxed brownie mix for your bottom layer.
Why You Should Make these Layered Banana Pudding Brownies
- They’re unique. A fun fusion of two favorite desserts!
- The textures. The chewy brownie base is a great contrast to the crunchy vanilla wafers, silky custard and fresh banana.
- The combination of flavors! Chocolate, vanilla, and banana! What more could you want?
If you’re loving these Banana Pudding Brownies and want more dessert fusions, check out these Peach Cobbler Egg Rolls and Cinnamon Rolls with Apple Pie Filling.
Layered Banana Pudding Brownies
Print Save RateEquipment
- 9 x 9-inch baking pan
Ingredients
Brownie Layer
- ½ cup unsalted butter, softened
- 1 ¼ cup granulated sugar
- 2 large eggs
- 2 teaspoons vanilla extract
- 6 tablespoons all-purpose flour ((6 tablespoons = ¼ cup + 2 tablespoons))
- ¾ cup cocoa powder
- ¼ teaspoon salt
- ½ cup chocolate chips (optional)
Banana Pudding Layer
- 3.4 ounces instant vanilla pudding (1 pack = 3.4 ounces)
- 1 cup cold milk of choice
- 8 ounces cool whip (1 standard container = 8 ounces)
- 40 whole vanilla wafers
- 2 large bananas (sliced)
Instructions
Brownie Layer
- Preheat an oven to 350°F and line a 9 x 9-inch baking dish with parchment paper.
- In a large mixing bowl, use a hand mixer on high to combine the softened butter with the sugar for 2-3 minutes to cream together.

- Add the eggs and vanilla and use the hand mixer on low until combined.
- Mix in flour, cocoa powder, and salt and combine until smooth. If adding chocolate chips, fold them in now. You should have a thick batter.
- Transfer to your prepped baking dish, using a spatula to push the brownie batter to meet all four corners.
- Bake for 25-30 minutes, until a toothpick comes out clean. Allow to cool completely before slicing and adding banana pudding layers.
Banana Pudding Layers
- While your brownies are baking, add the Jell-O mix and cold milk to a large mixing bowl. Whisk continuously until the mixture thickens.
- Once your mixture thickens, fold the Cool Whip in with a rubber spatula, just until integrated and smooth. Do not mix any more than you need to—overbeating can actually make your custard runny. Place the custard in the refrigerator to cool for at least 30 minutes.
- Once your brownies are cooled and sliced, it's time to add your layers. You can remove the brownies from the pan before layering if serving immediately, or you can add the layers in the pan and store in the refrigerator until ready to serve. Start by adding a single layer of vanilla wafers.
- Next, add a thick layer of custard, using a spatula to spread.
- Finally, slice your fresh banana into small coins and add the fresh banana slices on top. Crumble about 4 or 5 vanilla wafers in your hand and sprinkle on top (optional). Enjoy!
Pro Tips
- Make sure you allow the brownies to cool completely before adding your banana pudding layers.
- Do not overbeat the custard! Use a whisk instead of a hand mixer.
- For a shortcut, you can use storebought brownies or a boxed brownie mix for the bottom layer.
- If you love brownies as much as I do, you’ll love this collection of my greatest brownie recipes!
Share This Recipe


6 thoughts on “Layered Banana Pudding Brownies”
What flavor of chocolate chips
My preference is dark chocolate chips, but you can also use semi-sweet 🙂
Ok ty .. my son picked this for his Easter dessert..so ty so much for sharing and happy Easter
Happy Easter to you, too! Hope you enjoy <3
Yuuuuuum
so glad you loved these!! <3