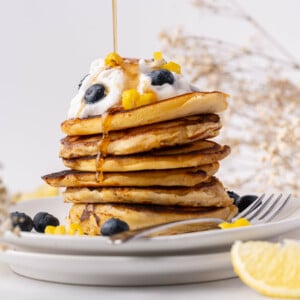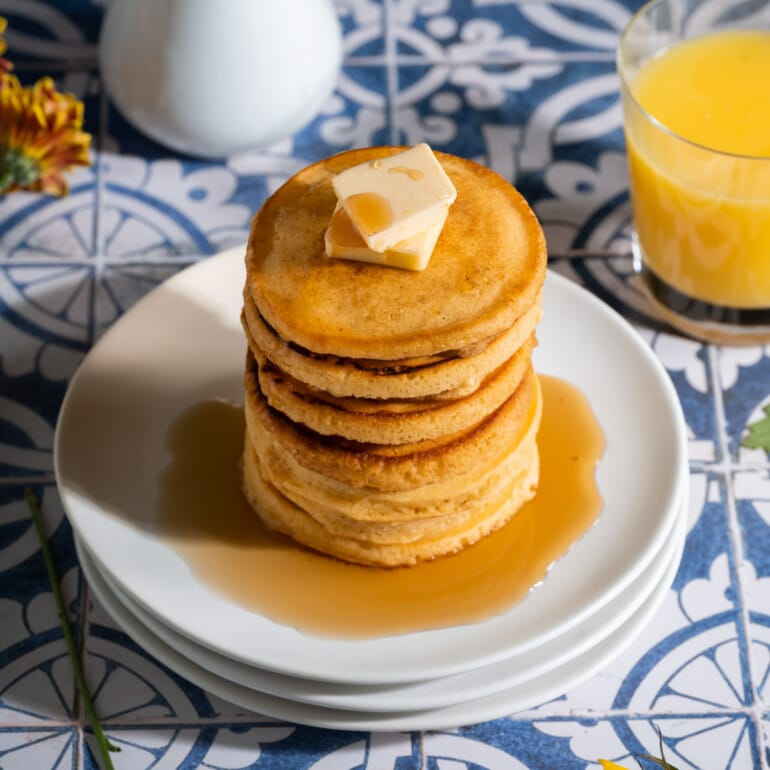
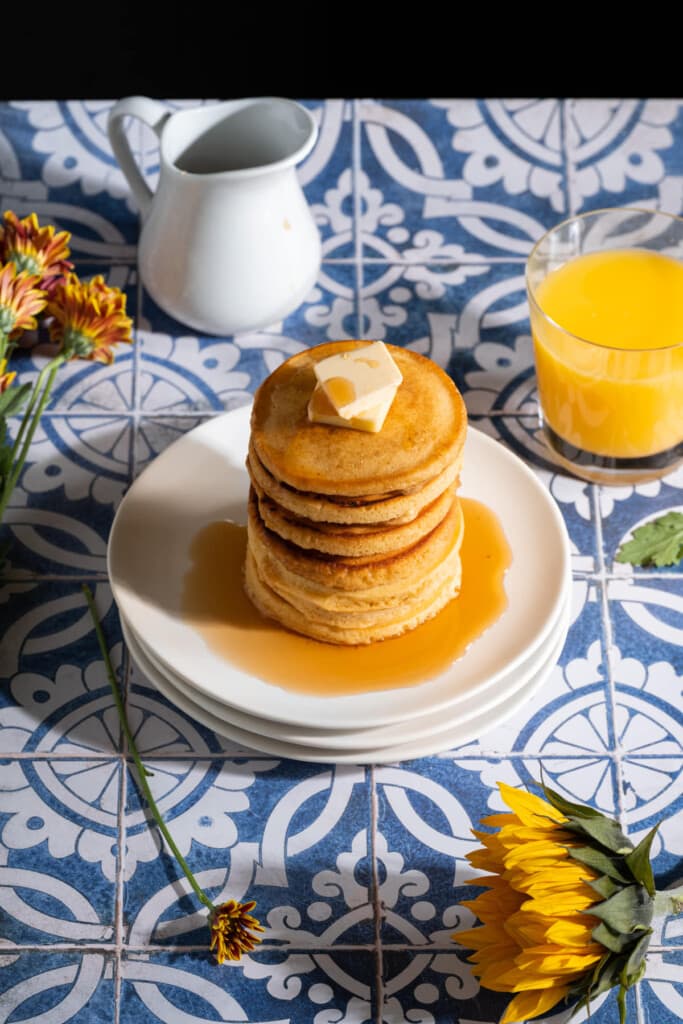
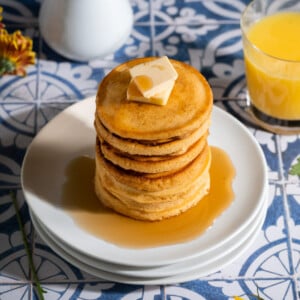
Looking for fluffy pancakes from scratch, but without the dairy? These No Milk Pancakes are naturally dairy free, require under 10 common ingredients, and take just 20 minutes or less to whip up!
These light and airy pancakes are a true family favorite with a golden-brown exterior, crispy edges, and a beautifully buttery and subtle caramel flavor.
As an environmental scientist, I try to eat ingredients that have a higher impact on the environment in moderation. That means, I cut dairy where I can.
I feel that this dairy-free pancake recipe without milk is just as good as any homemade pancake recipe and I’m confident you won’t miss the dairy here!
Green tip: Industrial dairy production has a huge impact on the environment, especially because of the amount of land it takes to sustain and its high amount of greenhouse gas emissions. Reducing your dairy consumption is one great way to improve your ecological footprint.
No Milk Pancakes Ingredients
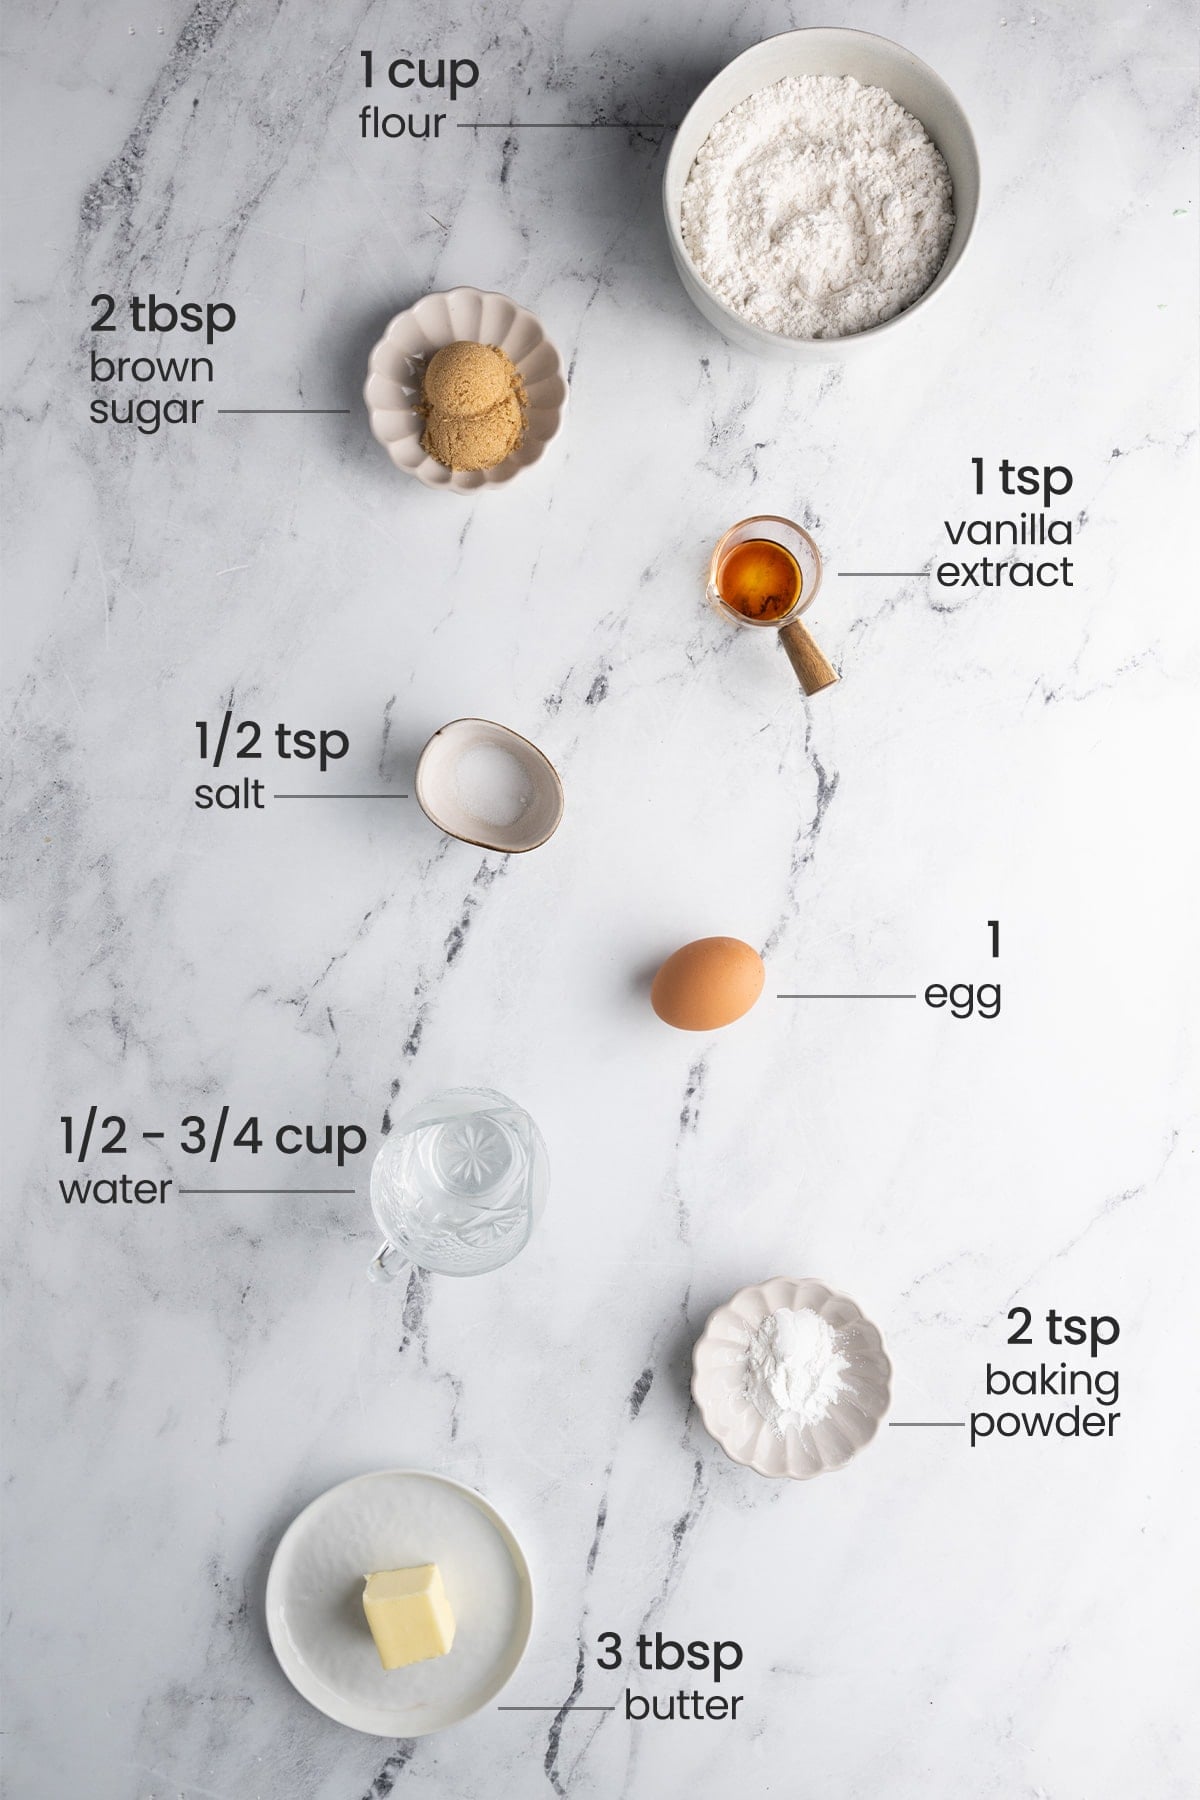
Here’s everything you need:
- All-purpose flour. This acts as the base for your pancake batter.
- Baking powder. For a little lift.
- Brown sugar. This helps the outside get perfectly caramelized.
- Salt. To enhance the flavors in your pancakes.
- Egg. Or a flax egg to make this recipe vegan. To bind your pancakes together.
- Vanilla extract. For flavor.
- Water. This will get your batter the right consistency.
- Unsalted butter. For frying. Non-dairy alternatives work great here!
- Maple syrup (optional). For serving up the classic combo of pancakes and maple syrup!
Pancakes without Milk Tips and Tricks
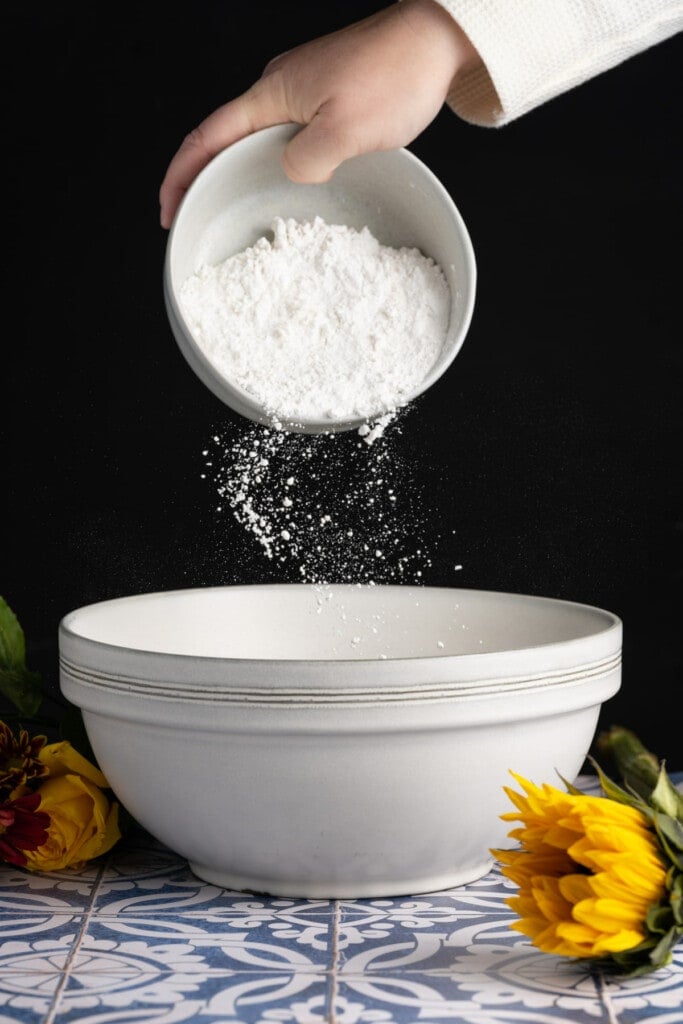
Start with Your Dry Ingredients
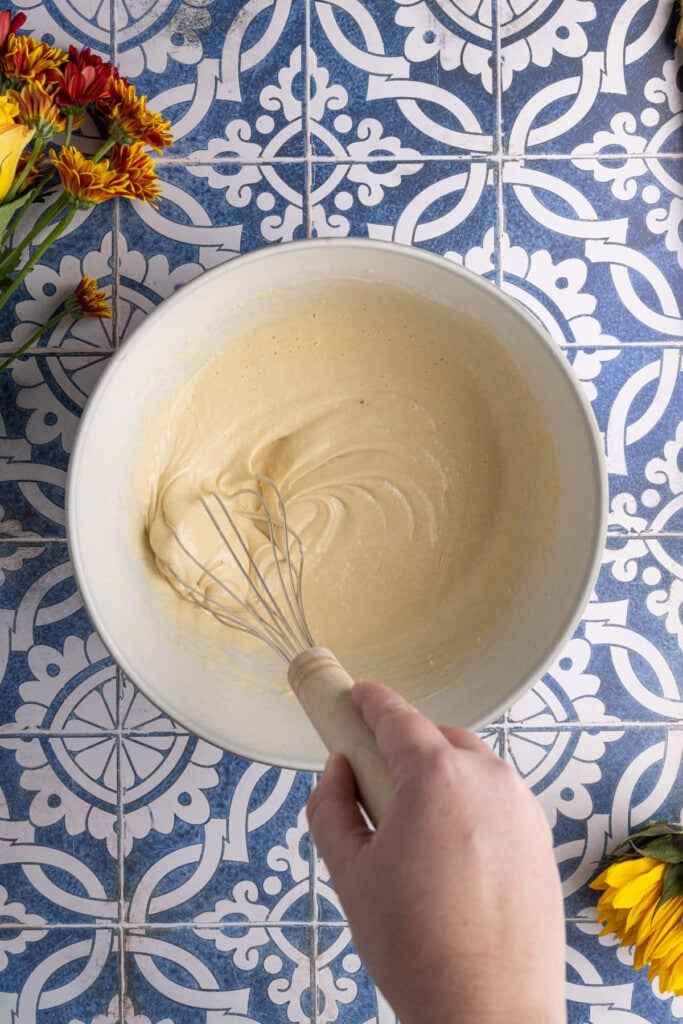
Add your flour, baking powder, brown sugar, and salt to a large mixing bowl. Use a whisk to combine the dry ingredients and to ensure there are no lumps.
Starting with a smooth mixture will give you the best batter for perfectly fluffy pancakes.
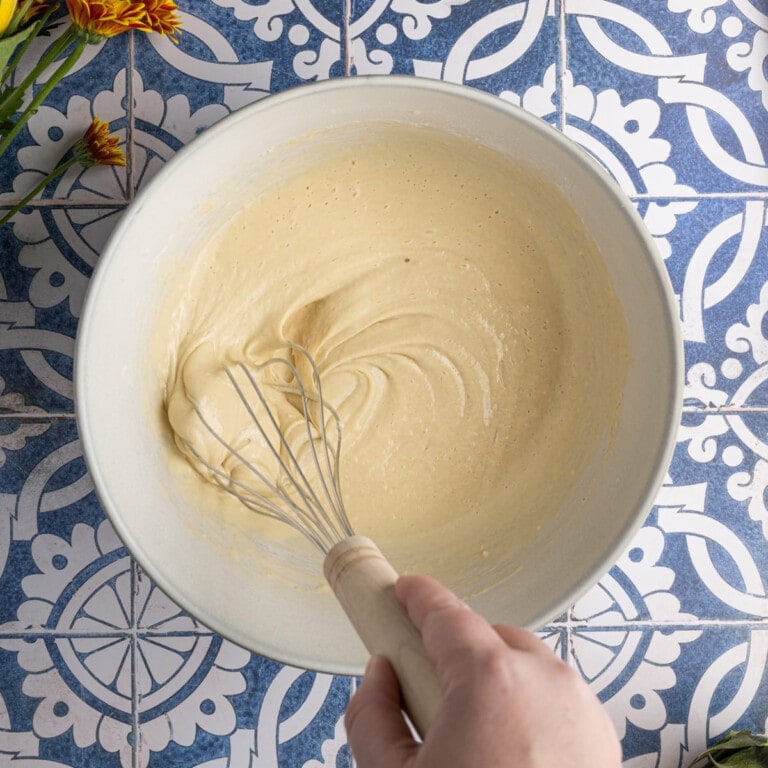
Whisk in Your Wet Ingredients
Add the egg, vanilla extract, and 1/2 cup of water next and whisk again to combine until smooth.
It’s always best to crack your eggs into a separate dish first to avoid losing a piece of eggshell in the batter. It also means that if you have a bad or bloody egg, you won’t waste the rest of your ingredients.
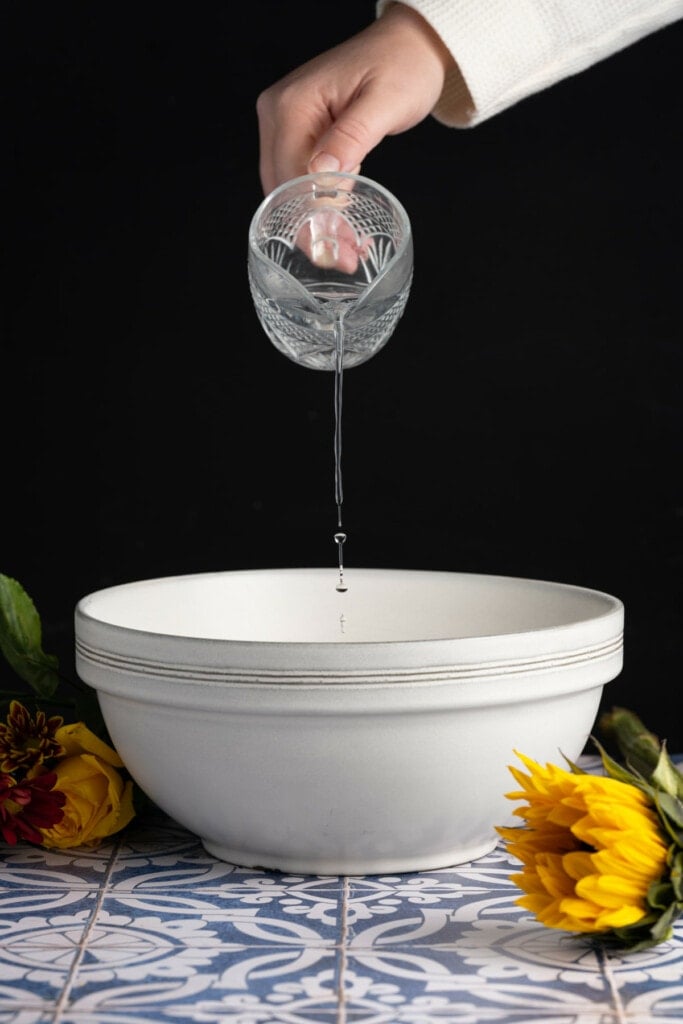
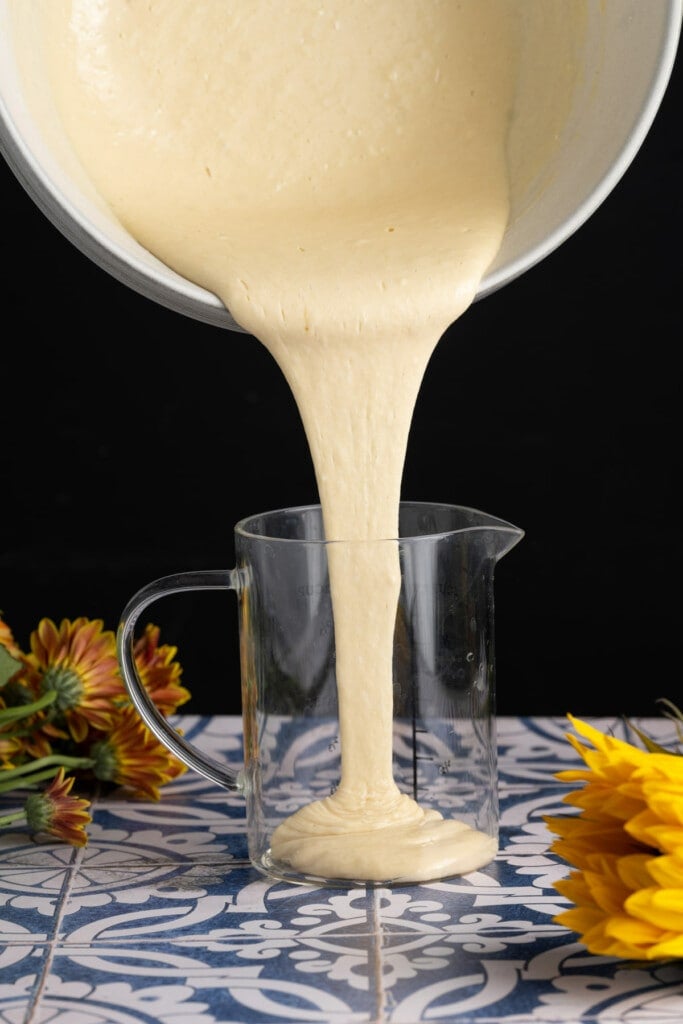
Assess the Consistency
After whisking your batter, assess the consistency. I find that 1/2 cup of water makes for the perfect pancakes! If you like your pancakes on the thinner side, you can add up to 3/4 cup water.
The consistency should resemble cake batter. Thicker than liquid, but thin enough to easily fall off your whisk.
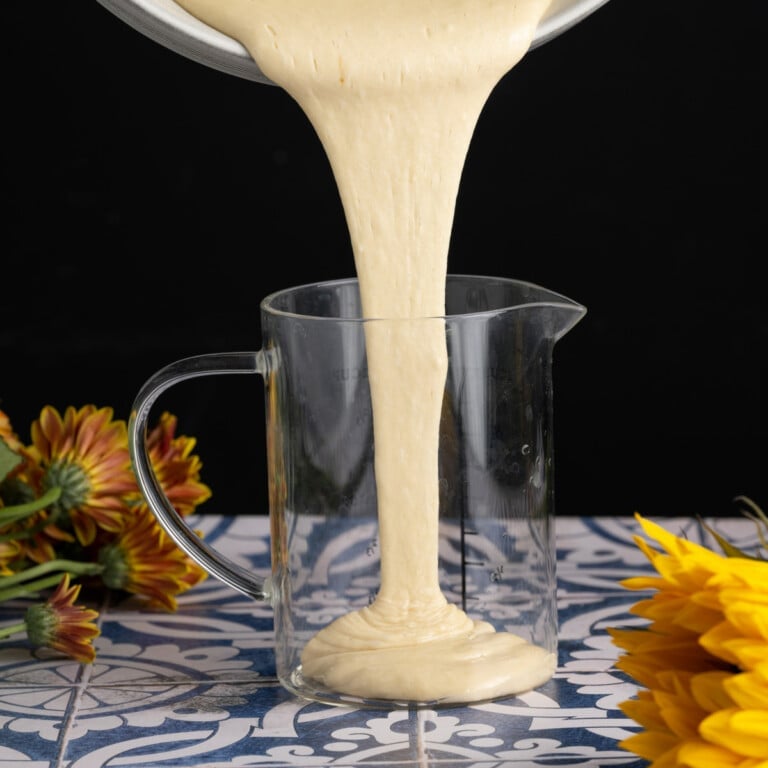
Transfer to a Pourable Cup
It’s much easier to pour your pancakes into the pan if your batter is in a cup with a handle and spout.
I like to transfer my batter to my measuring cup for easy pouring!
Get the Butter Hot in the Pan
Before you add your batter to the pan, heat your frying pan or pancake griddle over medium heat with about 1 tablespoon of butter.
The butter should be melted, and the pan should be nice and hot before you start to pour your pancake batter in. This will help you get that perfect golden-brown crispy exterior on your pancakes and make sure they don’t spread and flatten too much.
Green tip: Look for organic and palm oil-free butter if you can. Buying organic means you are supporting farms that do not use damaging pesticides and fertilizers, and palm oil production is a huge driver behind deforestation.
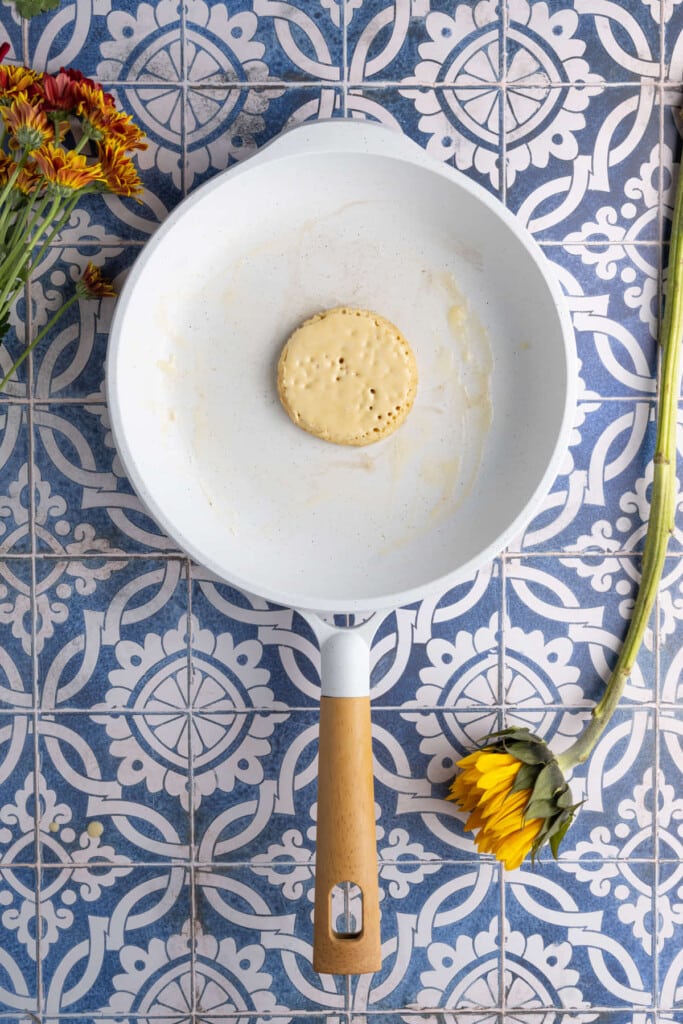
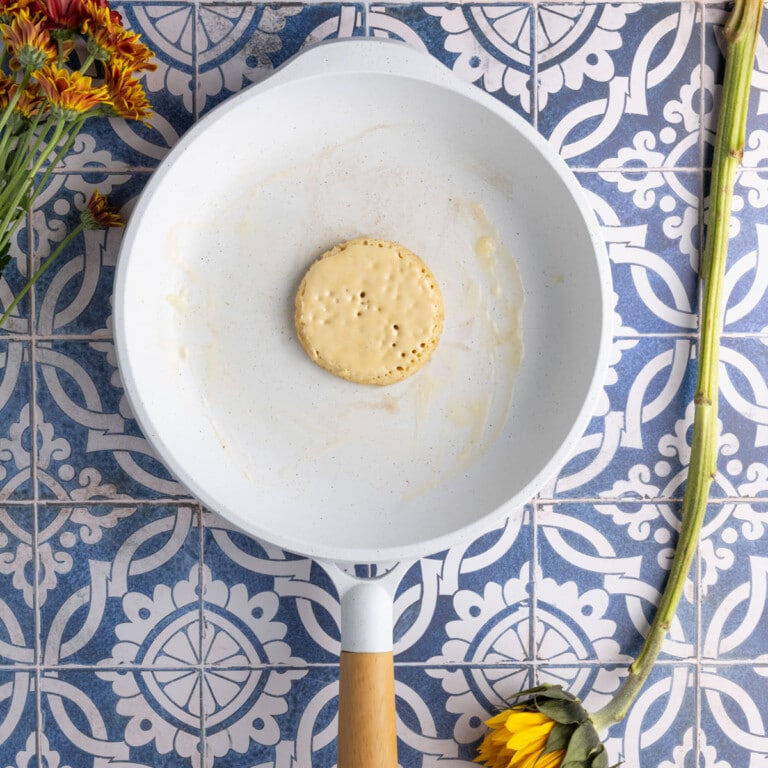
Fry them and Flip them!
Once your pan is hot and butter melted, you’re ready to fry your No Milk Pancakes!
Make sure to leave at least an inch of space in between each pancake so you have enough room to work with your spatula to flip them. I usually just make 3 homemade pancakes at one time in an 11-inch pan.
Pro tip: For thicker, perfectly round pancakes, use these pancake molds!
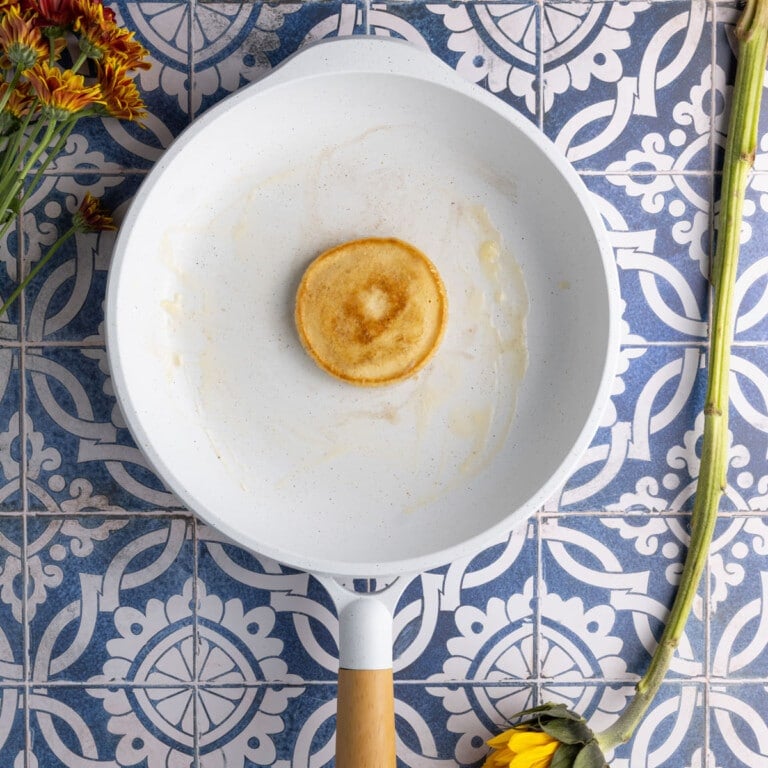
Each pancake will take about 3 minutes on each side over medium heat. You’ll know they are ready to flip when you see little air bubbles forming in the pancake batter as pictured below.
Fry them until they are golden brown on each side, adding more butter as needed. You shouldn’t need more than three tablespoons of butter.
Should You Have Leftovers
These fluffy dairy-free pancakes will last in the refrigerator in an airtight container for up to 3 days. You can also freeze them to make them last up to 3 months.
There are two easy ways to reheat your pancakes successfully. You can either reheat them in the oven at 350°F for about 5 minutes (or until heated thoroughly) or refry them in a pan (no extra butter needed!).
Of course, in a pinch, you can microwave on high for 10-15 seconds per pancake. Just know that microwaving them tends to make them a little bit rubbery, especially if you overdo it.
It’s also best to avoid stacking the pancakes while microwaving them for more even heating.
If you do freeze your pancakes, allow them to thaw overnight in the fridge before reheating the homemade pancakes by using one of the methods listed above.
Green tip: Of the billions of tons of food wasted annually, 50% of food waste happens at home. Reduce your contribution to food waste by properly storing, reheating, and consuming leftovers.
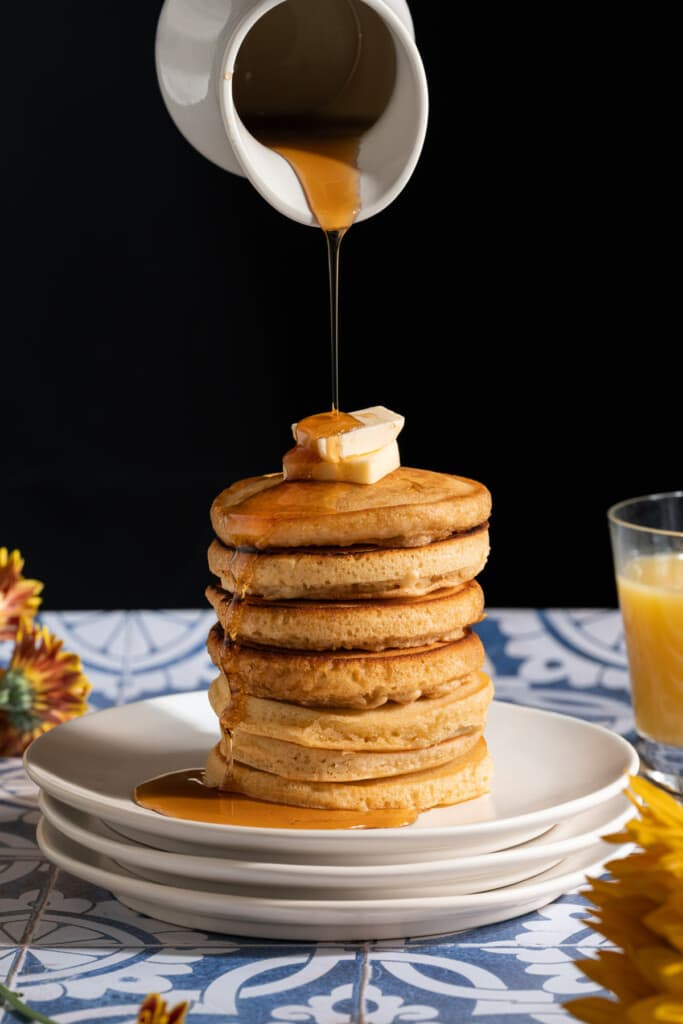
Serving Your Dairy-Free Pancakes
These pancakes without milk are delicious on their own or with just maple syrup or even honey! I like to serve them up with these Vegan Breakfast Sausage Patties.
They are also great vessels for a variety of fun toppings. Here are some of my favorite topping ideas:
- A pat of dairy-free butter
- Whipped cream (coconut or almond milk based)
- Blueberries, strawberries, or blackberries
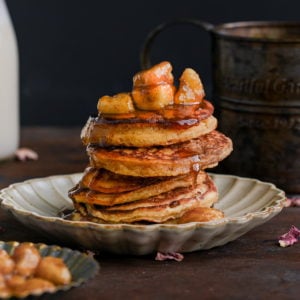
- Sliced bananas, peaches, or pears
- Chopped apple
- Cinnamon or cinnamon sugar
- Dark chocolate chips or chocolate syrup
No Milk Pancakes Frequently Asked Questions
Can I use water instead of milk in pancakes?
When swapping water for milk in pancake batter, you may find that you need less water than milk. Start with about 1/4 cup less water than the amount of milk the recipe calls for.
Or even better, use a pancake recipe like this No Milk Pancake recipe that is designed to use water instead of milk in the batter!
Why You Should Make these No Milk Pancakes
- The texture! Perfectly fluffy and golden-brown on the outside with crispy edges.
- The taste. Deliciously buttery and slightly sweet, with or without the syrup!
- Naturally dairy-free batter. This batter was created without milk.
If you’re loving these No Milk Pancakes and want more dairy-free breakfast options, check out these Dairy-Free Waffles and Banana Porridge.
Fluffy 20-Minute No Milk Pancakes
Print Save RateEquipment
- Pancake Molds (optional)
Ingredients
- 1 cup all-purpose flour
- 2 teaspoons baking powder
- 2 tablespoons brown sugar
- ½ teaspoon salt
- 1 large egg
- 1 teaspoon vanilla extract
- ½ to ¾ cup water
- 3 tablespoons unsalted butter (vegan or regular) (for frying)
Instructions
- In a large mixing bowl, whisk together the flour, baking powder, brown sugar, and salt until combined and has no lumps.
- Add the egg, vanilla extract, and ½ cup of water and whisk until smooth. Assess the consistency. It should resemble a cake batter, thin enough to easily run off the whisk. If you like thinner pancakes, you can add up to another ¼ cup of water.

- Add your pancake batter to a measuring cup or any cup with a spout and handle to make for easier pouring.
- Add butter to your griddle or pan (use vegan butter if keeping it all dairy-free) and allow it to heat up on medium-high until the butter is melted. For the thickest, most perfectly round pancakes, use pancake molds. Pour batter into your molds or freeform circles onto the pan and cook over medium heat.
- When it's ready to flip, the batter on the uncooked side will start to form little air bubbles. Use a spatula to flip the pancakes, and allow them to cook on the other side for 2-3 minutes.
- Repeat steps 4 and 5 until the pancake batter is used up, adding butter before each batch to keep your griddle greased. Serve warm with maple syrup. Try them with these Vegan Breakfast Sausage Patties!
Pro Tips
- You can easily make this recipe vegan by using flax egg in the batter and frying the pancakes in non-dairy butter.
- You can use cooking spray instead of butter for a lighter version, but these pancakes taste really good with a little crisp on the outside. Please note, you may have to leave them on your pan or griddle a bit longer to get them golden-brown if you’re using the spray.
Share This Recipe