Ahhhh, pizza. The one thing that everyone can agree on. Whether you like the crust thick or thin, with or without sauce, with toppings or just cheese, or even without cheese altogether, we can all agree that pizza always hits the spot.
And best of all, thanks to this Quick Knead and Rise Pizza Dough recipe, your favorite takeout is now accessible to make in your very own kitchen.

Working with yeast can be a little intimidating. Probably because you have to sit and wait while it does its thing and what if you wait three hours and it doesn’t rise?
The first time I ever worked with yeast was when I was a little girl in Sunday School. We made Challah from scratch.
But like every cooking show on television, we made the yeasty dough, set it aside, and then the teachers magically brought out a batch that had already risen. Understandably because, well, nursery school kids don’t wait.
So my impression of yeast was, for a long time, that you should just leave it to the pros.
But lemme tell you: all it takes is a little patience (and some crossing of your fingers and toes—I’m only kidding—you so got this!) and like magic, in just 45 minutes your dough will DOUBLE in size!
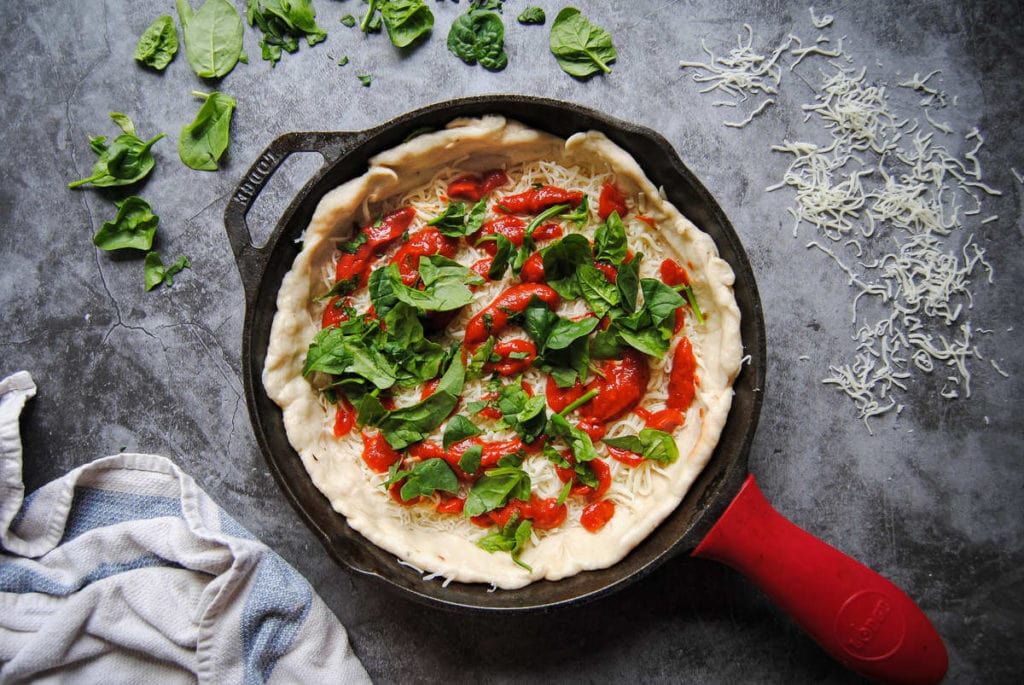
Why This Quick Knead and Rise Pizza Dough Recipe is Great
No utensils required. Ideal for picnics and eating while multitasking because only one hand required. I’ve got one hand in my pocket, and the other one is holding a pizza. (Sing it with me, 90’s kids).
Versatility. The dread of not knowing what to do with those leftovers got ya down? No worries! Take a breath, preheat your oven, and throw it on a flatbread! When in doubt, the flatbread comes out. Amiright?
It’s accommodating. It’s vegan. The toppings can be customized. You can have it with or without the cheese. And it’s delicious every.single.time.
It’s quick and foolproof. It’s in the name! Most dough takes at least ten minutes of kneading and an hour to rise. Not this one! You can have a yummy dough with just 3 minutes of kneading and 45 minutes of rising, without compromising on taste or texture!
How Long Does This Quick Knead and Rise Pizza Dough Last?
This recipe will make enough dough for two flatbreads. If you want to make just one for now, cut the dough in half when it rises. Use one half now and wrap the other half tightly in plastic wrap. Store it in the refrigerator for up to two weeks or in the freezer for up to 4 weeks.
If you want to make this dough ahead of time, still cut it in half after rising and store the two halves wrapped separately.
Keys to Quick Knead and Rise Pizza Dough Success
The Flour’s Got The Power
While I generally say you can substitute all-purpose flour for bread flour, I highly recommend not skipping on the bread flour in this recipe. The biggest difference between the two flours is the amount of protein. All-purpose flour has a little less, making it rise slightly less.
The bread flour is what gives it that perfect pizza texture. It’s more of a chewy, foldable crust rather than a crunchy, cracker-like crust. It always has a little crispiness on the bottom and crust, and it’s never too gooey.
Green tip: Look for flour that is organic if you can. Organic farms rely on biodiversity to generate rich soil, avoiding the use of pesticides and fertilizers, which means no toxic runoff.
Don’t Use A Liquid-y Sauce
If you’re using store-bought marinara or pizza sauce, reduce it on the stove first. We want to minimize the amount of moisture we are putting on the crust to keep it firm and avoid any sogginess.
Try it with my Healthy Pizza Sauce, it’s designed to have less moisture and works perfectly with this Quick Knead and Rise Pizza Dough recipe
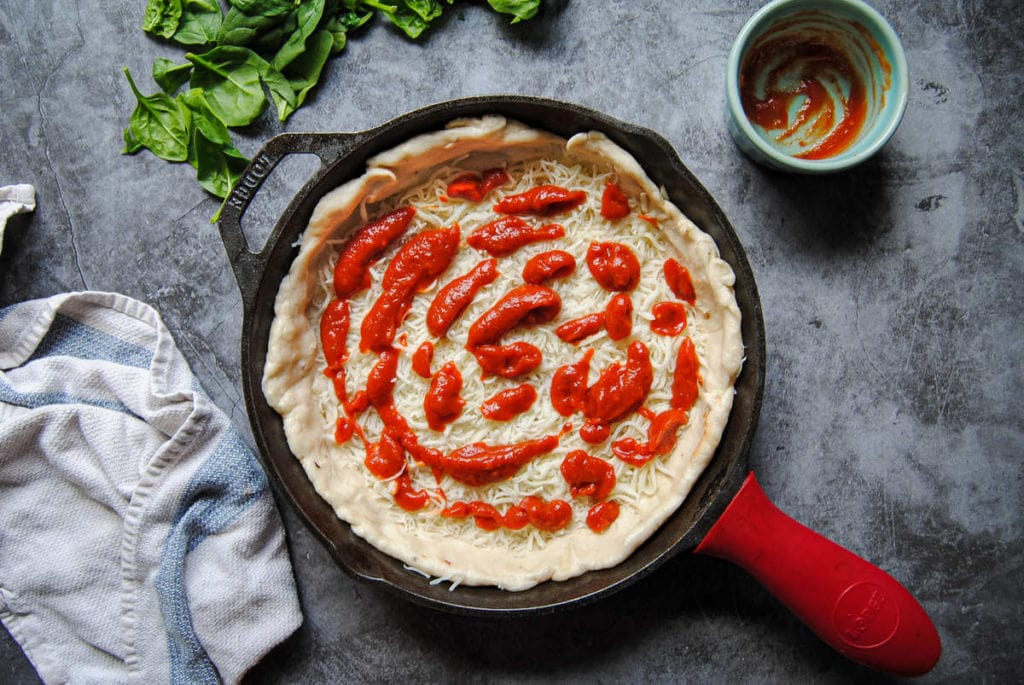
Or top it with a pesto once it gets out of the oven, minimizing the sog-factor risk altogether. Here’s a Flavor Punch Two-Step Pesto to try!
Time Yourself
Listen, I am ALL about quick and easy. And I’m even more about tried and true recipes that really work.
That’s why I’ve made these dozens of times—to figure out how to get a successful pizza with the least amount of ingredients and in the least amount of time, without compromising on taste and texture.
And I know for sure that three minutes is the minimum amount of time you can knead in order to get an elastic dough.
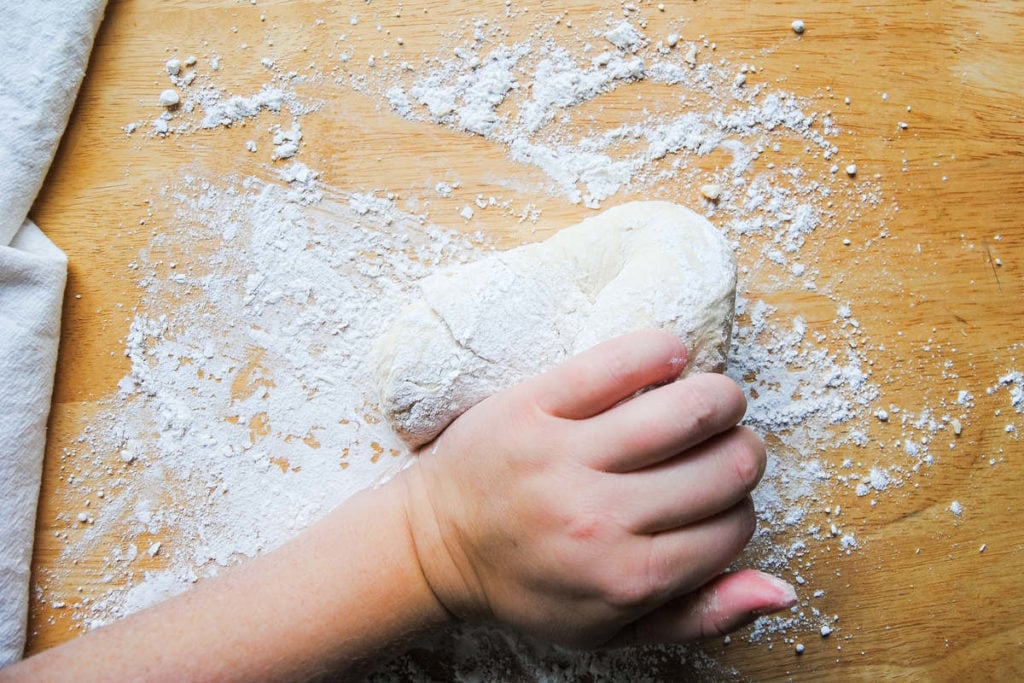
Time yourself to make sure you get those three minutes in! If you go a little over, that’s okay (showoff 😉).
Say Cheese!
I know this may seem odd, but add your cheese first! We want to avoid that dreaded soggy crust, which means we want to stay away from any extra moisture that can seep into the Quick Knead and Rise Pizza Dough.
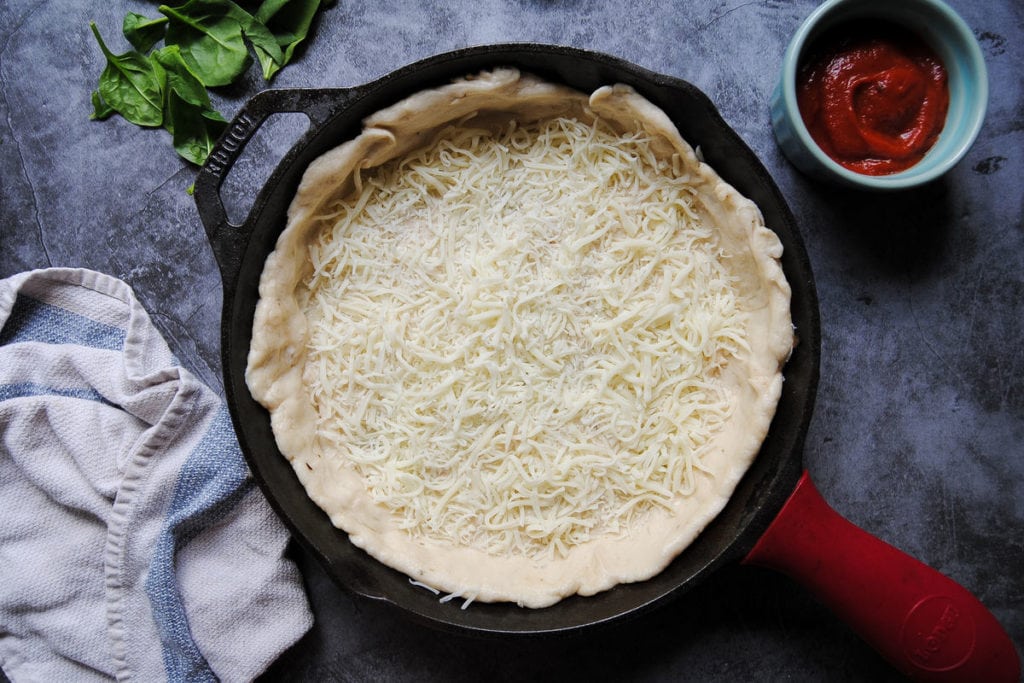
Putting down your cheese first provides a barrier between your wet sauce and the dough.
Pre-Cook Your Toppings if Applicable
Two reasons!
One—you guessed it—another trick to keep the extra moisture to a minimum. Especially if you are adding fresh veggies. You can also opt to season and flavor your vegetables before adding them to your pizza.
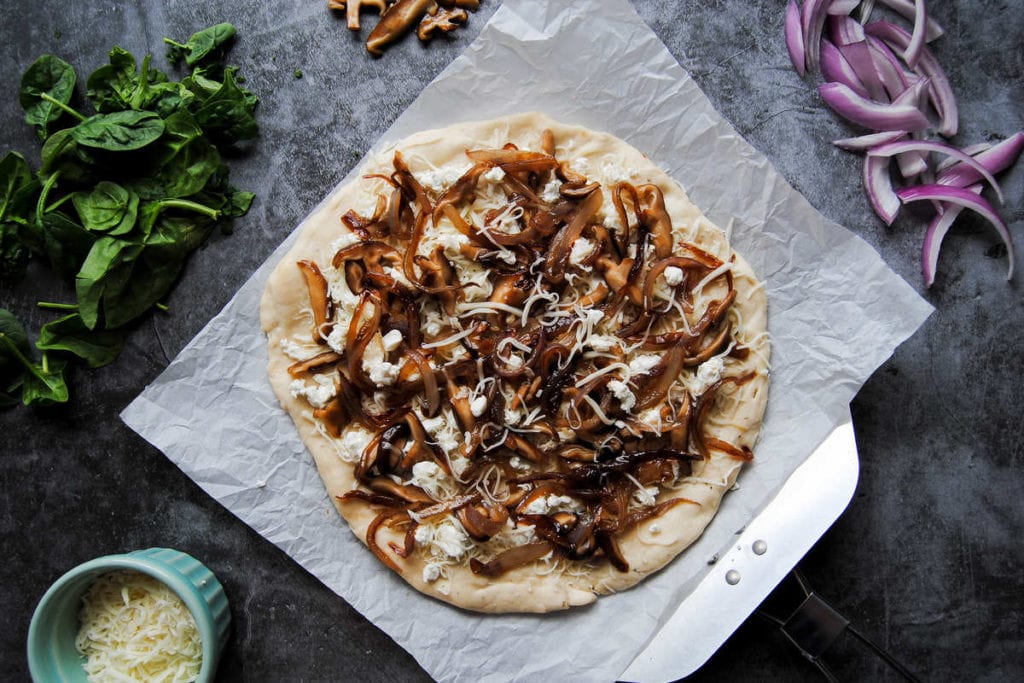
The other reason is if you decide to add some kind of meat or meat alternative, it may not spend enough time in the oven for it to cook through. Any toppings with additional oil content could also make your pizza too greasy. Cook some of the greases off in a pan first.
How To Cook Your Quick Knead and Rise Pizza Dough
Option 1: On A Baking Sheet or Pizza Stone
This is my preferred method! It’s much faster and it allows you to make your Quick Knead and Rise Pizza Dough as thick or as thin as you want. It’s up to you!
To stretch the dough, let gravity do the work! Pick it up and hold it by one side with two hands and let gravity pull the bottom side down.
Begin to rotate your grip around the edges of the dough. The opposite side will continue to stretch and pull towards your countertop.
Continue to rotate until you reach your desired size and thinness. Pinch together any little holes and lay it on a piece of parchment paper. It’s okay if some parts of the dough are thinner than others.
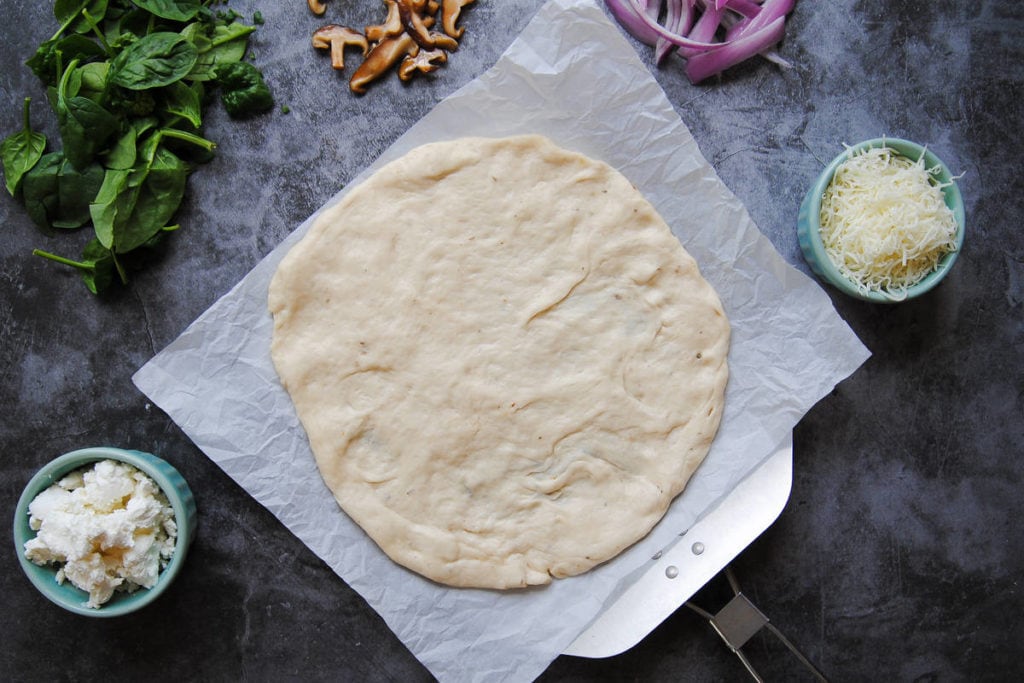
You will need either a pizza stone or a large baking sheet to cook the pizza on in the oven. Put your stone or sheet in the oven while your oven is preheating, so it gets nice and hot.
Once your oven reaches 475 degrees Fahrenheit, use a pizza peel or second baking sheet to lift the dough and parchment paper. Slide it into the oven on top of your hot pizza stone or baking sheet, parchment paper and all.
Bake for 12 minutes or until the crust gets golden brown.
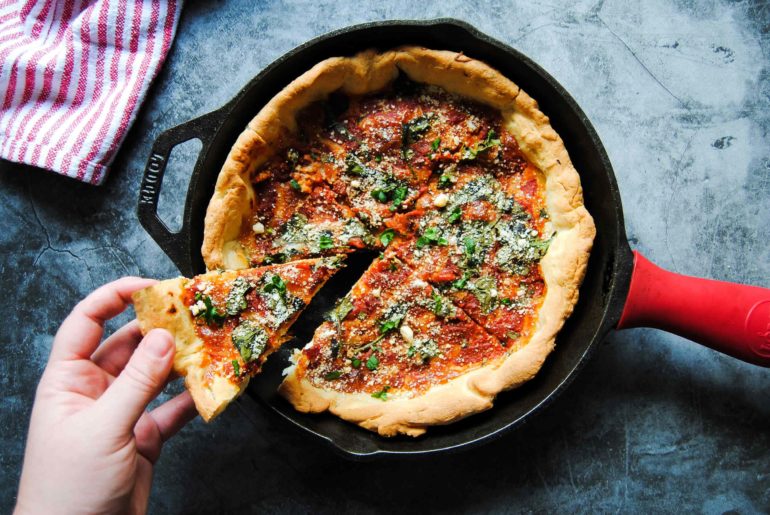
Option 2: In A Cast Iron Skillet
There’s an easy way and an easier way.
The slightly more difficult way is for when you want an especially crispy bottom crust. In this case, coat the bottom of your cast iron skillet with olive oil and put your cast iron skillet in the oven while it’s preheating.
Stretch your dough until it’s about 2 inches longer in diameter than your skillet. When the oven is preheated, take your skillet out and place the stretched dough over it. Be careful, your skillet and the oil inside it will be very hot! Make sure to use your oven mits!
Add your toppings and bake for 25 minutes.
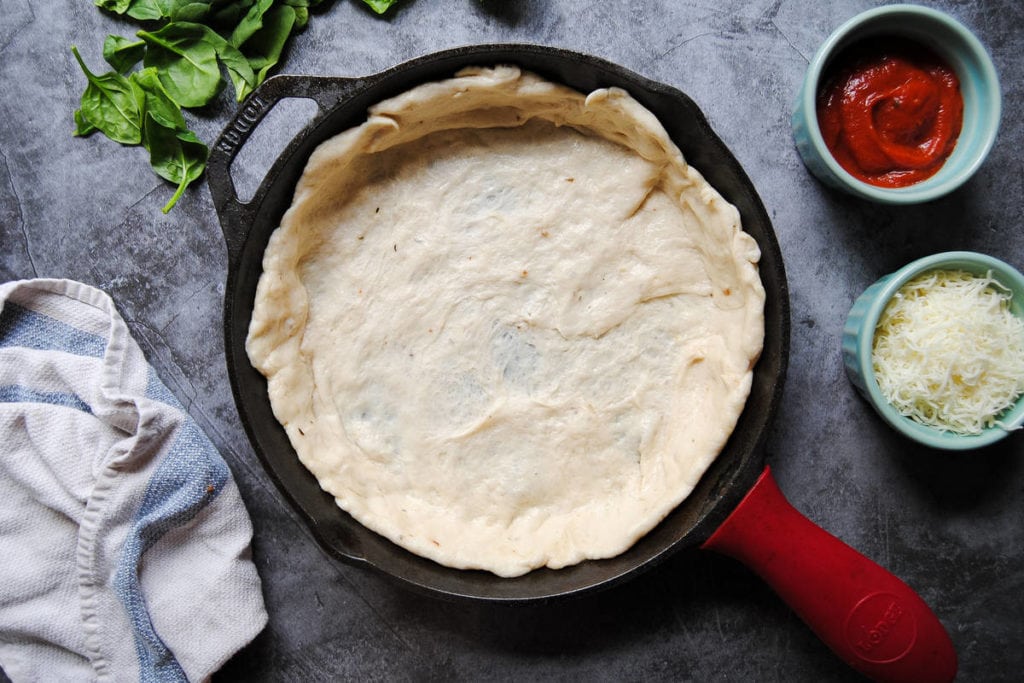
The easier way is to put a couple of drops of olive oil in your cast iron skillet, and use the palm of your hand to push the pizza dough into the skillet. Then use your thumbs to push the dough up the sides of the skillet to form a crust.
Add your toppings as directed above and bake for 30 minutes at 425 degrees Fahrenheit.
Try making this Quick Knead and Rise Pizza Dough with homemade Pizza Sauce or Pesto to really take it up a notch. And for more handheld food, check out these Homemade Baked Soft Pretzels, or these Healthy Whole Wheat Mini Veggie Quiches.
Quick Knead and Rise Pizza Dough
Equipment
- Cast Iron Skillet (optional)
Ingredients
- 1 teaspoon active dry yeast
- 1 teaspoon sugar (brown or granulated)
- ¾ cup warm water
- 2 cups bread flour
- 1 tablespoon olive oil + more for bowl
- 1 teaspoon salt
- 1 teaspoon Italian seasoning (optional)
Instructions
- In a small mixing bowl, combine yeast, sugar, and water, and whisk together until combined. Cover with a clean kitchen towel and set aside until frothy (about 5 minutes).
- In a separate large mixing bowl, combine flour, olive oil, salt, and seasoning (optional).
- With a hand mixer on low, add wet and dry ingredients together, and continue to mix until combined (about 1 minute). You can expect your mixture to be dry and crumbly at this point.
- On a floured surface, knead your dough for 3 minutes. As you are kneading, your dough will come together and be less crumbly.
- Add olive oil to a large bowl so that the sides and bottom are covered. Form dough into a ball. Dip it into the bottom of the bowl and turn it over so that the top is covered in olive oil. Cover with Saran Wrap and let sit for at least 45 minutes.
For Pizza Stone/Baking Sheet Method
- Preheat the oven to 475°F and put a pizza stone or upside-down baking sheet in the oven to heat up. Divide dough into two even parts.
- Spread the doughs out on two separate pieces of parchment paper. Don’t worry too much about the shape. Use a pizza peeler or second baking sheet to transfer the dough and parchment paper onto the hot pizza stone or upside-down baking sheet in the oven.
- Add sauce and toppings of choice and bake for 10-12 minutes until the crust is golden brown.
For Cast Iron Skillet Method
- Preheat the oven to 425 degrees.
- Add a couple of drops of olive oil to your cast iron skillet and use the palm of your hand to press out the dough until it's evenly spread across the pan. Then use your thumbs to pinch the dough up the side of the skillet to form a crust.
- Add sauce and toppings of choice and bake for 30-35 minutes until the crust is golden brown. Or see the detailed instructions above for an extra crispy bottom!
Pro Tips
- If you don’t have a pizza stone, a baking sheet works just the same. You just place it in your oven upside down and use it the same as you would a pizza stone.
- If you’re baking the dough with a sauce, make sure it does not have high water content. You don’t want your dough to get soggy!
- If you’re using a store-bought marinara, just reduce it on the stove for a couple of minutes to reduce it. Otherwise, if you’re using pesto or a fresh-made sauce, just put it on top once the flatbread comes out of the oven.
Share This Recipe



2 thoughts on “Foolproof Quick Knead and Rise Pizza Dough”
This pizza crust is absolutely phenomenal. I wanted to make it again the next day, but I did not want to be a piggy, LOL. My meat loving, italian fiancé also loved the hell out of it. I used both the cast iron method, as well as the pizza stone. Both are amazing! Cat iron is soo dope because you can load that sucking up with toppings.
I used all purpose flour, which is an the older side. and ended up added 1/2 cup more of water to my dough. Tasted so great.
I am soooo glad you loved it!!! Piled high is the only way to go!