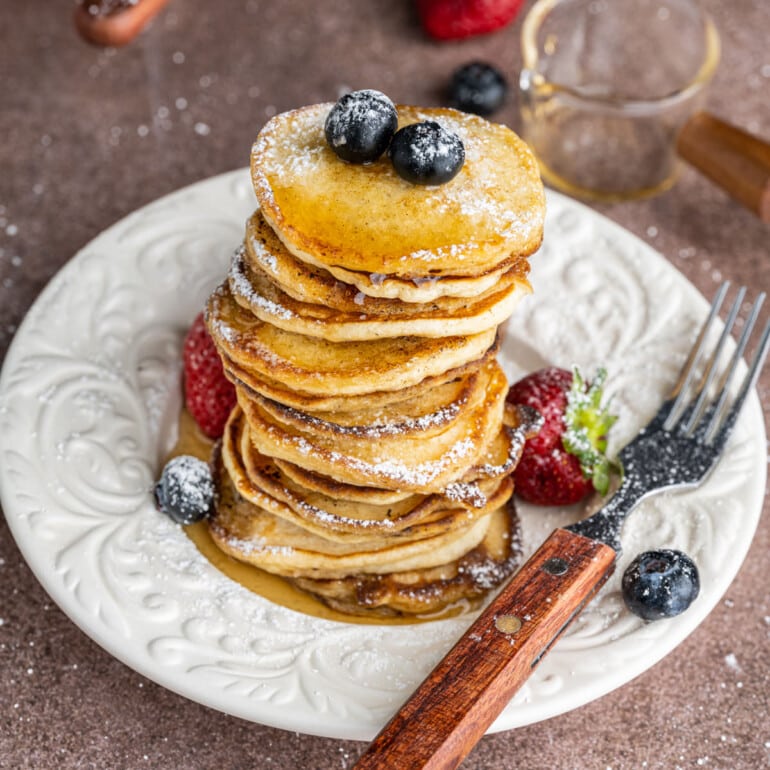
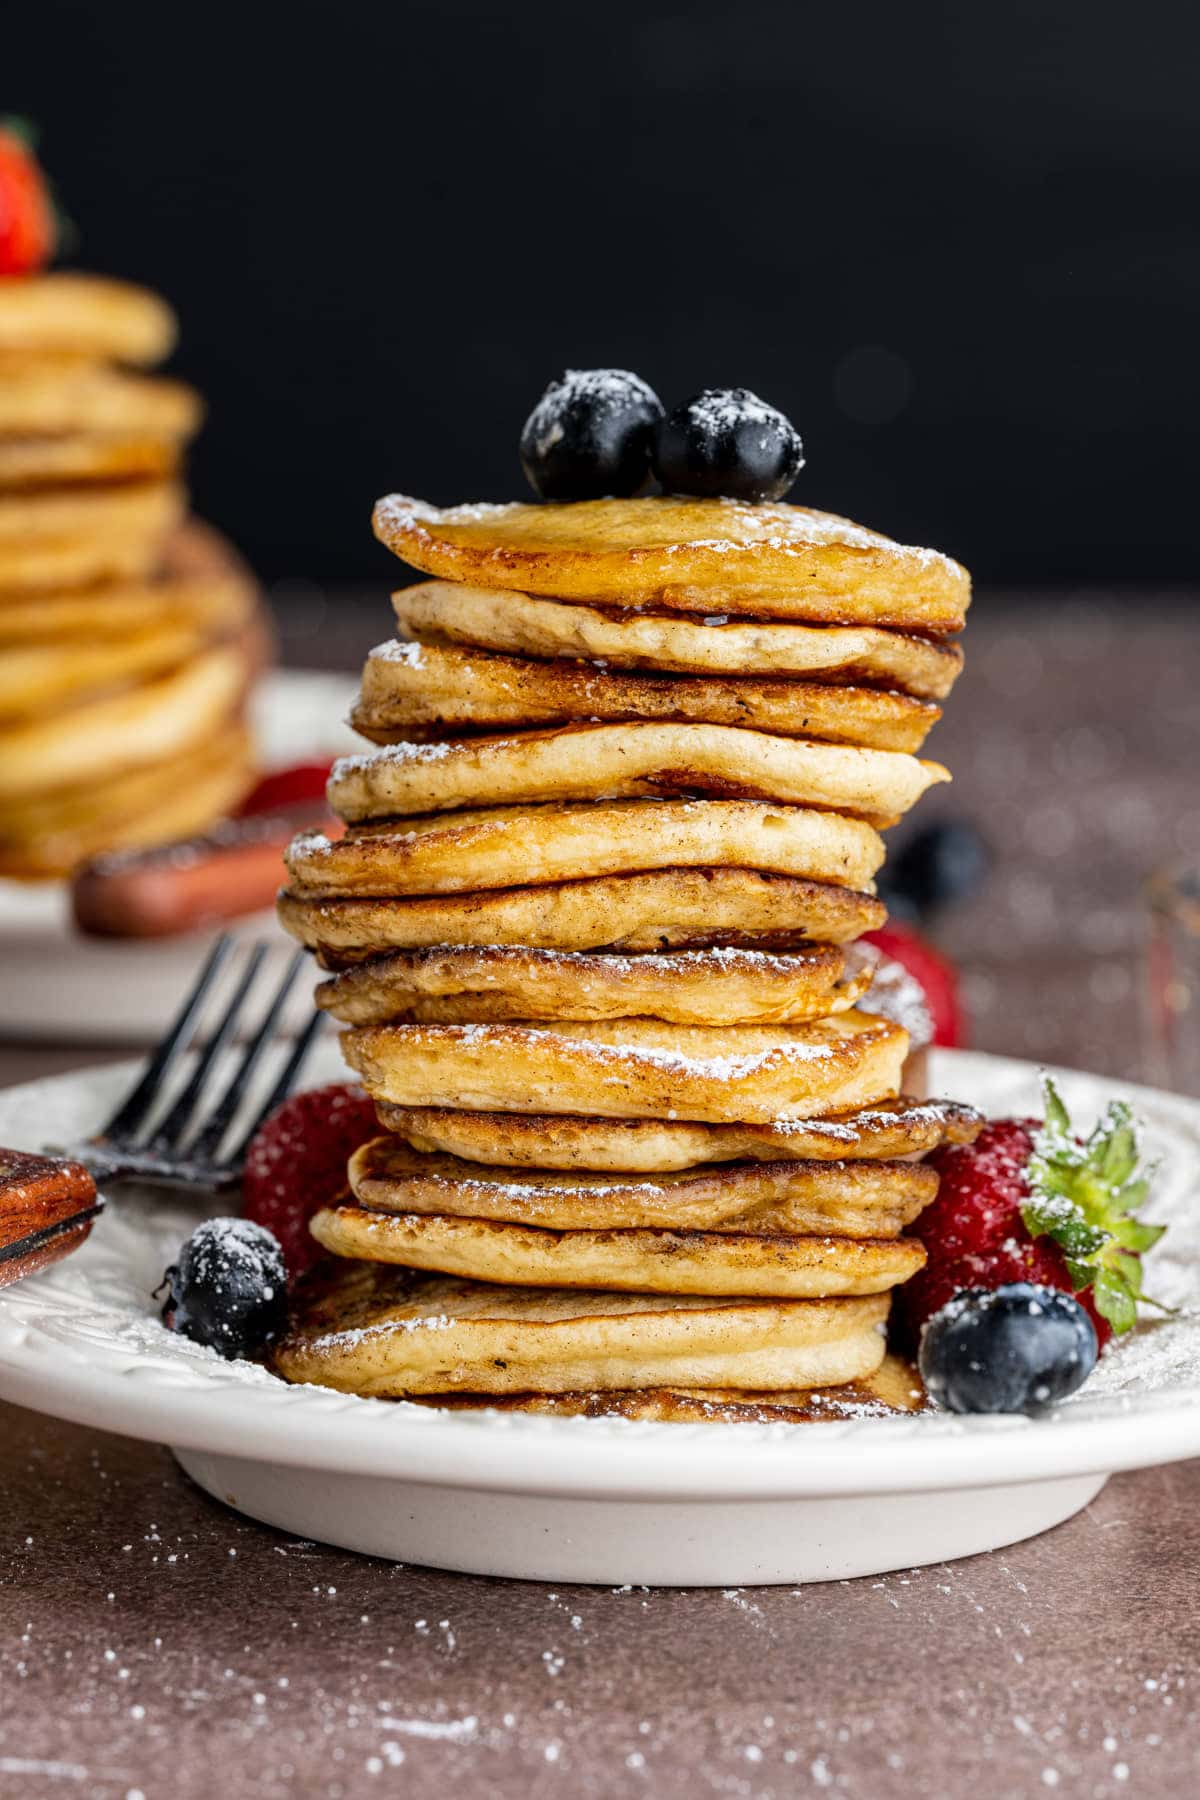
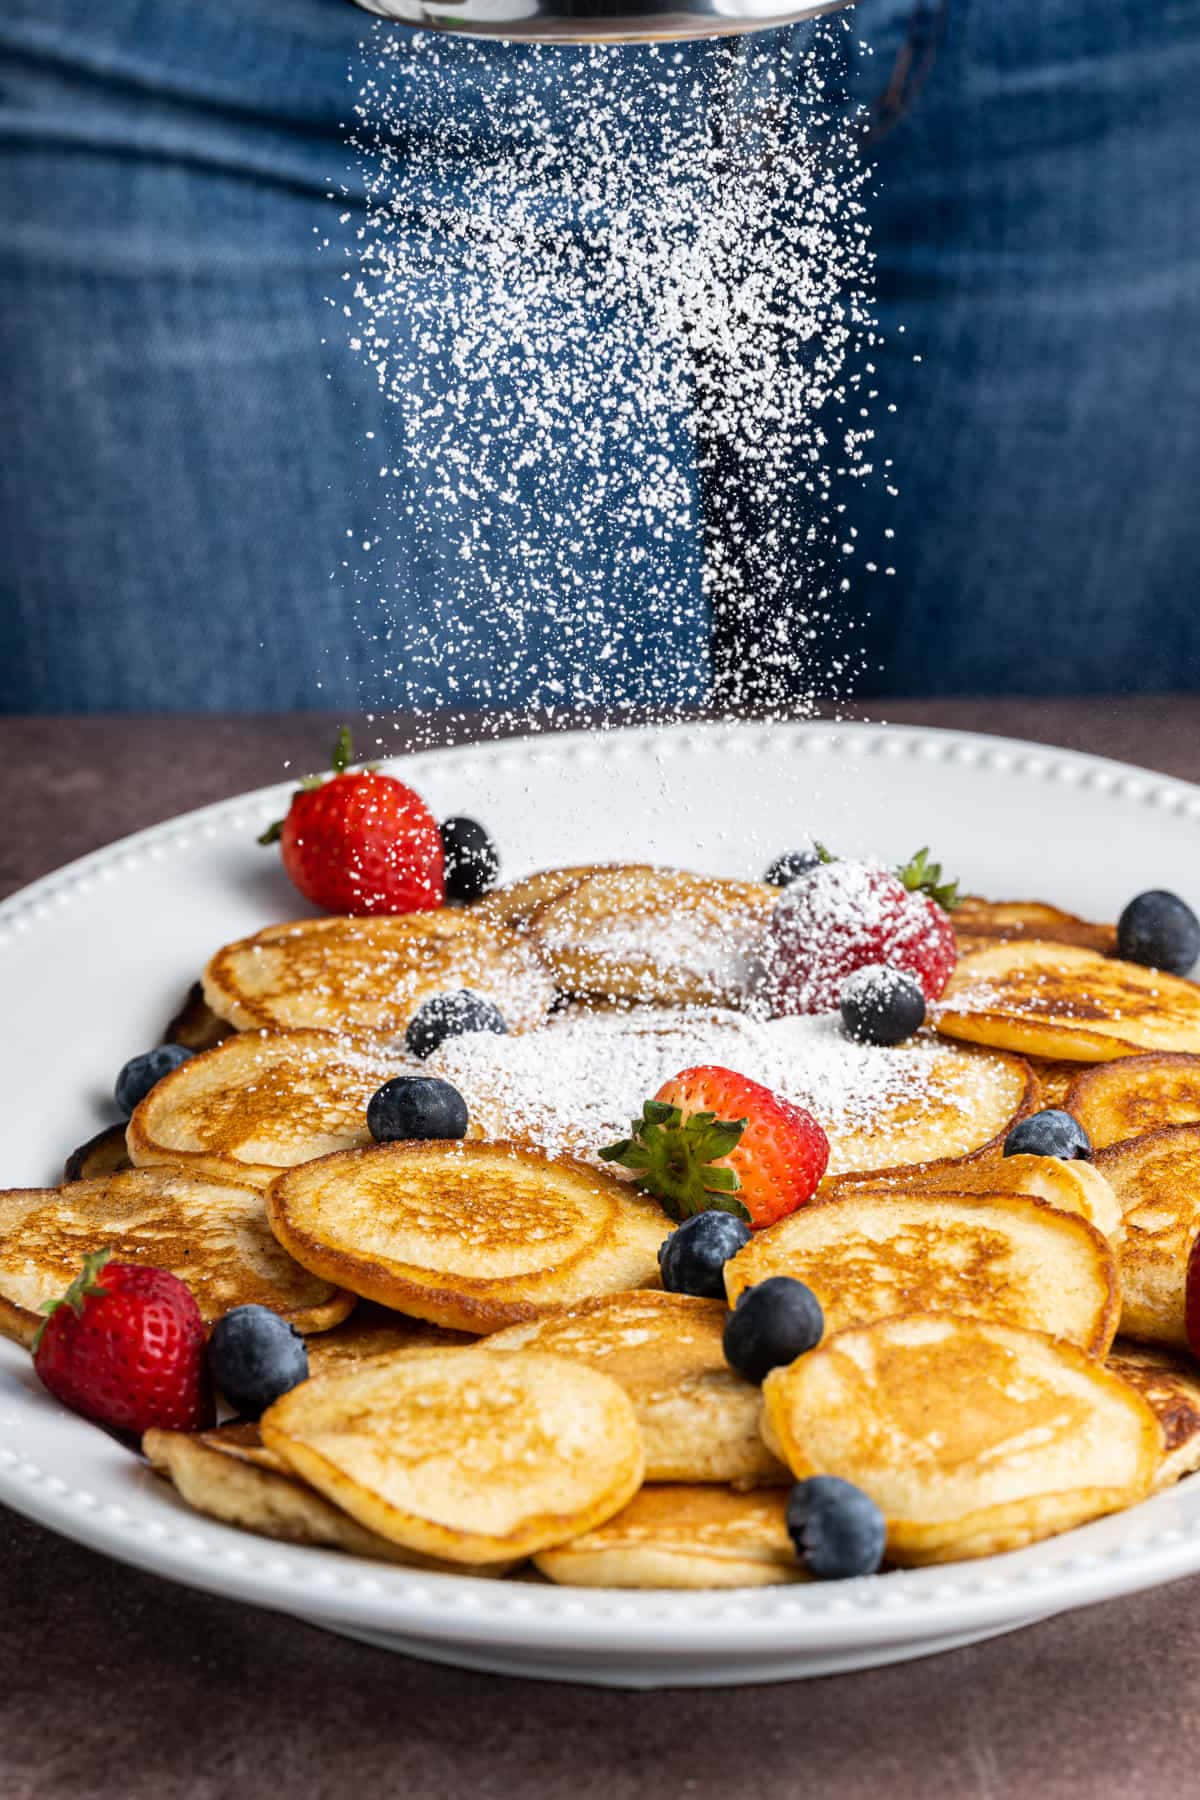
Looking for a delicious diner classic to start your day off on a sweet note? These mini Silver Dollar Pancakes are fluffy on the inside, crispy around the edges, and have a perfect golden-brown exterior.
There’s something special about a tall stack of almost-bite-sized pancakes doused in syrup! Plus, the homemade pancake batter comes together quickly and easily, making this recipe as accessible as it is delicious.
In this recipe you will learn about what makes these silver dollar pancakes as opposed to regular pancakes, how to make an acidified buttermilk from any milk of your choice to produce a fluffy pancake batter, and the secret to getting perfectly golden-brown pancakes.
Plus, you’ll get ideas for serving these mini pancakes and you’ll have all the information you need to properly store and reheat them.
As an environmental scientist, I try hard to source ingredients for all of my meals in a responsible and sustainable way. Making things from scratch rather than buying pre-made goods or mixes allows you to have more control over the ingredients.
Green tip: Organic farms rely on biodiversity to generate rich soil, avoiding the use of pesticides and fertilizers, which means no toxic runoff. Consider organic ingredients for this recipe if you can.
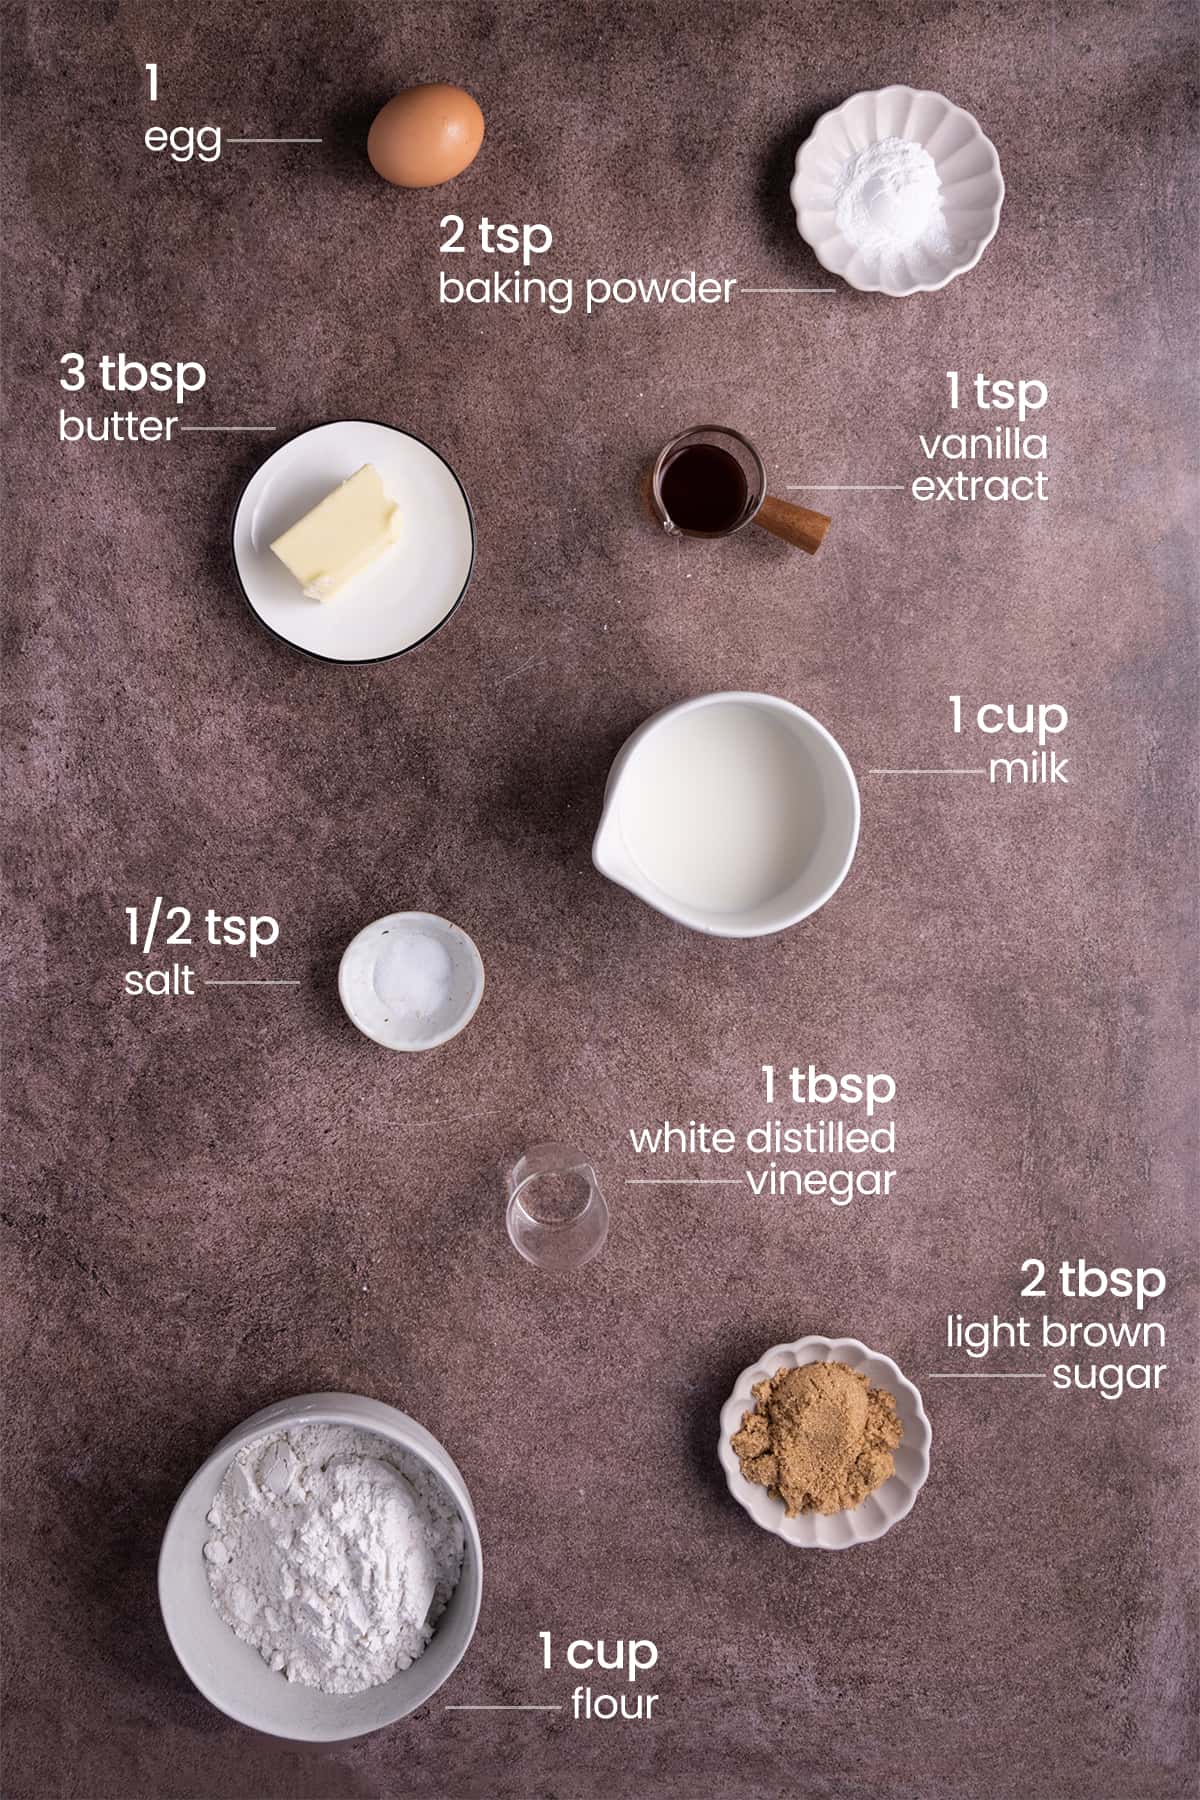
Silver Dollar Pancakes Ingredients
Here’s everything you need:
- Milk & White distilled vinegar. Or lemon juice if you don’t have white distilled vinegar. Adding the acid from the vinegar or lemon to the milk will turn it into a thick buttermilk that makes for the fluffiest pancakes.
- All-purpose flour. The base of your homemade mini pancake batter.
- Baking powder. So that your pancakes rise in the pan and get extra fluffy.
- Light brown sugar. For that coveted caramelization on the outside of the pancakes.
- Salt. To boost the other flavors.
- Egg. To bind your batter together.
- Vanilla extract. For extra flavor.
- Butter for frying. To get those perfectly golden-brown pancakes.
- Maple syrup for serving. This is optional but highly recommended for that classic pancake and syrup breakfast combo!
Fluffy Silver Dollar Pancakes Tips and Tricks
What are Silver Dollar Pancakes?
Silver dollar pancakes are distinguished from regular pancakes by their size. Smaller than regular pancakes, silver dollar panckes are buttery, fluffy mini pancakes, typically 2-3 inches in size.
They are made from a pancake batter that is slightly on the thicker side, so they don’t spread too much in the pan. Each pancake is made up of roughly 2 tablespoons of batter, and fried in butter until they are golden brown.
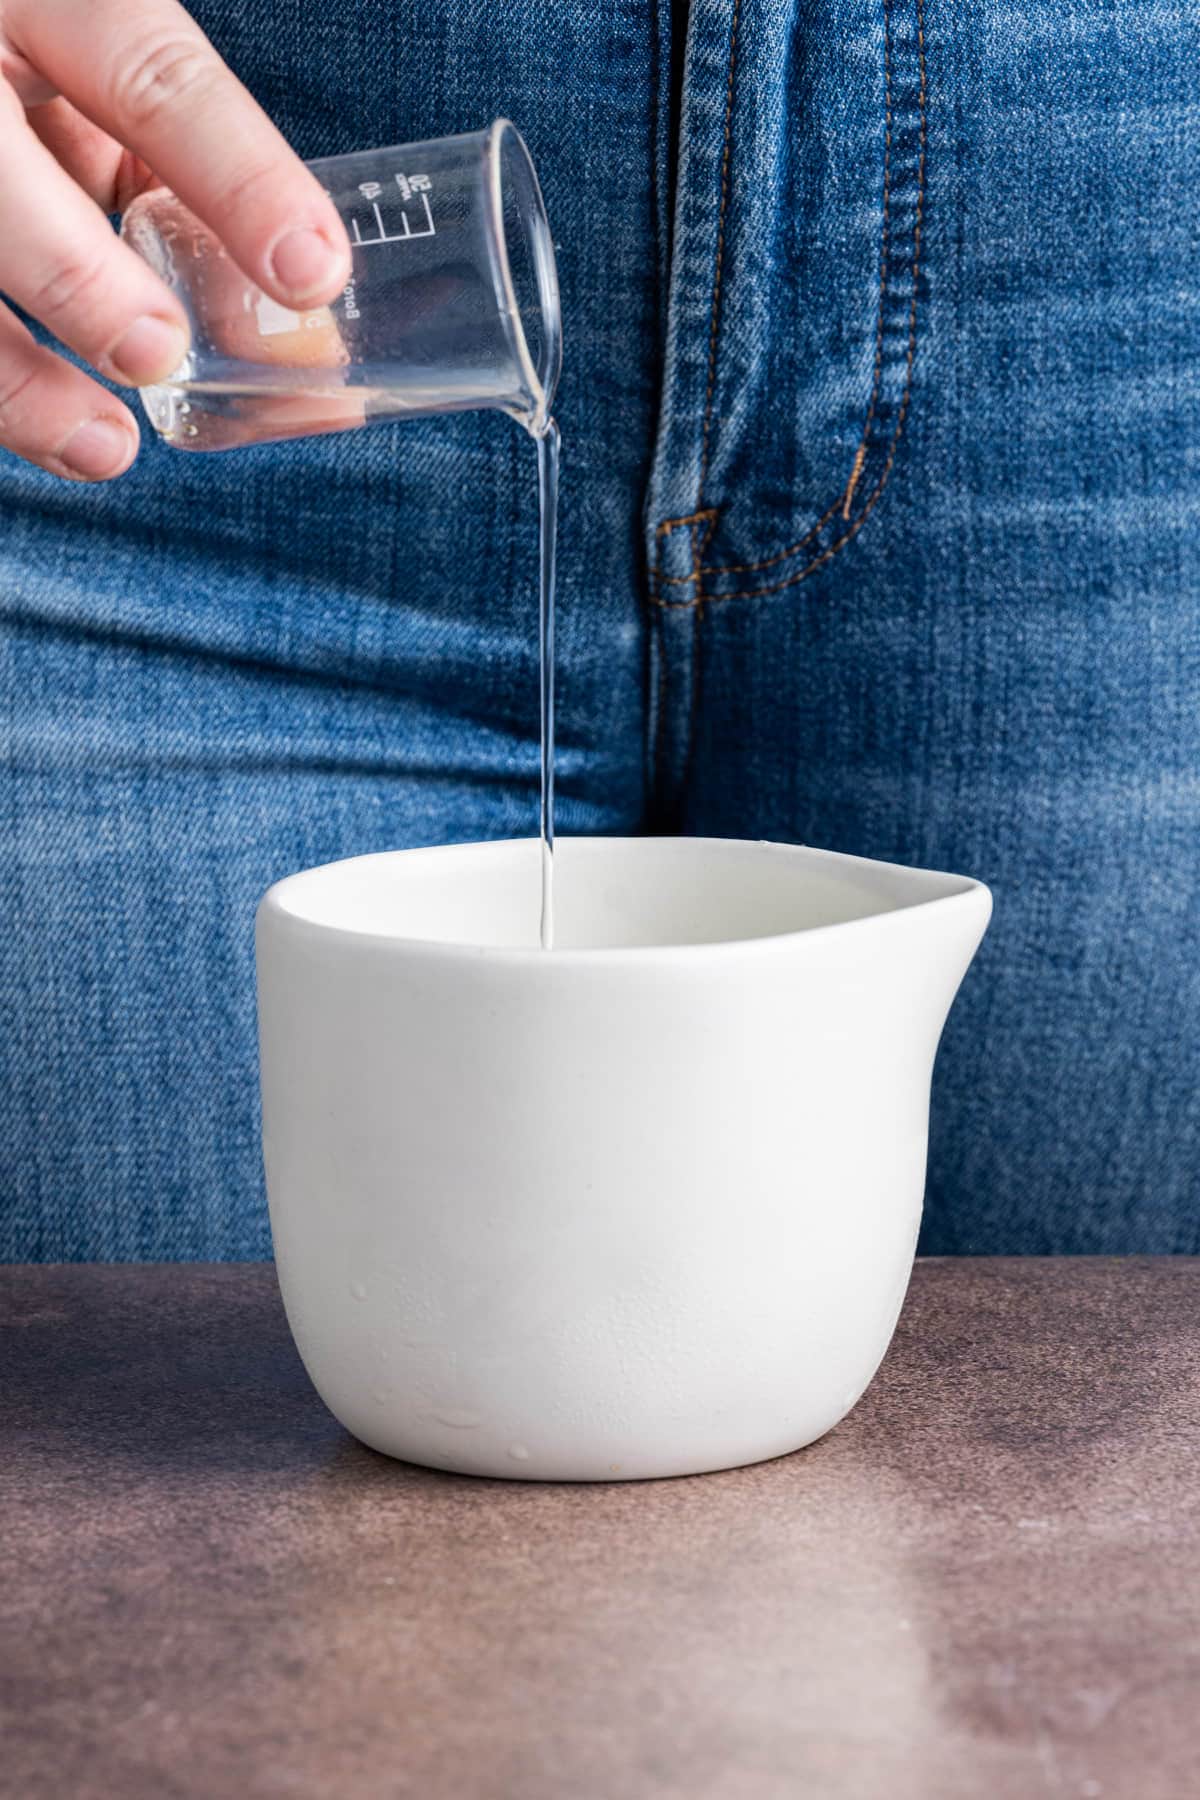
How to Make Acidified Buttermilk for the Best Pancakes
This recipe calls for acidified buttermilk, which will give you a thicker pancake batter for fluffier Silver Dollar Pancakes. Acidified buttermilk can be made quickly and easily at home with any type of milk (dairy or plant-based!).
I like to whip up this quick version of buttermilk rather than buying storebought buttermilk for my pancake recipes because I rarely (if ever) have buttermilk on hand, and I don’t want to buy a whole carton just to make an occasional batch of homemade pancakes.
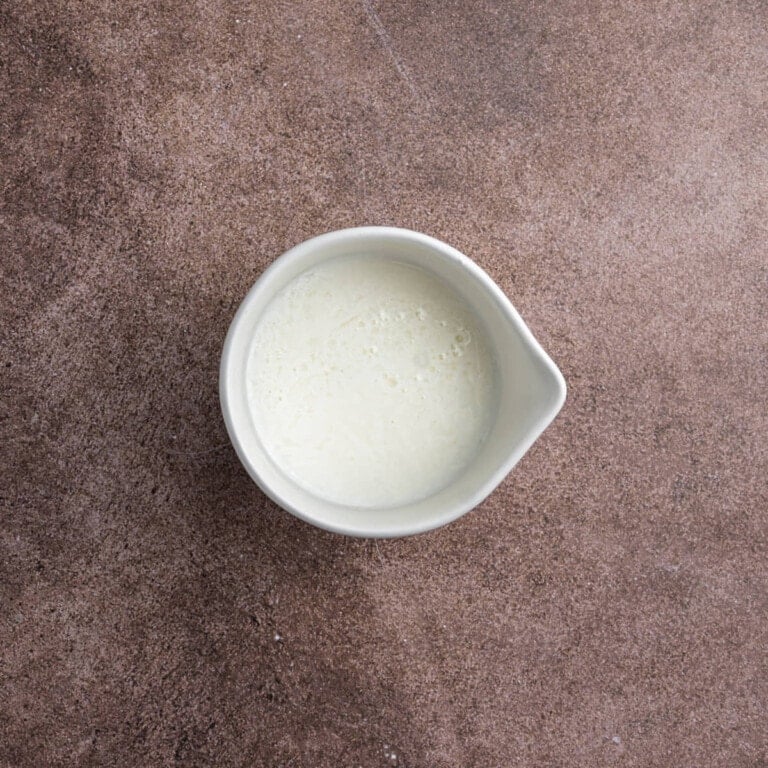
To make the acidified buttermilk, add 1 tablespoon of white distilled vinegar or lemon juice to 1 cup of milk of your choice, give it a quick stir, and set it aside. I usually just make mine right in my measuring cup.
In a matter of minutes, the milk will start to curdle and thicken to form buttermilk. Don’t worry, it’s 100% safe to consume!
Whisk Your Pancake Batter Dry Ingredients
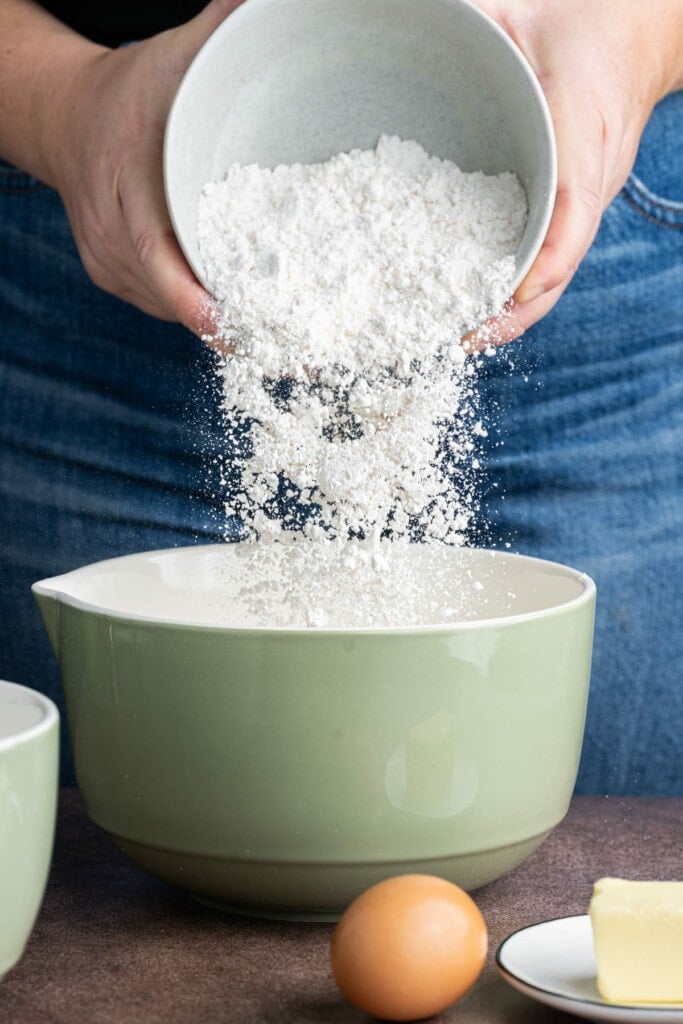
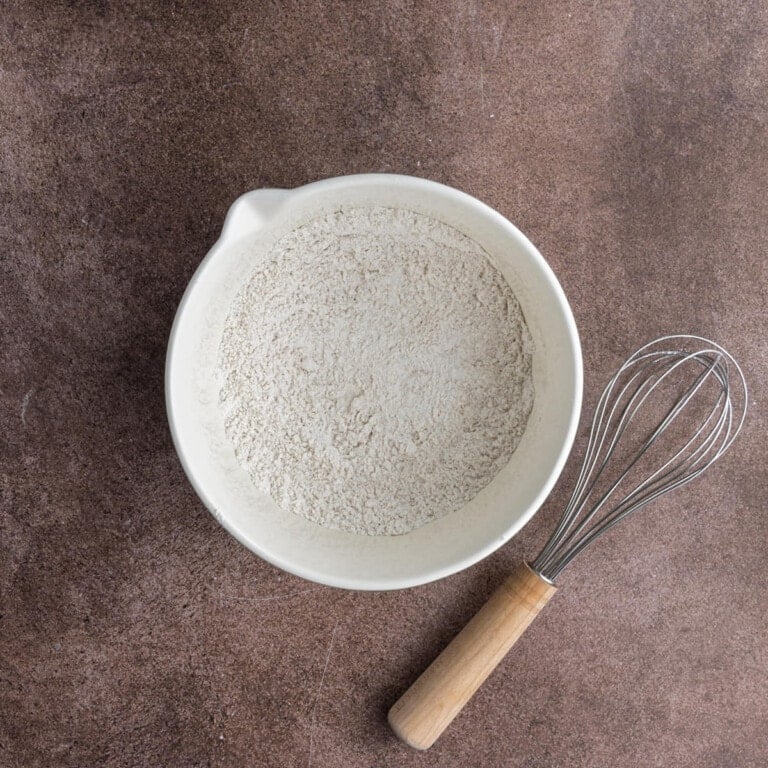
Once you’ve set your homemade acidified buttermilk aside, grab a large mixing bowl to make your silver dollar pancake batter in.
Add your all-purpose flour, light brown sugar, baking powder, and salt to the bowl and whisk to combine. Pre-whisking your dry ingredients will help to avoid lumps in your batter.
Add the Wet Ingredients to Form the Pancake Batter
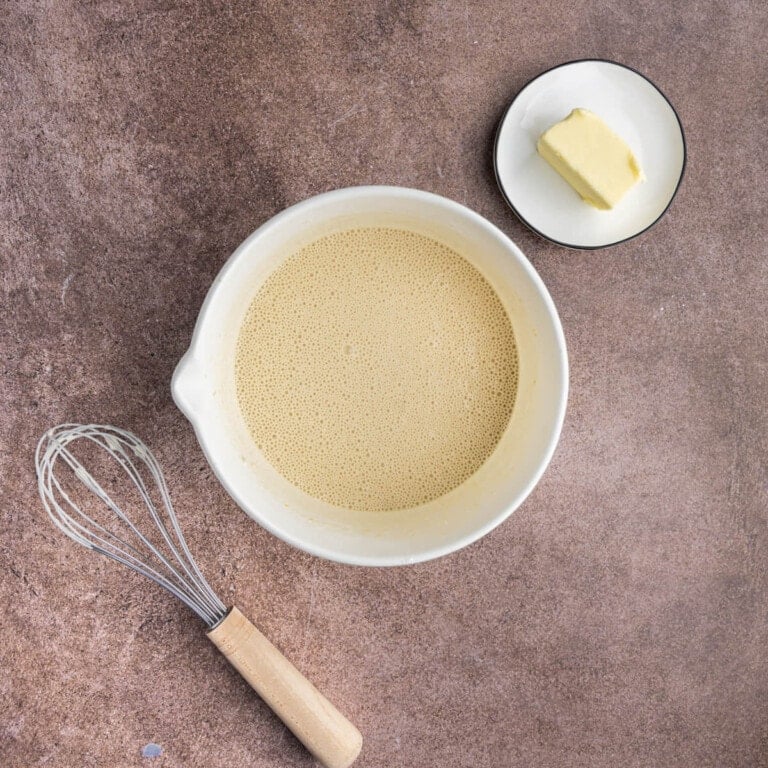
Once you’ve whisked your dry ingredients, it’s time to add your wet ingredients to form your silver dollar pancake batter. Add the egg, vanilla extract, and acidified buttermilk mixture and whisk again until nice and smooth.
As always, it is best practice to crack the eggs into a separate small bowl or ramekin first, instead of cracking it directly into your batter. This will give you the opportunity to remove any eggshells that fall into your bowl, so they don’t end up in your batter.
It also means that if in the small chance you got a rotten or bloody egg, you won’t have to waste the rest of your ingredients that are already combined in your bowl.
Green tip: Did you know you can compost egg shells? For detailed instructions check out this post on how to compost egg shells.
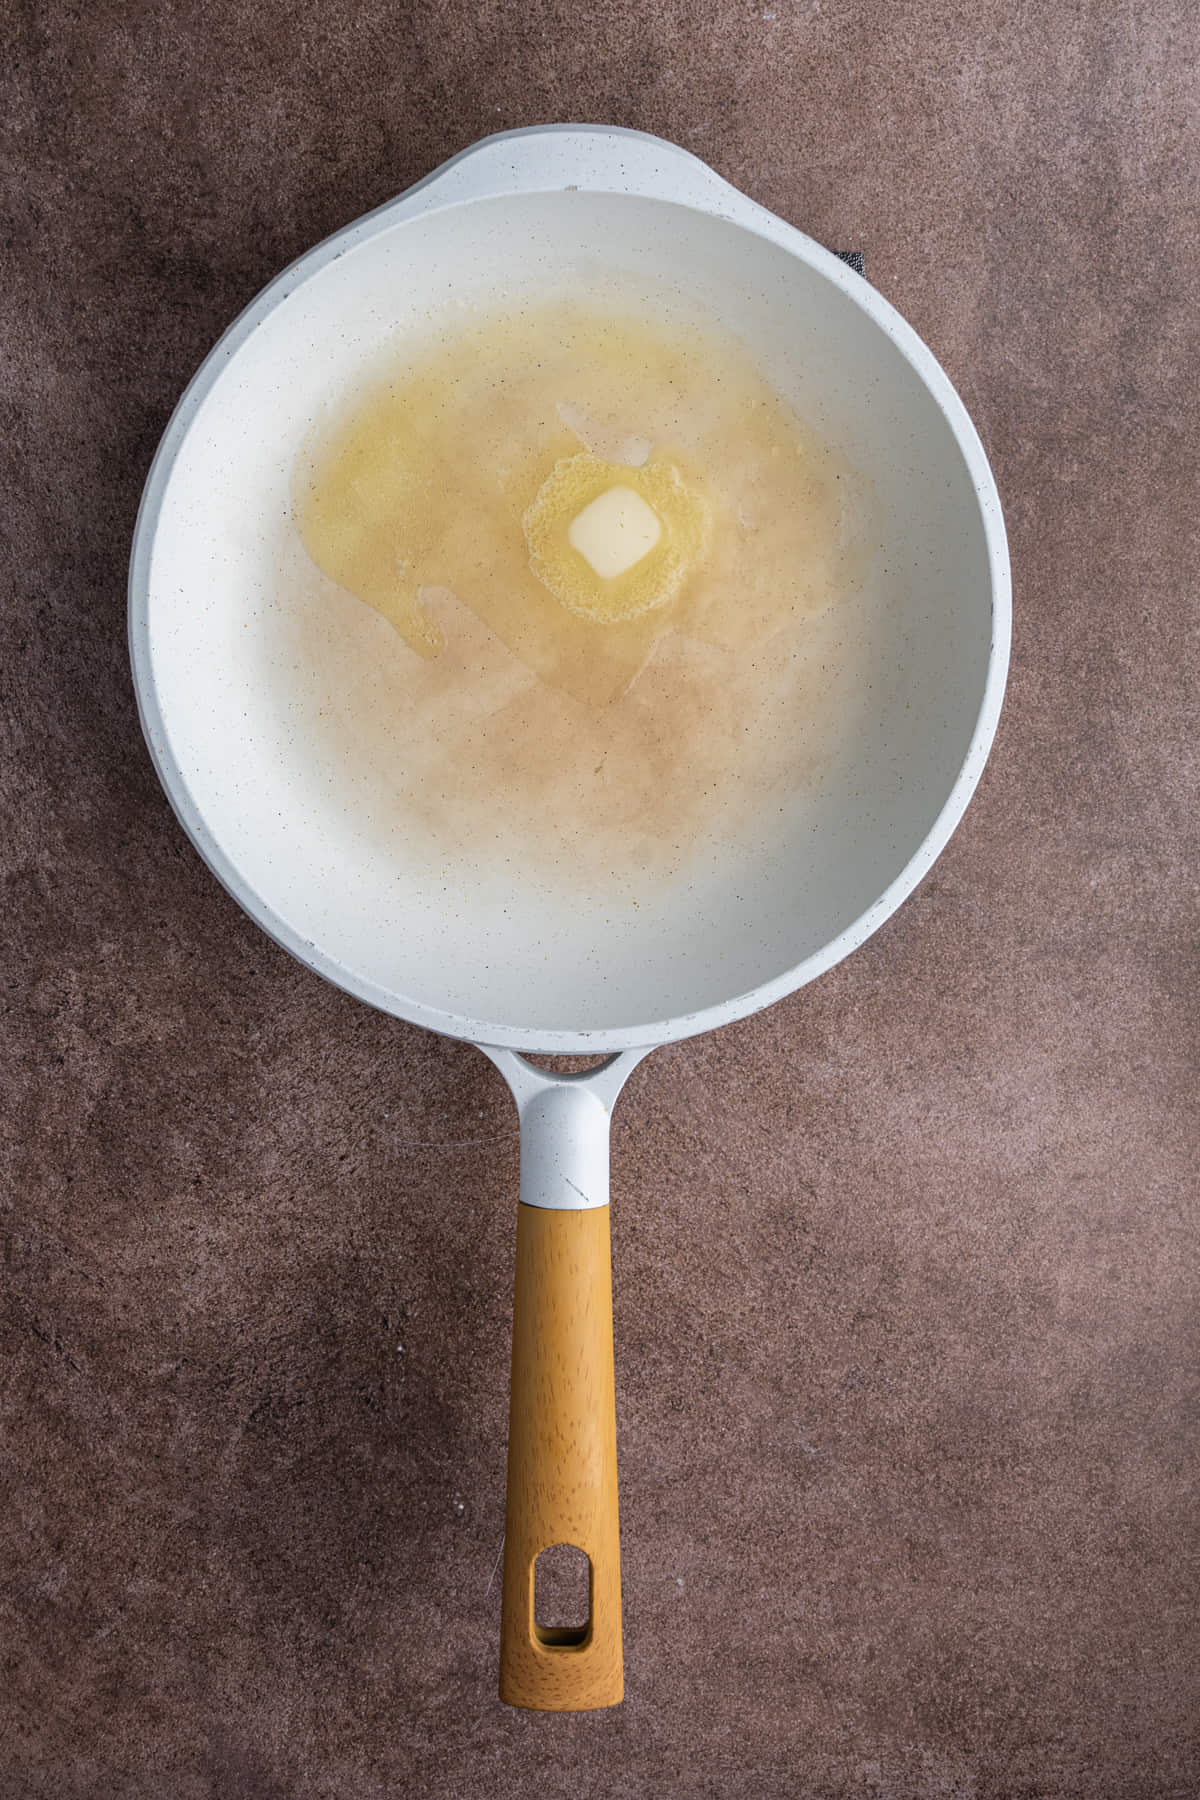
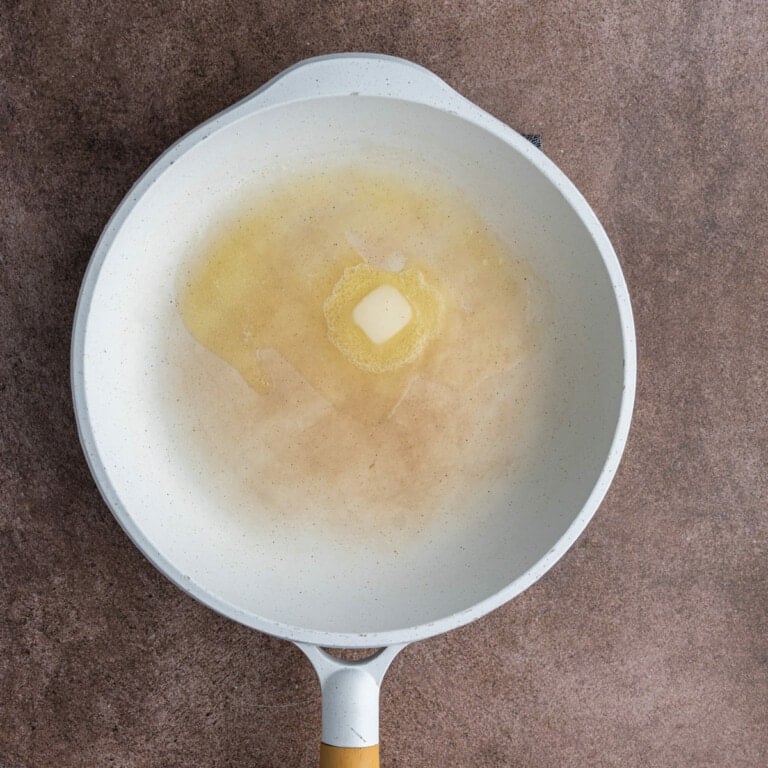
Get Butter Hot in Your Pan First
Before you add your batter to the frying pan or griddle, allow it to get nice and hot on the stove with about 1 tablespoon of unsalted butter.
The butter should be completely melted and hot before you add any homemade pancake batter. This is the best way to get that perfect golden-brown crispy exterior.
This is also especially important with mini silver dollar pancakes because it makes it so that your pancakes don’t spread too much and turn out too flat and large.
How Much Batter to Use for Silver Dollar Pancakes
In order to be considered silver dollar pancakes, your homemade mini pancakes should be about 2-3 inches in size. To accomplish this, you will use roughly 2 tablespoons of batter per pancake.
This homemade pancake recipe will make enough batter to make around 30 mini pancakes.
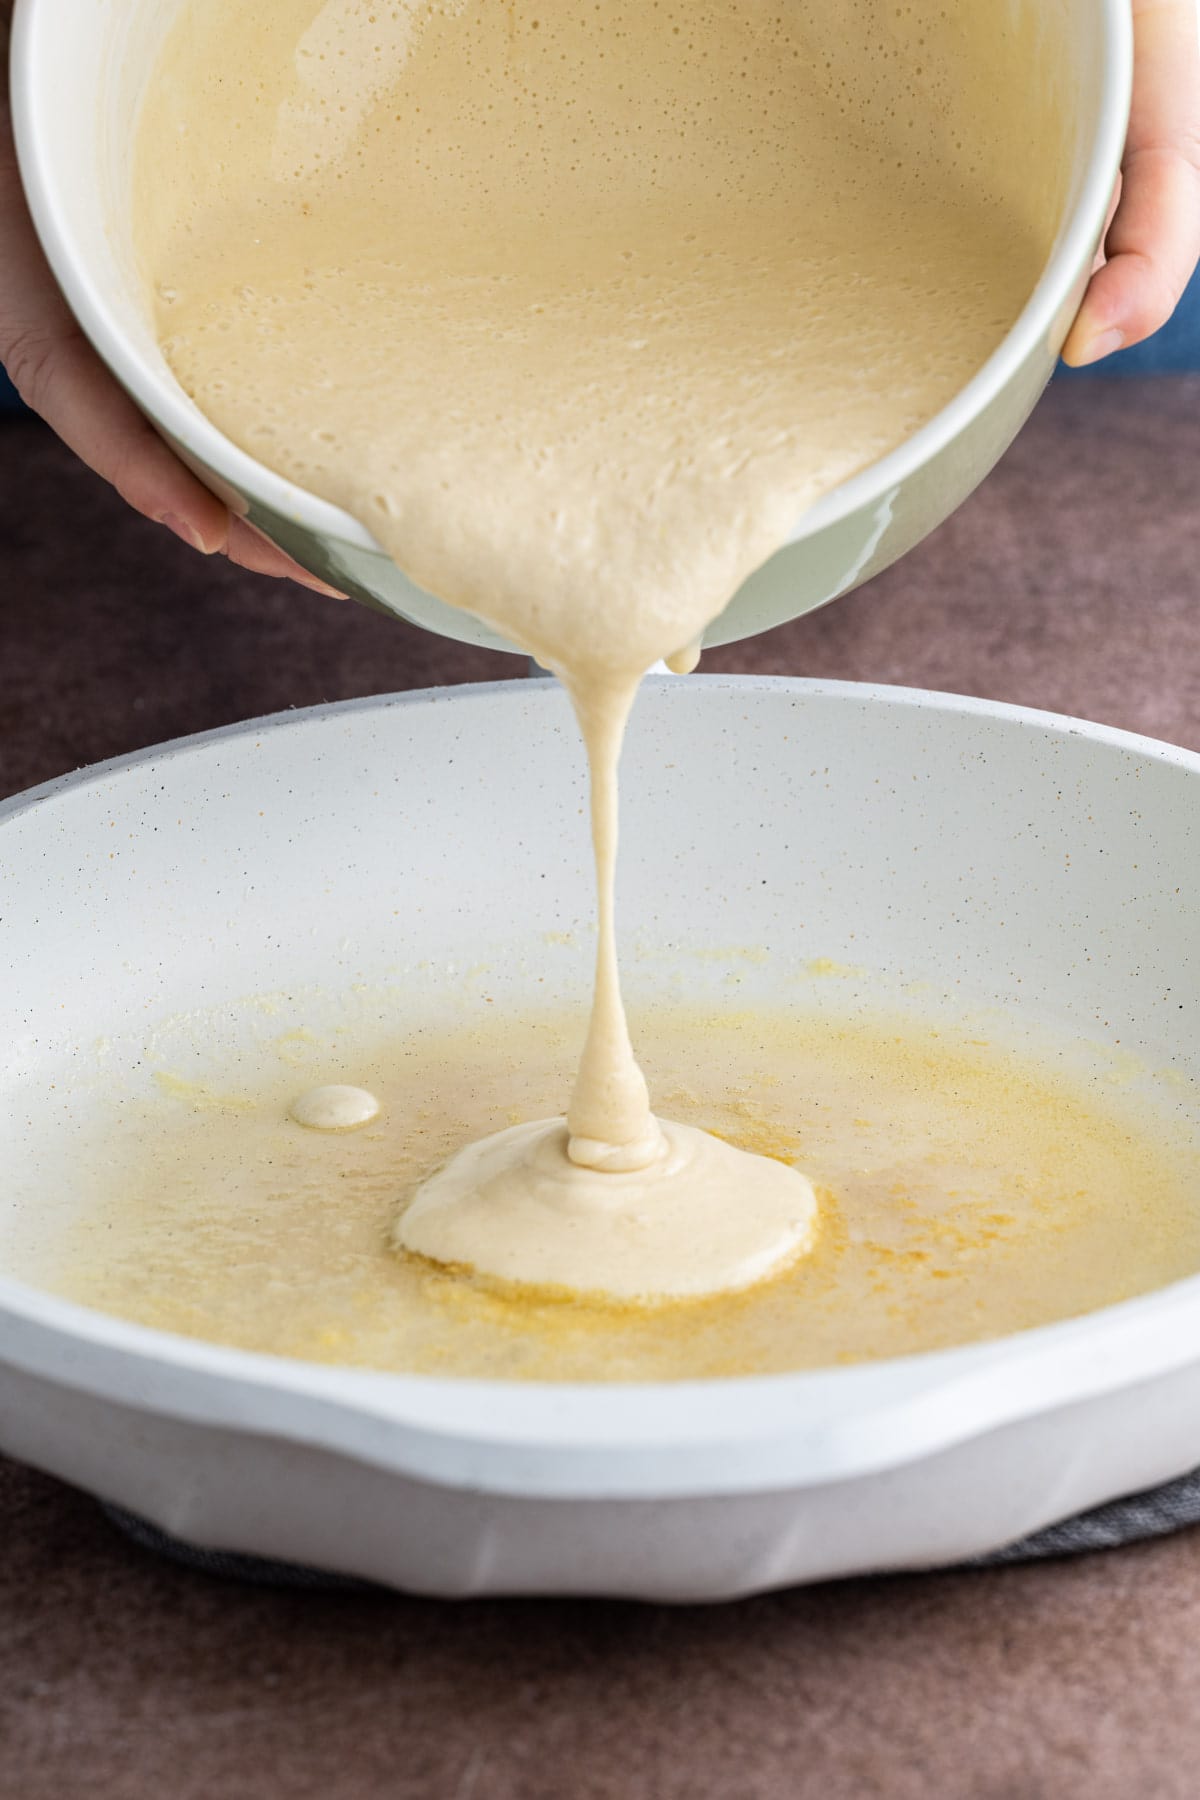
Once your butter is hot, add the pancake batter to the pan. You can use a measuring spoon or pour directly into the pan. I recommend using a cup or bowl with a spout. You can even transfer the batter into a measuring cup to make it easier to pour.
Make sure to leave at least an inch or two of space between each pancake, giving you ample room to get your spatula underneath each one to flip.
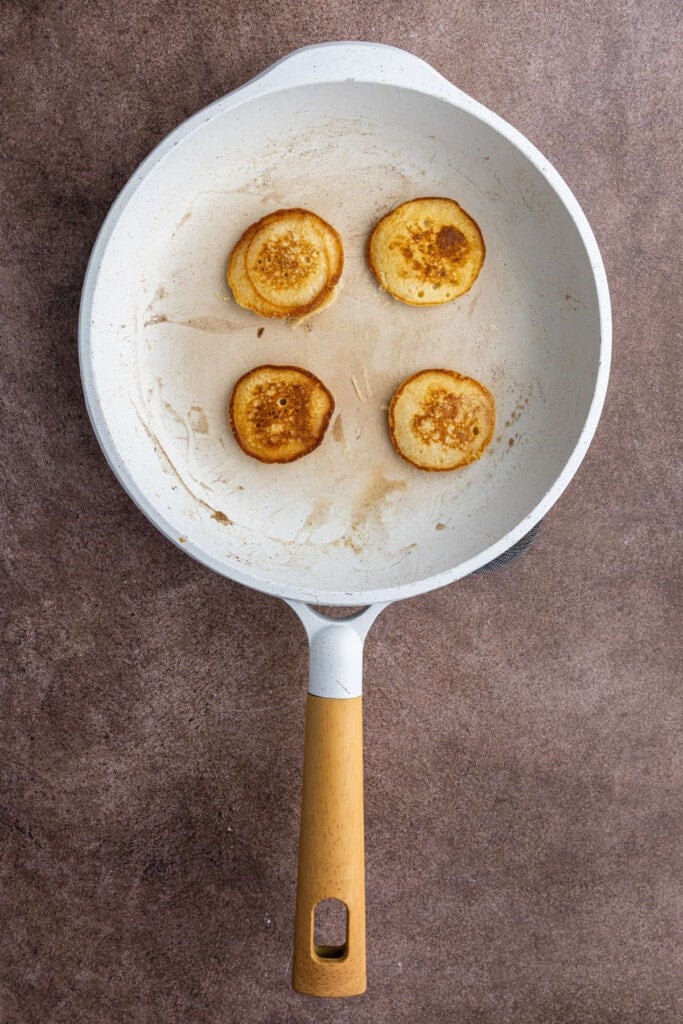
I typically only make 4 mini pancakes at a time in my frying pan. If you’re using a large griddle, you’ll be able to get away with making much more at once.
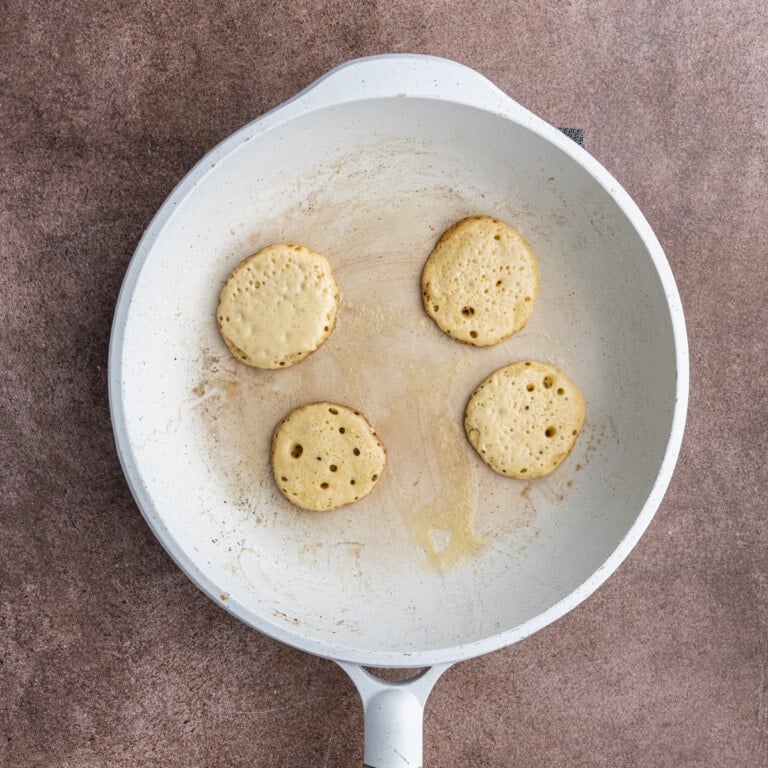
How to Flip Mini Pancakes
Each pancake will take about 2-3 minutes on each side over medium heat. You’ll know they are ready to flip when you see several little air bubbles form in the pancake batter (as pictured below).
Pro tip: For thicker, perfectly round pancakes, use these silver dollar pancake molds!
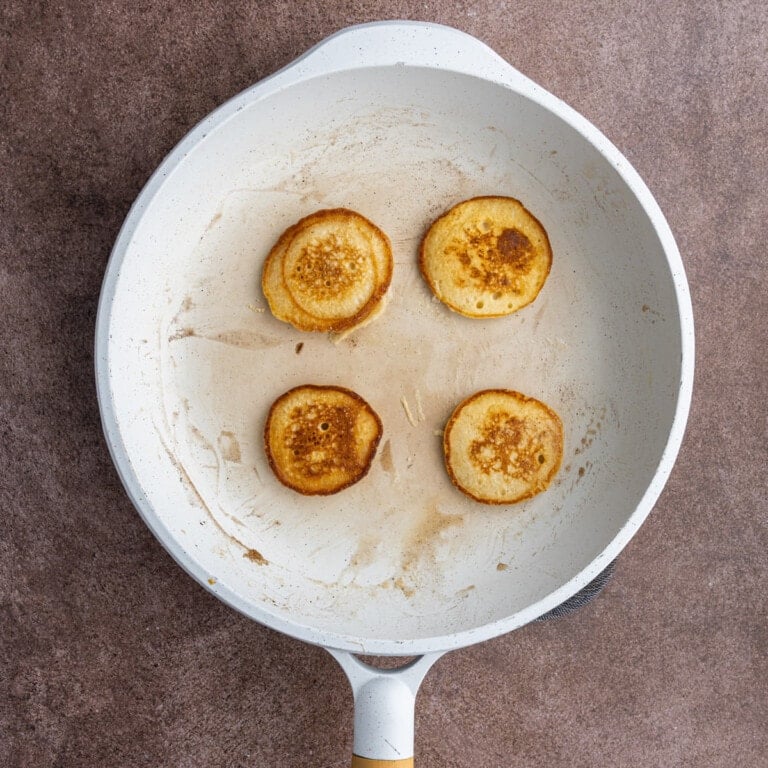
Fry each pancake until it’s golden brown on both sides, making sure to add more butter to the pan as needed. There should always be a thin layer of butter coating the bottom of your pan, but you may not need all 3 tablespoons of butter.
As you continue to make pancakes, you may notice that your butter starts to brown. This is absolutely okay. If, however, the butter gets burnt and black, wipe the pan and lower the heat. Start with a clean pan and new butter to avoid a bitter and burnt taste.

How to Keep Pancakes Warm Before Serving
Since these silver dollar pancakes are small and the batter makes a lot of pancakes, you may want to keep the first several batches warm while you’re cooking up the rest.
Simply turn your oven to the “keep warm” setting. If you don’t have this setting on your oven, then preheat it to 175°F. As you make your pancakes, add them to a large baking sheet.
Place them on the top rack of the oven to keep warm until all of your pancakes are ready to serve.
Green tip: Get to know your oven! Get an idea of how long it takes your oven to preheat. By not pre-heating the oven too early, you can save energy.
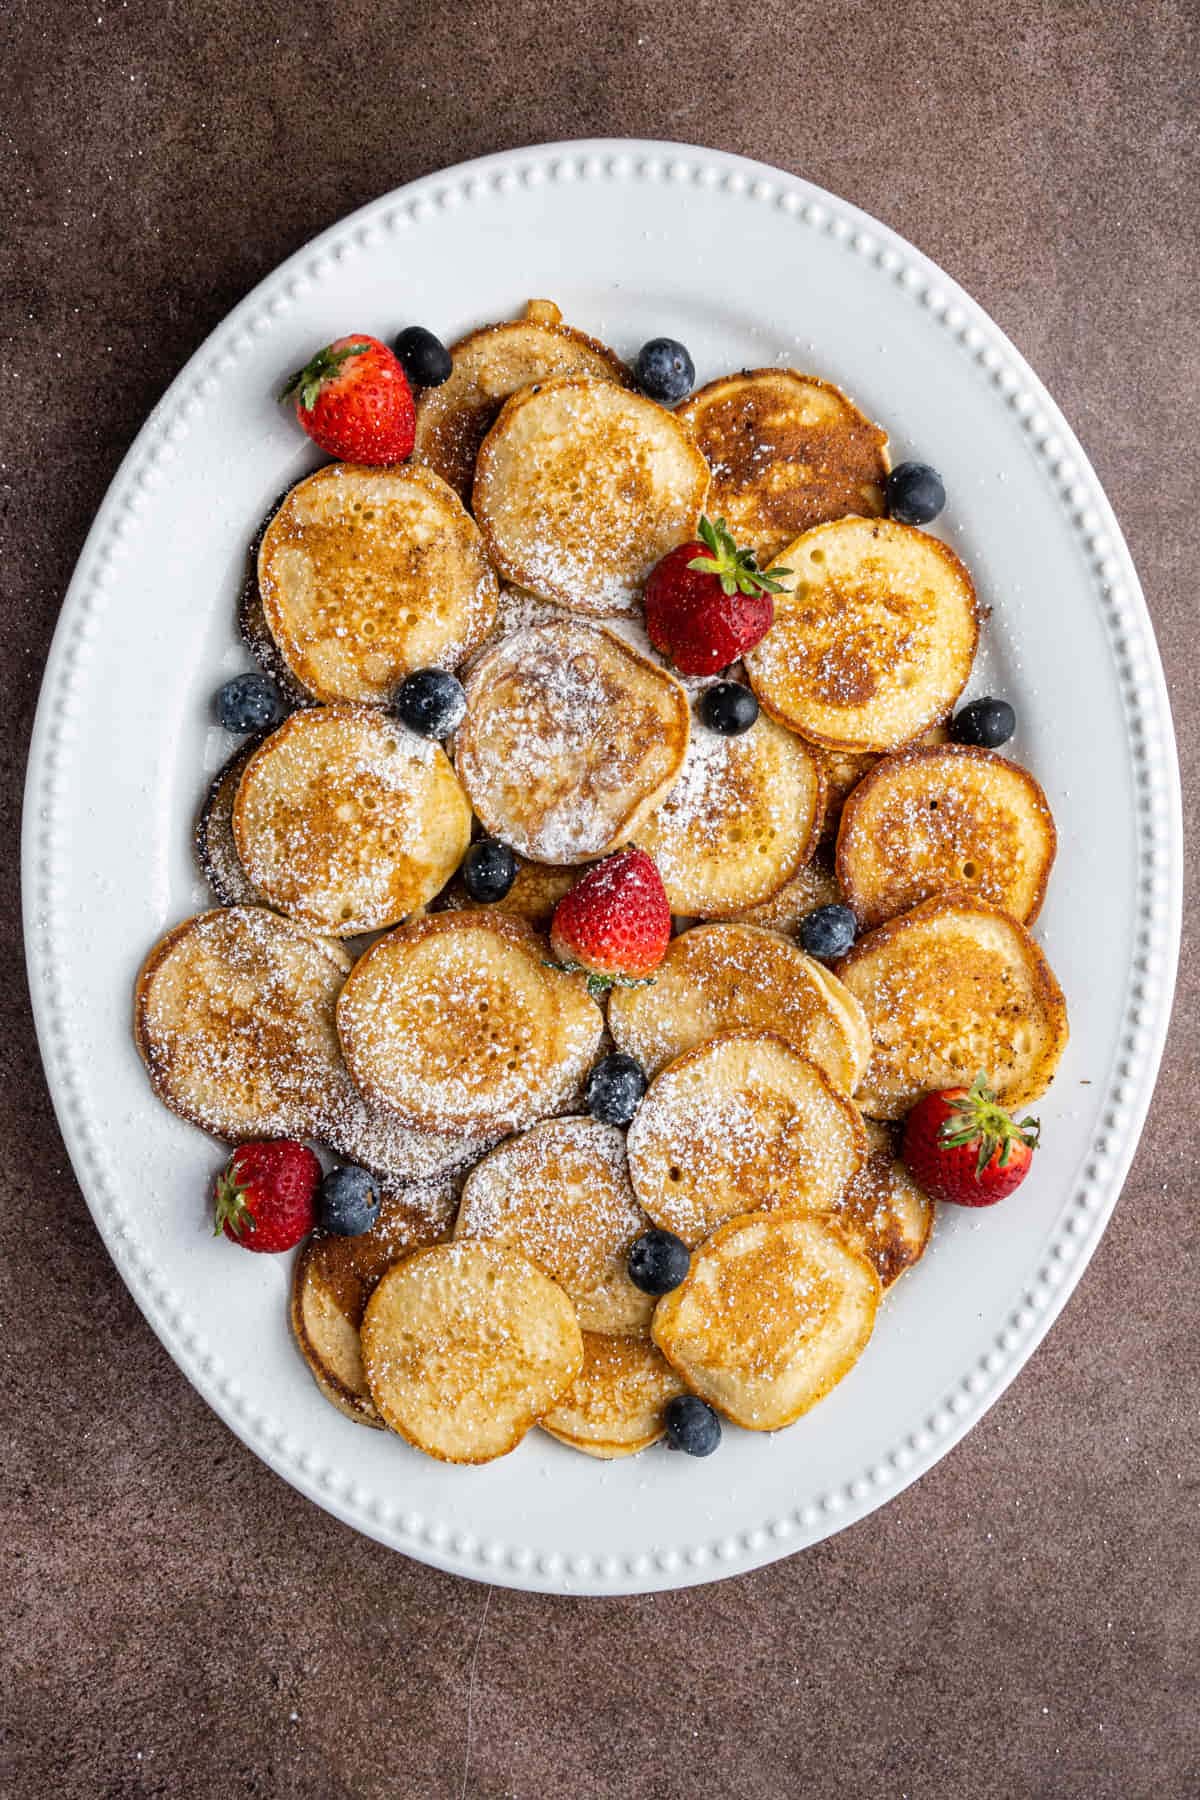
How to Serve Silver Dollar Pancakes
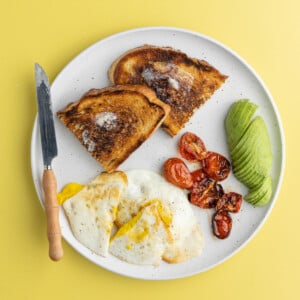
These homemade silver dollar pancakes are delicious on their own or with just a drizzle of maple syrup or even honey! I like to serve them up with these Vegan Breakfast Sausage Patties and/or Soft Scrambled Eggs or Over Hard Eggs for a complete breakfast!
These mini pancakes are also a great vessel for a variety of fun toppings. Here are some of my favorite topping ideas:
- Powdered sugar or cocoa powder
- A pat of butter (dairy or plant-based, preferably unsalted)
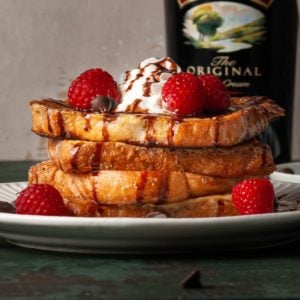
- Whipped cream (dairy, coconut or almond milk based)
- Sliced bananas, peaches, or pears
- Blueberries, strawberries, or blackberries
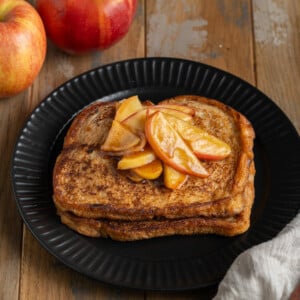
- Chopped apple
- Cinnamon or cinnamon sugar
- Dark chocolate chips or chocolate syrup
- Candied walnuts or other nuts for crunch
Storing and Reheating Leftover Mini Pancakes
These Fluffy Silver Dollar Pancakes will last in an airtight container in the refrigerator for 3 days. These pancakes can also be frozen for up to 3 months.
There are two great ways to reheat your mini pancakes. You can either refry them in a pan (no extra butter or oil needed!) or reheat them in the oven. Preheat your oven to 350°F and heat for about 5 minutes or until heated thoroughly.
In a pinch, you can also opt to microwave the leftover pancakes on high for 10-15 seconds (per pancake). Just know that microwaving may make them a little bit rubbery (especially if you overdo it).
Don’t stack the pancakes while microwaving them. This will give you a more even and thorough heating.
If you do end up freezing your pancakes, it’s best to allow them to thaw overnight in the refrigerator before reheating them using one of the methods listed above. Otherwise, you can simply add extra time to the re-heating process.
If you have leftover batter, you can keep that too! Covered in the refrigerator, the batter will last for up to 3 days. Just store it away and fry up the pancakes within the next few days.
Green tip: Of the billions of tons of food wasted annually, 50% of food waste happens at home. Reduce your contribution to food waste by properly storing, reheating, and consuming leftovers.
30-Minute Silver Dollar Pancakes Frequently Asked Questions
Why are they called silver dollar pancakes?
These special mini pancakes get their unique name because of their size! Silver dollar pancakes are called this because they are roughly the same size as the original U.S. silver dollar.
Nowadays, silver dollar pancakes are typically 2-3 inches in diameter.
What is a breakfast silver dollar?
Mini pancakes are not only called silver dollar pancakes, but sometimes are even referred to as a “breakfast silver dollar”, all alluding to fried pancakes roughly the size of the original U.S. silver dollar.
Why You Should Make These Fluffy Silver Dollar Pancakes
- They’re fun! Something about mini pancakes is fun! Maybe because it makes for a drool-worthy pancake to syrup ratio, or because the pancakes dare you to gobble them up in just two to three bites.
- The texture. Fluffy pancakes with crispy edges and a buttery, golden brown exterior.
- They’re quick. Even with flipping a lot of pancakes, this breakfast comes together quickly. The batter comes together in a matter of minutes and the pancakes cook up in 2-3 minutes.
If you’re loving these Silver Dollar Pancakes and want more delicious syrup-soakers, check out these Dairy Free Waffles and this Easy Sourdough French Toast.

Fluffy Silver Dollar Pancakes (30 Minutes!)
Print Save RateIngredients
- 1 cup milk
- 1 tablespoon white distilled vinegar or lemon juice
- 1 cup all-purpose flour
- 2 teaspoons baking powder
- 2 tablespoons light brown sugar
- ½ teaspoon salt
- 1 large egg
- 1 teaspoon vanilla salt
- 3 tablespoons unsalted butter (for frying)
- ¼ cup maple syrup (optional for serving )
Instructions
- In a measuring cup or small bowl, add the vinegar to the milk, stir, and set aside to slightly curdle to make acidified buttermilk.

- In a large mixing bowl, whisk together the flour, baking powder, brown sugar, and salt.
- Add the egg, vanilla extract, and your acidified buttermilk mixture, and whisk until smooth, careful not to overbeat.
- Add butter to your griddle or frying pan and allow it to heat up on medium-high until the butter is melted.
- For the thickest, most perfectly round pancakes, use silver dollar pancake molds. Pour batter into your molds or use about 2 tablespoons of batter to make freeform circles in the pan and cook over medium heat.
- When it's ready to flip, the batter on the uncooked side will start to form little air bubbles. Use a spatula to flip the pancakes, and allow them to cook on the other side for 2-3 minutes.
- Repeat steps 5 and 6 until the pancake batter is used up, adding butter before each batch to keep your griddle greased. Keep them warm in the oven on "keep warm setting" (or 175°F) until ready to serve with maple syrup. Try serving them with these Soft Scrambled Eggs!
Pro Tips
- You can easily make this recipe vegan by using a flax egg and nondairy milk in the batter and frying the pancakes in non-dairy butter.
- You can use cooking spray instead of butter for a lighter version, but these pancakes taste really good with a little crisp on the outside. Please note, you may have to leave them on your pan or griddle a bit longer to get them golden-brown if you’re using the spray.
- If you’re like me and love starting your day with pancakes, you’re gonna need to check out the collection of my best pancake recipes!
Share This Recipe