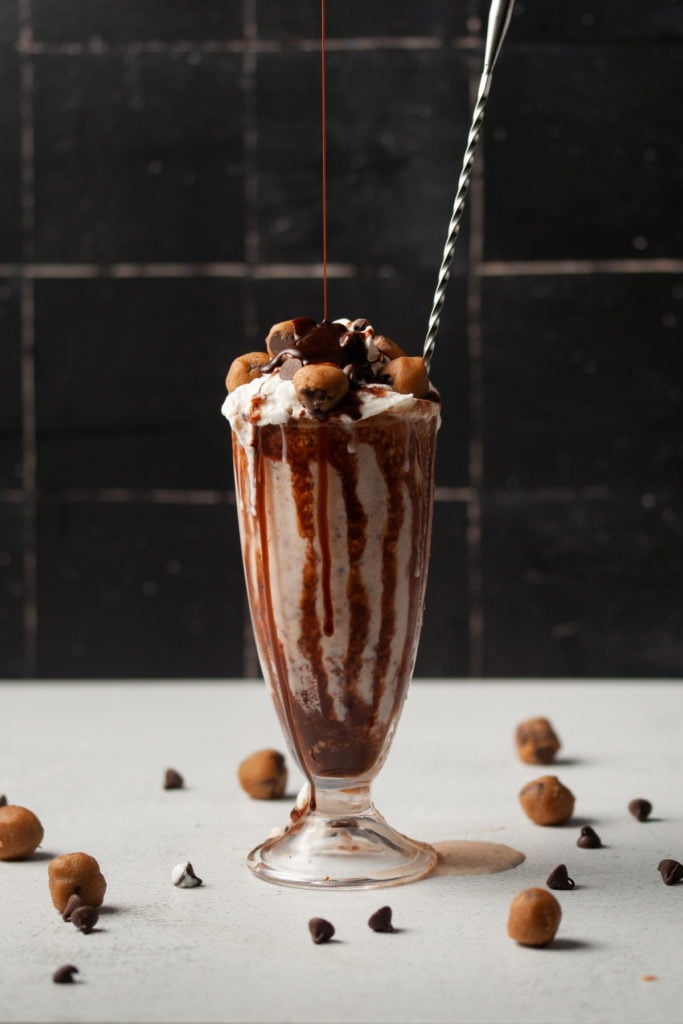
Can’t decide between cookies and a milkshake? Well, why should you when this Homemade Cookie Dough Milkshake means you can have it all!
With chunks of edible homemade cookie dough in a creamy, vanilla milkshake, you’ll never look at shakes the same way again!
How to Make Homemade Cookie Dough
The Secret Is In The Softening
It’s very important that your butter is softened. If you don’t have time to let it sit out and come to room temperature naturally, stick it in the microwave on high for 20 seconds.
You’ll know it’s perfectly softened when you poke it with your finger and it leaves an imprint. If 20 seconds doesn’t quite get it there, continue to microwave on high in 5-second intervals until it’s ready.
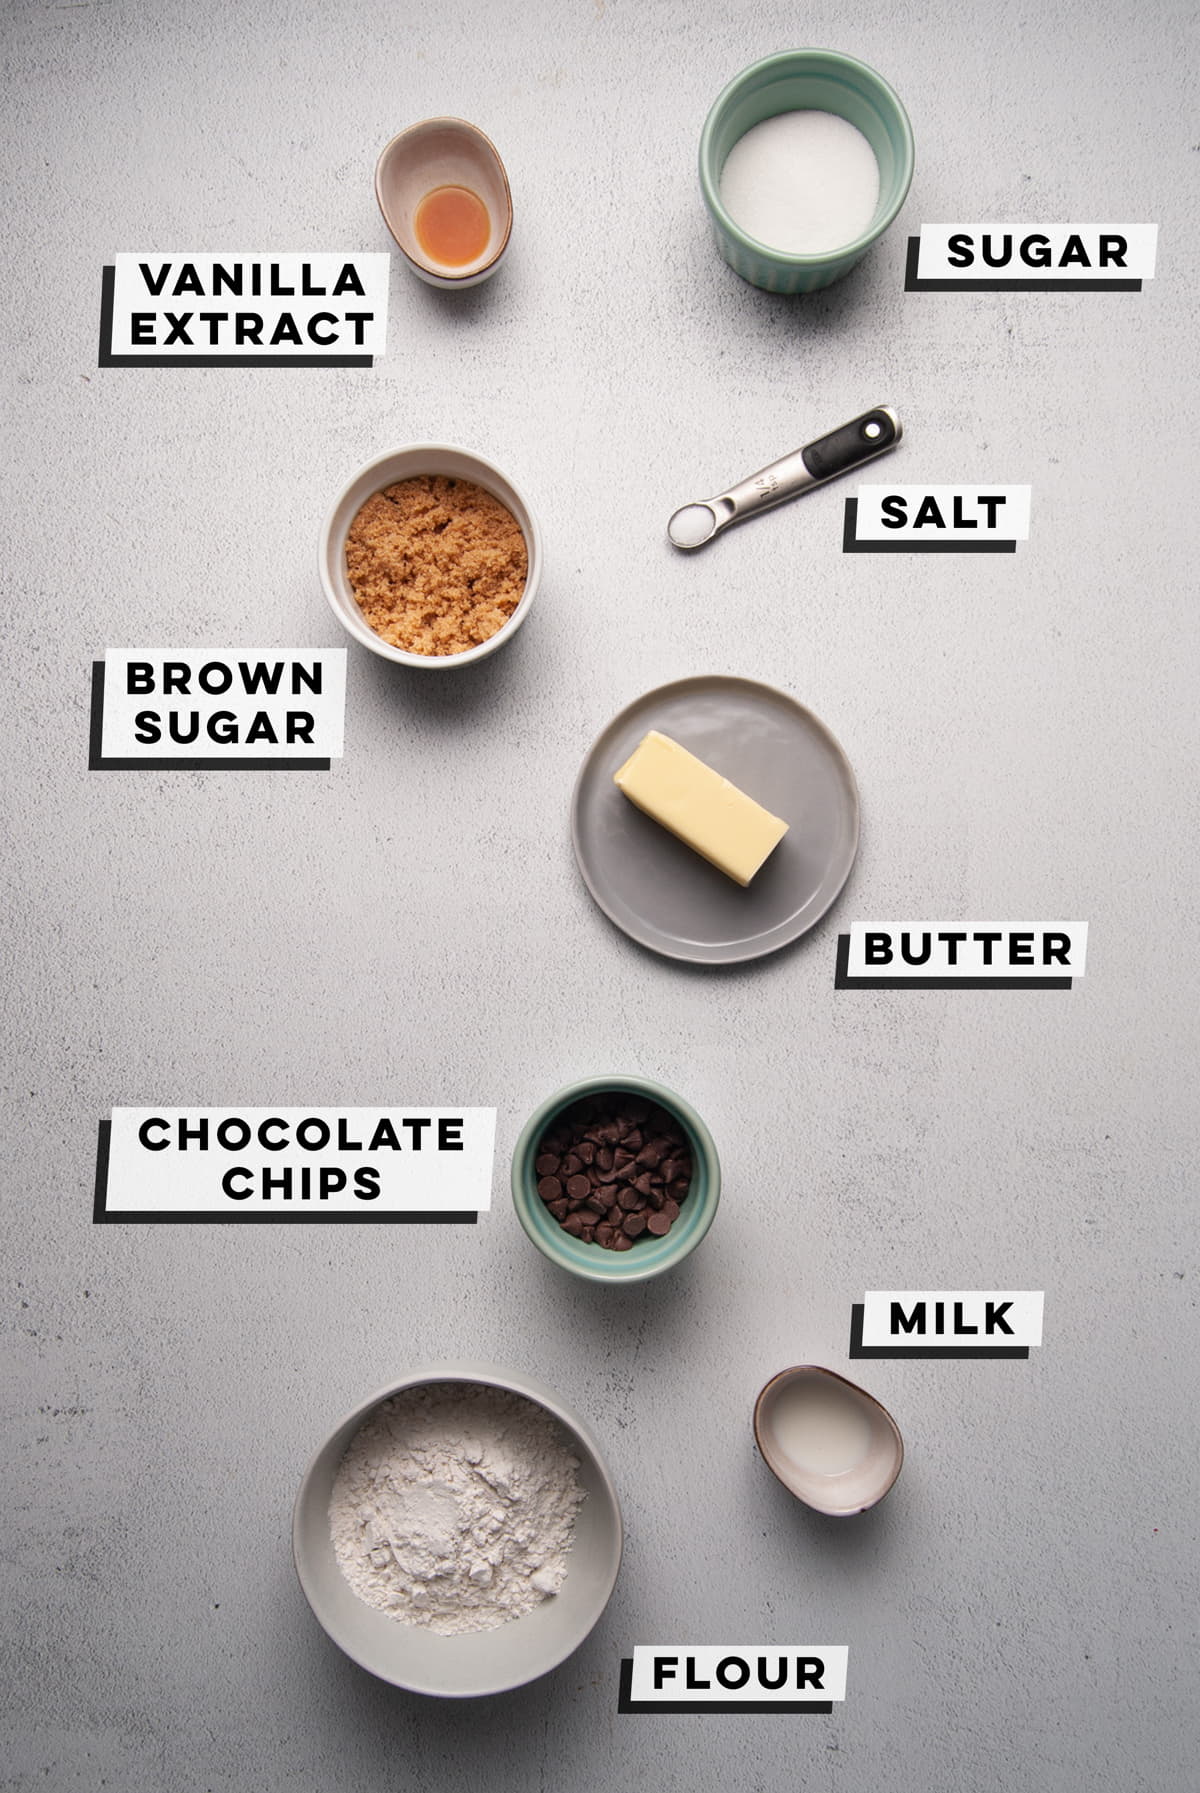
Aside from softened butter, here’s everything else you’ll need:
Heat Treat Your Flour
All-purpose flour is not ready-to-eat raw. Just like raw eggs, eating flour raw puts you at risk of ingesting nasty bacteria like E. Coli. So, it’s important to heat treat your flour before adding it to your edible cookie dough.
The great news is it’s super quick and simple. You can opt to sanitize your flour in either the oven or the microwave.
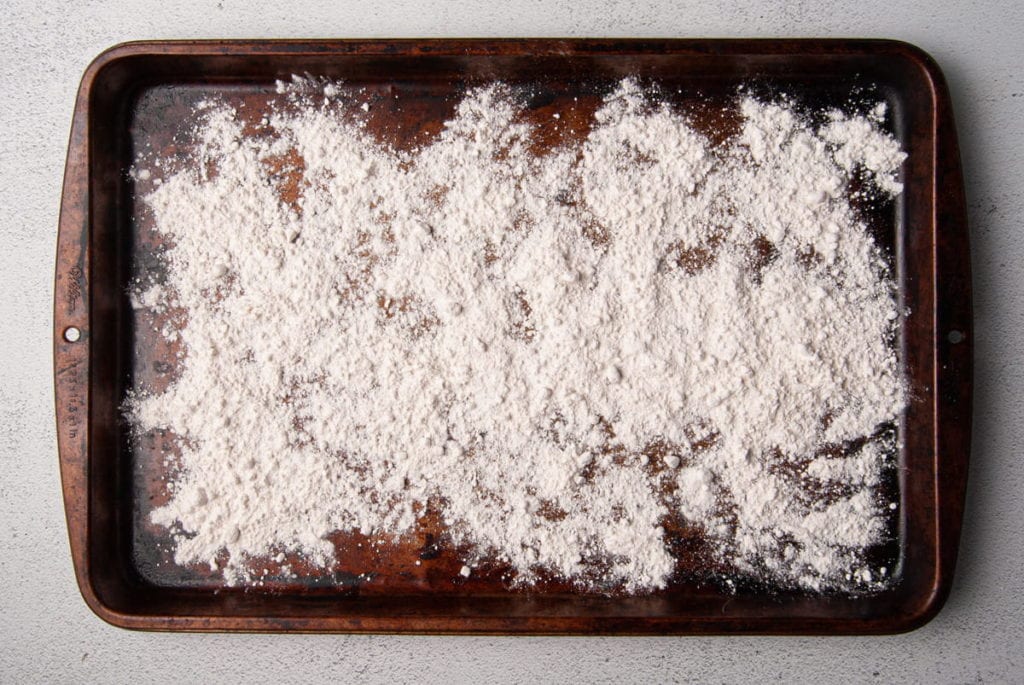
For the oven method, just spread your flour out on a large baking tray and bake on the bottom rack at 300°F for 5 minutes. This is my preferred method because it’s more hands-free.
If you’d rather use the microwave, just put your flour in a microwave-safe bowl, and heat on high in 30-second intervals, stirring in between for a total of 3 times (or 90 seconds).
Cream Your Butter and Sugar Together First
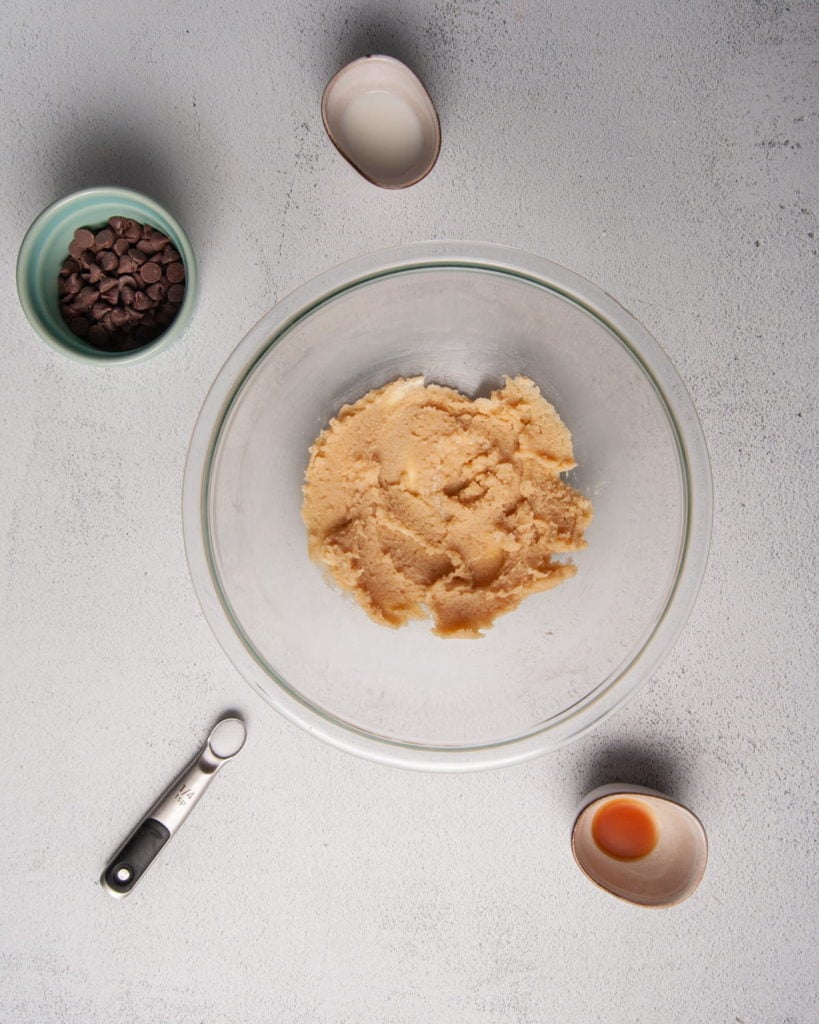
Use a hand mixer to combine your sugar and softened butter together first to form a base for your cookie dough.
This makes for a lighter, more buttery, melt-in-your-mouth cookie dough. You may notice that the hand mixer causes the butter and sugar mixture to look a little bit clumpy, but stirring once over with a spatula after creaming will fix that.
Fold Your Chocolate Chips in Last
Once you’ve creamed your butter and sugar together, you can put your hand mixer away. You should be able to easily mix up your cookie dough with a spatula or wooden spoon.
Allow your heat-treated flour to come back to room temperature and then add it to the butter and sugar along with the vanilla extract, milk, and salt.
Make sure everything is combined and smooth, pushing the dough down between your spatula and the bowl to ensure there are no clumps.
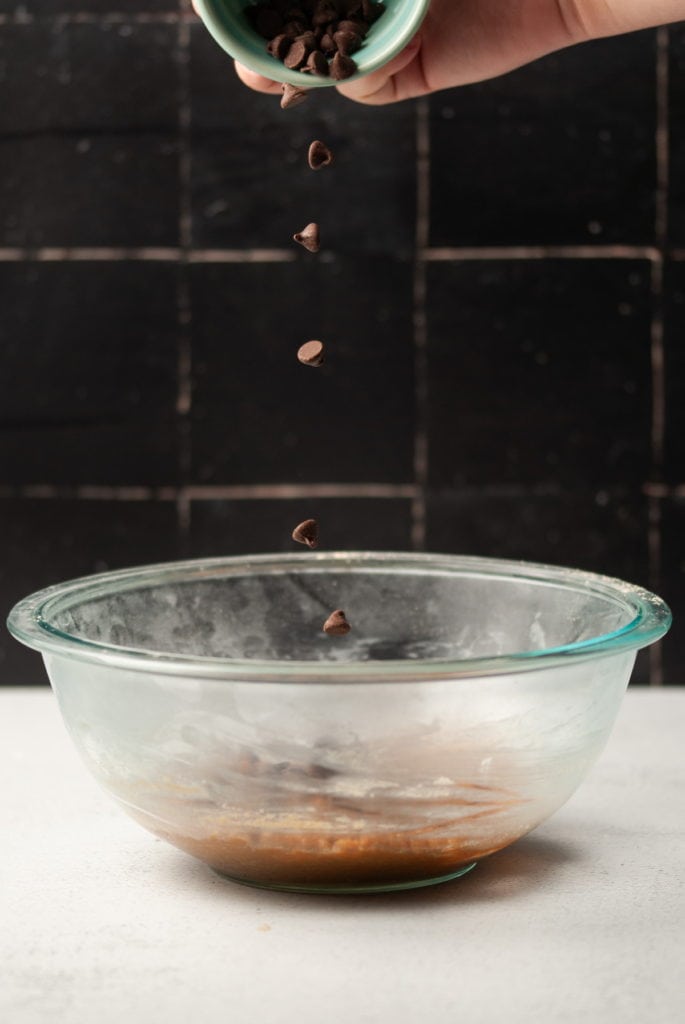
Then, you can add your chocolate chips.
Roll Some Into Balls
You will need 1/2 cup of the homemade cookie dough inside the shake, which will leave you a little bit to garnish or add to the milkshake after blending if you’re an eat-with-a-spoon kind of milkshake enjoyer.
Separate 1/2 cup of the dough and set it aside. Then, take about 1 teaspoon of the remaining dough at a time, and roll between clean hands to form little cookie dough balls.
Extra points if you don’t pop ’em all in your mouth before the milkshake is done!
Green tip: Make sure your chocolate is sustainably sourced. Look for Fair Trade, Rainforest Alliance, or UTZ certifications as opposed to self-proclaimed sustainability labels that sometimes falsely advertise “sustainably sourced”.
How to Make a Homemade Cookie Dough Milkshake
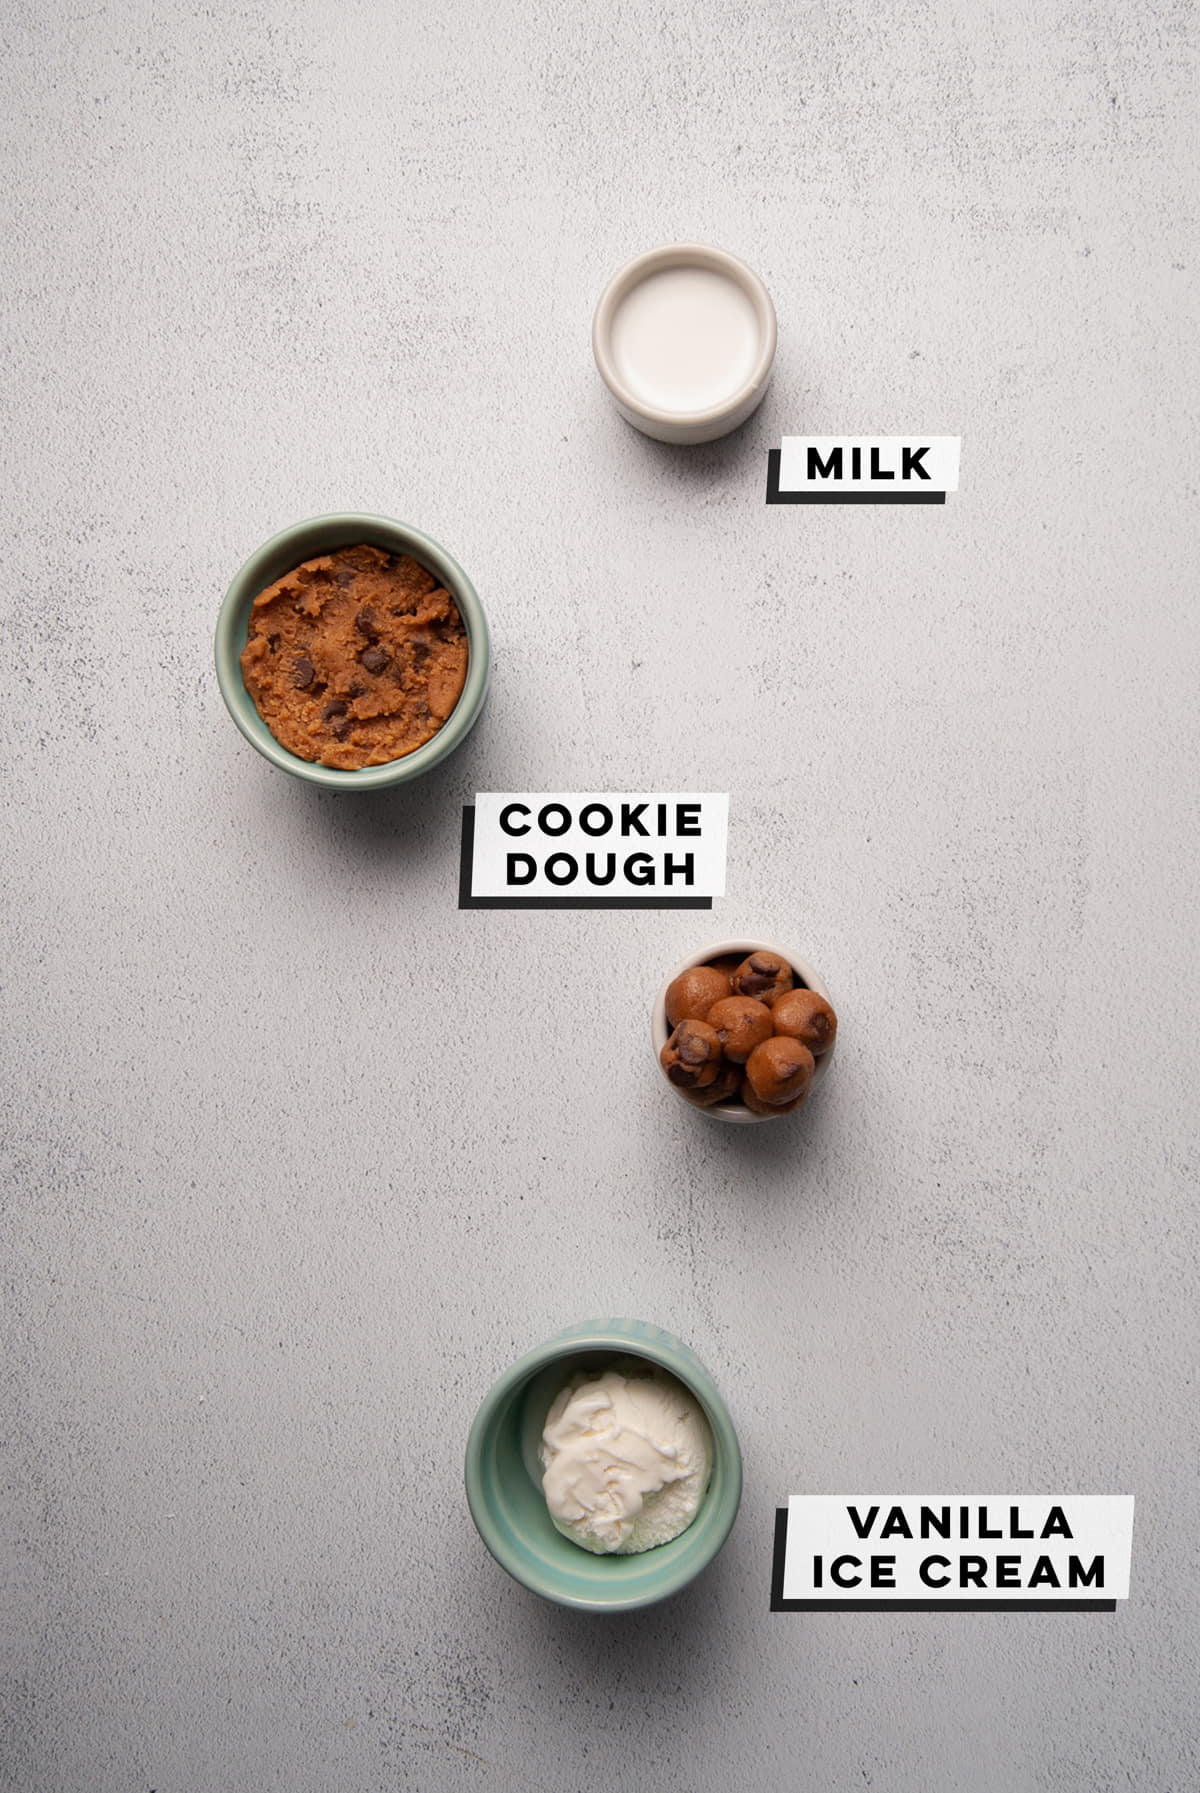
Gather Your Ingredients
Now that you’ve whipped up your edible cookie dough, you’re ready to blend up your delicious milkshake!
Here’s everything you’ll need:
You’ll Need A Blender or Food Processor
In addition to your three ingredients, you’ll also need either a blender or a food processor, preferably a blender! I use this Ninja Blender for this milkshake and a lot of my sauces and vinaigrettes. It works like a charm!
Getting the Right Consistency
I’ve found that 1/3 cup of milk in this shake gets me a fantastic consistency. Just thick and creamy enough, but not too much to stop me from slurping it up through a straw.
Green tip: Consider investing in reusable straws! They are easy to clean and will reduce your contribution to plastic waste that eventually ends up in landfills or makes its way into the environment and becomes microplastics. These stainless steel straws are my favorite!
That being said, if you find that your milkshake is a little too thick, you can add an extra tablespoon or two of milk to your blender. Add them one at a time, blending in between, and checking your consistency as you go.
Remember, it’s much easier to loosen it when it’s too thick than to make it thicker. If your ice cream is a little melted, start with 1/4 cup of liquid instead of 1/3 cup. Then check your milkshake and add more liquid as needed.
Tested Substitutions
This milkshake can be made with dairy-free ice cream and milk and come out just as delicious!
If you are making this vegan and dairy-free, use this vegan Edible Cookie Dough recipe.
Green tip: Industrial dairy production has a huge impact on the environment, especially because of the amount of land it takes to sustain and its high amount of greenhouse gas emissions. Reducing your dairy consumption is one great way to reduce your ecological footprint.
You can also substitute vanilla ice cream for chocolate ice cream if you want a more intense chocolate flavor.

Why You Should Make This Cookie Dough Milkshake
- It’s your favorite things combined. Why choose between cookies and a milkshake when you can have it all?
- It’s scratch-made. Down to the edible cookie dough.
- It’s decadent. Creamy, velvety, vanilla milkshake with chunks of cookie dough in every sip.
If you’re loving this Cookie Dough Milkshake, check out these Cookie Dough Cups for Ice Cream and this Coffee Milkshake.

Homemade Cookie Dough Milkshake
Equipment
Ingredients
Edible Cookie Dough
- ½ cup all-purpose flour
- 4 tablespoons unsalted butter, softened (4 tbsp usually = ½ stick)
- ¼ cup granulated sugar
- ¼ cup brown sugar
- ½ teaspoon vanilla extract
- 2 teaspoons milk (cows or non-dairy)
- ¼ teaspoon salt
- ¼ cup chocolate chips, dark or semi-sweet
Homemade Cookie Dough Milkshake
- ½ cup homemade cookie dough (plus extra for garnish!)
- 1 cup vanilla ice cream
- ⅓ cup milk (cows or non-dairy)
- 1 tablespoon whipped cream (optional)
- 2 teaspoons chocolate syrup (optional)
Instructions
Cookie Dough
- Heat treat your flour in one of two ways.Oven Method: Preheat an oven to 300°F. Spread the flour out on a baking sheet and bake on the bottom rack for 5 minutes.Microwave Method: Add flour to a microwave-safe bowl and microwave on high for 30 seconds. Stir a couple of times. Repeat two more times for a total of 90 seconds.
- Cream butter and both sugars together with a hand mixer until combined.
- Once the flour has come back down to room temperature after heat treating, add it to the butter and sugar along with the vanilla extract, milk, and salt.
- Use a spatula to push dough against the edge of the bowl to make sure no butter clumps remain, then fold in chocolate chips.
- Measure out 1/2 cup of cookie dough and set aside. Use clean hands to roll the remaining dough into little balls—about 1 teaspoon of dough in each.
Cookie Dough Milkshake
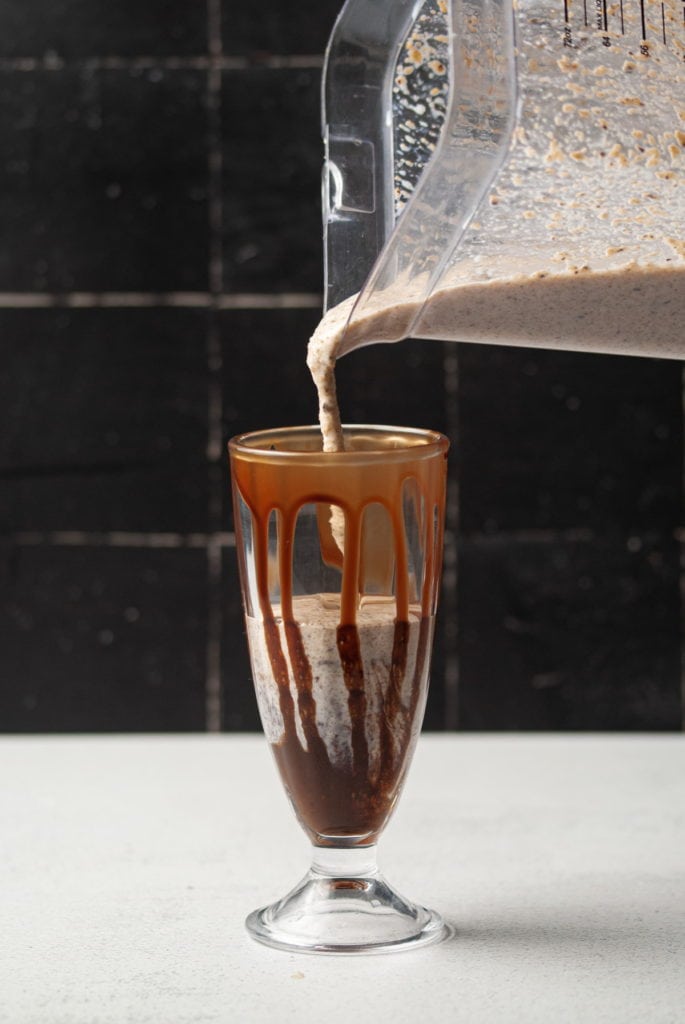
- Add ice cream, milk, and 1/2 cup cookie dough to your blender and blend on high until smooth.
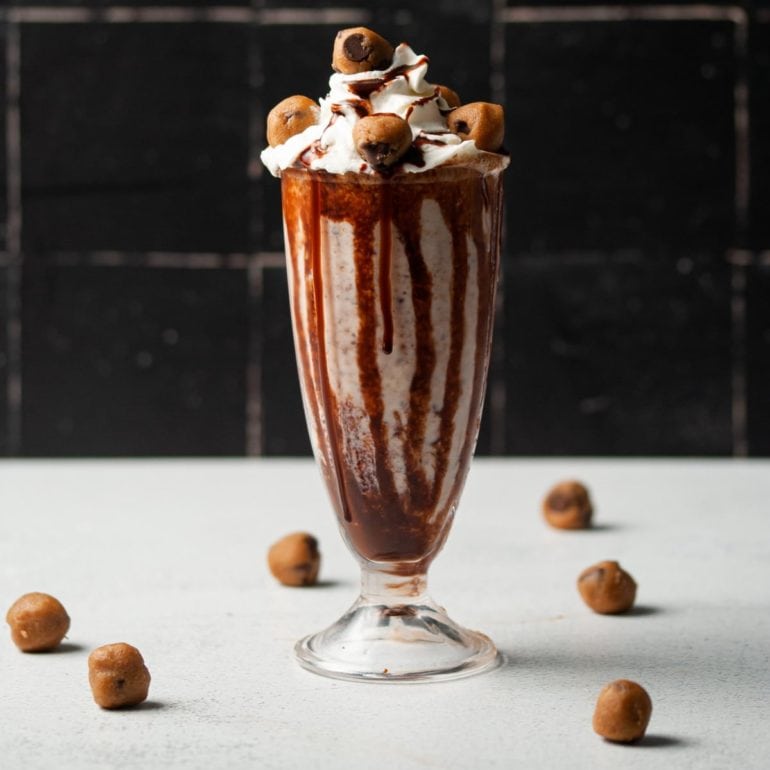
- Transfer to a glass and garnish with extra cookie dough balls. Option to add chocolate syrup and whipped cream for an extra fancy finish!
Pro Tips
- Make sure to heat treat your flour to reduce the risk of ingesting bacteria.
- You can use chocolate ice cream in place of vanilla ice cream if you want your milkshake extra chocolatey!
- Check out this delicious collection of my best milkshake recipes that are sure to bring all your friends to the yard!
Share This Recipe





2 thoughts on “Homemade Cookie Dough Milkshake”
Fyi, heat treating the flour does nothing. Just use it as is. If you’re that afraid of what is basically zero risk of the bacteria that may be in there, don’t use it. I, for one, have been consuming raw flour and eggs my entire life and have never gotten sick. If someone does get sick, it’s likely because they didn’t wash their hands before or after handling things with bacteria on them.
Hi Lilianne! Thanks for taking the time to read my recipe- it means a lot to me :)I’ve definitely been known to lick the batter or eat the raw cookie dough too 😉
You’re right- it’s definitely a small risk, but the FDA does recommend against it so it feels irresponsible of me to write a recipe without complying with those guidelines, especially since I can’t control how people store and handle their flour once it’s opened. Of course, you’re welcome to skip that step!