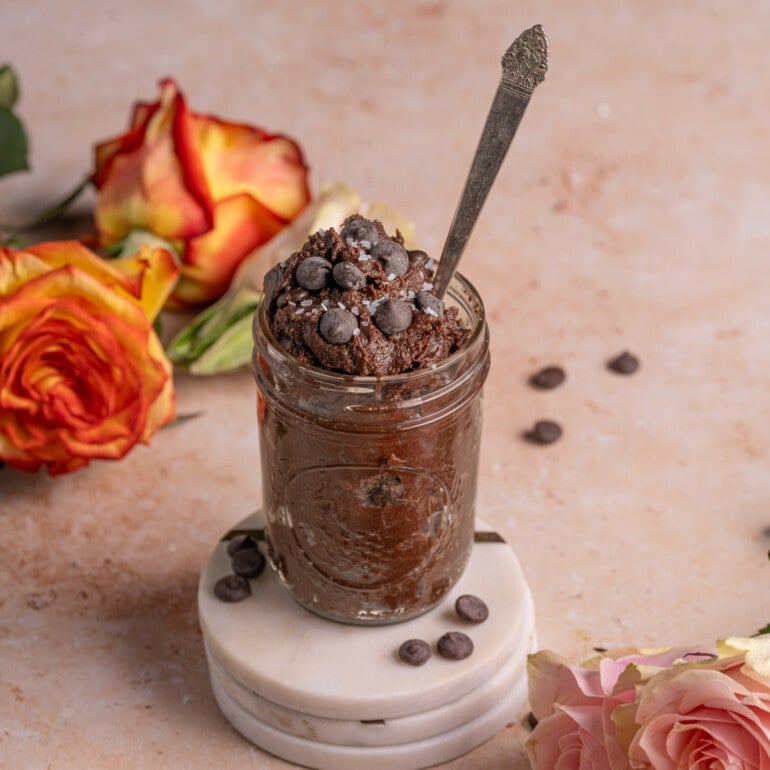
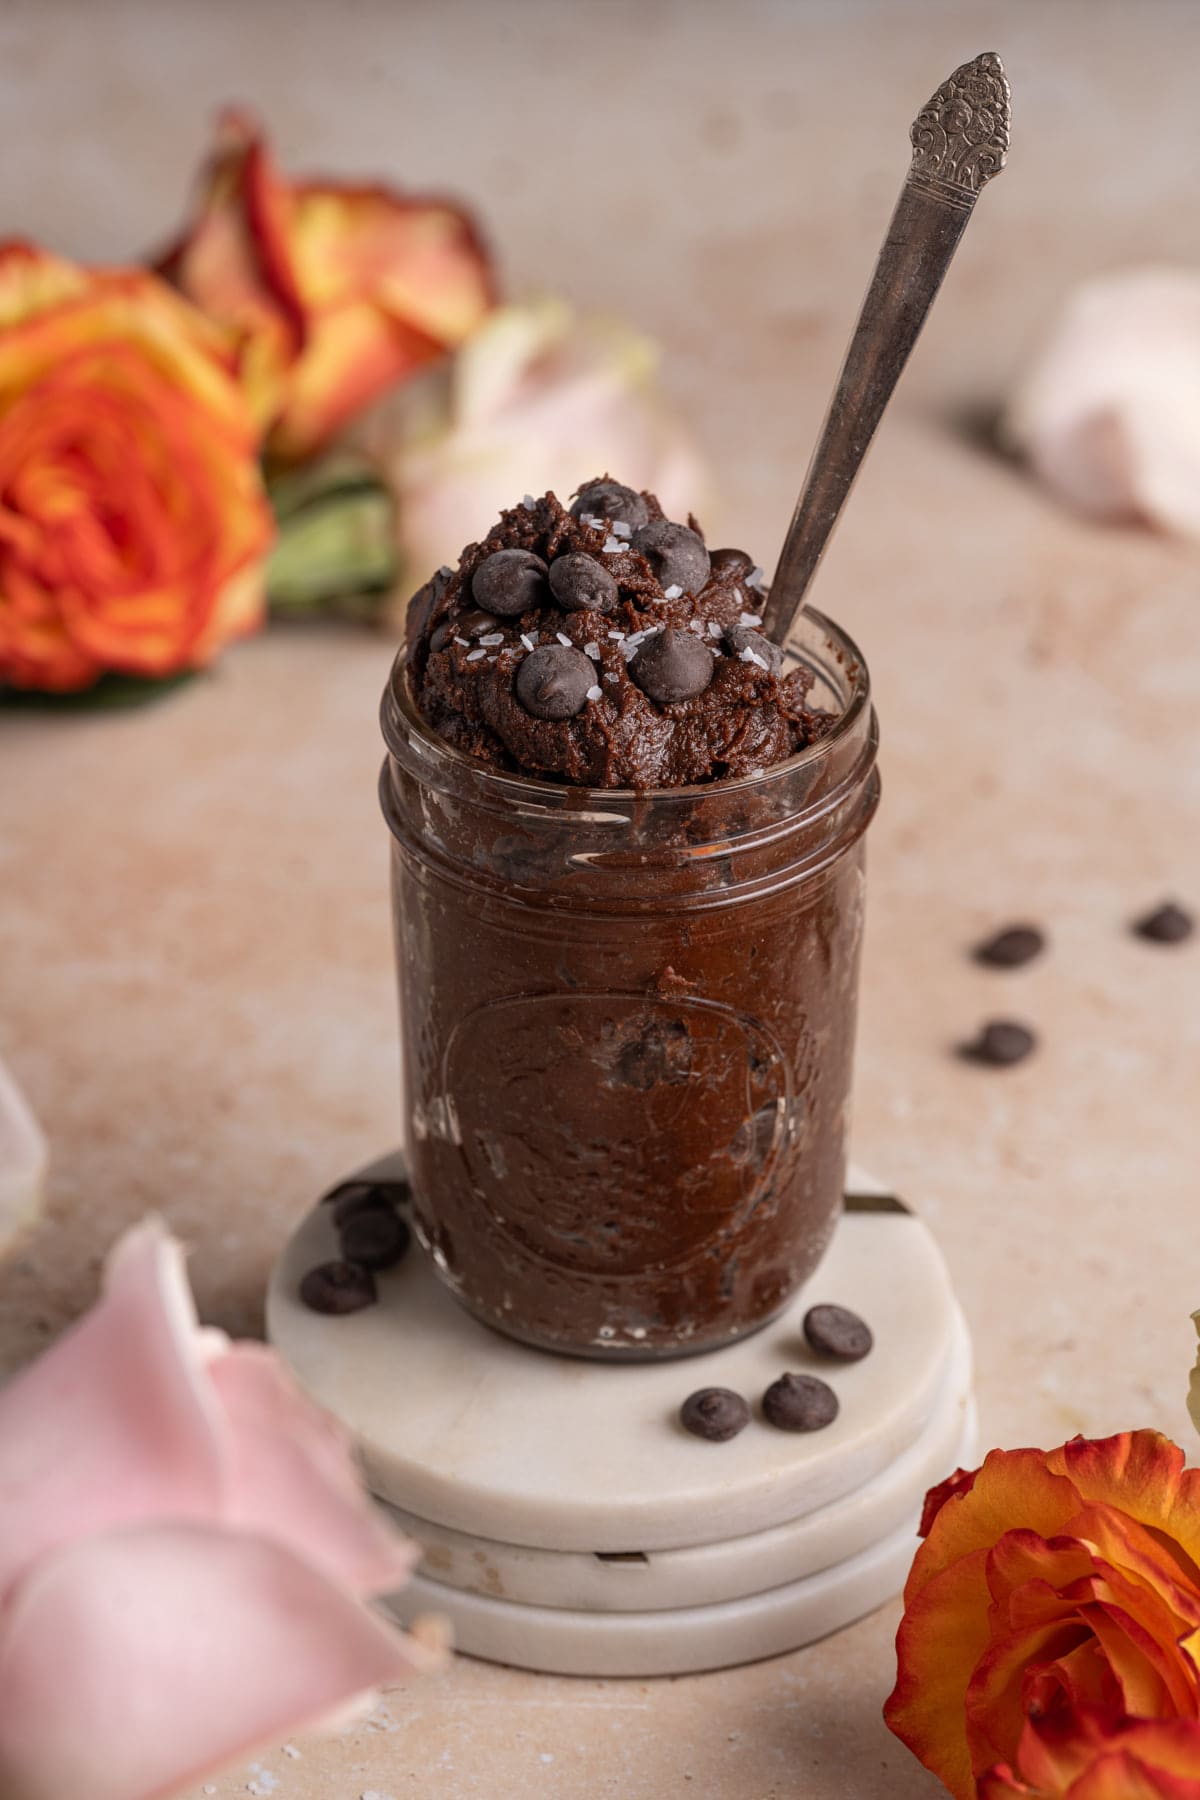
Is your favorite part of baking brownies licking the extra batter in the bowl? Forget the oven, make this quick Edible Brownie Batter instead!
You’re probably wondering why I have to clarify that this brownie batter is edible. And yes, while all brownie batters are technically edible, consuming raw eggs and untreated flour does pose (a small, but avoidable) risk of ingesting harmful bacteria.
So, in this recipe, you will learn how to heat treat the flour and mix up a brownie batter without eggs to eliminate the risk, and make a completely safe-to-snack-on brownie batter designed to eat with a spoon.
Edible Brownie Batter Ingredients
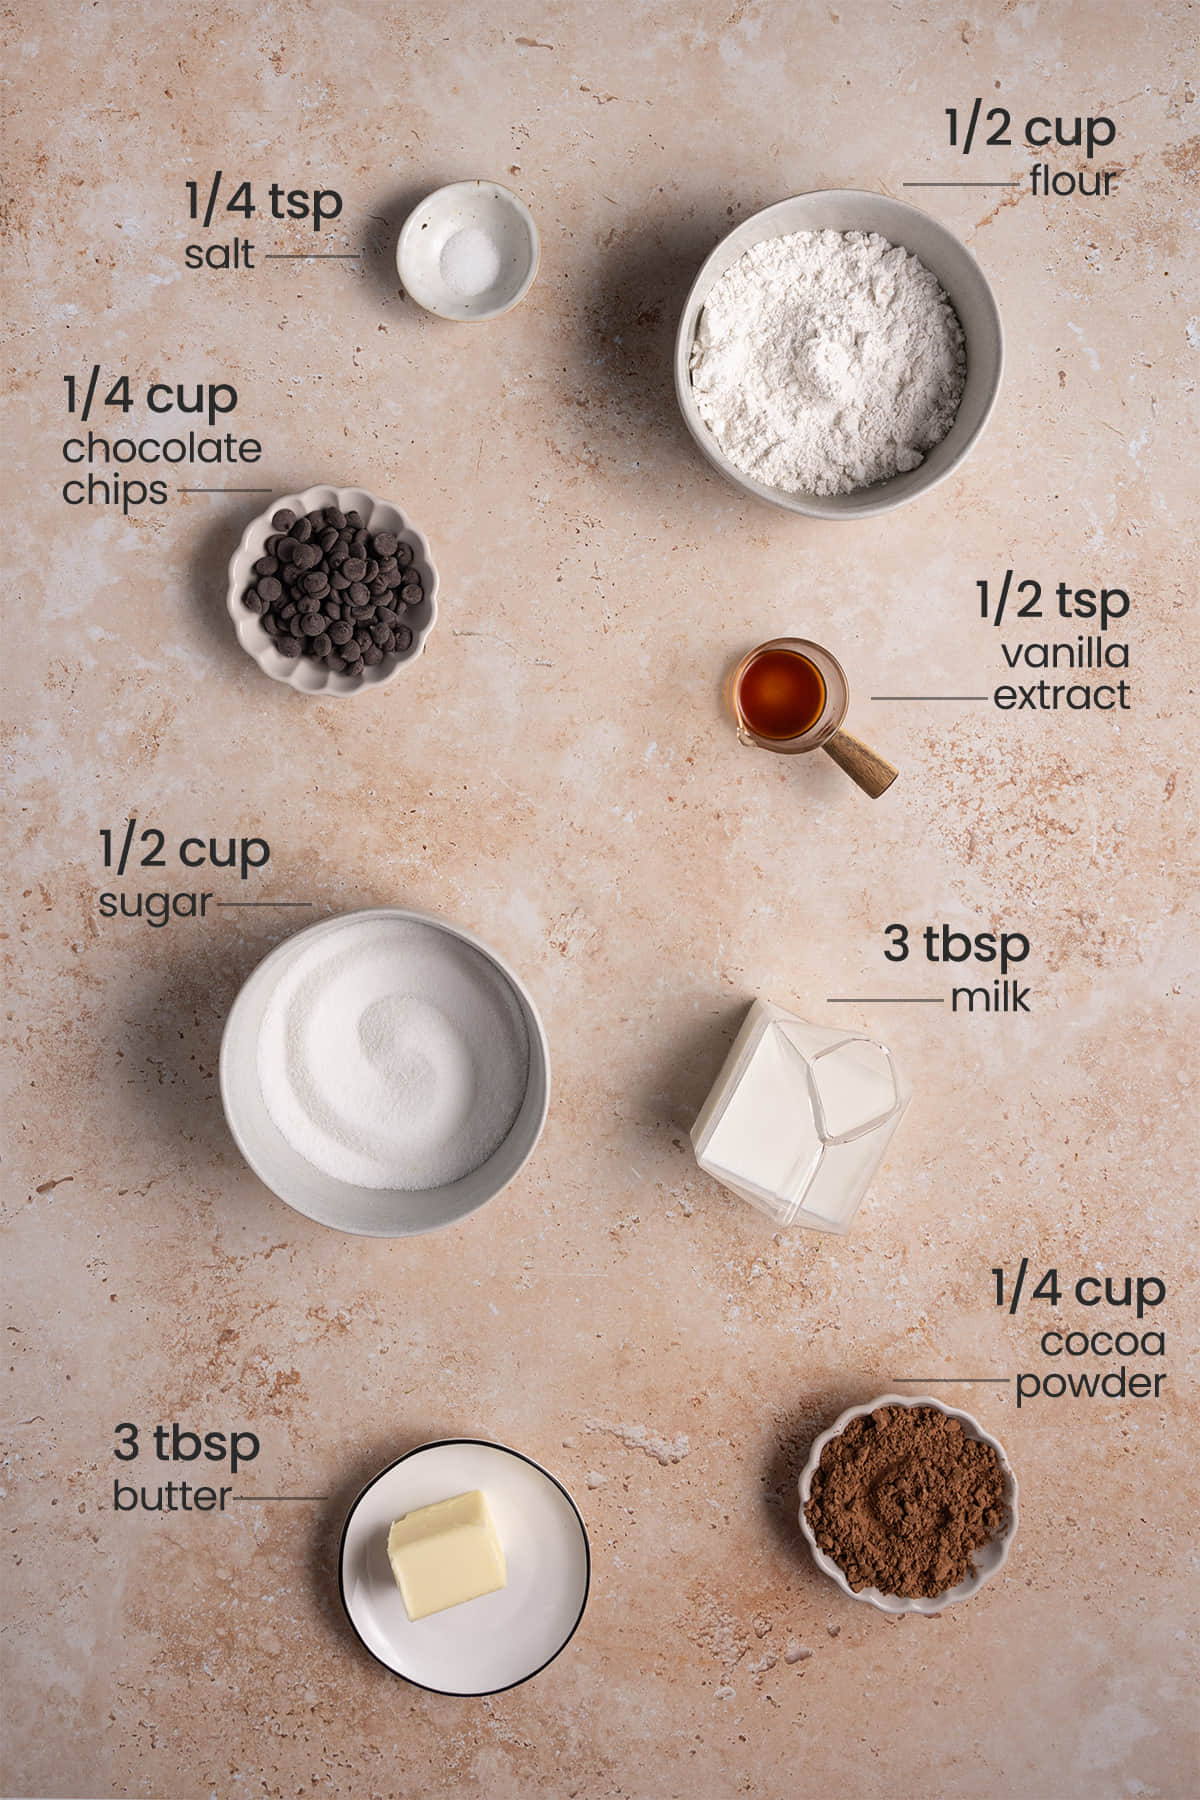
Here’s everything you need:
- All-purpose flour. You’ll have to heat-treat the flour before consuming it to avoid ingesting any unwanted bacteria.
- Unsalted butter. Unsalted butter is preferred so you can control the amount of salt. Most importantly, make sure the butter is completely melted. Dairy and unsalted plant-based both work.
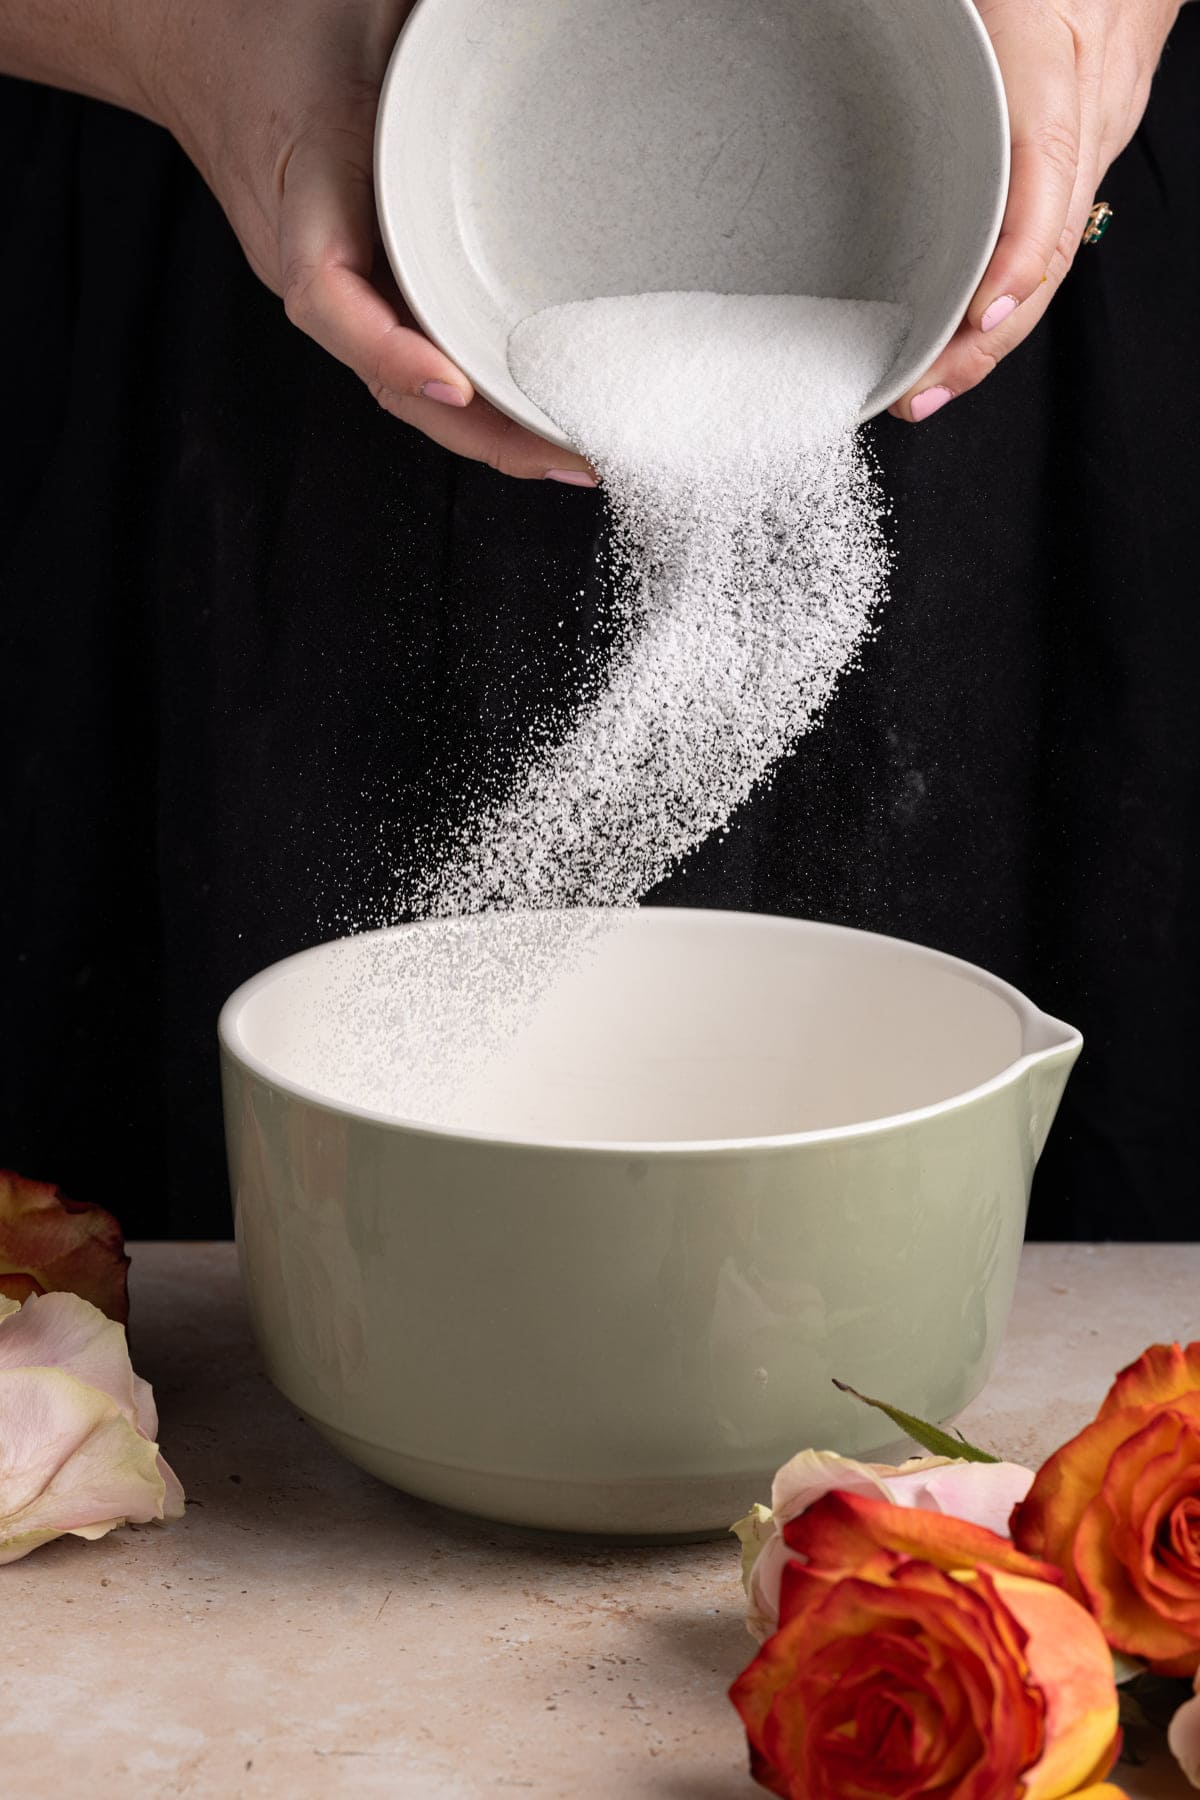
- Granulated sugar. For sweetness, to balance out the natural bitterness in the cocoa powder.
- Vanilla extract. For flavor.
- Cocoa powder. Make sure it’s unsweetened, I used 100% dark for the deepest chocolate flavor.
- Salt. To bring out the other flavors in the brownie batter, especially the chocolate!
- Milk or cold coffee. The milk can be dairy or any unsweetened, unflavored plant-base milk. Use cold coffee instead to bring out the most in your chocolatey flavor!
- Chocolate chips. You can use semi-sweet or dark chocolate.
Edible Brownie Batter Tips and Tricks
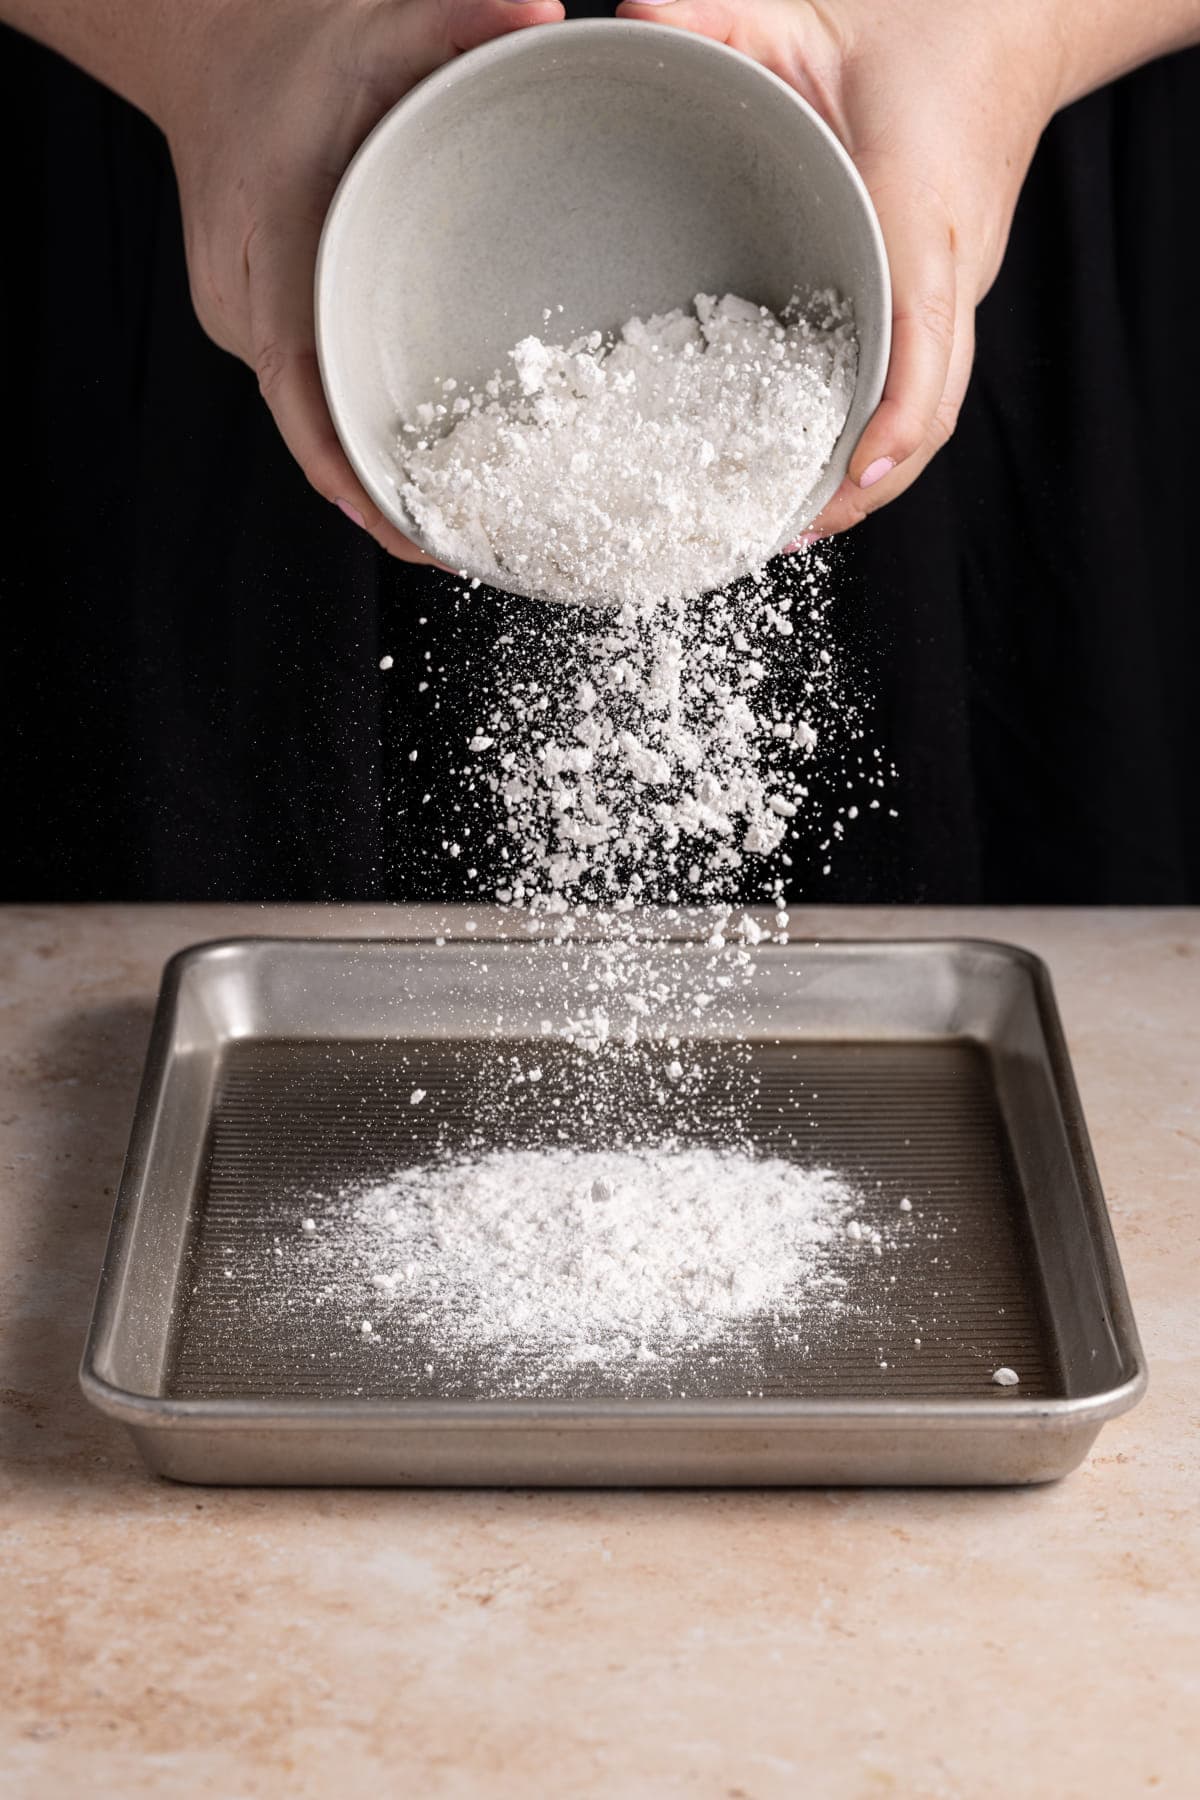
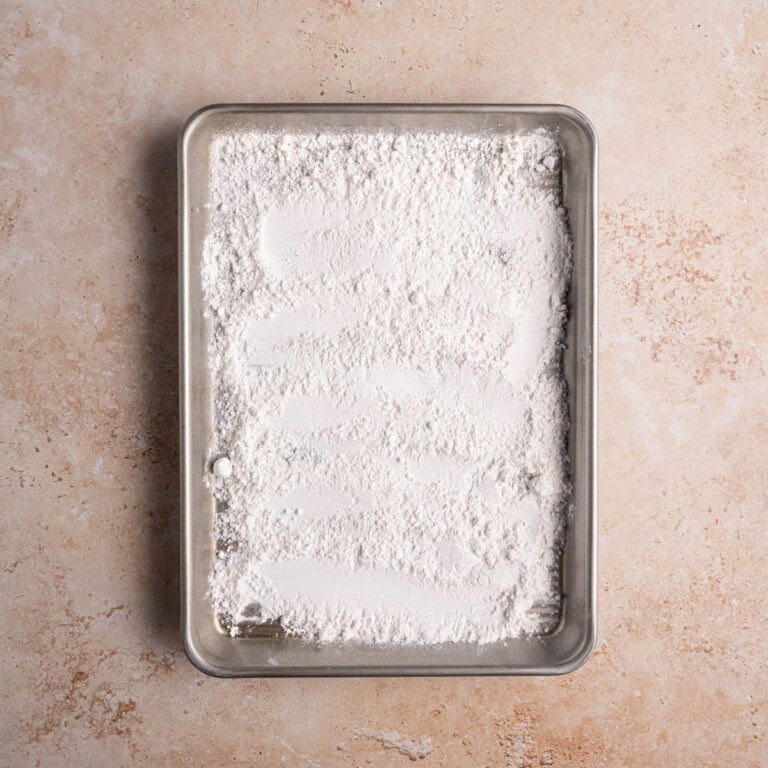
Start by Heat Treating Your Flour
A lot of people overlook the fact that just like eggs, raw flour poses (a small, but present) risk of ingesting harmful bacteria. If you’re someone who takes the risk and eats the raw cookie dough or licks that batter bowl every time, you’re welcome to skip this step.
However, the FDA does recommend against eating raw flour! So, what’s an extra couple minutes in the microwave or oven to ensure your safety?
Munching on uncooked flour can introduce unwanted tag-along bacteria, like the infamous E. Coli, into your culinary escapade. So, before you turn flour into the life of your no-bake brownie batter party, we’ve got a cool trick up our sleeves: the “heat treat.”
And don’t worrryit’s as breezy as a summer breeze. All you need to do is cozy up your flour with a little heat action to zap those germs into oblivion. Think of it as giving your flour a warm, friendly hug.
Green tip: The average shelf-life of all-purpose flour is about 8 months but freezing it can extend its life by another year and a half! Just store it in an airtight container and stick it in the freezer to avoid wasting it.
We’ve got two awesome routes to choose from: the microwave speedway or the oven express.
The microwave magic? Easy peasy. Dump your flour into a microwave-safe bowl, and pop it in the microwave. Zap it on high for 30-second intervals, giving it a good stir in between. Repeat this dance for a total of 90 seconds. Voila! You’ve got a flour that’s ready to party.
Now, for the oven affair. Picture this: your flour on a spacious baking sheet, taking a warm nap on the bottom rack of your oven. Set the oven dial to a chill 300°F, and let your flour bask in the warmth for a quick 5-minute siesta.
This one’s more of a hands-off deal, like letting your flour soak up some sun while you enjoy a refreshing lemonade.
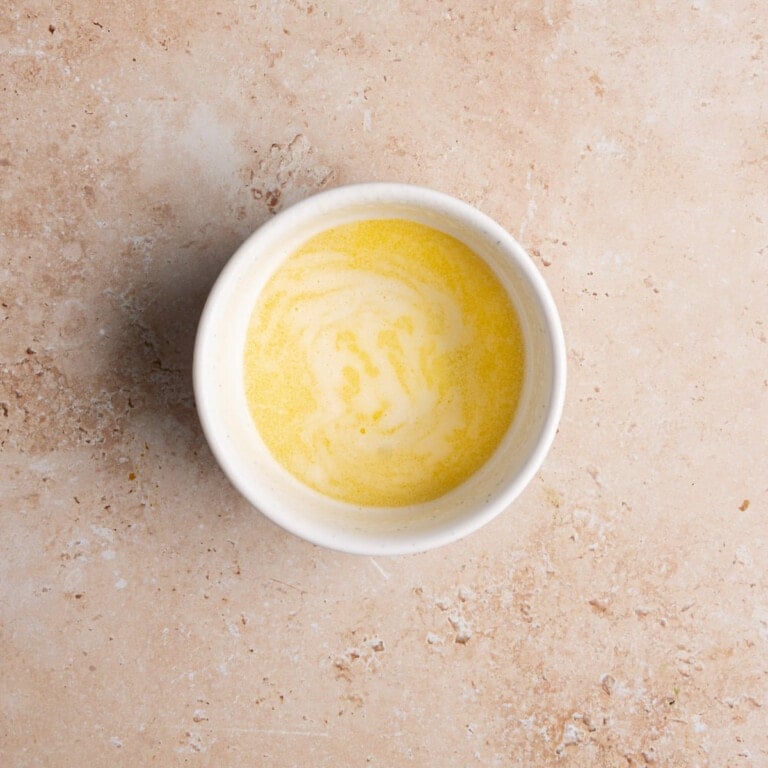
Melt Your Butter Next
Let’s talk butter – the smooth operator that brings all the ingredients together in a culinary masterpiece. Think of it as the friendly glue that holds your delicious concoction together.
To easily integrate it, we want the butter melted. Now, if you’re ready to dive into this buttery adventure, we’ve got a trio of options for you: the stovetop serenade, the oven symphony, or the “microwave magic.”
Alright, here’s the scoop on the microwave magic. If you’re all about that lazy life (no judgment, we’ve all been there), this one’s your jam. Grab your unsalted butter and give it a comfortable home in a microwave-safe bowl (a glass measuring cup is usually my “home” of choice.)
Now, it’s time to play microwave maestro. Hit it with 30-second intervals with your microwave on high. In between, give it a stir with a spoon to keep the buttery symphony in tune. Repeat until your butter transforms into a silky liquid dream. Yup, it’s that simple!
So there you have it, the microwave metamorphosis that turns your vegan butter into a velvety elixir of culinary delight. It’s a smooth operator, just like the butter itself. Get ready to blend, mix, and whisk your way to culinary greatness!
Otherwise, you can stick it in an oven-safe dish and put it in the oven with your flour while that’s sunbathing or heat it in a small pot over low heat, stirring frequently until melted.
Green tip: Look for organic and palm oil-free butter if you can. Buying organic means you are supporting farms that do not use damaging pesticides and fertilizers, and palm oil production is a huge driver behind deforestation.
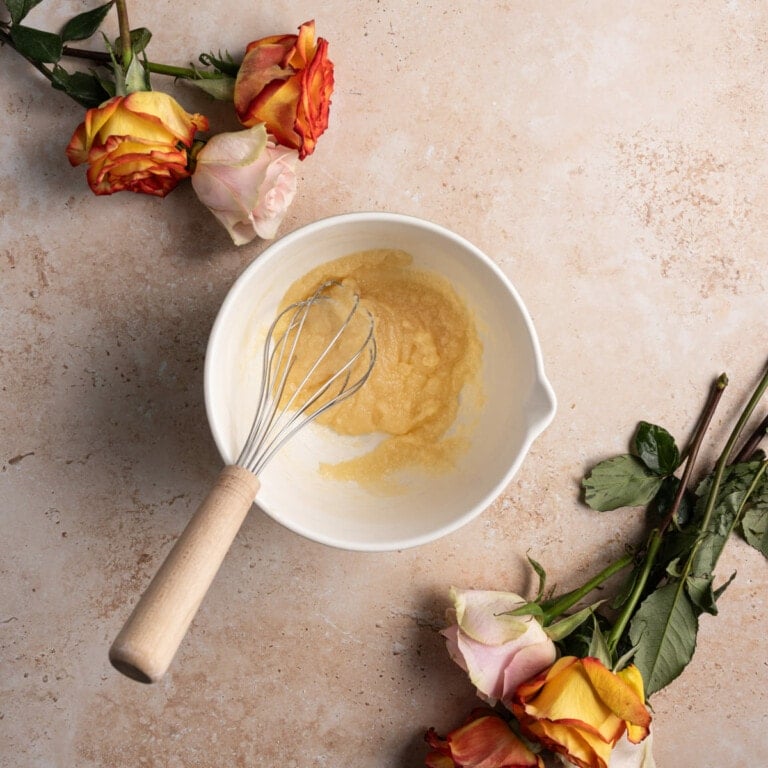
Whisk the Sugar, Butter, and Vanilla Extract
Alright, now that your butter is all liquified and feeling oh-so-buttery, it’s time for some fun!
Gently pour that liquid gold (your melted butter), sugar, and vanilla extract into the mixing bowl. Oh, the sweet serenade of butter meeting sugar and vanilla!
Now, grab your trusty whisk, and start whisking away, my friend! Imagine your whisk as a conductor’s wand, orchestrating the sweet symphony of flavors.
Whisk until you achieve that harmonious nirvana of smoothness. It’s like your ingredients are having the most joyful dance party ever, all thanks to your whisk-wielding skills.
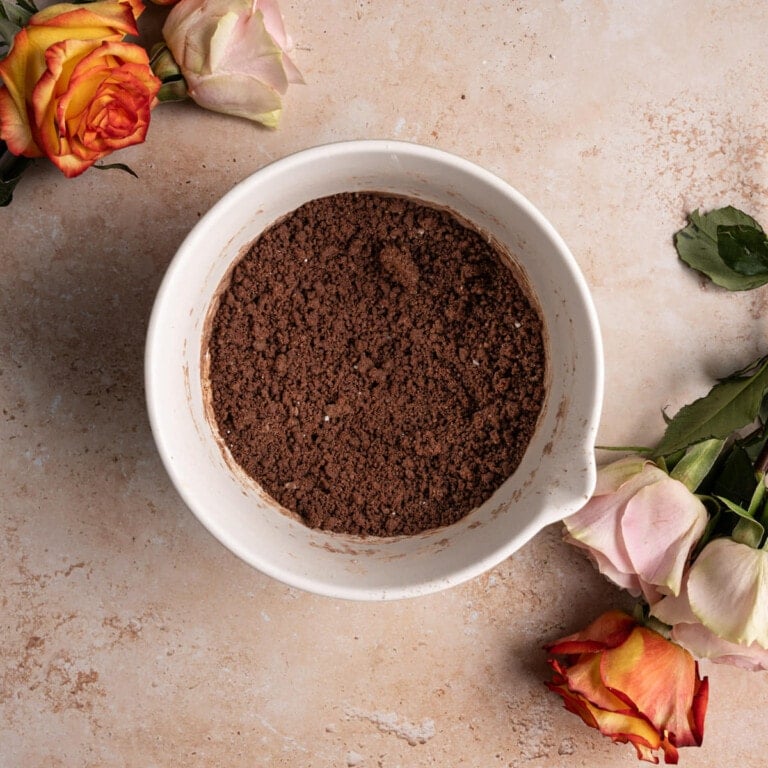
Add the Dry Ingredients Next
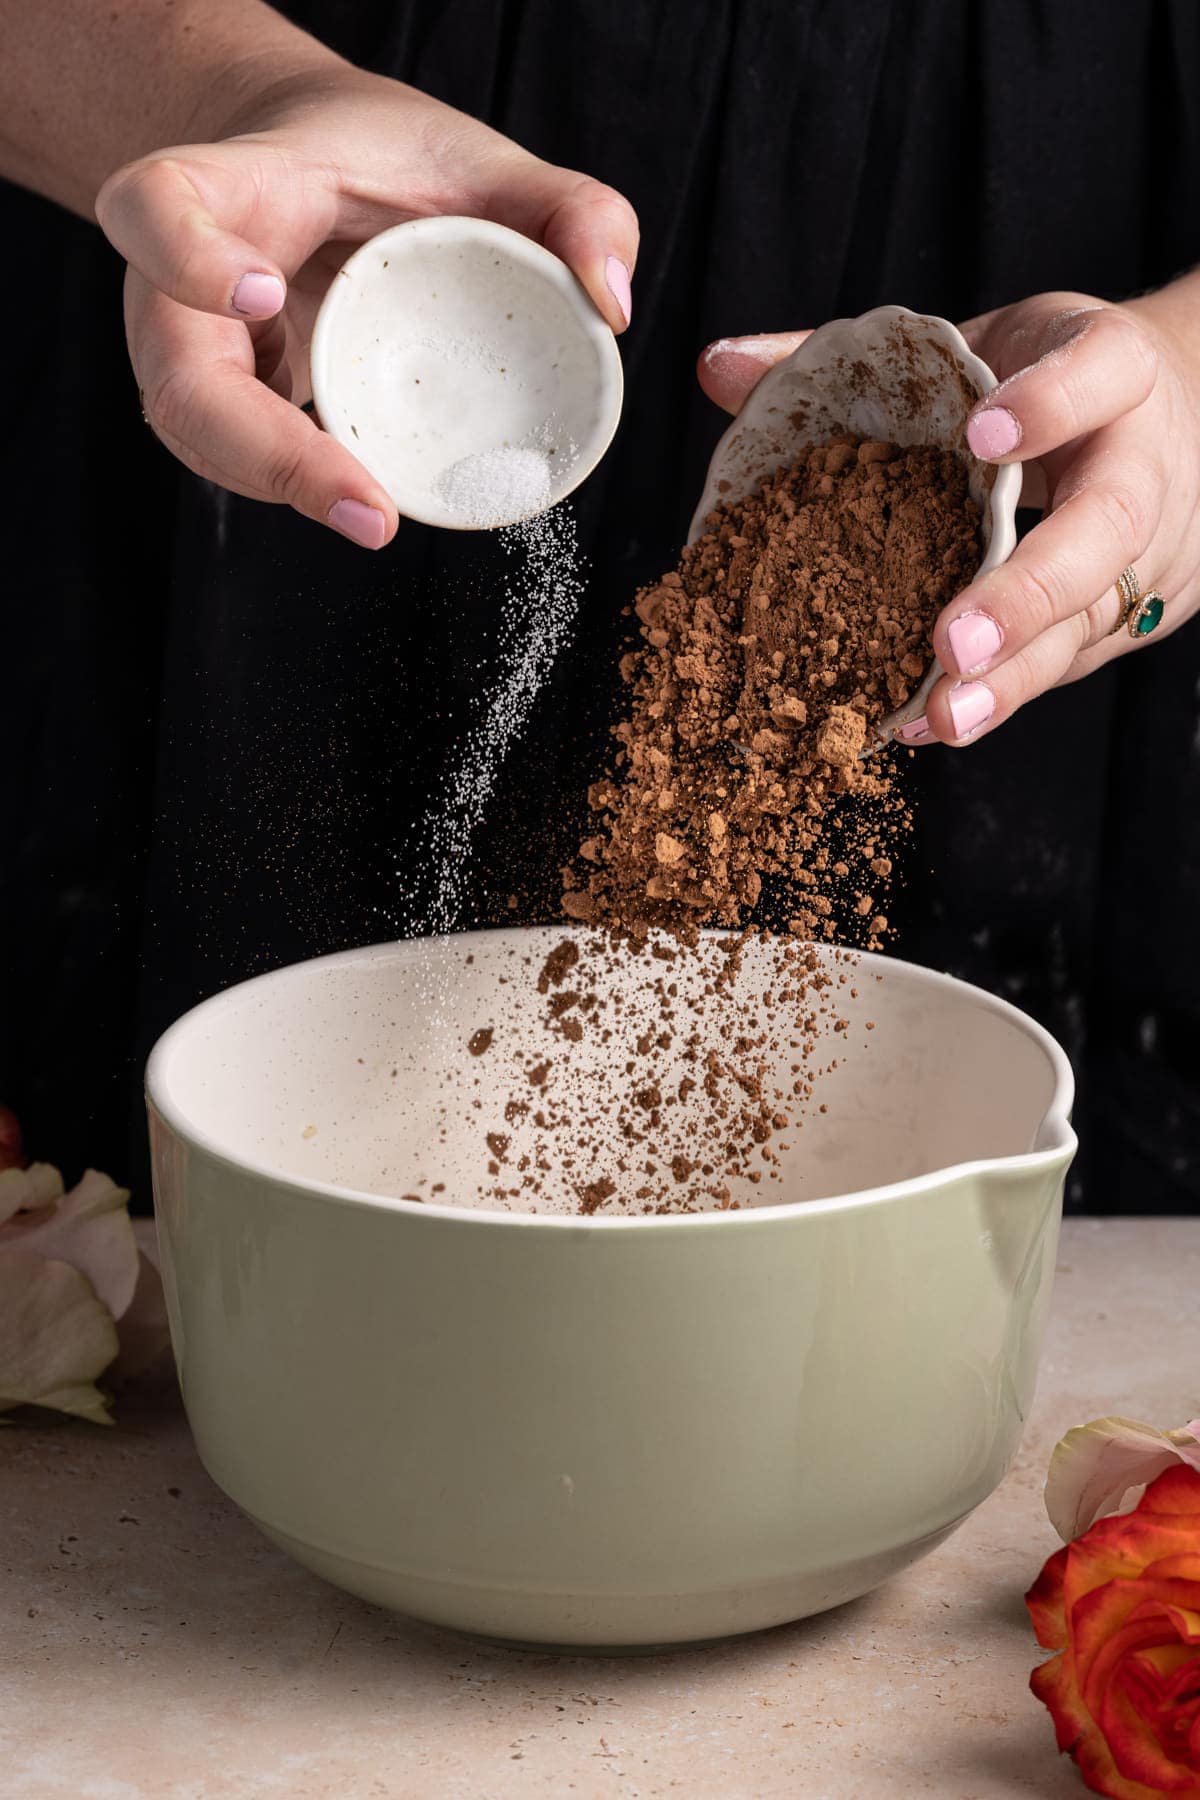
Now, here comes the next act – your dry ingredients! Slowly introduce the heat-treated flour, cocoa powder, and salt to the mix, like welcoming new friends to the party.
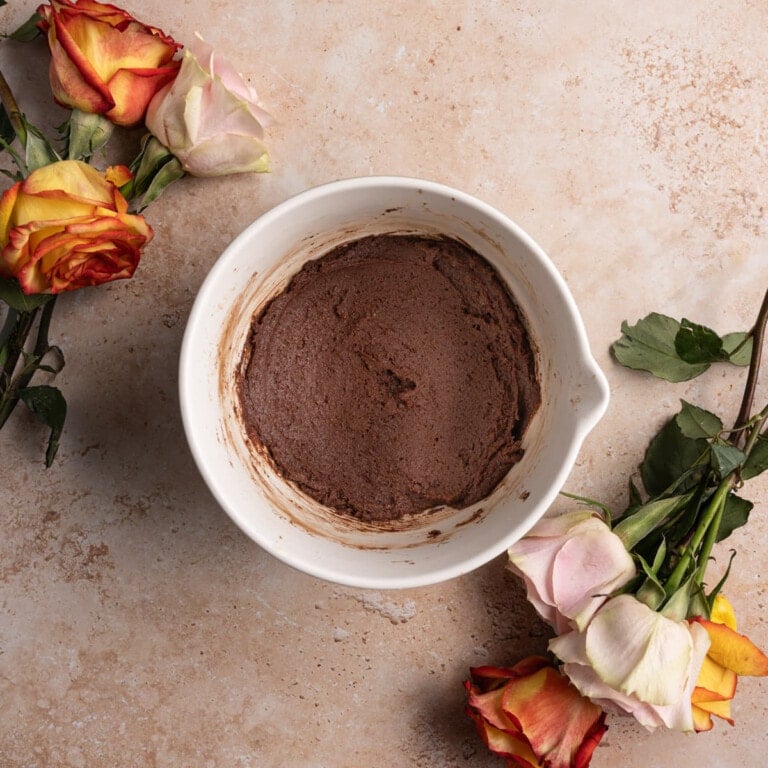
Now, hang on to your culinary hats, because we’ve reached a crossroads. As you take a peek into your mixing bowl, you’ll notice this dry batter is a little crumbly at this point in the process.
Fear not, for this crumbly symphony is a crucial step in the grand scheme of brownie batter brilliance. It’s the chameleon moment before transformation, a signal that your ingredients are gearing up for their next act.
So, with your crumbly batter in tow, get ready to dive headfirst into the upcoming chapters of our batter adventure. The best is yet to come!
Thin the Batter Out with Milk
Okay, so here’s the deal. We’re in the final stretch of making your awesome brownie batter. You’re in your kitchen, armed with your whisk and a sense of culinary adventure.
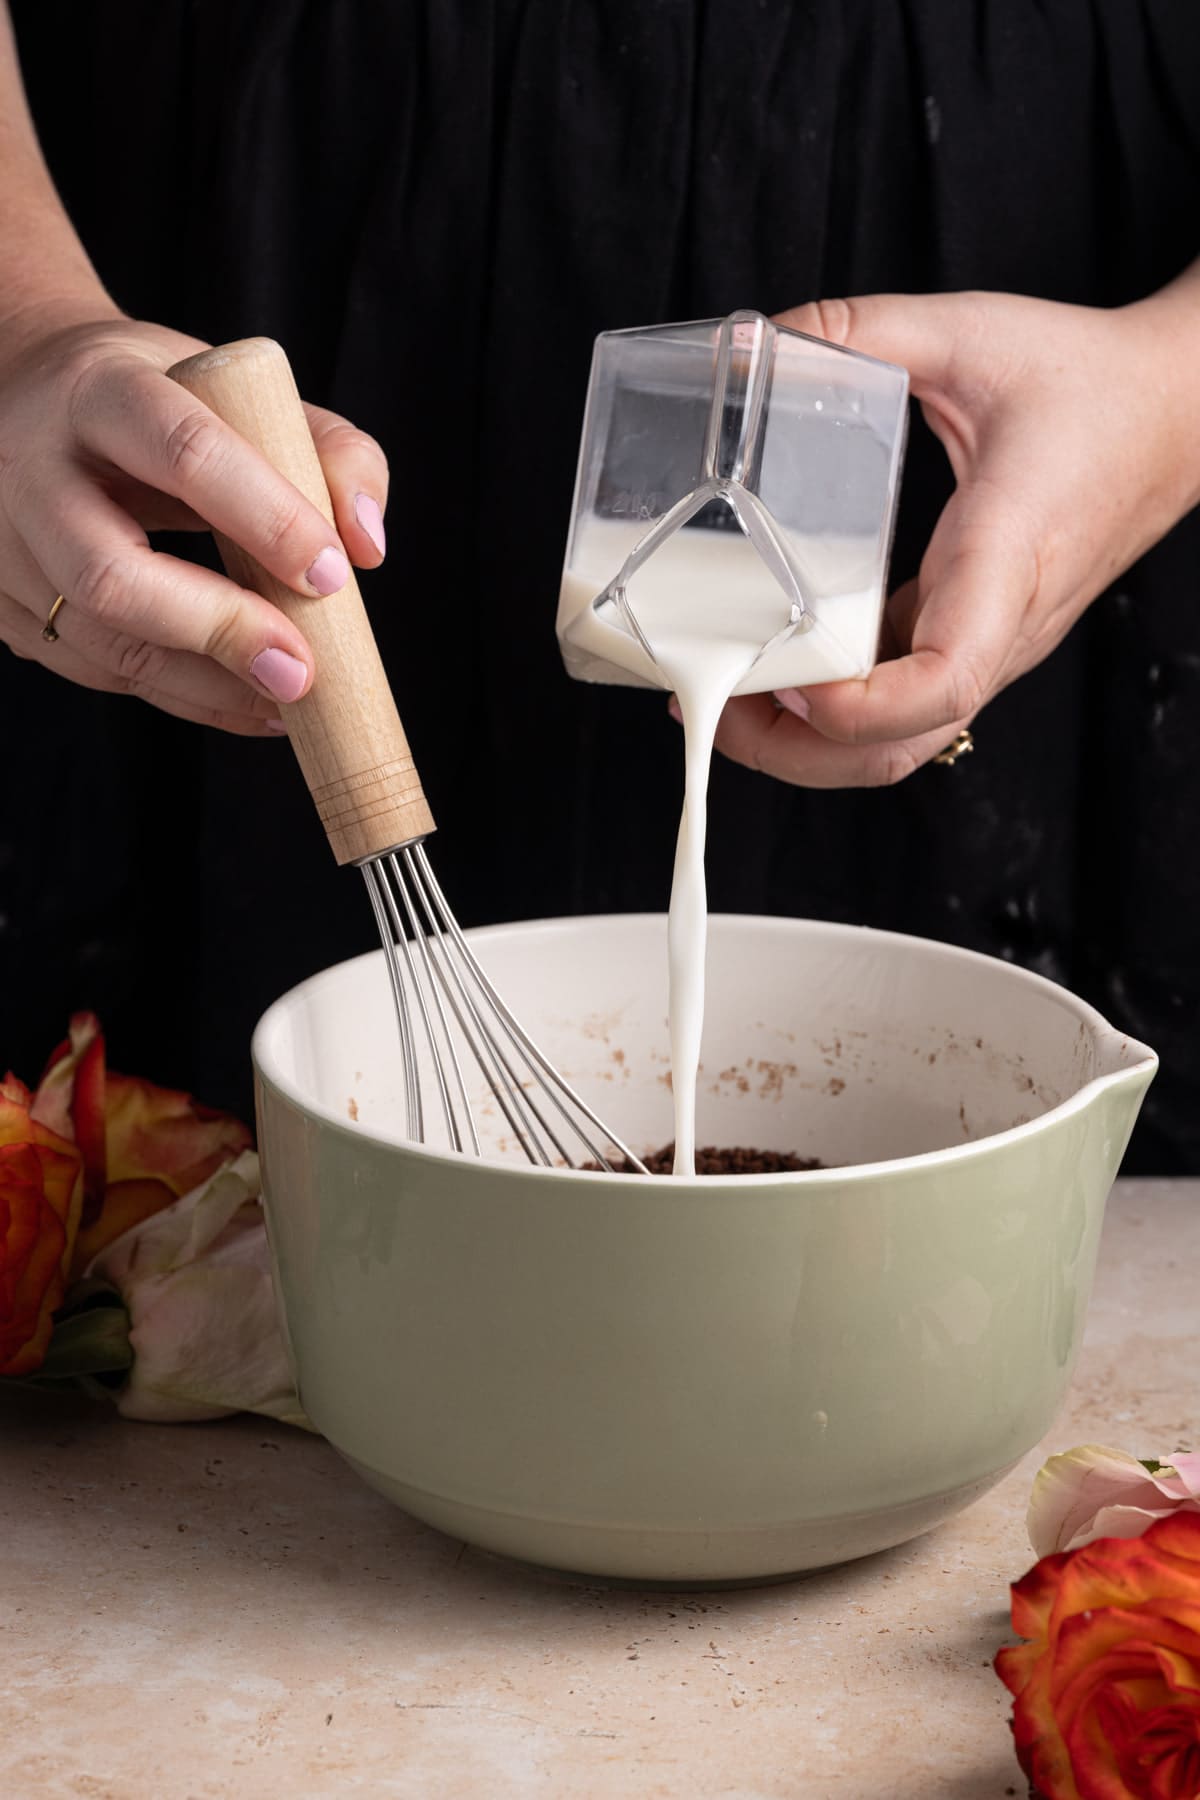
As you’re whisking away, it’s time to introduce your secret sauce – milk or coffee, whichever you prefer. You may sense a tiny bit of coffee flavor in your batter, but the coffee will mostly just bring out the most in your chocolate.
If you don’t have cold coffee on hand, or you don’t like coffee or avoid caffeine, then use milk. Slowly pour it in while keeping a close eye on the action.
Now, let’s chat about how things should look. You know how when you’re making pancake batter, you sometimes adjust the milk to get it just right? Well, it’s a bit like that.
If you’re all about hearty and thick brownie batter, you might find that one or two tablespoons of milk hit the sweet spot. But if you’re after a looser texture, go ahead and add that third tablespoon.
Remember, there’s no rush here. Take your time to stir and whisk until your batter looks and feels how you want it to. It’s like finding that perfect balance between gooey and just the right amount of gooey – your brownie batter masterpiece in the making.
Add the Chocolate Chips in Last
Now it’s time to put down your whisk and grab a rubber spatula! You may notice a few dry ingredients hanging out on the sidelines, stuck to the sides of your mixing bowl. Your spatula is here to swoop in like a hero and make sure every bit of ingredient joins the party.
Gently glide your spatula along the sides of the bowl, pushing down any hangers-on. The goal? Total integration. It’s all about making sure those dry ingredients get cozy with the rest of the crew, creating a harmonious blend that’s ready to rock your taste buds.
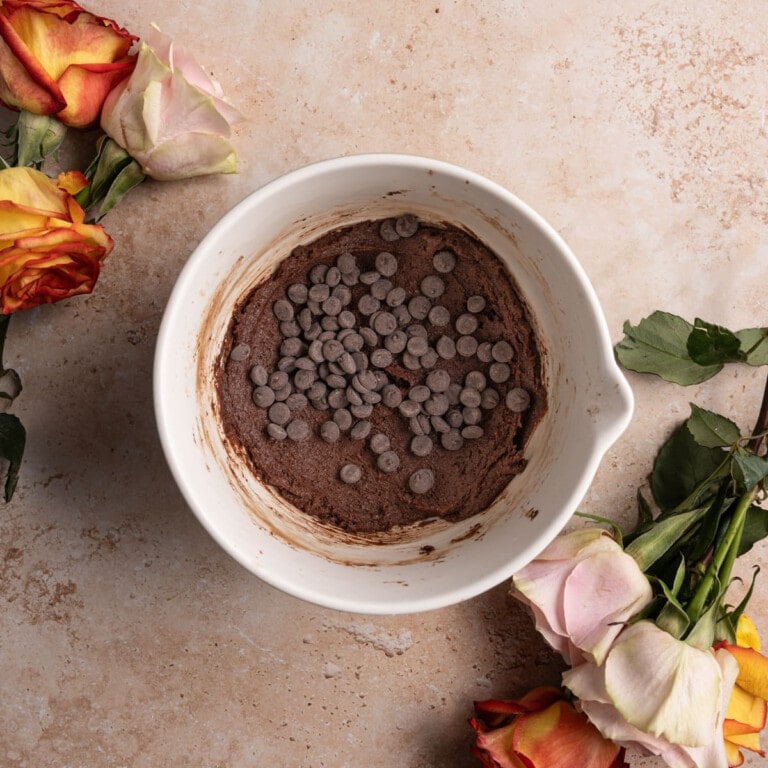
And guess what? That rubber spatula is also the perfect tool for folding in those delectable chocolate chips.
What is “folding” you ask? (Insert Schitt’s Creek reference here). Well, folding is just gracefully lifting and then smoothing the batter over the chocolate chips, making sure they’re distributed evenly without overmixing.
Green tip: If you want to shop for more sustainable chocolate, look for Fair Trade, Rainforest Alliance, or UTZ certifications as opposed to self-proclaimed sustainability labels that sometimes falsely advertise “sustainably sourced”.
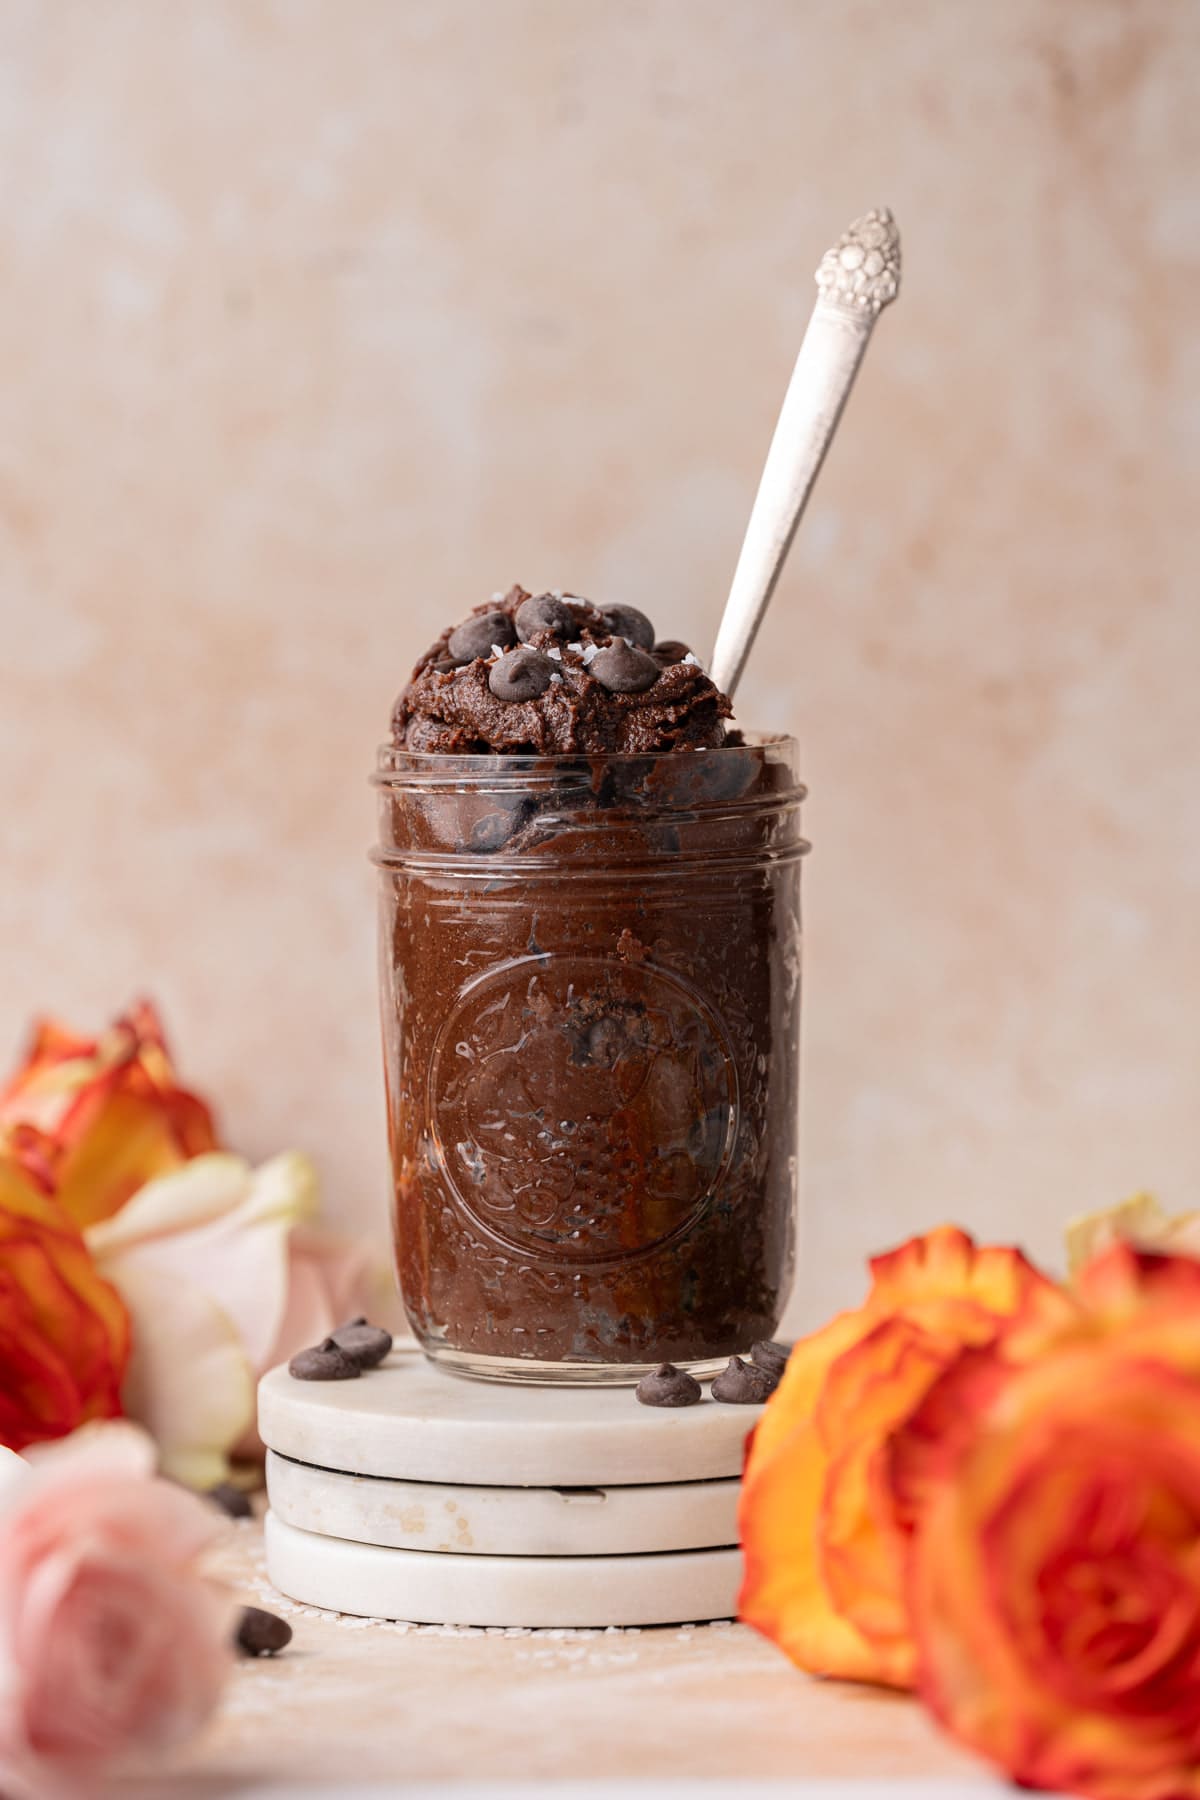
How to Serve Your Brownie Batter
Now, let’s talk about the pure, unadulterated joy that is your edible brownie batter creation. Seriously, it’s like a spoonful of happiness that’s just begging to be devoured.
Picture this: you, in your kitchen, wielding a spoon like a warrior on a mission. You’ve got that edible brownie batter right there, a temptation too good to resist. It’s a moment of unbridled indulgence – just you and that spoon, no rules, no judgment.
Each bite is like a mini celebration, a burst of chocolaty goodness that dances on your taste buds. It’s a private party for your senses, a blissful journey into the world of edible joy. You’ve got that spoon to your face, and it’s a beautiful sight to behold.
Now, if you’re feeling extra generous and want to share the love, here’s a brilliant idea: transform your edible brownie batter into the ultimate dip.
It’s like inviting your friends to the flavor fiesta! Just grab some dippable delights – think pretzels, graham crackers, or even fresh fruit – and dip away. It’s a whole new way to experience the magic of your brownie batter masterpiece.
So, whether you’re diving in solo or inviting friends to the dipping party, your edible brownie batter is total bliss. It’s a spoonful of pure delight, a taste of happiness that’s impossible to resist. Indulge, savor, and celebrate – you’ve earned it!
How to Properly Store Your Brownie Batter
Your delightful brownie batter is a culinary treasure and should be enjoyed until the last drop! Just pop leftovers into a snug, airtight container and let it chill in the fridge. It’ll stay fresh in there for around a week!
But wait, there’s more – if you want it to keep for longer, go ahead and freeze that batter for a whole 6 months of frosty goodness! Just remember to let it thaw out before you start digging in.
Green tip: Of the billions of tons of food wasted annually, 50% of food waste happens at home. Reduce your contribution to food waste by properly storing and consuming leftovers.
Edible Brownie Batter Frequently Asked Questions
Is it ok to eat raw brownie batter?
Eating raw brownie batter poses a small risk of ingesting harmful bacteria like E. coli. Both raw eggs and raw flours pose this risk. This edible brownie batter recipe requires no eggs and teaches you how to heat treat the flour to eliminate the risk.
Why You Should Make this Quick 10-Minute Edible Brownie Batter
- It’s quick. Ten minutes (or quicker if you’ve made this a couple of times!). Enough said.
- It’s nostalgic. What’s better than the memory of licking brownie batter straight out of the bowl as a kid?
- It’s chocolatey! Honestly, this is reason enough for me.
If you’re loving this Edible Brownie Batter, check out this Edible Snickerdoodle Cookie Dough and Easy Funfetti Cookie Dough.

Quick 10-Minute Edible Brownie Batter
Print Save RateIngredients
- ½ cup all-purpose flour
- 3 tablespoons unsalted butter
- ½ cup granulated sugar
- ½ teaspoon vanilla extract
- ¼ cup unsweetened cocoa powder (I used dark)
- ¼ teaspoon salt
- 3 tablespoons milk of choice (or cold coffee)
- ¼ cup chocolate chips (dark or semi-sweet)
Instructions
- Heat-treat your flour in one of two ways:Microwave method: Add flour to a microwave-safe bowl and microwave on high for 30 seconds. Stir a couple of times. Repeat two more times for a total of 90 seconds.Oven method: Preheat oven to 300°F. Spread the flour out on a baking sheet and bake on the bottom rack for 5 minutes.Then, set it aside to cool.

- Melt the butter in the microwave in 15-second intervals, stirring in between until liquefied, or in a saucepan over low heat, stirring frequently.
- To a medium mixing bowl, add the melted butter, sugar, and vanilla extract and whisk to combine.
- Add the heat-treated flour, cocoa powder, and salt and whisk. At this point, your batter will be crumbly.
- Continue to whisk as you slowly add the milk (or coffee), assessing the consistency as you go. I like my batter on the thicker side, so I don't always use all 3 tablespoons. Continue to add milk to loosen it until you are satisfied with the texture.
- Use a spatula to scrape the side of the bowl, ensuring all of the dry ingredients are fully integrated. Then, fold in your chocolate chips.
- Serve cold or at room temperature with a spoon. Enjoy!
Pro Tips
- If you want to really bring out the most of your chocolate flavor, use coffee! You may detect a hint of coffee, but mostly it’ll just enhance the chocolate. Otherwise, you can use milk.
- If you love brownies as much as I do, you’ll love this collection of my greatest brownie recipes!
Video
Share This Recipe


11 thoughts on “Quick 10-Minute Edible Brownie Batter”
I freaking love this recipe! As a verifiable batter and dough connoisseur from a very early age, and now into adulthood sharing with my son, I think this recipe is on point! I especially love that it keeps in the fridge for a week, so I can make a double or triple batch and share with my son. The best part is that there’s zero guilt, since this stuff is actually 100% safe for him!
A triple batch? You are my kind of gal! 😉 What a great mama to make these core memories for your kiddo.
On the story part where I saw this on my news feed, the recipe lists and shows eggs… thought you should know. I almost skipped this because of that.
Thanks so much for the heads up, Jacqulyn! We will get that fixed 🙂
I’m going to put this inside some homemade donuts
Wow, Heather! That sounds incredible. Let me know how they come out
Can this be used as a filling for cakes?
Hi Jessie! Yes, it absolutely can. What a great idea! You can play with the consistency by slowly adding a little extra milk (or leaving some out if you want it extra thick), depending on how you are using it in the cake!
Ty! I’m going to give it a try!
Looks delish. Excited to try!
Can’t wait to hear what you think!