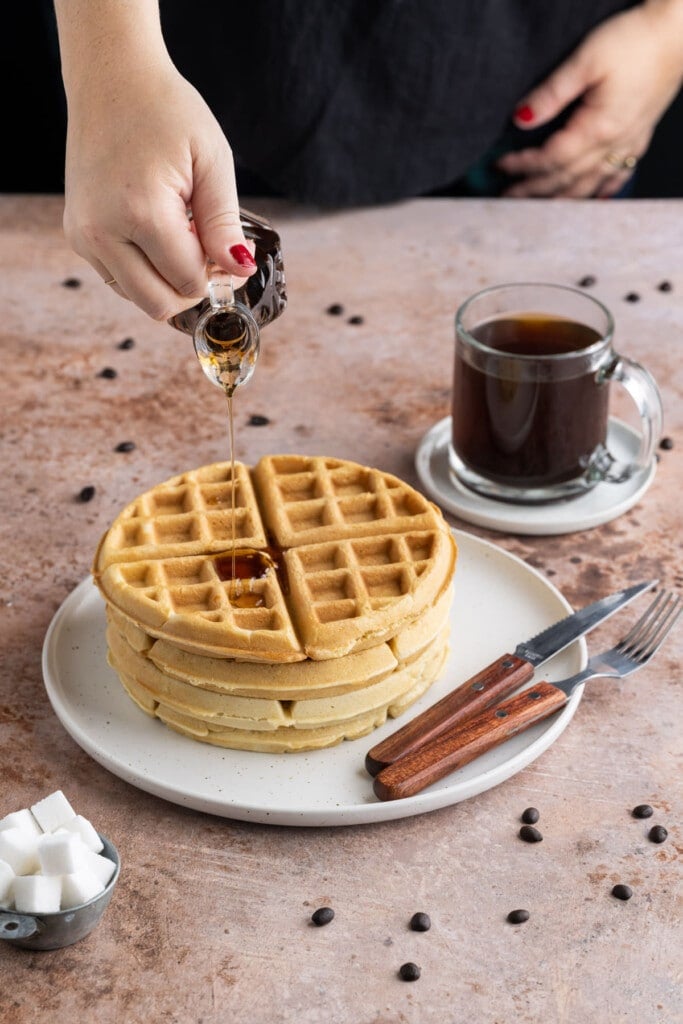
Looking for a treat yourself worthy breakfast? These Dairy-Free Waffles are made from an easy batter with no milk or butter, but still get fluffy with a golden-brown crispy exterior.
This dairy-free breakfast comes together quickly, with ingredients that most bakers and home cooks already have in their pantry, making it a family favorite in our household.
As an environmental scientist, I try to eat ingredients that have a higher impact on the environment in moderation. That means, I cut dairy when I can.
I feel that this waffle recipe without milk is just as good as any homemade waffle recipe and I’m confident you won’t miss the dairy here!
Green tip: Industrial dairy production has a huge impact on the environment, especially because of the amount of land it takes to sustain and its high amount of greenhouse gas emissions. Reducing your dairy consumption is one great way to improve your ecological footprint.
Dairy-Free Waffles Ingredients
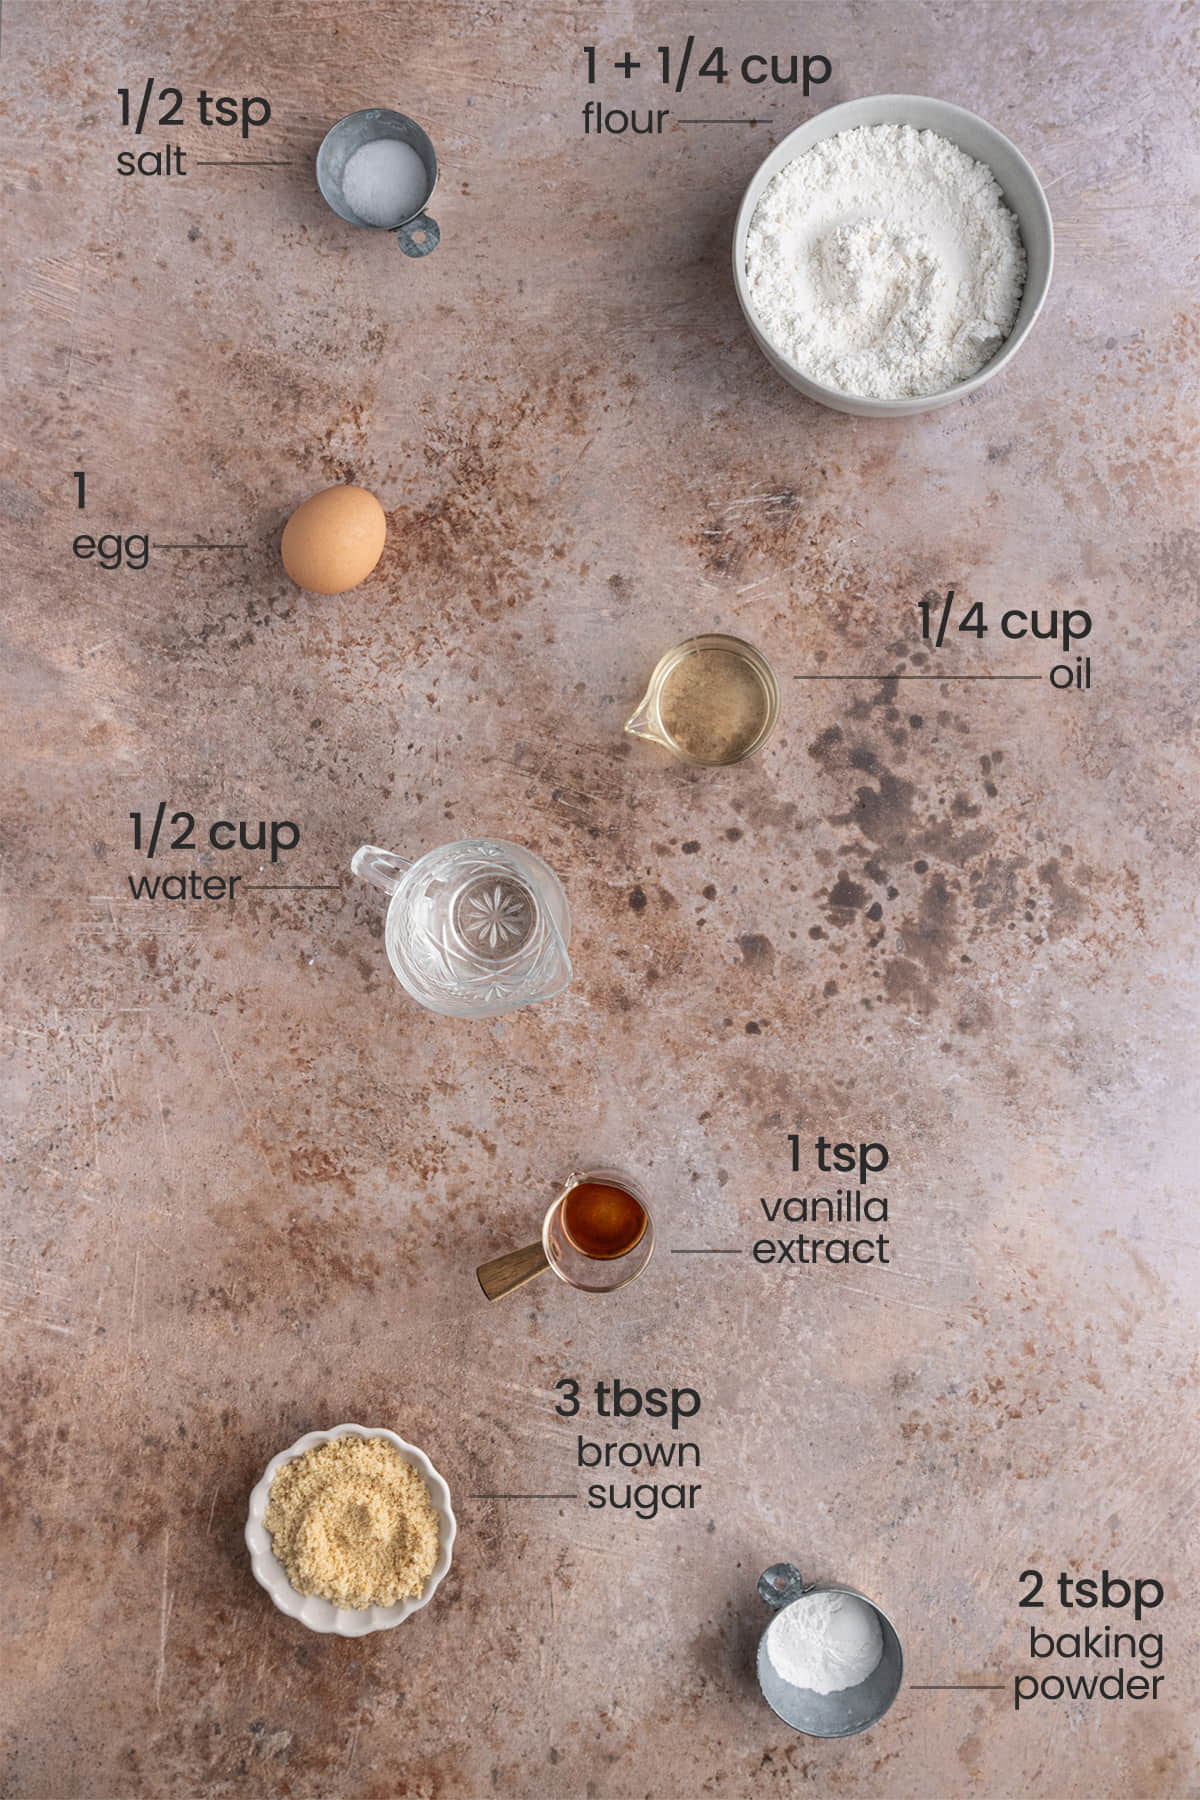
Here’s everything you need:
- All-purpose flour. This acts as the base of your batter.
- Brown sugar. Either light or dark can work here.
- Baking powder. For a little bit of lift.
- Salt. To elevate all the flavors.
- Oil. The extra fat is what distinguishes this waffle batter from pancake batter.
- Egg. For leavening and binding.
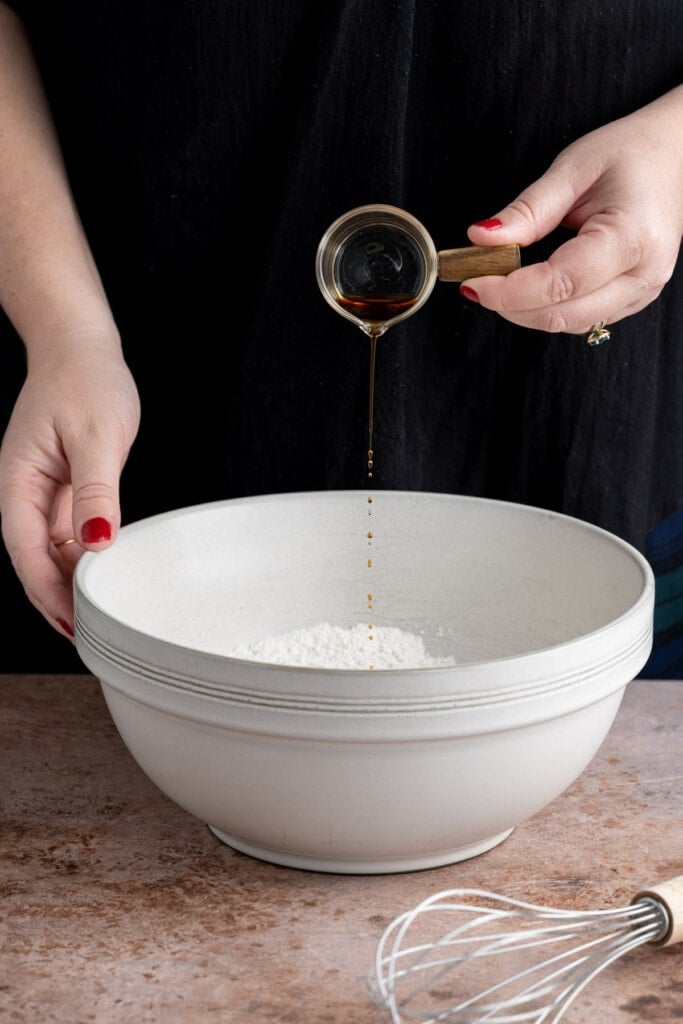
- Vanilla extract. For flavor.
- Water. These waffles with no milk use water instead but are designed to still be fluffy on the inside with a crispy exterior.
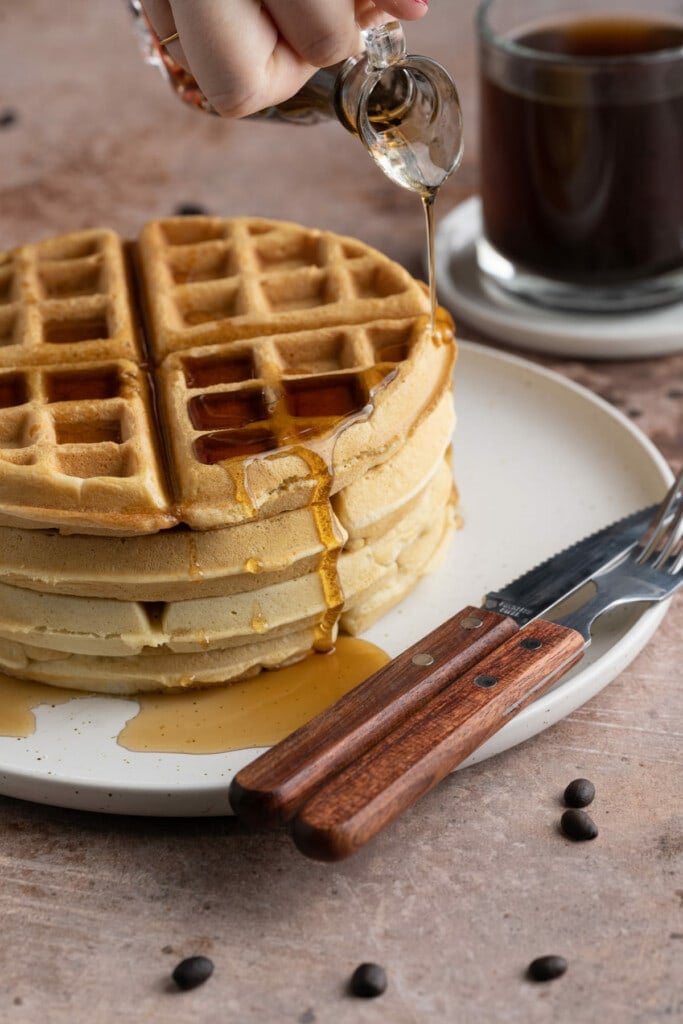
- Maple syrup for serving (optional). The crisp waffles definitely benefit from the sticky, sweet syrup!
Dairy-Free Waffles Tips and Tricks
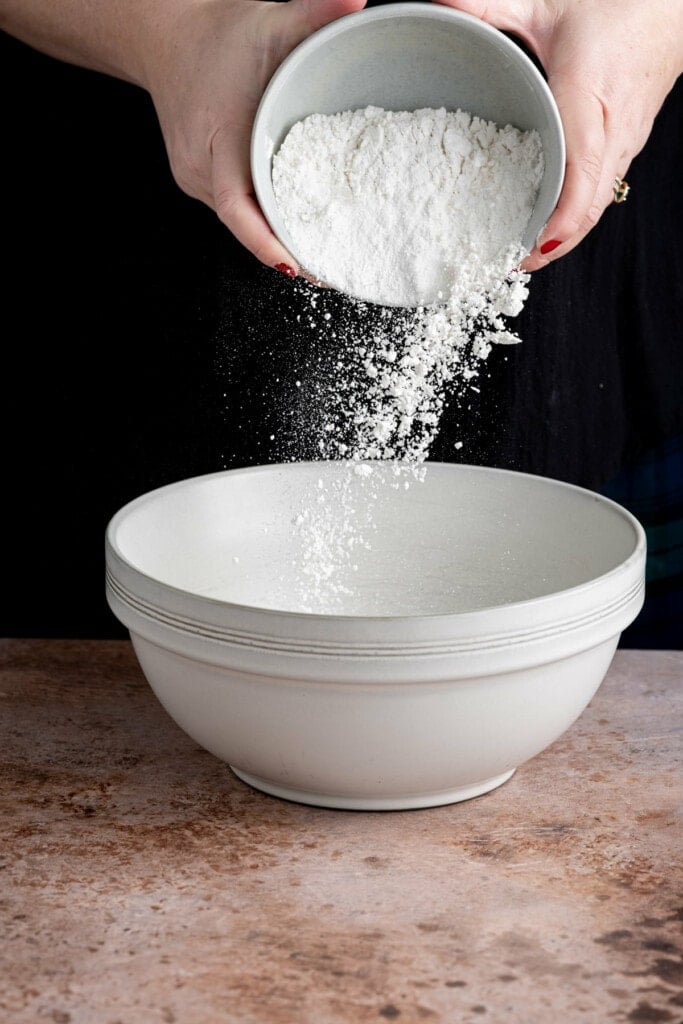
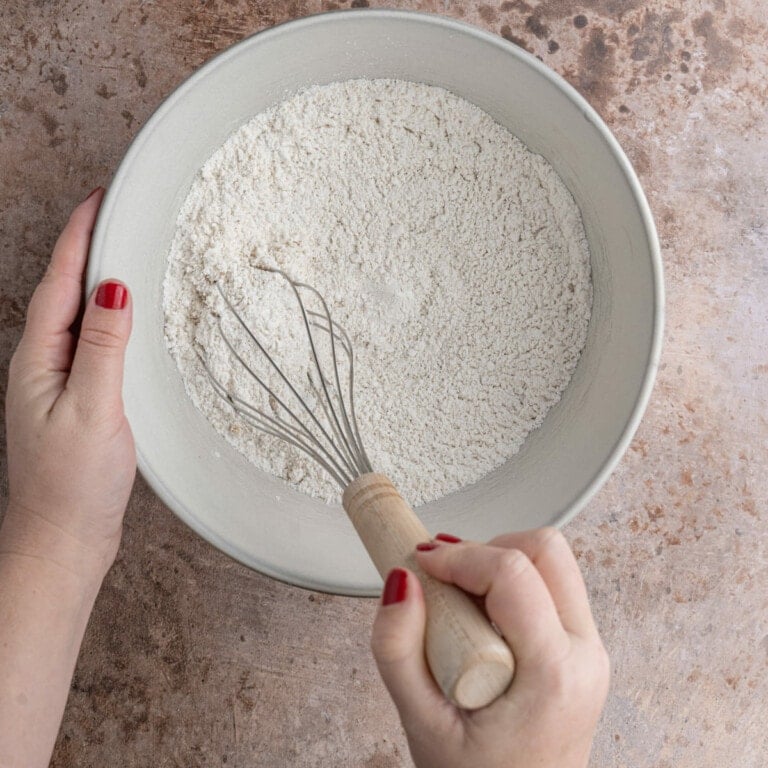
Start with Your Dry Ingredients
Add your flour, brown sugar, baking powder, and salt to a large mixing bowl. Use a whisk to combine the dry ingredients and to ensure there are no lumps. I suggest using a whisk.
Starting with a smooth mixture will give you the best batter for perfect dairy-free waffles.
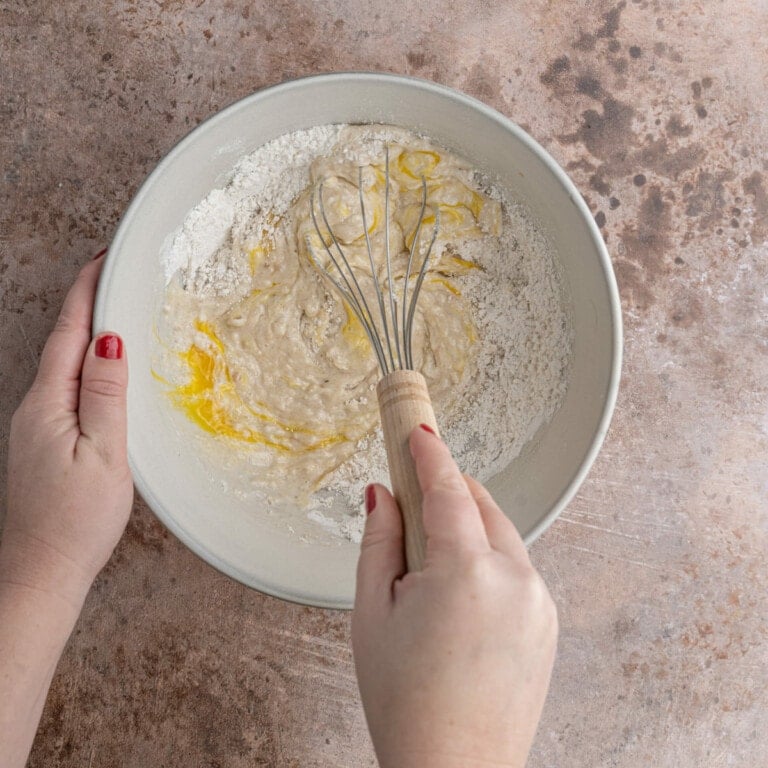
Add the Wet Ingredients Next
Next, add the egg, oil, vanilla extract, and water and whisk again to combine until smooth.
It’s always best practice to crack your eggs into a separate dish instead of directly into your batter. This will help to avoid losing a piece of eggshell in the batter. It also means that if you have a bad or bloody egg, you won’t waste the rest of your batter ingredients.
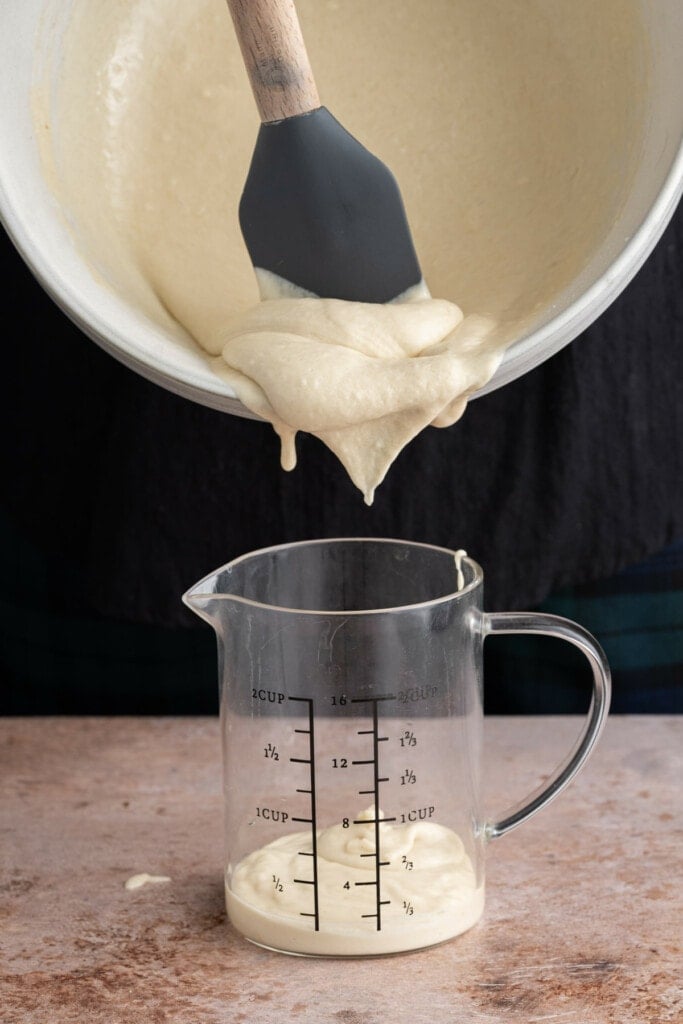
Transfer to a Pourable Cup
This step is optional, but I find that it’s much easier to pour your waffle batter into the waffle press if your batter is in a cup with a handle and spout.
I like to transfer my batter to my measuring cup for easy pouring!
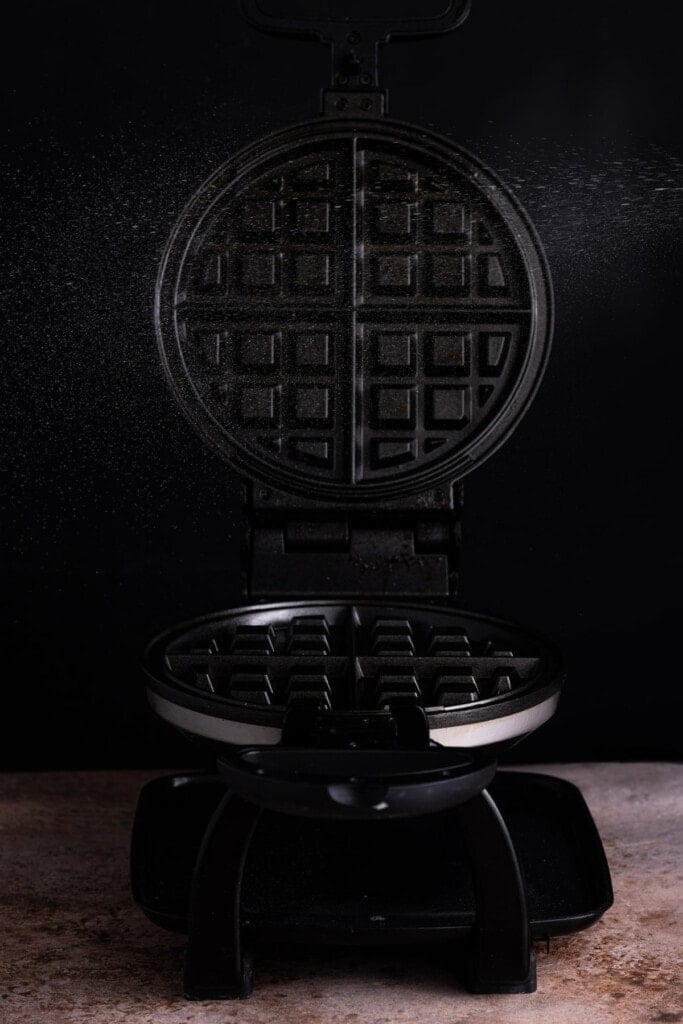
Spray Your Waffle Press
I use this Belgian waffle iron to make 2 large waffles with this batter, but you can make up to 5 standard-sized waffles.
Regardless of the waffle press you use, it’s best to spray it before use.
Green tip: Consider filling your own reusable oil sprayer to avoid extra pesky aerosol cans, that aren’t always recyclable.
Use any non-stick spray, oil, or butter to coat your waffle iron to ensure it doesn’t get stuck.
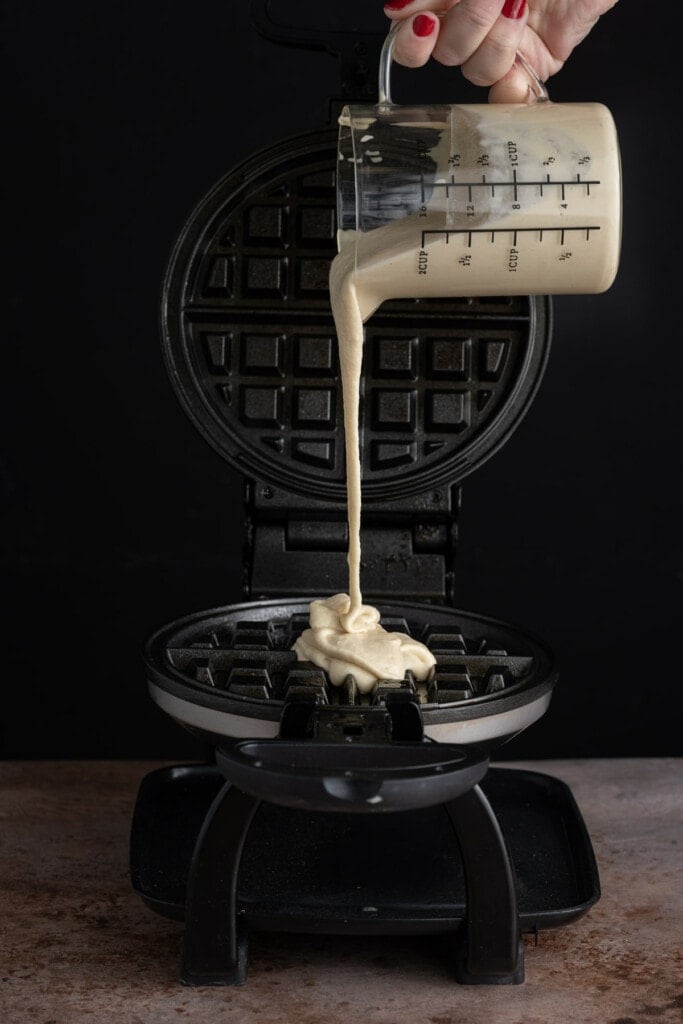
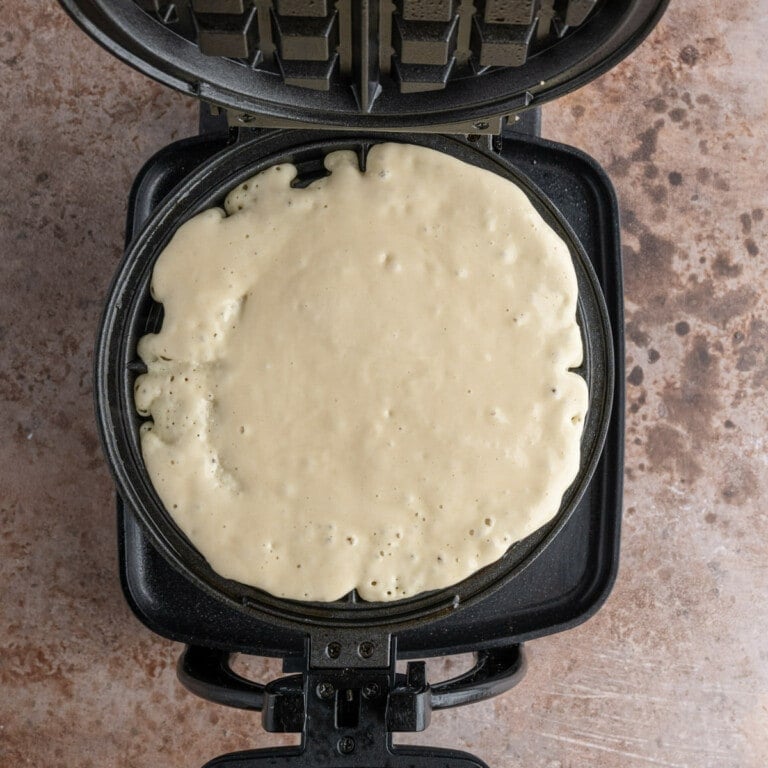
Don’t Overfill Your Waffle Iron
Fill your waffle iron about 3/4 of the way with batter. When you close it, it will spread to reach the sides.
Overfilling the waffle iron will cause it to overflow and make a mess.
Should You Have Leftovers
These crispy dairy-free waffles will last in the refrigerator in an airtight container for up to 3 days. You can also freeze the waffles to make them last up to 3 months.
The best way to reheat your waffles successfully is to reheat them in the oven at 350°F for about 5 minutes (or until heated thoroughly).
Of course, in a pinch, you can microwave them on high for 30-45 seconds per waffles. Just know that microwaving the waffles tends to make them a little bit rubbery, especially if you overdo it.
It’s also best to avoid stacking the waffles while microwaving them for more even heating.
If you do freeze your waffles, allow them to thaw overnight in the fridge before reheating the homemade waffles by using one of the methods listed above.
Green tip: Of the billions of tons of food wasted annually, 50% of food waste happens at home. Reduce your contribution to food waste by properly storing, reheating, and consuming leftovers.
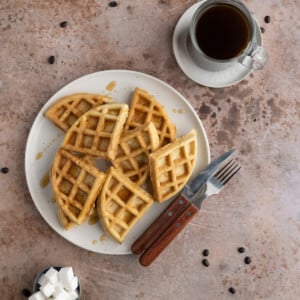
Serving Your Dairy-Free Waffles
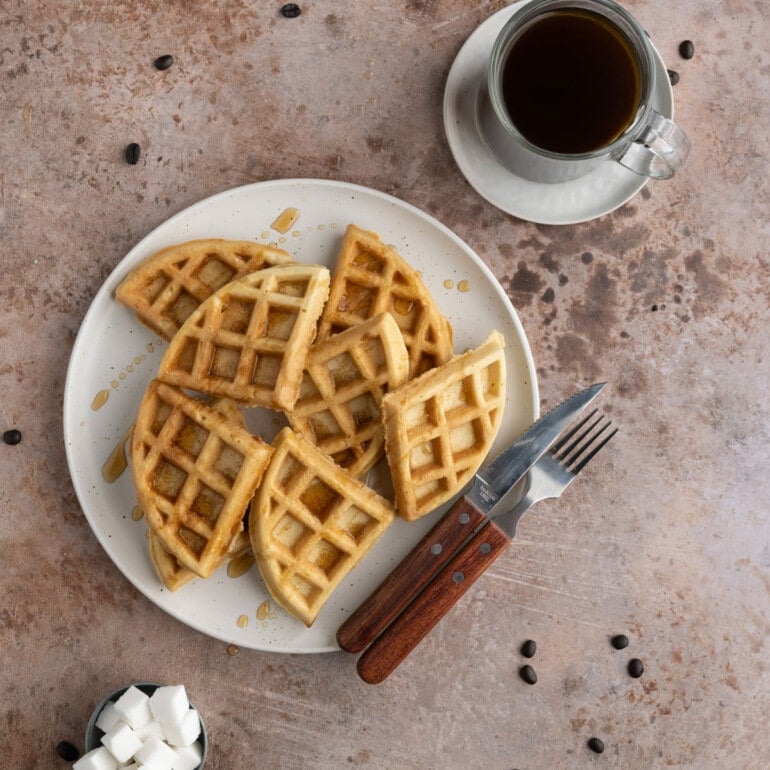
These waffles are out-of-this-world on their own or with just maple syrup or honey! I like to serve them with these Vegan Breakfast Sausage Patties.
That being said, they are also great vessels for a variety of great toppings. Here are some of my favorites:
- Dairy-free butter
- Whipped cream (coconut or almond based)
- Blueberries, strawberries, or blackberries
- Sliced bananas, peaches, or pears
- Chopped apple
- Cinnamon or cinnamon sugar
- Dark chocolate chips or chocolate syrup
Dairy-Free Waffles Frequently Asked Questions
What can I use instead of milk for waffles?
You can use any plant-based milk in place of dairy milk in waffle recipes. Or better yet, use this Dairy-Free waffle recipe which is specifically designed without milk and just the use of water.
Do waffles contain milk?
Yes, most homemade waffle recipes do contain milk. Similarly, most ready-made waffles that you keep in the freezer or refrigerator also contain milk unless otherwise specified.
Why You Should Make these Crispy Waffles without Milk
- They’re quick! The batter comes together in under ten minutes.
- They’re easy. No specialty ingredients required. Just 8 simple ingredients.
- The texture! Fluffy and airy on the inside with a crispy golden-brown exterior.
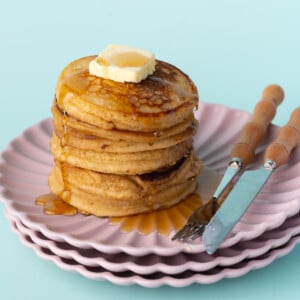
If you’re loving these Dairy-Free Waffles with No Milk and want more dairy-free breakfast ideas, check out these No Milk Pancakes and Earthy Matcha Granola.
Crispy Dairy-Free Waffles
Print Save RateEquipment
Ingredients
- 1 ¼ cup all-purpose flour
- 3 tablespoons brown sugar, tightly packed (light or dark)
- 2 teaspoons baking powder
- ½ teaspoon salt
- 1 large egg (or flax egg )
- ¼ cup oil (coconut, canola, or vegetable preferred)
- 1 teaspoon vanilla extract
- ½ cup water
- cooking spray for waffle iron
Instructions
- Plug in your waffle iron to get hot while you prepare you waffle batter.
- To a large mixing bowl, add your flour, sugar, baking powder, and salt. Whisk to combine, ensuring there are no lumps.

- Add the oil, egg, vanilla extract, and water and whisk until smooth and transfer the batter to a measuring cup or other cup with a spout for easy pouring (optional)
- Spray the waffle iron to avoid sticking. Pour the batter into the waffle iron, filling it about 3/4 of the way.
- Cook waffle according to instructions on your waffle iron until the exterior is golden brown. Repeat until batter is used up. Enjoy hot with maple syrup!
Pro Tips
- You can easily make this recipe vegan by using flax egg in the batter and frying the pancakes in non-dairy butter.
- For dairy-free pancakes instead of waffles, check out these No Milk Pancakes.
Share This Recipe


2 thoughts on “Crispy Dairy-Free Waffles”
Can I make the batter the night before?
Hi Shawna! Absolutely you can! The batter will stay fresh for up to 5 days in an airtight container in the fridge 🙂