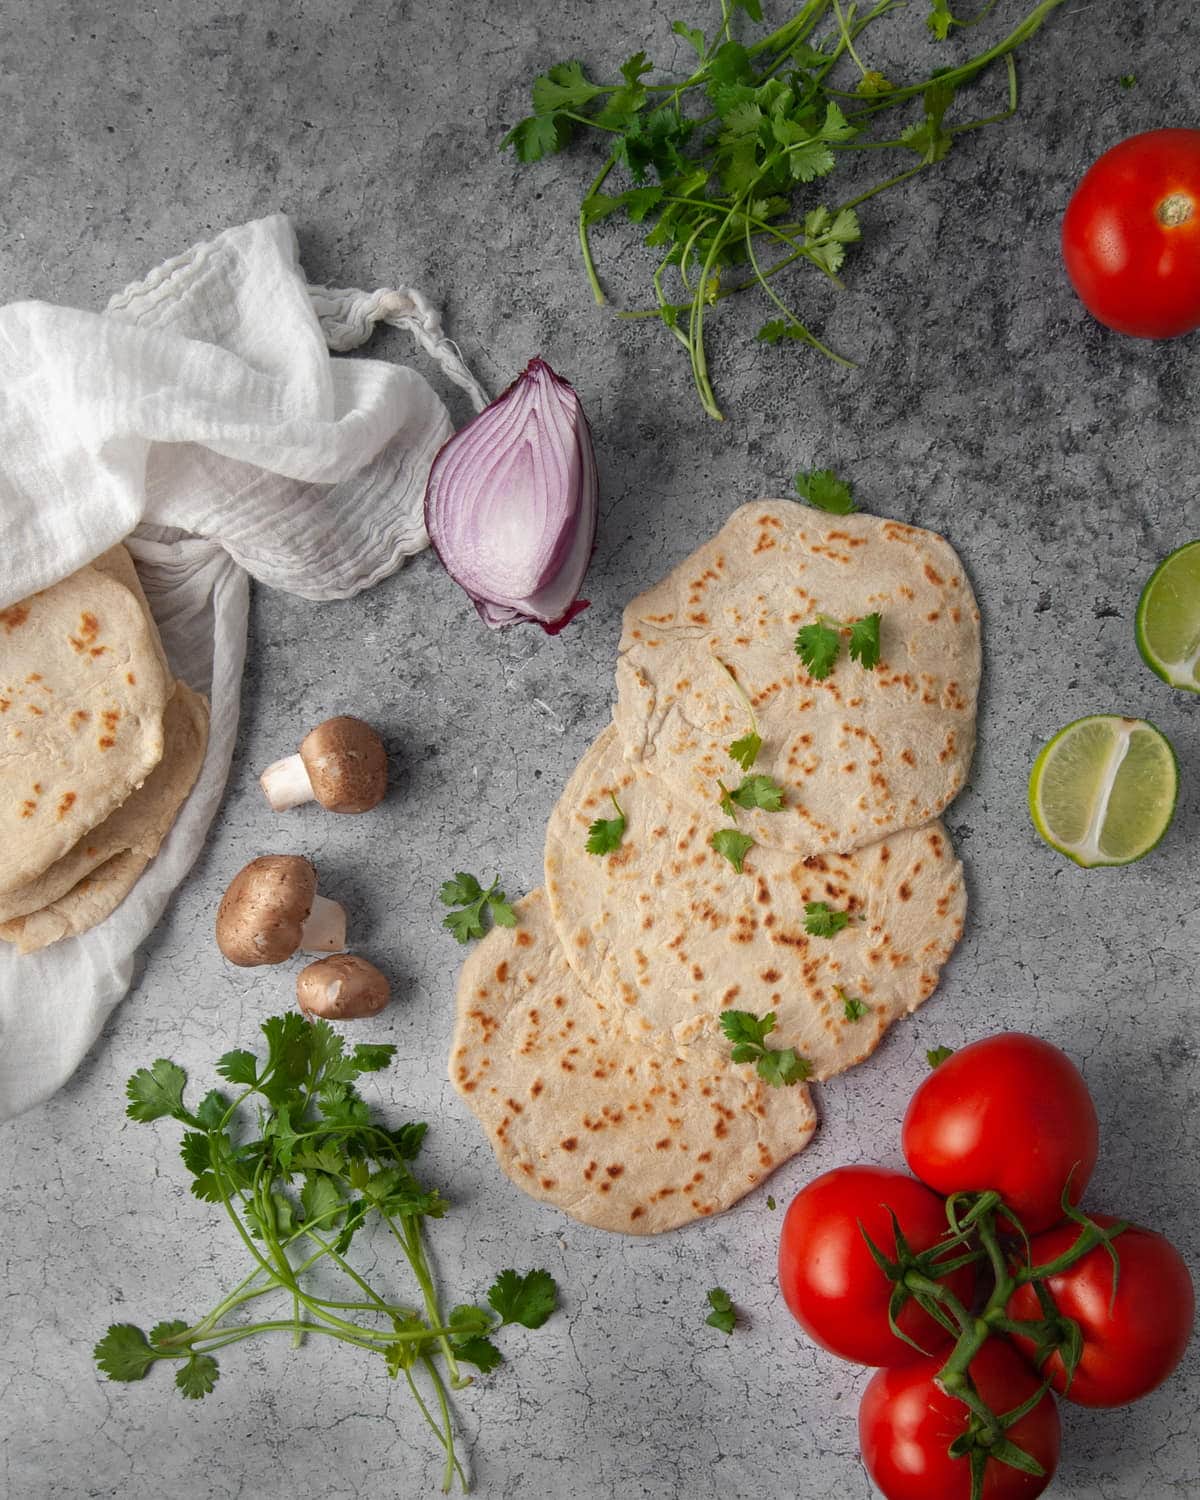
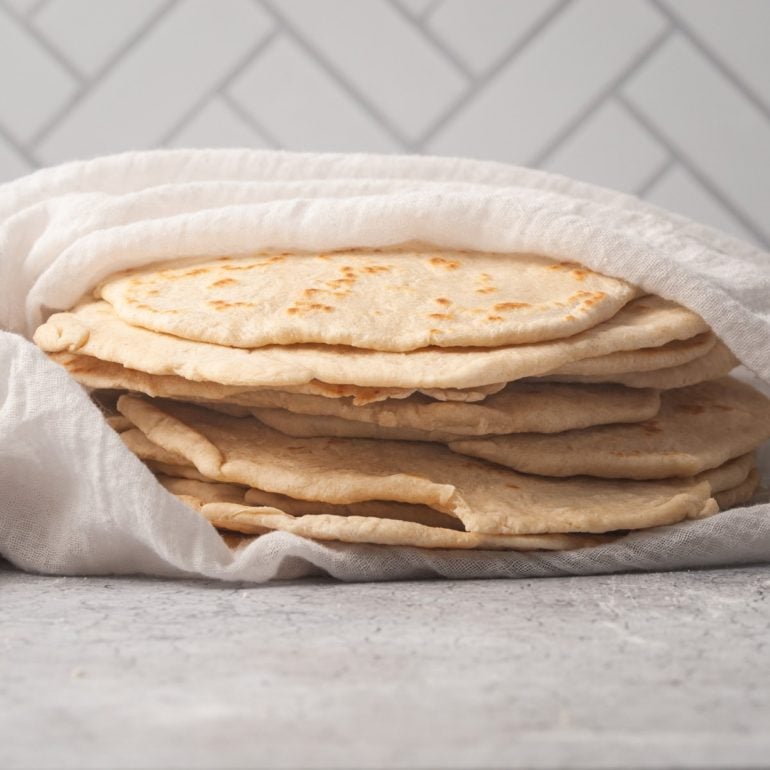
Ready to go all out for Taco Tuesday? Nothing says “I poured my heart and soul into this meal” than making everything from scratch, down to these Homemade Fluffy Flour Tortillas.
Honestly, I feel like my taco game is pretty strong, but learning how to make these tortillas REALLY brought them to the next level. You just can’t buy fluffy and fresh at the store.
This recipe makes a beautiful flour tortilla that won’t fall apart, even when you over-stuff it (because are you even eating a taco if you aren’t making a mess?).
Try these fluffy tortillas with burritos, quesadillas, enchiladas, and wraps, too.
As an environmental scientist, I am always trying to reduce my plastic waste and avoid unnecessary preservatives. Which means I am often making things from scratch.
From spice blends to pizza dough, to these fluffy flour tortillas, using simple, clean ingredients to create things from scratch means you can avoid the long list of preservatives you often find on their store-bought counterparts.
Green tip: Food preservatives, like pesticides, are harmful to the environment. They contain toxins that are harmful to plants, animals, and soil. Homemade food with all-natural ingredients that allows you to avoid preservatives lowers your ecological footprint.
Homemade Fluffy Flour Tortillas Ingredients
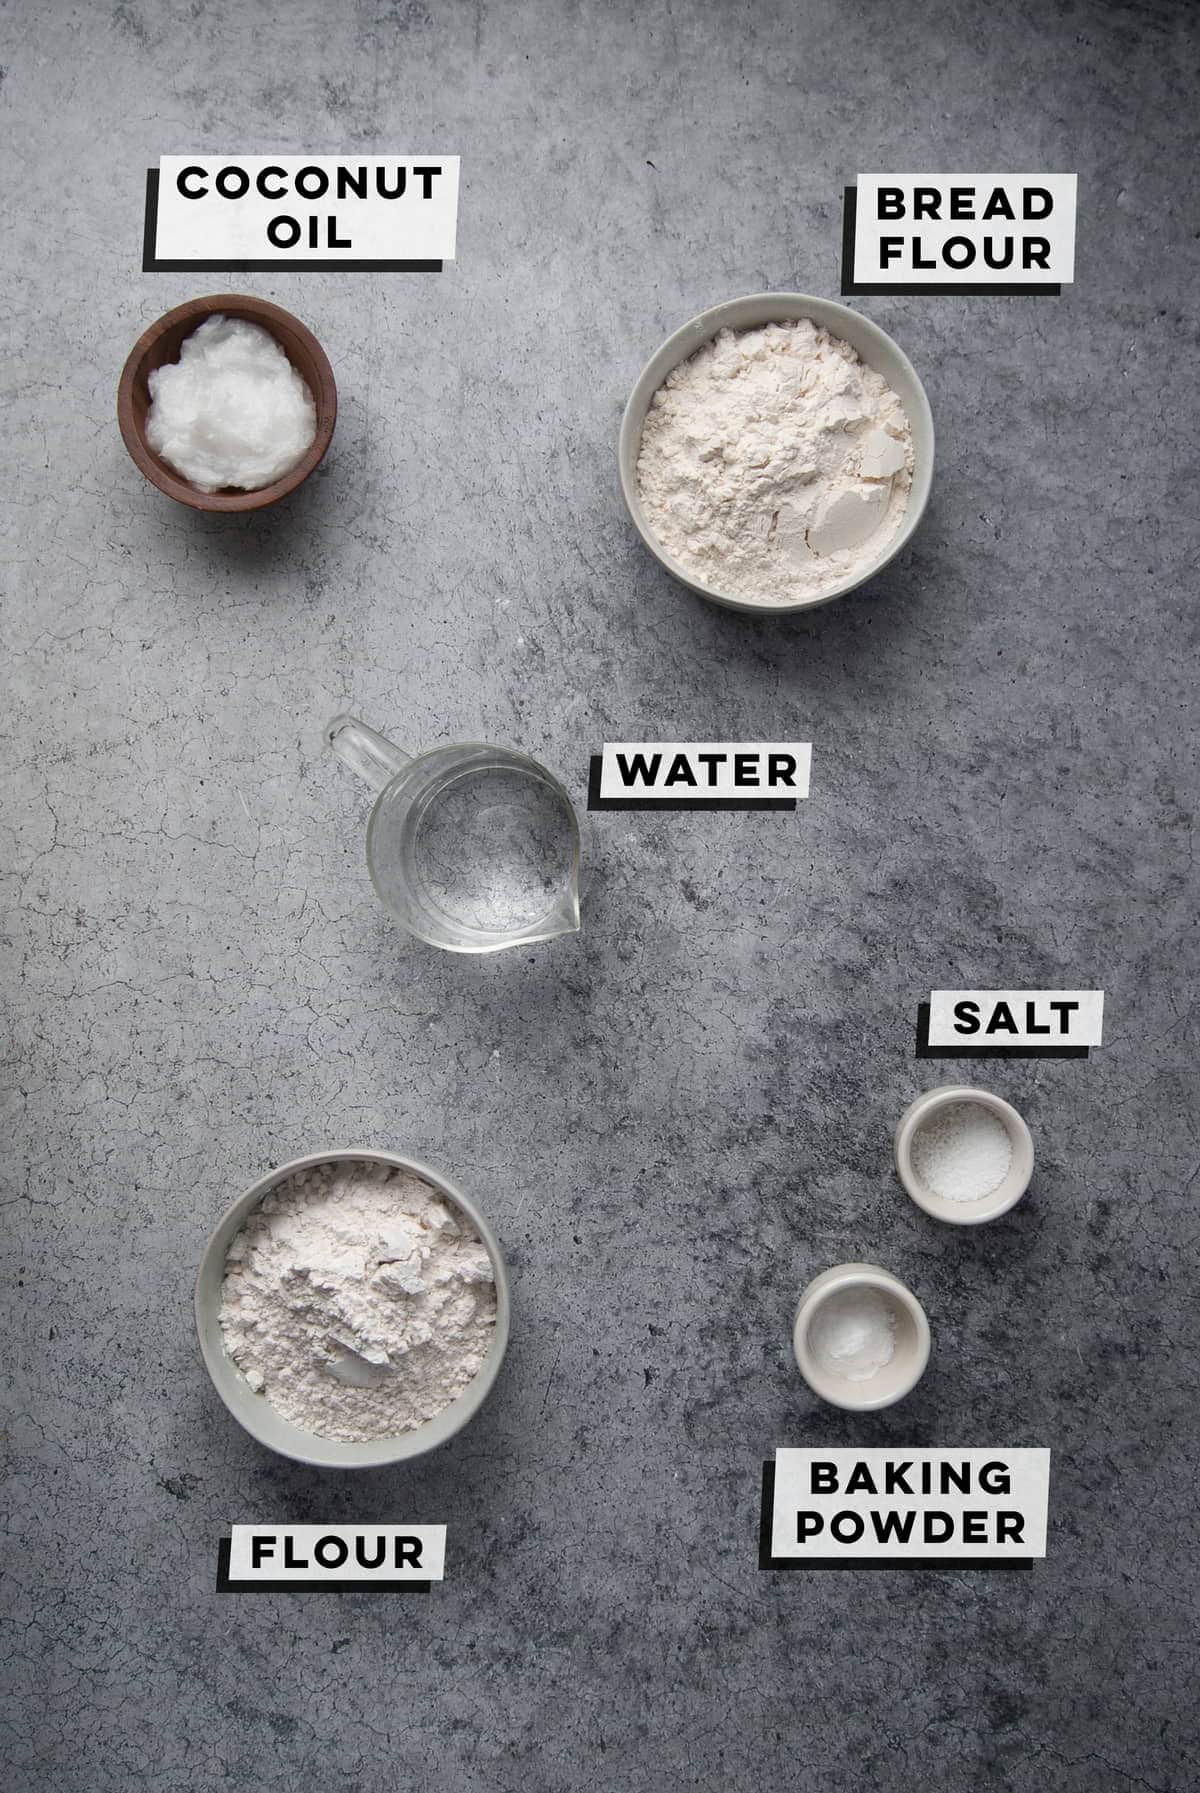
Just 5 pantry ingredients and hot water will get you these super fluffy flour tortillas.
You’ll notice this recipe calls for two types of flour. After testing these every which way, I found that using half all-purpose flour and half bread flour gives just the right amount of chew and lends a more durable tortilla that won’t crumble.
Here’s everything you’ll need:
- All-purpose flour. Half all-purpose flour will give you a firm but fluffy tortilla.
- Bread flour. It gives the tortilla a little more chewiness and bounce.
- Water. It should be warm or hot. No need to boil or heat on the stove, just hot water from the tap will do. It simply helps you more easily emulsify the water and oil together.
- Salt. For flavor.
- Baking powder. For a subtle rise. I promised you fluffy!
- Coconut oil. Coconut oil gives the tortillas the most neutral color and gives it a very subtly sweet flavor.
Homemade Fluffy Flour Tortillas Tips and Tricks
Combine Your Dry Ingredients First
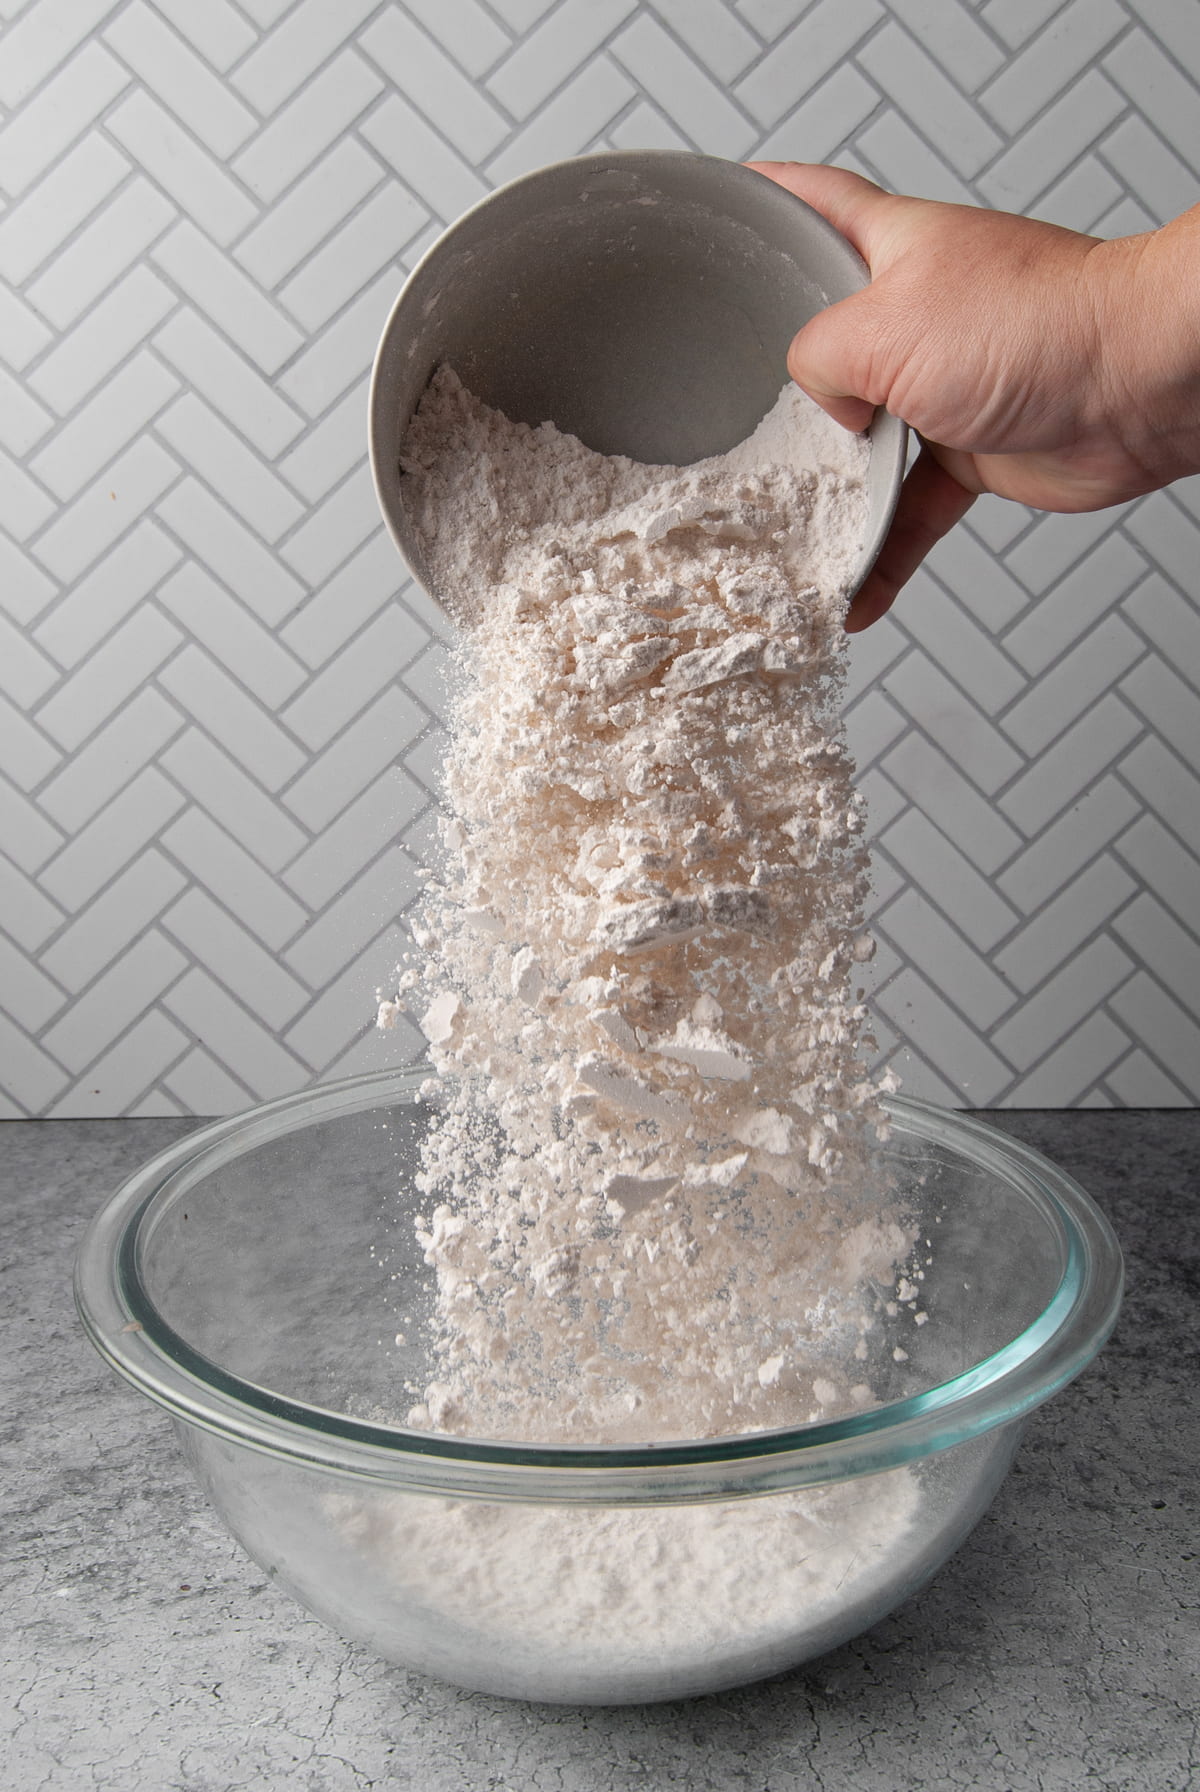
Giving both flours, the baking powder, and the salt a whisk before adding your oil and water together just makes mixing all your ingredients more seamless.
Make An Emulsion
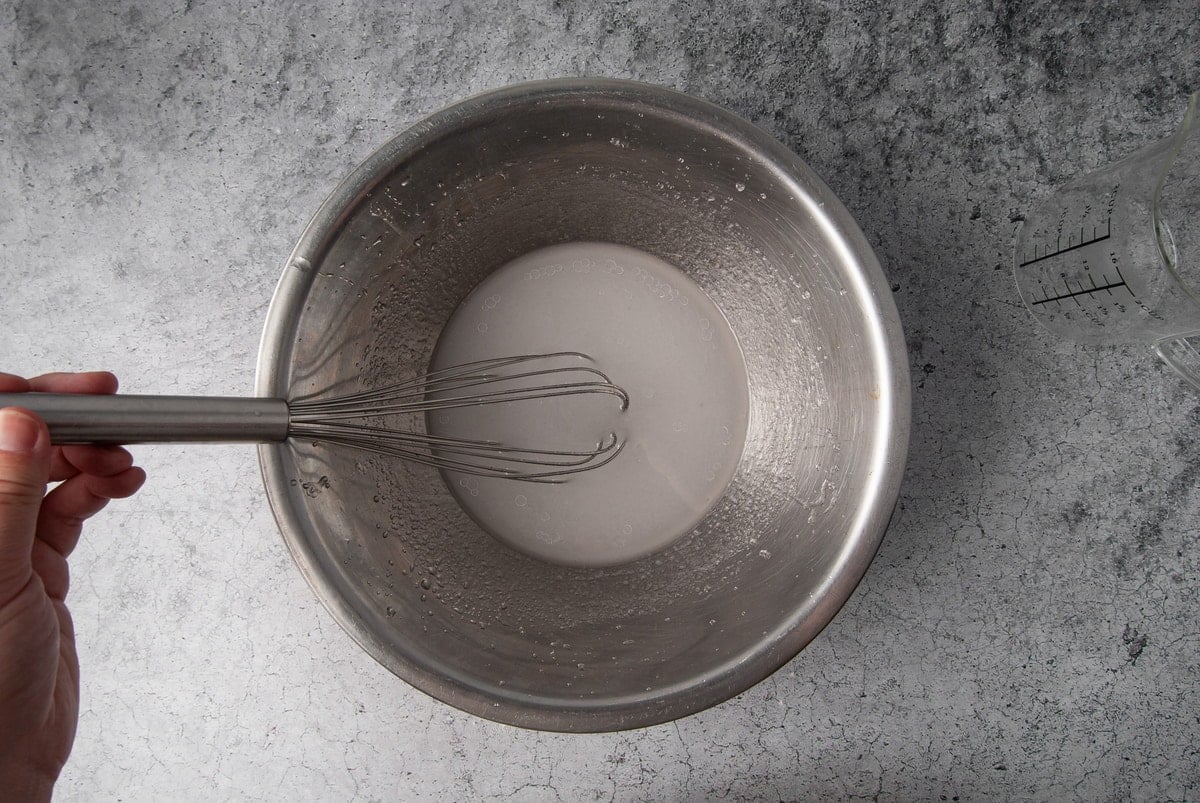
I know what you’re thinking, oil and water don’t mix. But using warm water and whisk will allow you to combine the coconut oil and water into an emulsion.
This is the best way to integrate your wet ingredients into your dry. Whisk the water and coconut oil together for about 1 minute, until the mixture looks merky and there are no solid coconut oil lumps.
Use Your Hands
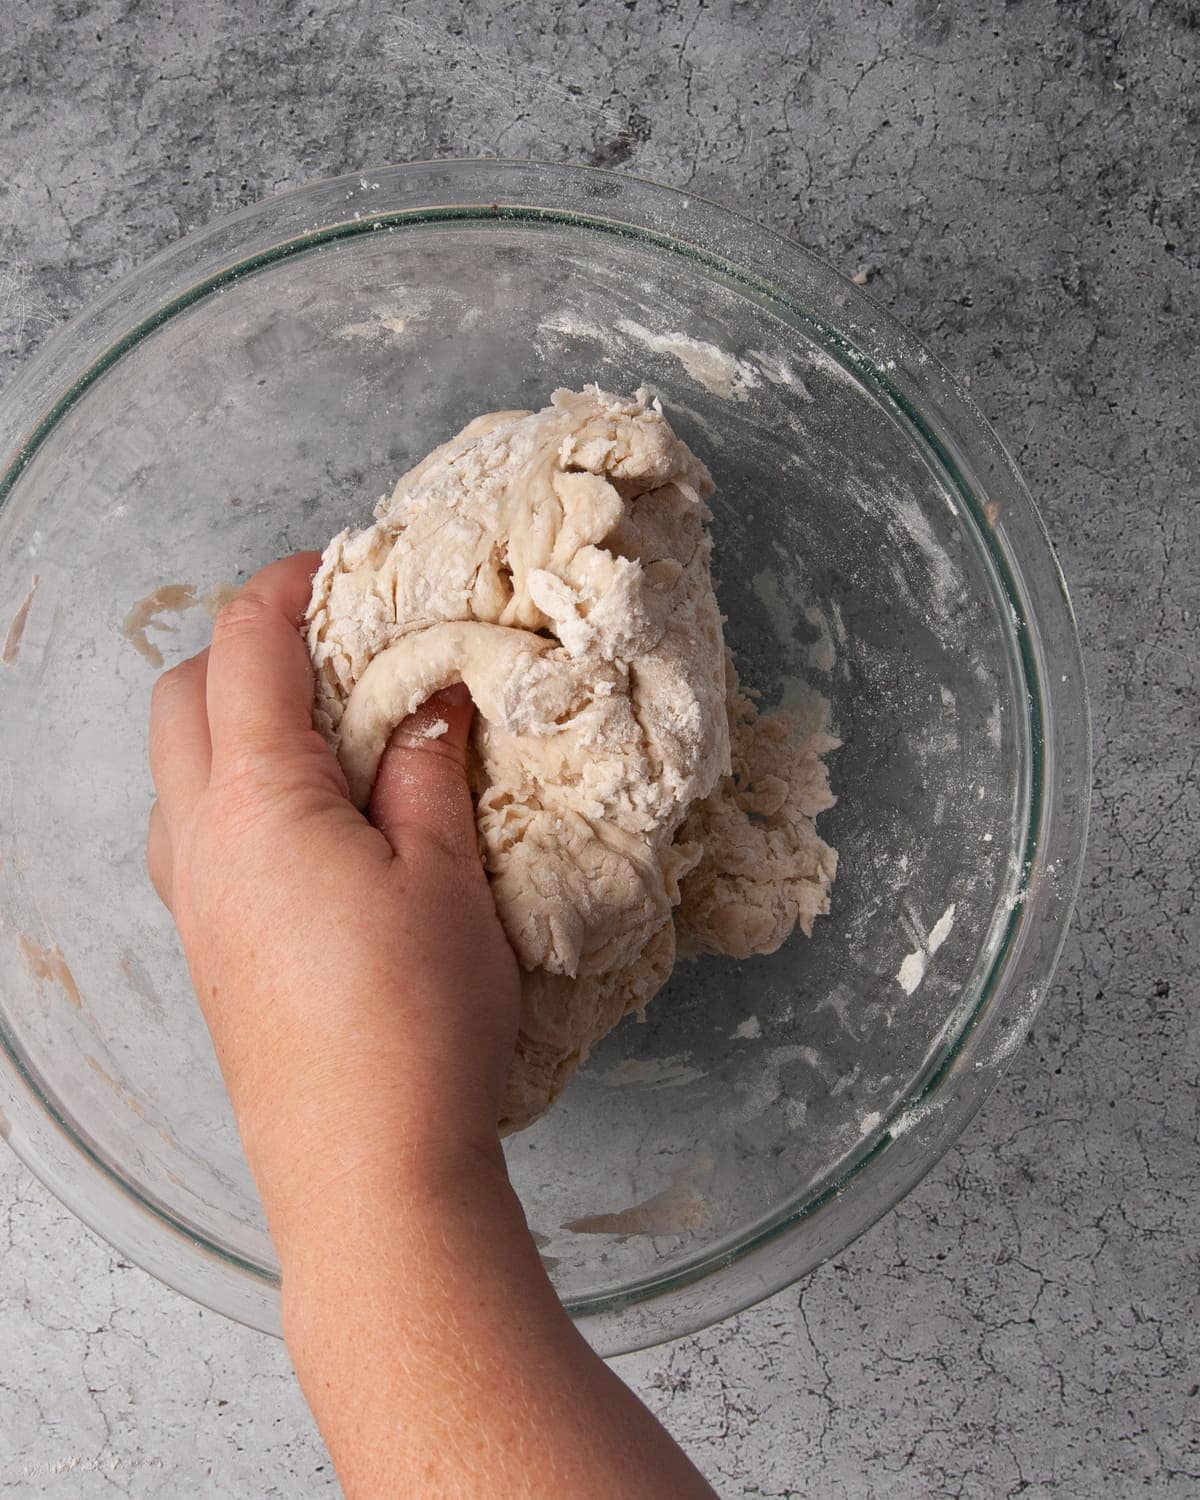
Once you add the dry and wet ingredients together, use your whisk to combine as much as you can. You’ll notice the dough gets pretty thick, and the whisk will most likely leave some extra flour behind in your mixing bowl.
Use clean hands to work the extra flour into your dough.
Flour Your Surface
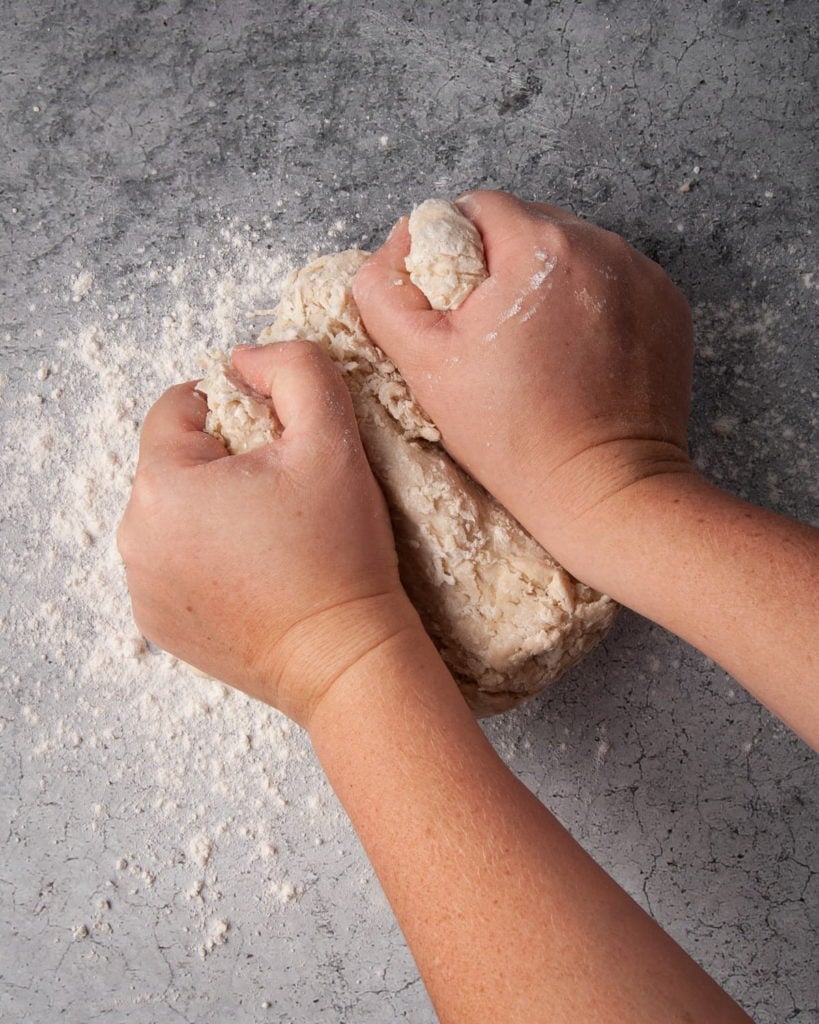
While there is no need to spend a lot of time kneading this dough, you do want a nice, clean, floured surface to work on. You will use two hands to knead just a couple of times to ensure the dough is mixed well and ready to shape.
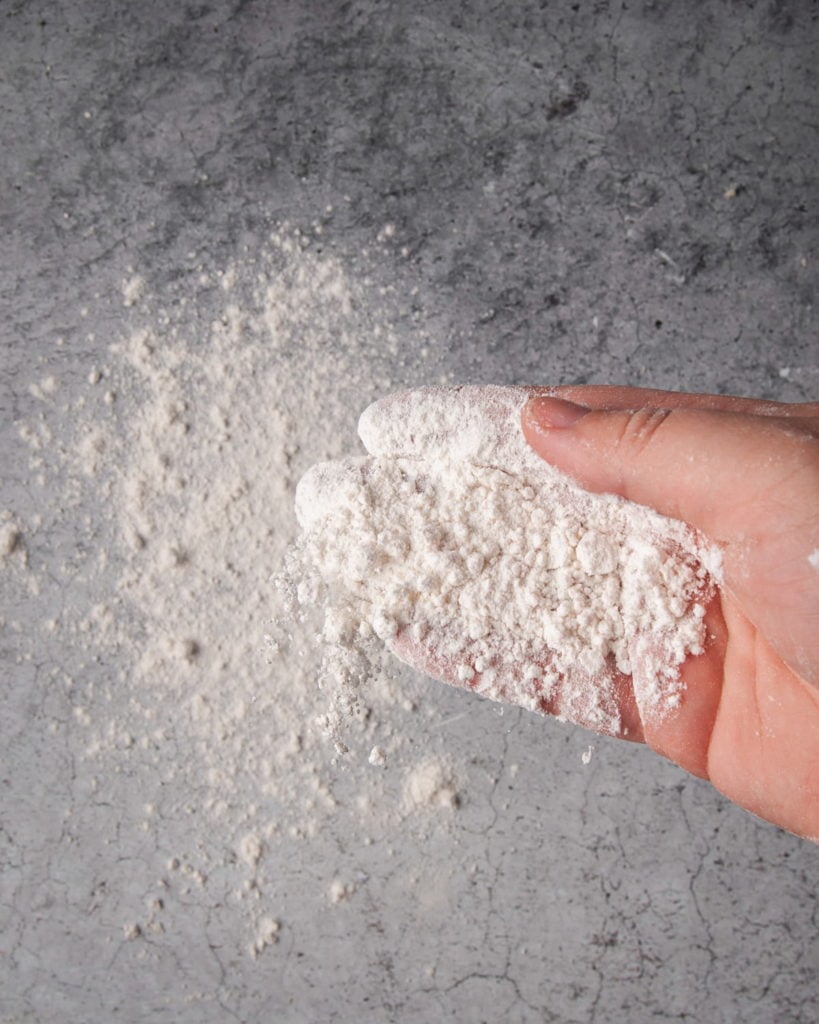
Once you’ve transferred your dough to the surface and used your hands to work it into a shapeable piece of dough, you should be left with a thick, firm dough that is not at all sticky.
If you find that your dough is sticky at all, add a little bit more all-purpose flour, 1 tablespoon at a time, working the flour into the dough until it feels like play-dough.
Divide It Evenly
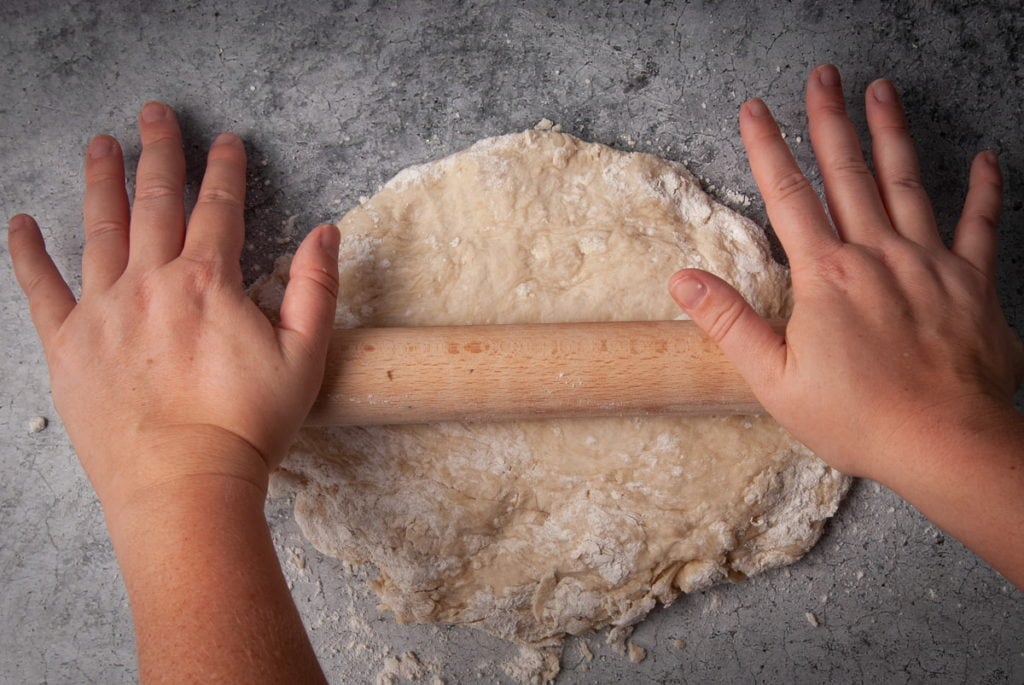
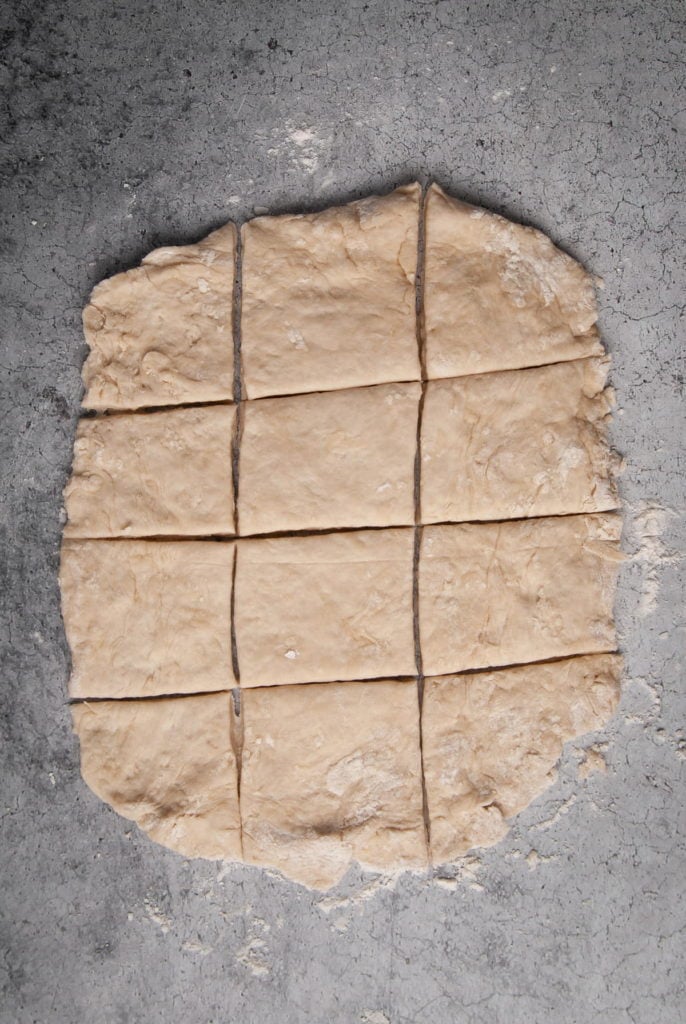
Once your dough’s ingredients are fully integrated and your left with a firm dough, use a rolling pin to flatten it. Roll it out into an oval shape, until it is only about 1/2 an inch thick.
You can then use a knife or pizza cutter to slice your dough into 12 roughly even pieces.
Ball ‘Em Up
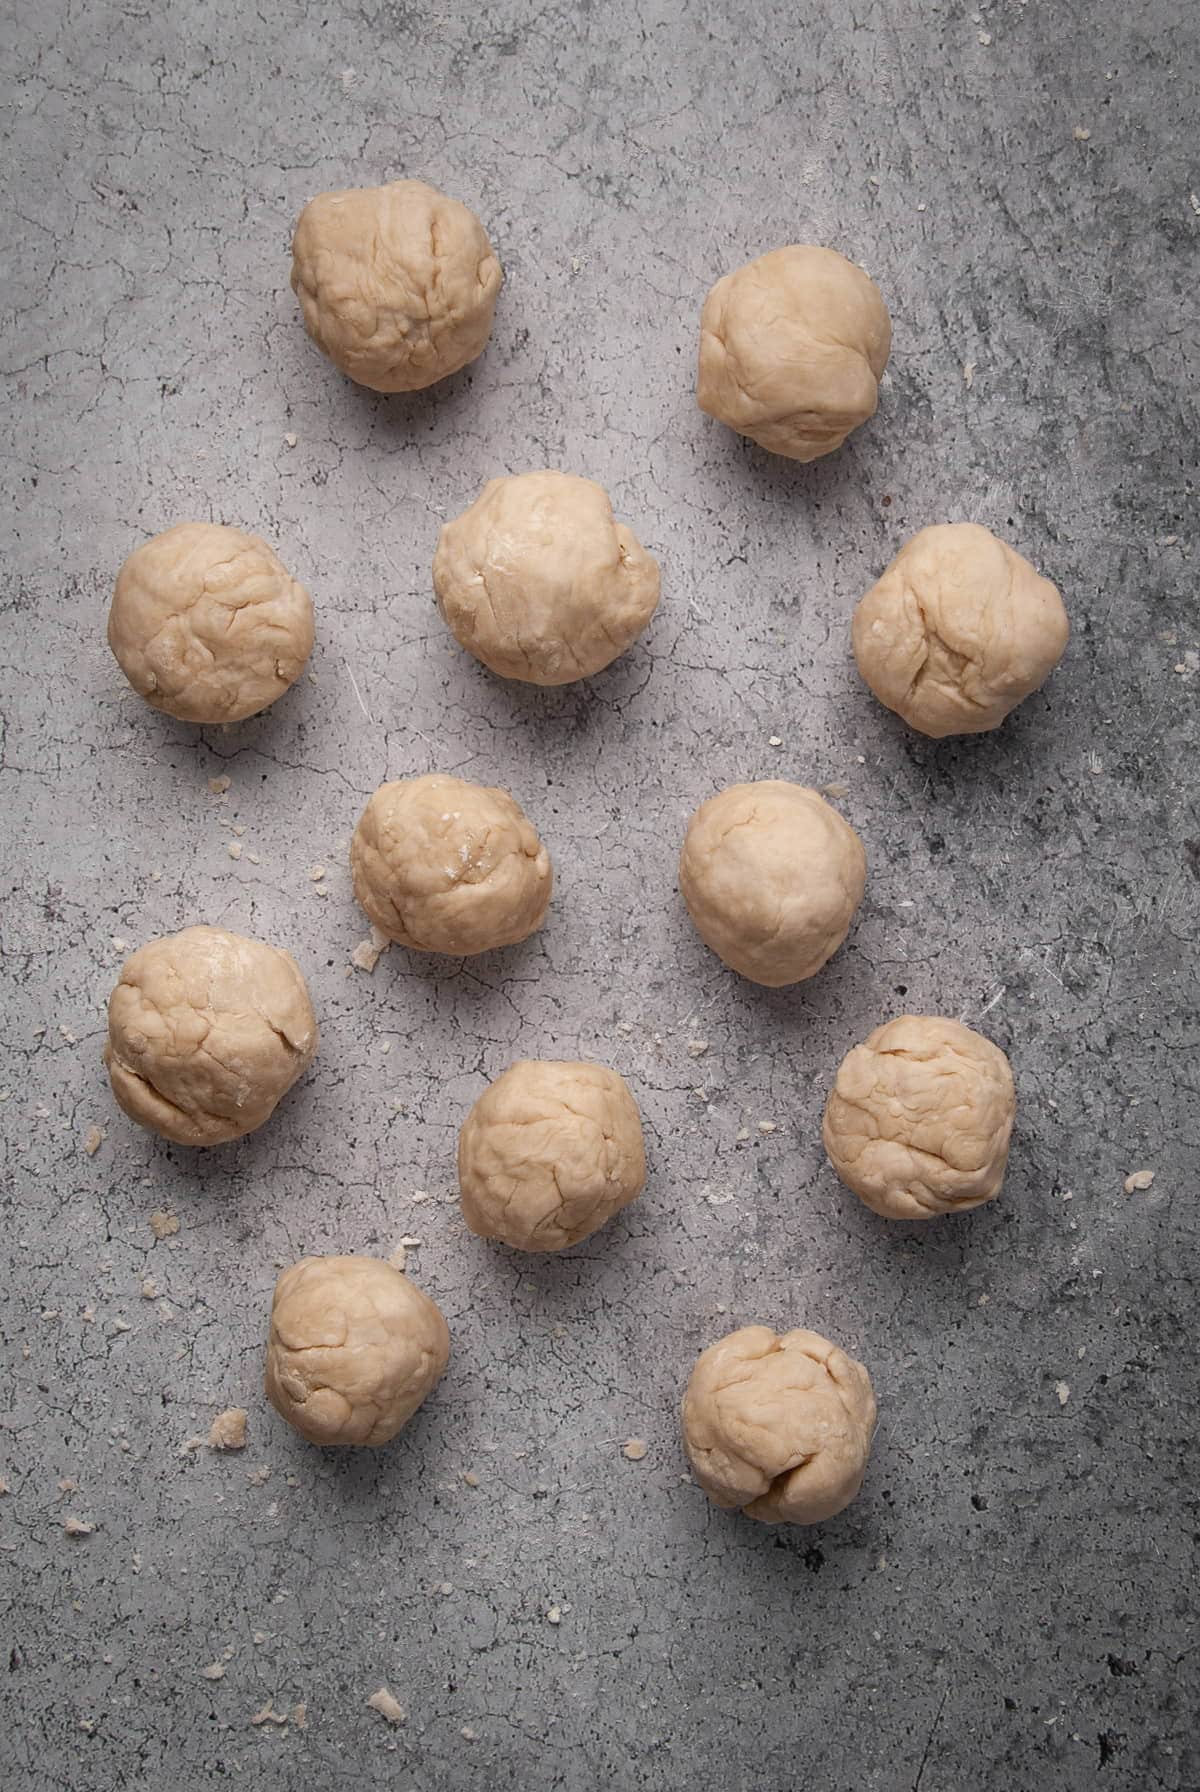
Take each piece and roll it in between both hands until your left with 12 balls of dough. Each ball will be shaped into a tortilla using a rolling pin.
Shaping Them
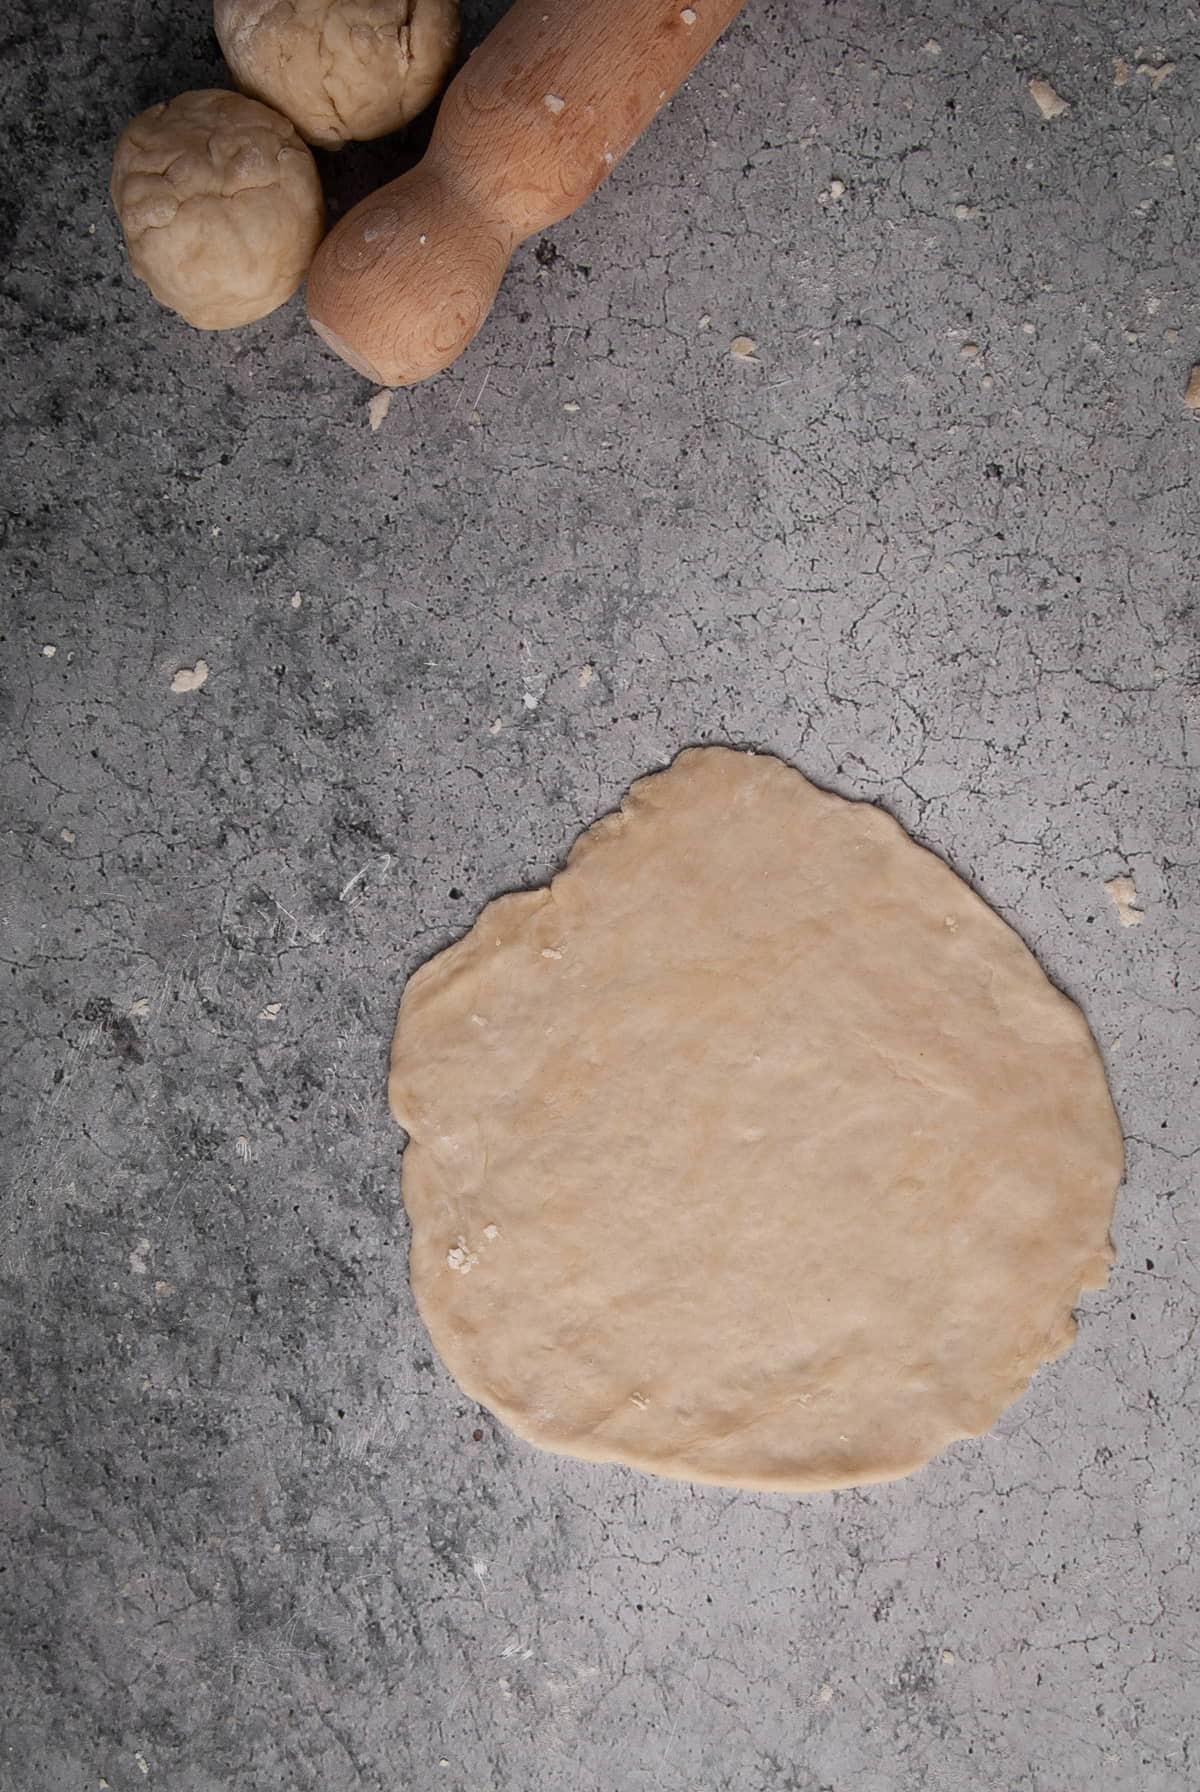
Use your rolling pin again to shape each dough into a round and flat tortilla.
You’ll notice that once you pick up your tortilla, it will start to shrink. Bearing this in mind, roll your tortilla out a little bit flatter and larger than your desired final size.
I find the easiest way to get a circular shape is to roll the ball out flat, then rotate it, continuing to roll and rotate, roll and rotate, until you are left with a flat circle.
Cooking Them
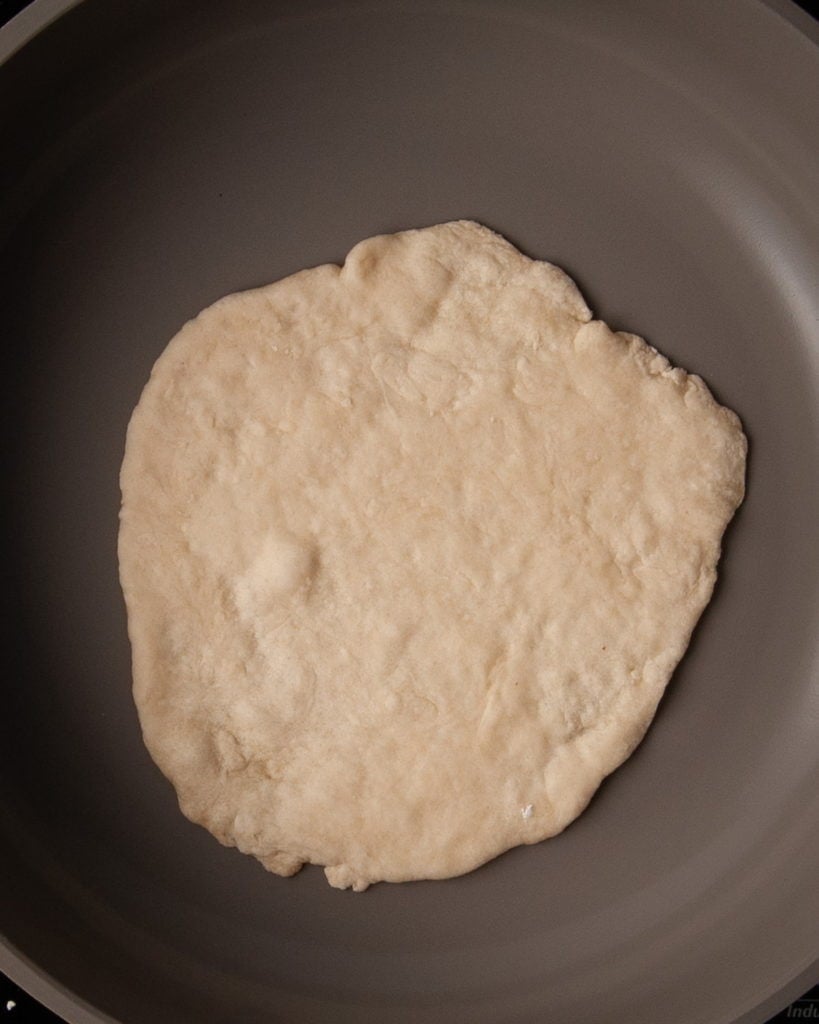
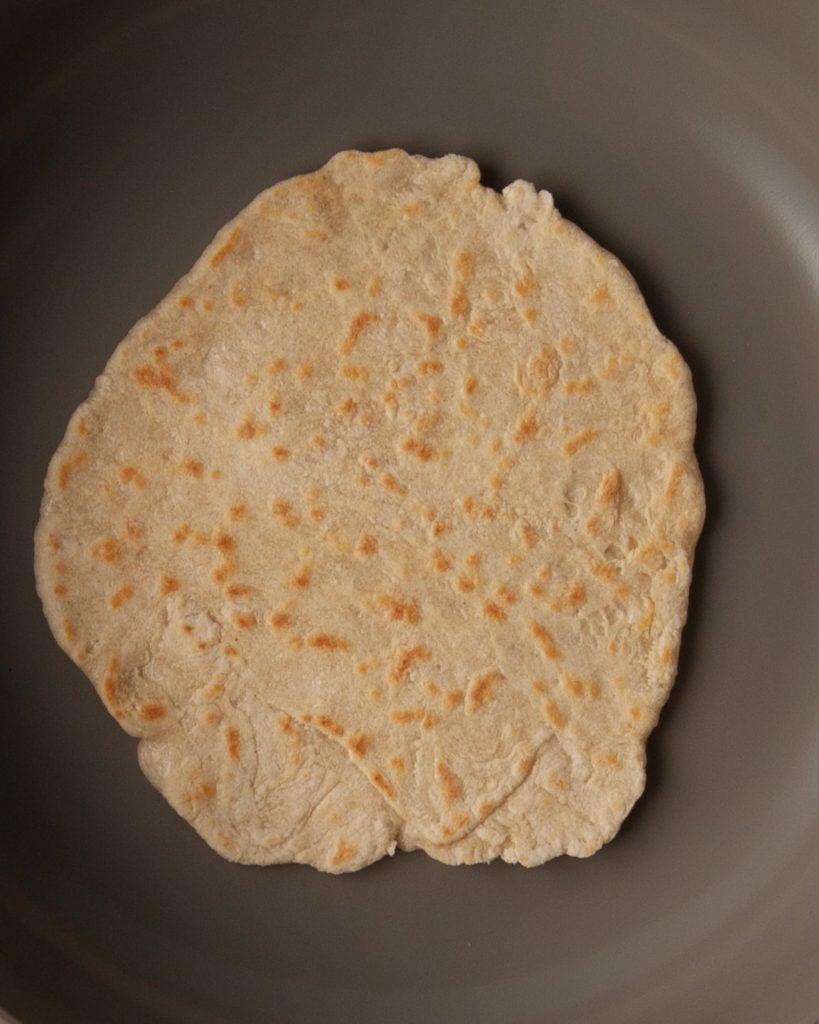
Get your pan hot first over medium heat. Once your tortilla is shaped, it will take less than a minute to cook.
One at a time, place your tortillas straight on the pan (no need to oil or grease), and watch as your tortilla starts to form a bubble or two. This should only take about 30 seconds.
Flip you tortilla and cook on the second side for 10-20 seconds, until both sides have golden brown spots.
Storing and Reheating Your Tortillas
These flour tortillas will last up to three weeks in the refrigerator in an airtight container and retain their freshness and flavor. You’ll notice that they harden after a couple of days, but don’t worry! If you reheat them properly, they will bounce right back.
They will also stay fresh at room temperature for up to 12 hours or you can opt to freeze them for about 1 month.
To reheat, thaw from the freezer first. From the fridge, you can either toast them on a pan again, the same way you do when you cook them, or you can heat them in the microwave between two damp paper towels for 15 seconds.
Just wet two paper towels in the sink, and ring them out before placing the tortillas in between them.
Green tip: Did you know that of the billions of pounds of food wasted annually, it is estimated that 50% of it happens in our homes? Knowing how to properly store and reheat your food is a great way to reduce your personal contribution to food waste.
Adjusting Their Size
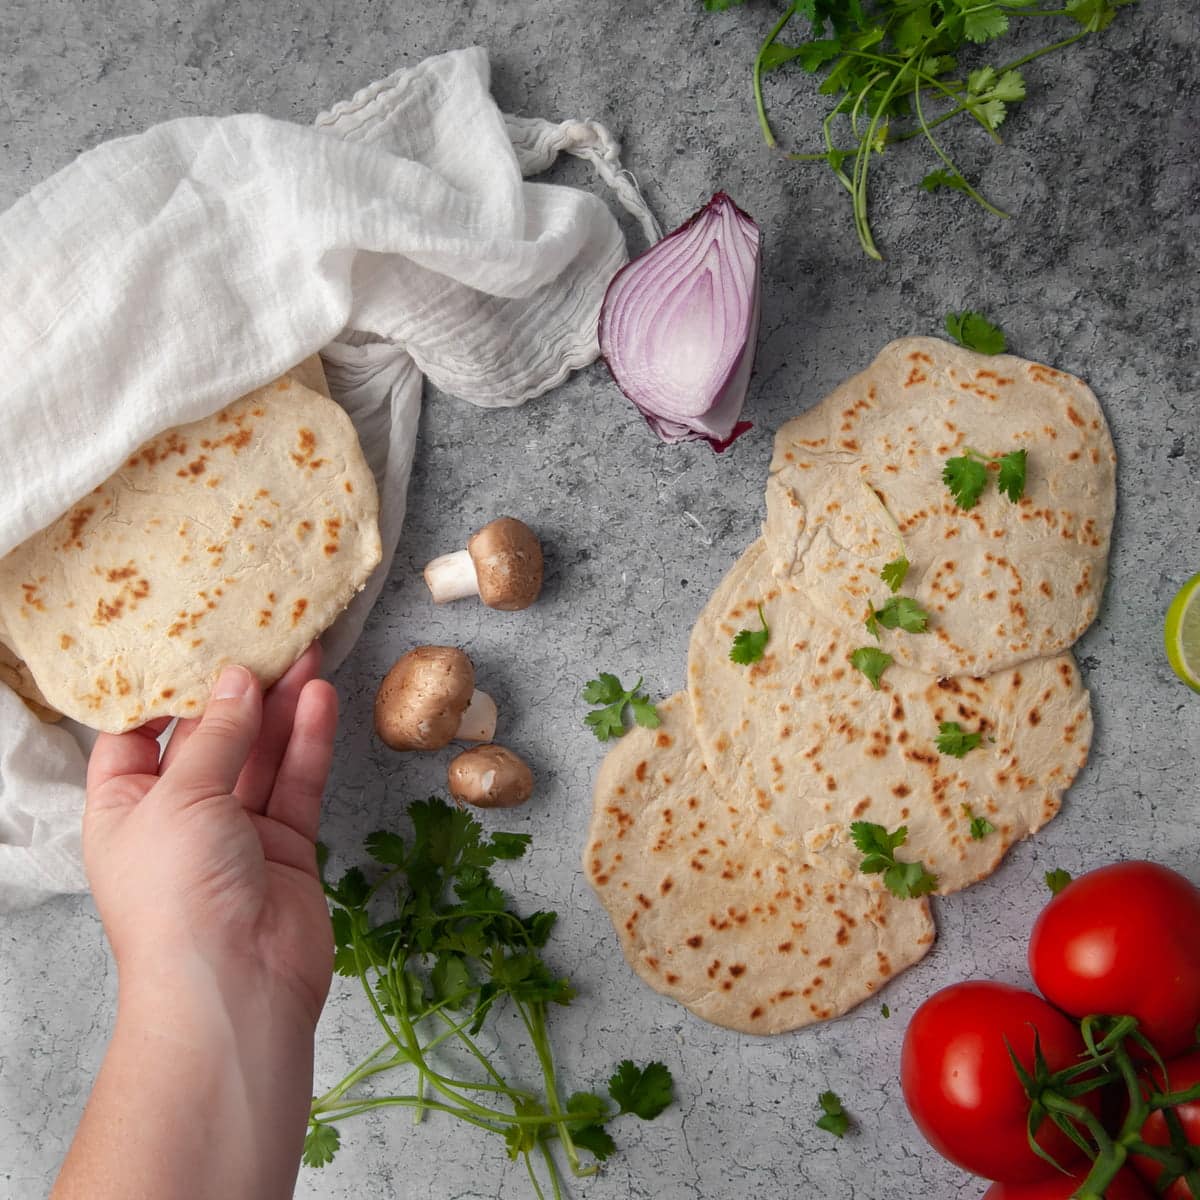
These tortillas are comparable to what is labeled as a “taco size” tortilla at the store. They’re perfect for fresh tacos and individual-sized quesadillas and come out to be about 10 inches in diameter.
If you want to use these more for burritos or wraps, you may want to consider making them larger.
The best way to do so is by diving the dough into just 8 pieces instead of 12. This will give you more dough to work with for each tortilla. Roll them out flat, until they are about 14 inches in diameter.
Conversely, if you want them smaller, try dividing your dough into 14-16 pieces. Roll them out flat into mini tortillas, about 6 inches in diameter.
More on Homemade Flour Tortillas
Making Flour Tortillas without Lard
Tortillas are traditionally made with lard, but can easily be replicated with shortening, butter, or oil.
In this recipe, we are using coconut oil instead of lard as a more environmentally-friends source of fat.
Cost of Homemade Vs Storebought Tortillas
Generally speaking, making flour tortillas from scratch will save you money. Using average USD prices for the ingredients in these Fluffy Flour Tortillas, each tortilla averages to about 7 cents per tortilla.
Compared to the average price per tortilla buying them pre-made in the store (12 cents), homemade tortillas are about 58% cheaper.
Why are my flour tortillas chewy?
If your tortillas seem too chewy, they are most likely overcooked.
Cooking the tortillas for too long will take too much moisture out of the dough.
How to Get Flour Tortillas Fluffy
The baking powder in the dough is the primary source of “fluffiness”. It’s the reason these tortillas bubble and puff up in the pan!
If you’re not seeing any puffing or bubbling, make sure your baking powder is not expired.
Bread Flour Vs All Purpose Flour in Homemade Tortillas
You can use 3 cups of all-purpose flour instead of doing half all-purpose and half bread flour and still achieve a flour tortilla that doesn’t fall apart.
However, if you want them fluffy as promised, you have to use some bread flour. It has more protein in it, allowing it to rise faster and achieve that fluffiness in the short minute they are toasting (with aid from the baking powder, of course!)
How to Flatten Flour Tortillas from Scratch
The simplest solution to getting a flatter tortilla is rolling them out flatter!
And the easiest way to do this is to invest in a tortilla press. I personally like mine a little thicker, but a tortilla press will allow you to get them paper thin and perfectly shaped.
Why You Should Make These Fluffy Flour Tortillas
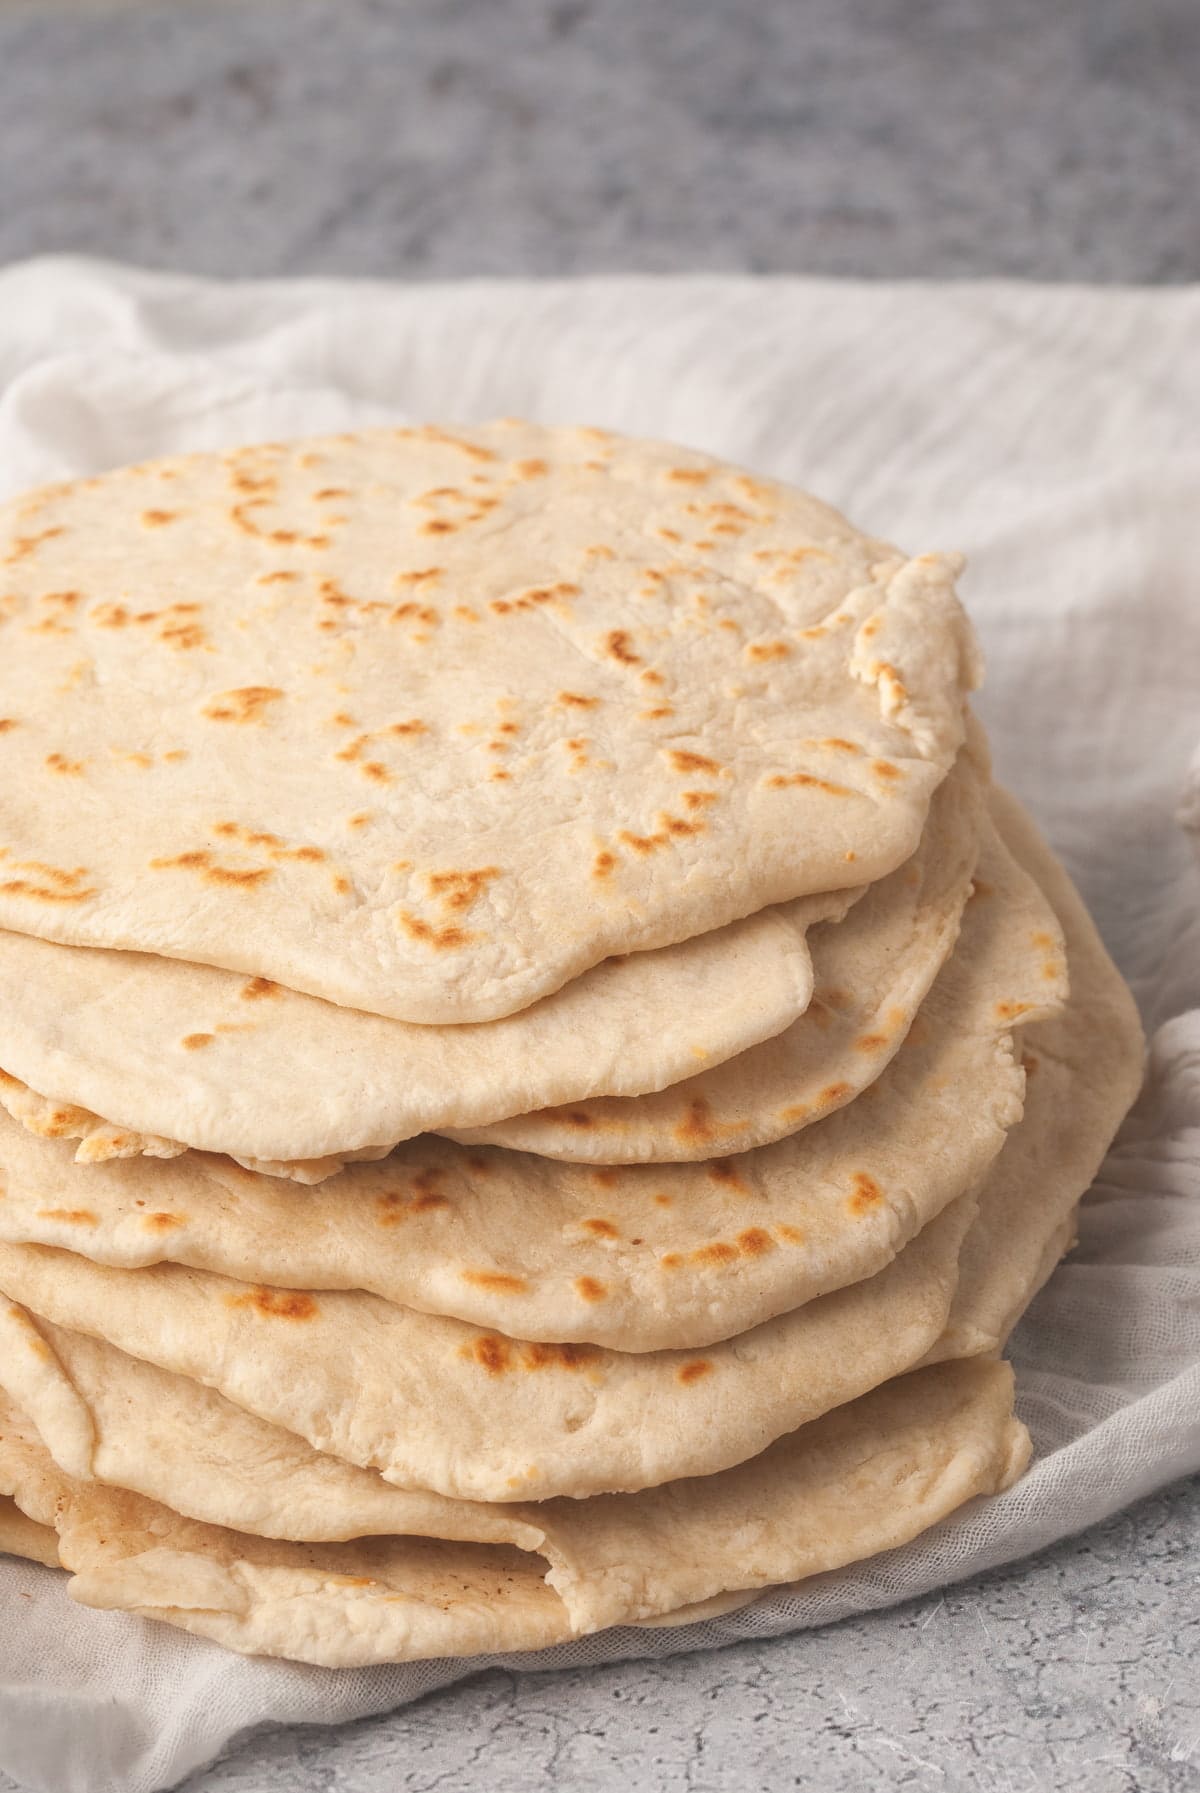
- They’re fluffy. The perfect base for any taco or wrap.
- They’re fresh. Nothing better than hot off the press.
- They’re natural. Preservative free.
Try these Homemade Fluffy Flour Tortillas with this Fresh Fish Tacos with Pineapple Salsa recipe, these Salmon Tacos with Greek Yogurt, or these Blackened Mahi-Mahi Tacos with Baja Sauce.
Homemade Fluffy Flour Tortillas
Ingredients
- 1 ½ cups all-purpose flour
- 1 ½ cups bread flour
- 1 teaspoon salt
- 1 teaspoon baking powder
- 1 cup hot water
- ⅓ cup coconut oil
Instructions
- Combine both flours, salt, and baking powder in a mixing bowl.
- In a separate bowl, whisk warm water and oil together until it looks murky and there are no solid coconut oil clumps. You do not need to boil your water, you just need it warm enough to combine with the coconut oil and liquefy it.
- Add the oil/water emulsion to your dry ingredients and whisk until it starts to come together. Use your hands to fully combine your ingredients, until you are left with a firm dough that is not sticky.
- Transfer dough to a floured surface and knead until smooth. If your dough is sticky, slowly add in more all-purpose flour (about 1 tablespoon at a time), kneading to combine, until it feels like play-dough.
- Use a floured rolling pin to flatten your dough into an oval shape until it’s about 1/2 an inch in height.
- Use a knife or pizza cutter to slice your dough into 12 roughly even pieces.
- Roll each piece of dough into a round ball. If you notice any size discrepancies, you can even out the amount of dough in each piece now, by taking some from the bigger pieces and adding it to the smaller ones.
- One at a time, use your rolling pin to flatten the dough to desired thickness. I like my tortillas fluffy and a little thicker than store-bought ones, so I roll them out until they are about 10 inches in diameter.It's okay if the shape is rustic! It gives them that homemade look. Don't worry about wasting too much time rolling them into perfect circles.
- Heat a pan over medium heat and place your tortillas, one at a time, into the center of the pan—no need to grease! After about 30 seconds, little bubbles will form in your tortilla.Once you notice the bubbles, flip. Your tortilla should be spotted with golden brown. Heat on the second side for about 10-15 seconds, until both sides are speckled with golden brown. Your first one will be the test if your pan is too hot or not hot enough.
- Repeat step 9 until you have a stack of tortillas! Keep them warm by wrapping them in a kitchen towel until you are ready to enjoy them.
Pro Tips
- You can substitute vegetable oil for coconut oil for similar results.
- To reheat, toast again as you did in step 9 or microwave between two damp paper towels for 10-15 seconds.
Share This Recipe



7 thoughts on “Homemade Fluffy Flour Tortillas”
Hi Marley. I’m Maria ,I have diabetes 2can I eat these tortillas or do you have any recipes for me
Hi Maria!
Thank you so much for visiting my site! Unfortunately, I don’t specialize in diabetic diets, so I don’t want to give you any misinformation. The concern with these tortillas is the all-purpose flour which is high in carbohydrates. But if you’re looking for healthier recipes that are low in carbohydrates and sugar, I do have a “healthy” section on the site.
You are such a natural, Marley!!!! Maybe a little cafe is in your future???
Love these tortillas!!! I don’t know how you have time to do all this food prep with a 7 mos old
Thank you!!! It’s definitely hard to find the time, but I love it!
They looks delicious!!!
Do you need to put oil or something similar on pan before dropping the tortillas on the pan? Looks delicious!!
They’re so good and surprisingly easy! No need to grease the pan. I used nonstick, but any pan will do! They are dry enough that you’ll still easily be able to flip them.