Want to make cute cut-out cookies, but sick of the same old sugar cookies every year? These Chocolate Peppermint Christmas Cookies both look and taste like the Holidays, without the overdone sugary-sweet taste.
The cute Christmas tree cookie shape and green color is so festive! They are crunchy on the edges, chewy in the center, and are chocolate-forward with a festive peppermint finish. And as someone who struggles with shape-able cookies, I promise these are do-able.

Chocolate Peppermint Christmas Tree Cookies Ingredients
Chocolate Peppermint Cut-Out Cookies
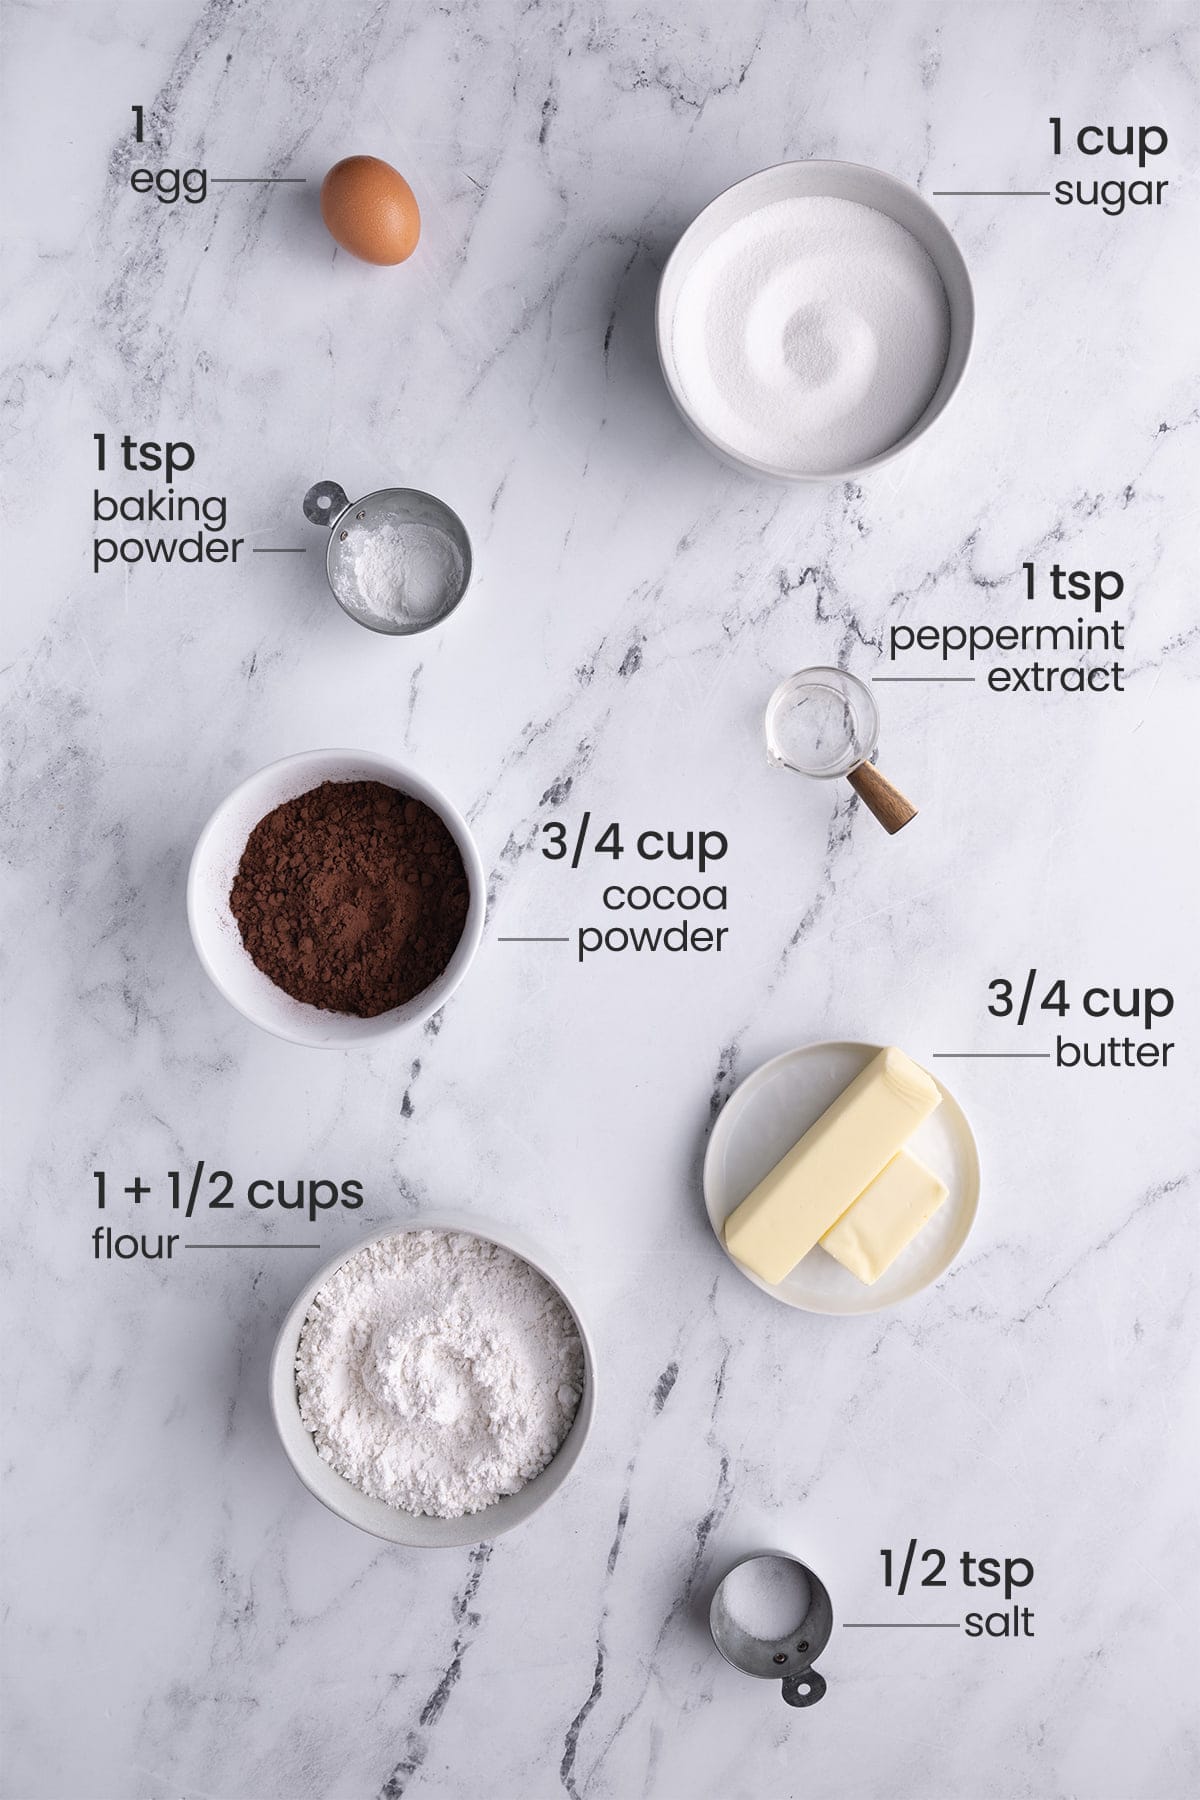
Here’s everything you’ll need for the cookies:
- Unsalted butter. It needs to be softened in order to get this dough just right.
- Granulated sugar. For sweetness. What’s a cookie without it?
- Peppermint extract. For the Holiday peppermint flavor!
- All-purpose flour. The base of your cookie dough.
- Cocoa powder. I use dark cocoa powder for the deepest chocolate flavor.
- Baking powder. For a little rise.
- Salt. To enhance the chocolate flavor.
Green Peppermint Royal Icing
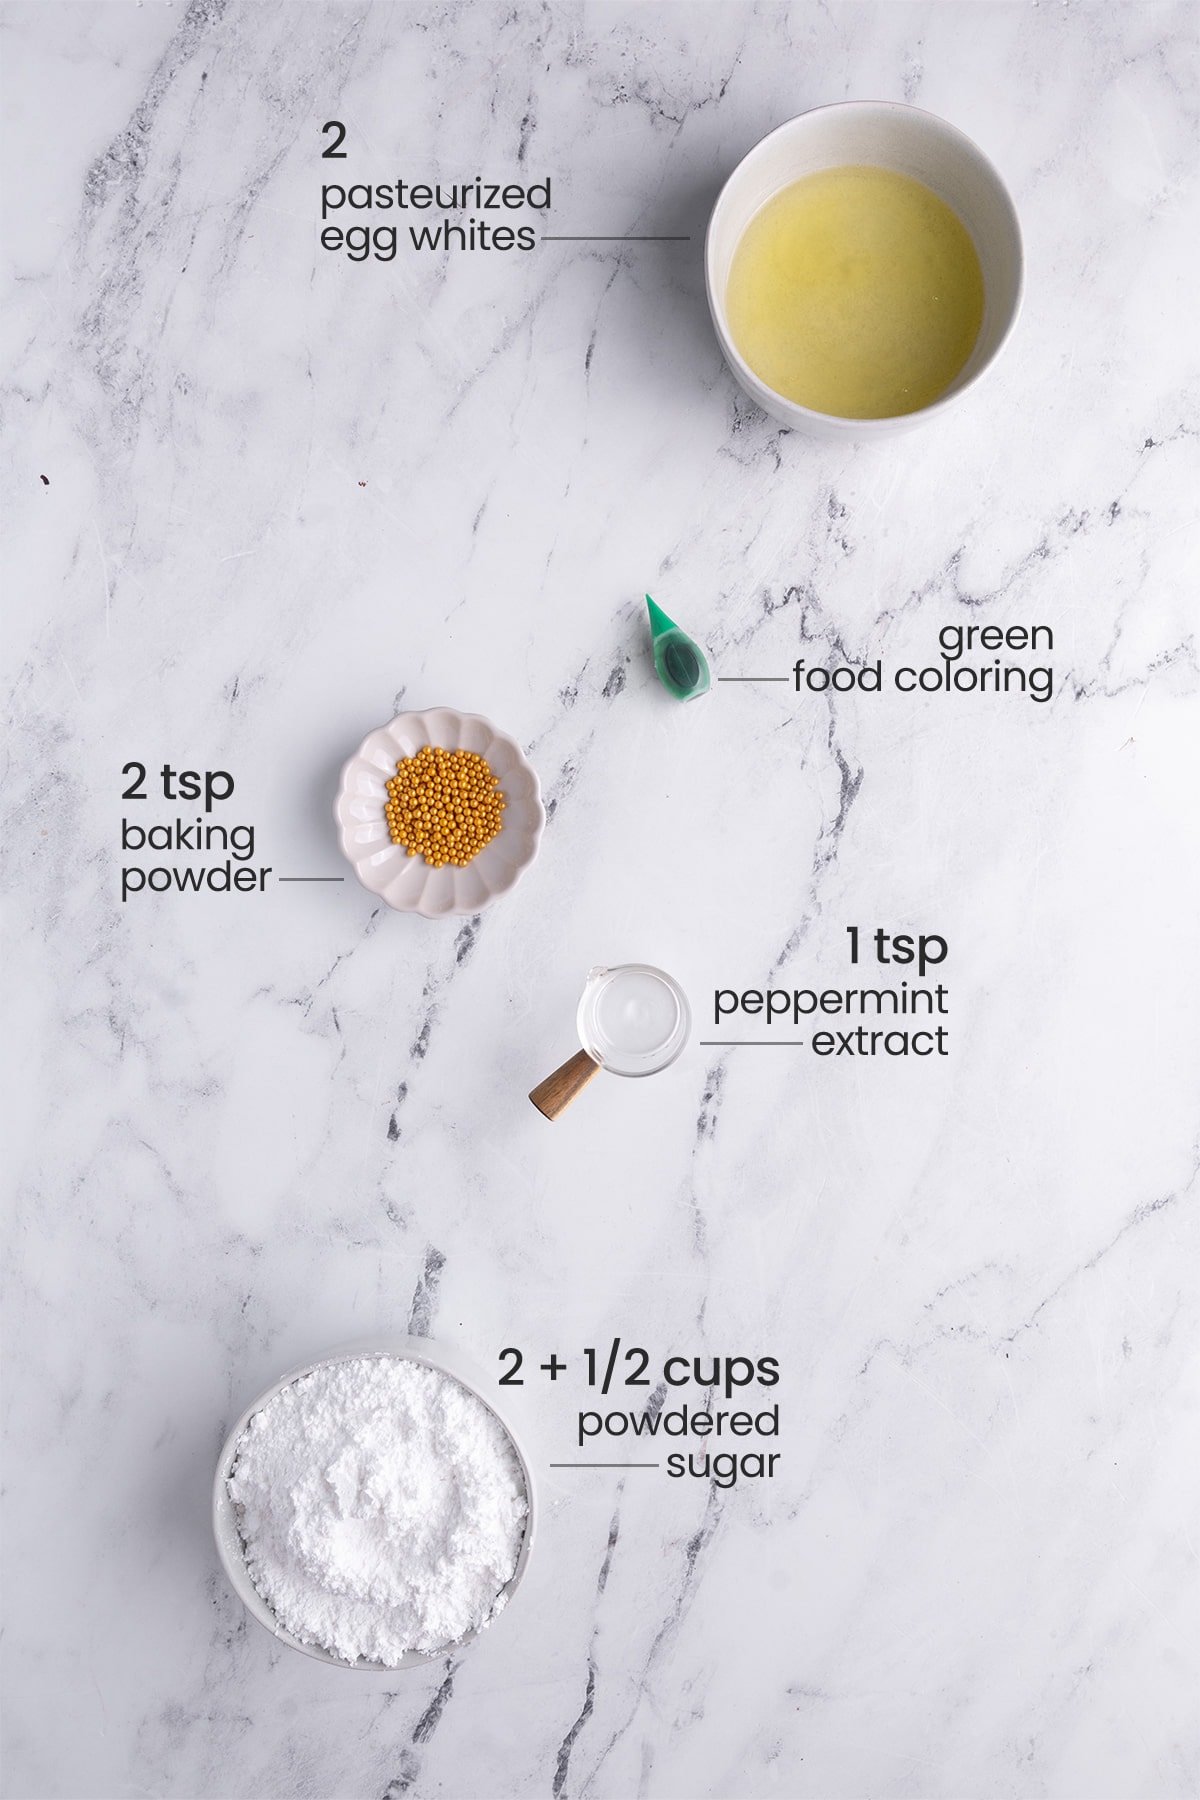
Here’s everything you’ll need for the icing:
- Egg whites. Make sure you are using pasteurized eggs as they will be consumed raw.
- Peppermint extract. For a little extra peppermint flavor.
- Powdered sugar. For sweetness and thickening.
- Food coloring. Just a few drops of green will bring these little trees to life.
- Round sprinkles. To represent little ornaments. I use these gold round sprinkles.
Chocolate Peppermint Christmas Cookies Tips & Tricks
Start by Creaming the Butter and Sugar
The best way to set yourself up for success is to make sure you start with softened butter. That means not too cold and solid, and not too hot and melty—just right!
The best way to tell if your butter is softened is to poke it! You’ll know your butter is perfectly softened when your finger leaves an imprint.
Green tip: Look for organic and palm oil-free butter if you can. Buying organic means you are supporting farms that do not use damaging pesticides and fertilizers, and palm oil production is a huge driver behind deforestation.
The simplest way to make sure your butter is softened is to simply take it out of the refrigerator a couple of hours before baking and allow it to come to room temperature naturally.
However, if you need your butter to soften up more quickly, you do have a couple of easy options.
The first way is to just place your stick of butter directly on top of your oven while it’s pre-heating. Flip it after a couple of minutes to allow both sides to get warm.
An even quicker way is to put your stick of butter in the microwave for about 15-20 seconds. For more detailed instructions check out How to Soften Butter Quickly and Easily.
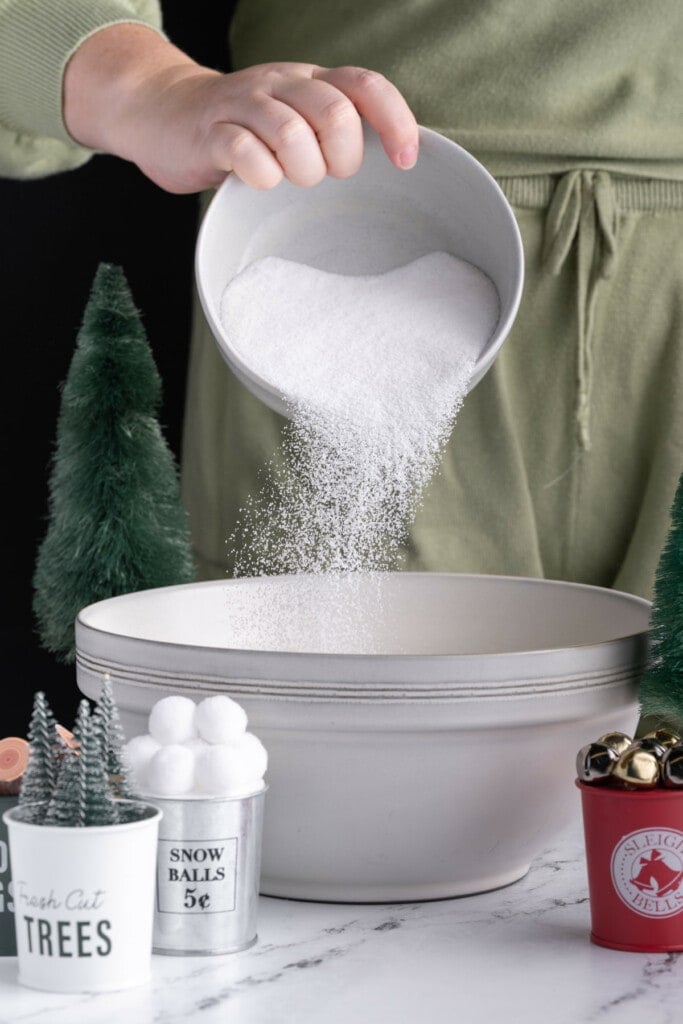
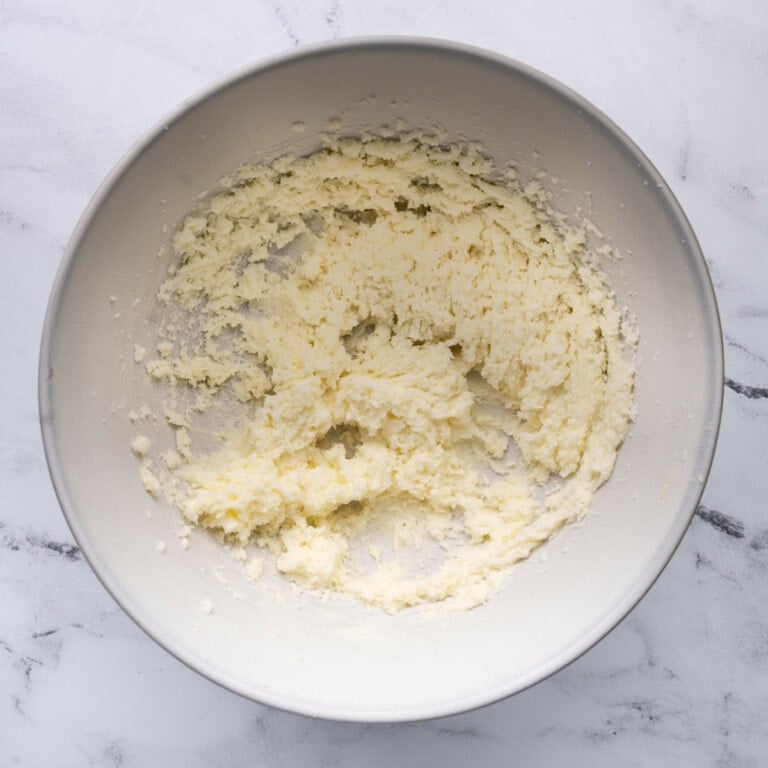
Once your butter is softened, use a hand or stand mixer to whip it with your granulated sugar to aerate it. It should take 3-5 minutes for your butter and sugar to cream together.
Add Your Egg and Peppermint Extract Next
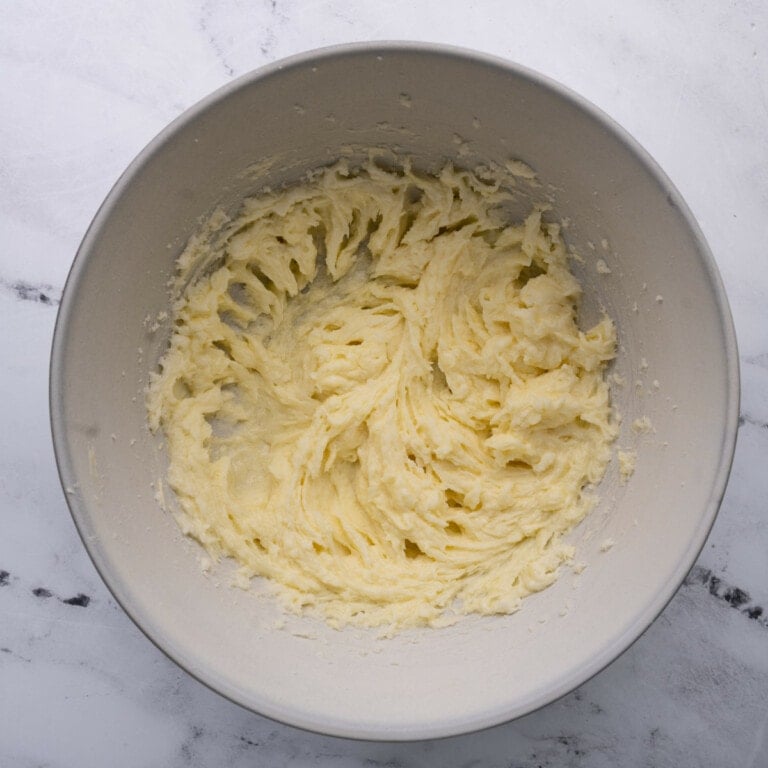
Add the peppermint extract and egg and whip again with your hand or stand mixer until smooth. Try to whip only as much as you need to, not more. We don’t want to overbeat the dough.
That candy cane peppermint smell is synonymous with the Holidays for me. And you better believe as soon as you pour in your peppermint extract it’ll be wafting through your whole house.
The peppermint extract is very concentrated and has a bold taste. There’s a fine line between making your cookies taste like festive peppermint-y and reminiscent of toothpaste.
1 teaspoon is more than enough extract in the cookie dough to get you that pleasant peppermint taste without going overboard.
Green tip: Look for pasture-raised eggs (over free-range or cage-free) to support agriculture that is less reliant on chemicals and fossil fuels.
It’s always best practice to crack your egg into a separate dish or bowl first and then transfer it to your creamed butter and sugar.
This just makes it easier to extract any accidental bits of eggshell that may fall in and means if you have a bloody egg that you won’t have to waste the other ingredients.

Add Your Dry Ingredients
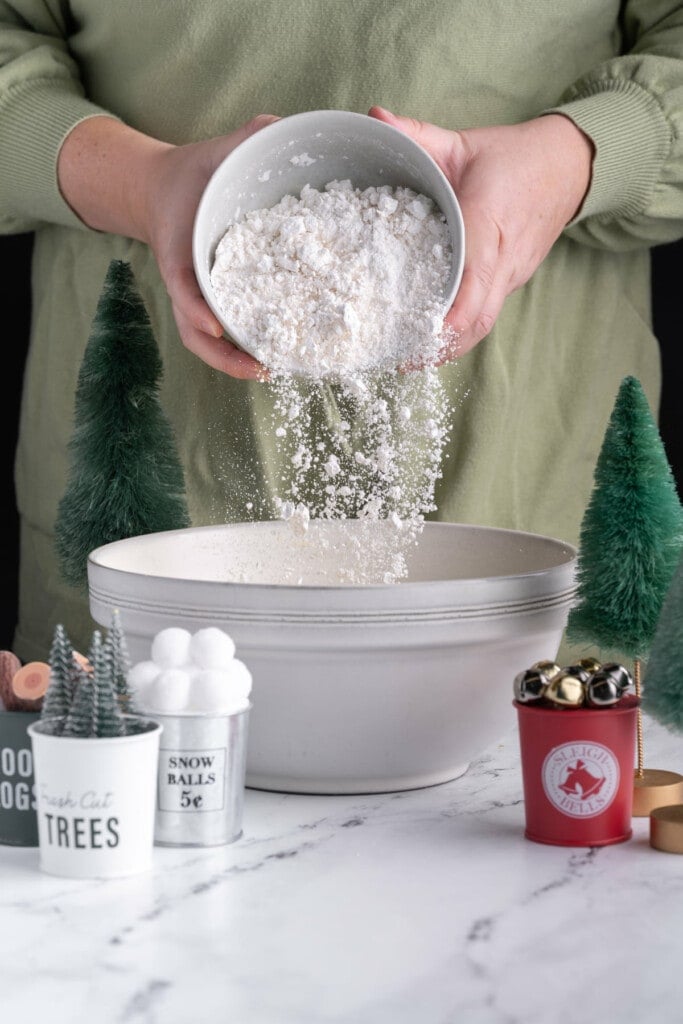
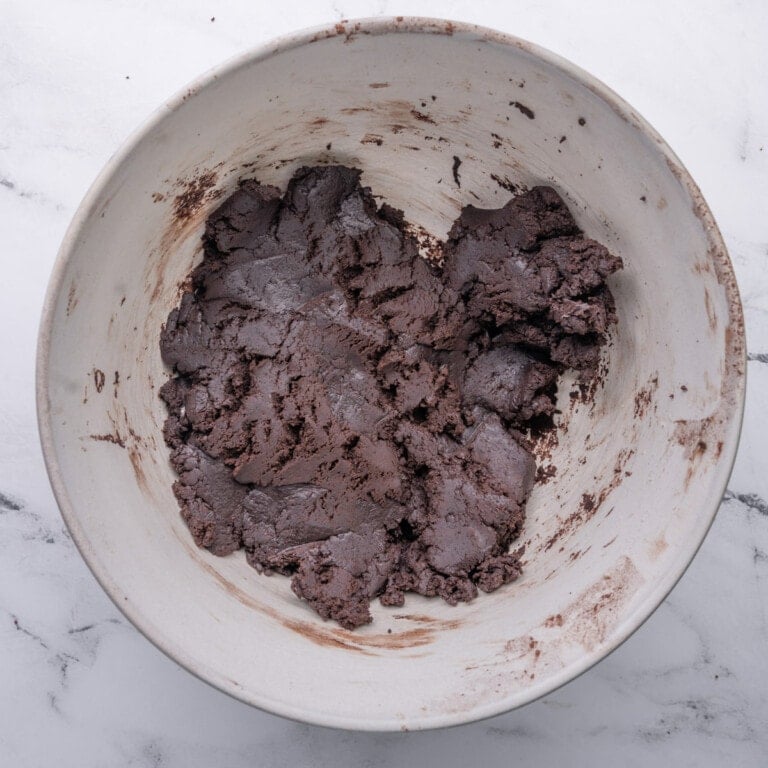
Lastly, add the flour, cocoa powder, baking powder, and salt. Mix again to combine.
Make sure to use a spatula to scrape any powder that sticks into the dough to allow it all to integrate.
At this point, you should have a super thick cookie dough.
Roll it Out
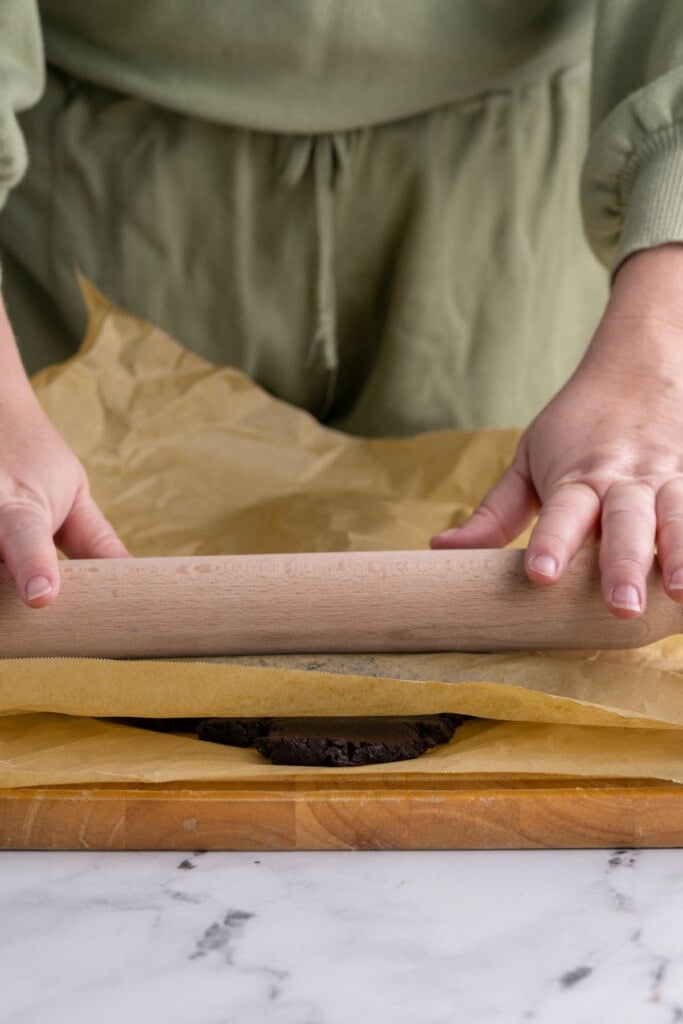
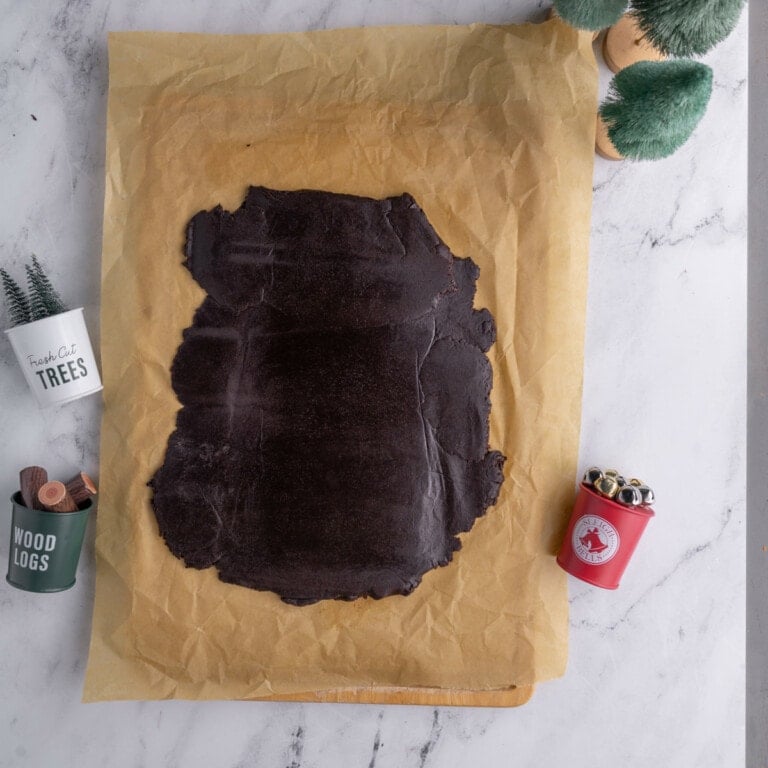
Place your dough in a ball on a piece of parchment paper. Place another piece of parchment paper on top and use a rolling pin to roll the dough out, until it’s about 2 inches thick.
The shape of the rolled-out dough should be roughly rectangular but does not need to be uniform by any means. It’s more important that it is all the same thickness.
Cut them Out
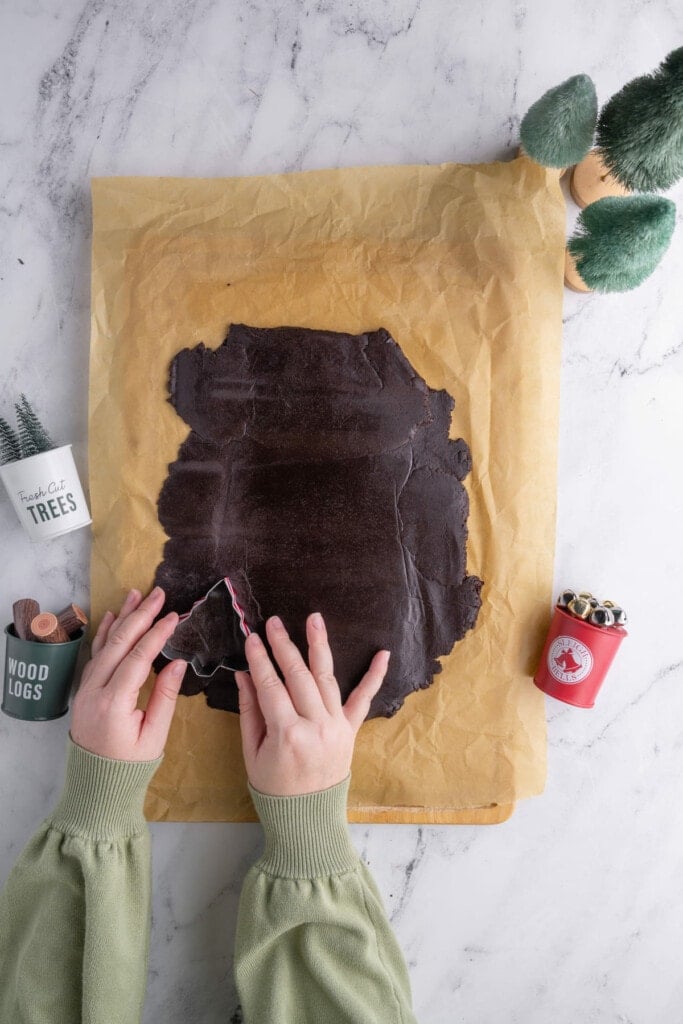
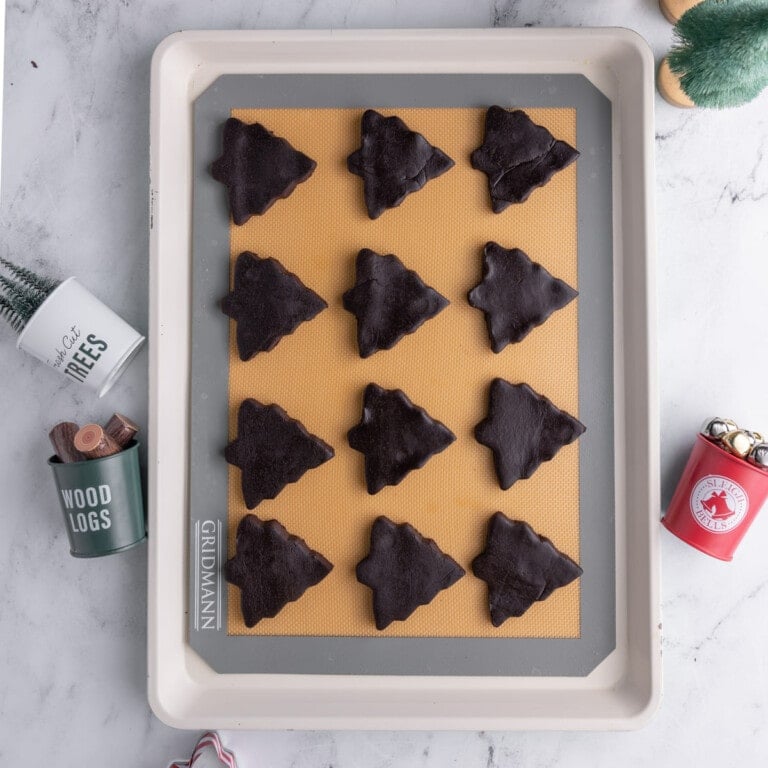
Use a cookie cutter to cut out as many Christmas trees as you can, placing them on a lined baking sheet. Leave a couple of inches between each cookie. I used the Christmas trees from this Christmas cookie cutters set.
Green tip: To avoid extra waste, try these reusable baking mats! They are great for nonstick and super easy to clean.
After getting as many trees as you can cut out, fold the remaining dough back over itself and roll it out again. Continue to cut the cookies out, re-rolling out, and cutting more until the dough is used up.
You should be able to get pretty close to using all the dough, but you may have a tiny bit leftover. You can add whatever is left over to the cookie sheet and bake it just so it is not wasted. It can be your little taste tester 😉.
Once your cookies are cut, bake them for 10 minutes and allow them to cool completely
Start With Your Egg Whites
Time to get started on your icing. It’s really easy to separate your egg whites from the yolks. Just crack your eggshell in half over a bowl and transfer the egg yolk back and forth between either half of the shell, allowing the egg white to fall into the bowl.
Once all of the whites have fallen into the bowl, simply place the yolk in a separate bowl and repeat with your second egg.
Now your yolk and whites are in separate bowls. For the icing in these Chocolate Peppermint Cookies, you only need the whites, but don’t toss the yolks!
Use them for these Candy Cane Shortbread Cookies or this Smoked Salmon Eggs Benedict.
Green tip: Did you know that of the billions of pounds of food wasted annually, it is estimated that 50% of it happens in our homes? It’s always best to avoid food waste as much as you can!
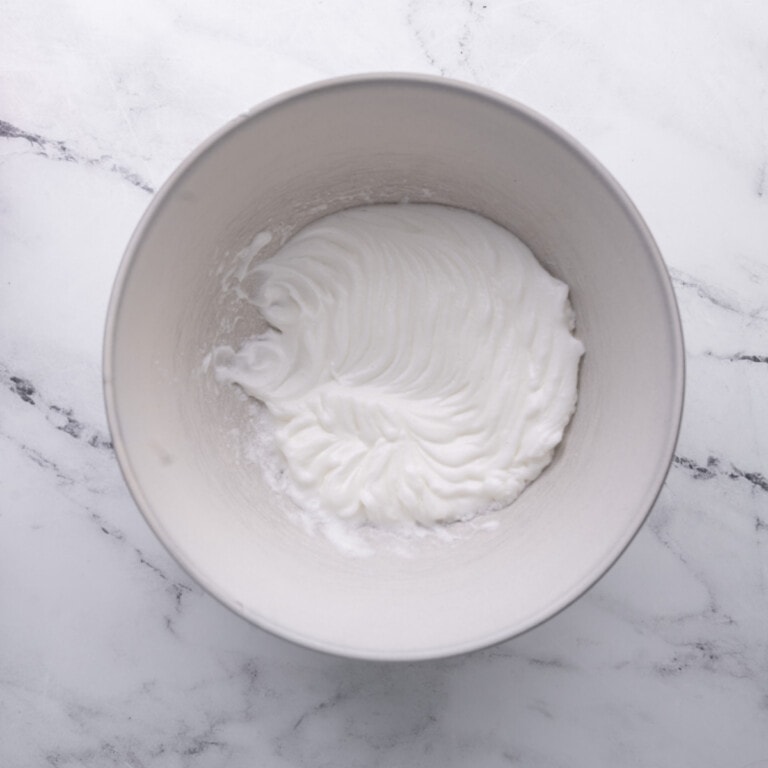
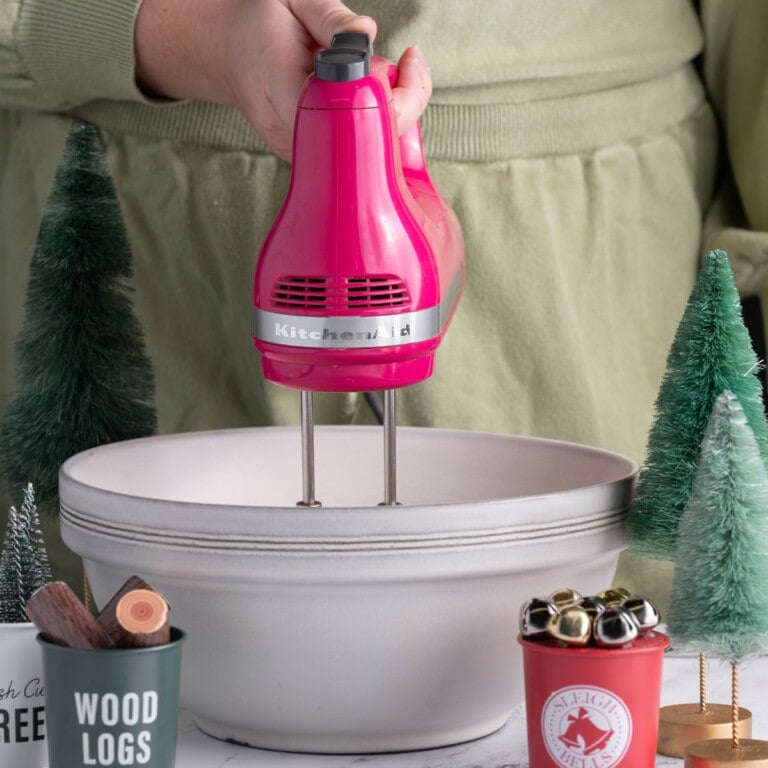
As for the whites, add them to a large mixing bowl with the peppermint extract and use a hand or stand mixer to whip on high.
Beat the whites and extract for 2-3 minutes until stiff peaks form.

Add Some Powdered Sugar
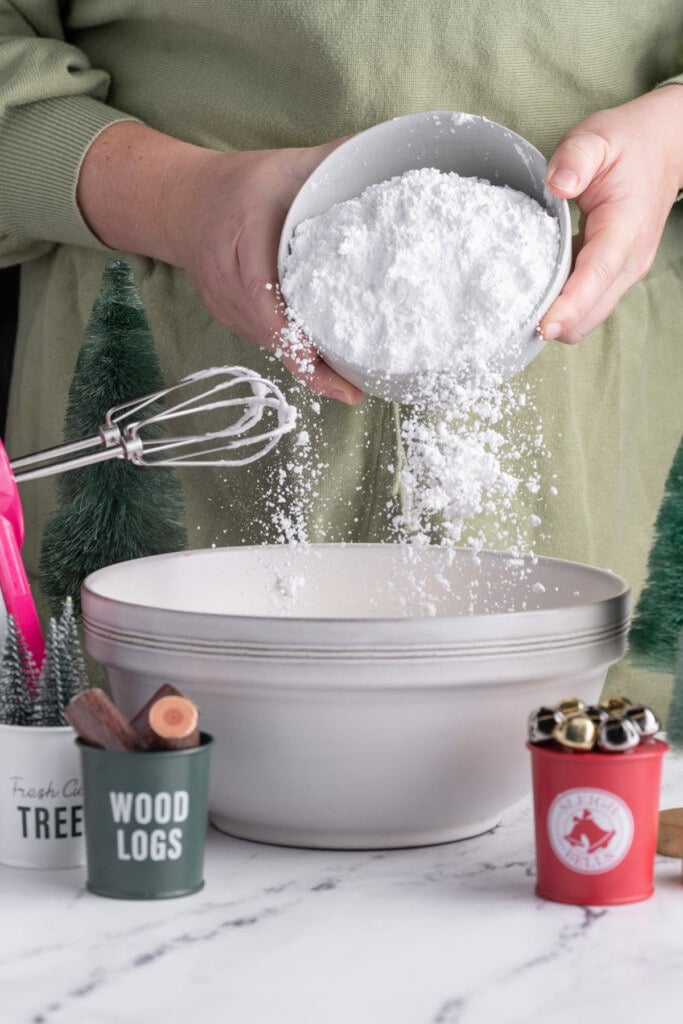
One cup at a time and whisking in between, add two cups of the powdered sugar. Asses the consistency of your icing before adding any more powdered sugar.
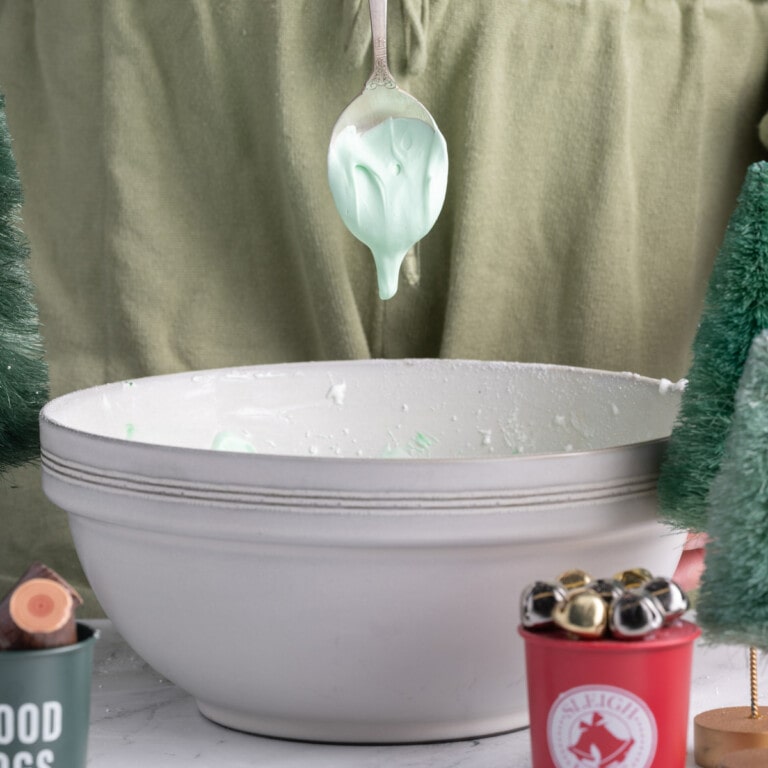
We want a loose icing that slowly drips off a spoon. It should be sticky and thick, but still have movement. If it’s too thin, continue to add powdered sugar, a couple tablespoons at a time, until the desired consistency is reached.
Then, add up to 10 drops of green food coloring (depending on your desired color of green). Whisk again with the hand mixer to evenly integrate the green color. I like to keep it a light pastel green, I think it’s more whimsical, so I use about 5 drops.
Just add as much food coloring as you like to get your goal color.
Use a Piping Bag
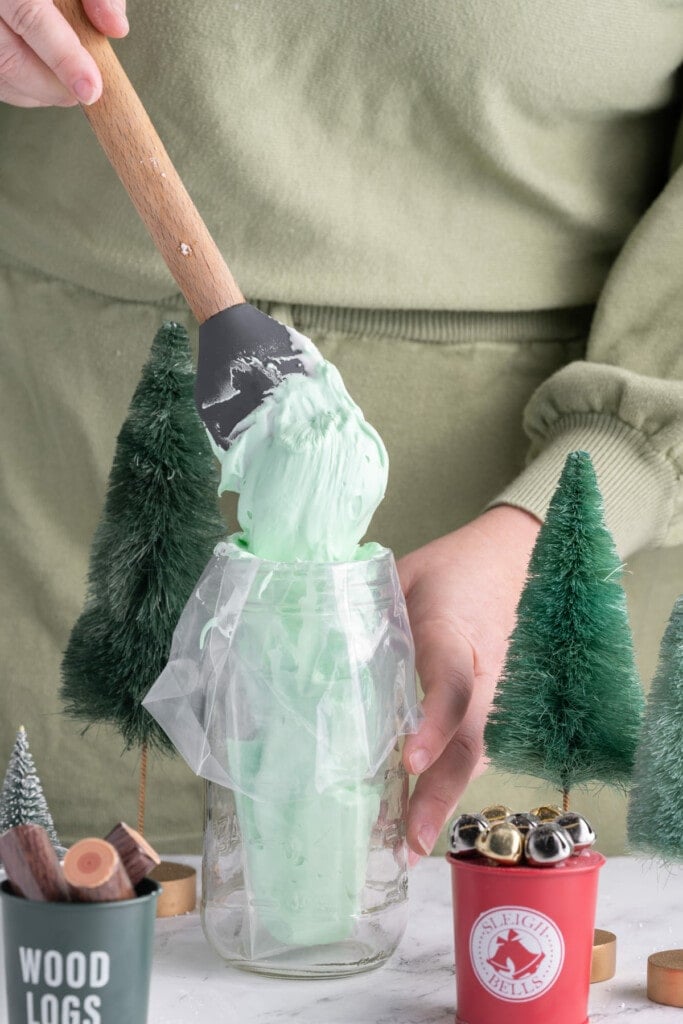
Add your icing to a piping bag to easily decorate your cookies. The easiest way to add icing to your piping bag is by placing the piping bag in a tall glass and folding the top of the bag around the glass.
Use a spatula to transfer the icing into the bag. Then, remove it from the glass. If need be, cut a hole in the bottom. If you’re using a reusable piping bag, make sure it’s one with a small round opening.
Then, remove it from the glass and squeeze the icing down.
Make sure the cookies cool completely before adding any icing to the cookies.
Have Fun!
Creating this simple but effective Christmas tree decoration is as easy as drawing on horizontal lines, starting at the top of the tree and zigzagging across back and forth, getting bigger as they make their way down.
Then, add your round sprinkles sporadically across the icing. Make sure to add your sprinkles right after applying your icing, it’ll stick better before your icing dries.

Making Ahead and Storing these Chocolate Peppermint Cookies
Both the cookie dough and icing can be made ahead of time. If you’re making them the day before you plan to bake them, store them both in the refrigerator overnight.
The cookie dough will need to come to room temperature before you can roll it out and shape it— it’ll be an uphill battle to roll it out while it’s ice cold.
My suggestion would be to make the dough and shape it, then store it in the refrigerator overnight. That way you can just pop them straight in the oven from the refrigerator!
Once they are made, these cookies will last in the refrigerator up to 2 weeks in an airtight container.

Why You Should Make these Chocolate Peppermint Christmas Cookies
- They’re fun! Cookie cutting and decorating is fun for the whole family.
- They’re festive. The cute design comes together easily regardless of your artistic ability.
- The cheery flavors! Chocolate and peppermint is a winning combo, especially around the holidays.
If you’re loving these Chocolate Peppermint Christmas Cookies and want more Holiday treats, check out this Cute Christmas Cookie Cake and Baileys Chocolate Tart.

Cute and Easy Chocolate Peppermint Christmas Cookies
Print Save RateEquipment
- Hand Mixer * or *
- Reusable Baking Mat (optional)
- Reusable Piping Bag (optional)
Ingredients
Cookies
- ¾ cup unsalted butter, softened (¾ cup usually = 1 ½ sticks)
- 1 cup granulated sugar
- 1 large egg
- 1 teaspoon peppermint extract
- 1 ½ cups all-purpose flour
- ¾ cup dark cocoa powder
- 1 teaspoon baking powder
- ½ teaspoon salt
Peppermint Icing (Optional)
- 2 large pasteurized egg whites
- 1 teaspoon peppermint extract
- 2 to 2 ½ cups powdered sugar (aka confectioner's sugar)
- green food coloring for decoration
- round sprinkles for decoration
Instructions
Chocolate Peppermint Cookies
- Preheat your oven to 325°F.
- In a large mixing bowl, use a hand mixer to cream your butter and sugar together until smooth and aerated (2-3 minutes).

- Add your egg and peppermint extract and mix to combine.
- Add your flour, cocoa powder, baking powder, and salt and mix again to form a thick dough. Make sure to use a spatula to scrape all the powder down the sides to integrate it into your cookie dough.
- Place your dough between two pieces of parchment paper and use a rolling pin to flatten it until it is about ½ inch thick.
- Use a cookie cutter to cut out your Christmas tree shapes and place them on a lined baking sheet, leaving two inches in between each cookie.
- Take the leftover dough and use clean hands to form it into a ball. Use your rolling pin to roll it out again to cut more cookies. Repeat until all the cookie dough is used up.
- Bake for ten minutes. Remove from the oven and keep your cookies on your hot baking sheet for at least ten more minutes. They will continue to bake on the hot sheet until they cool. Make sure they cool completely before you ice them.
Peppermint Icing
- With hand or stand mixer, whip egg whites and peppermint extract until white and foamy—about 2-3 minutes.
- Add powdered sugar 1 cup at a time and continue to whip until you've added 2 cups.
- Assess the consistency. It should be sticky and drip slowly off of a spoon. If it's too loose, slowly add more powdered sugar until the desired consistency is reached. Then, add up to 10 drops of green food coloring until you achieve a green you like.
- Transfer to a piping bag and store your piping bags in the refrigerator until the cookies are completely cool and ready for decorating
- If necessary, cut the very bottom tip of your piping bag, and add icing in horizontal lines. Start at the top and zigzag across as you go down, the lines getting wider as you go.
- Then, drop the sprinkles on sporadically to represent ornaments. Allow to dry and enjoy!


Pro Tips
- For the icing, make sure you whip your egg white and extract until they are smooth, white, and frothy before adding in the powdered sugar.
- The icing consistency should be thick and sticky, but still able to slowly drop off your spoon. You may not need all four cups of powdered sugar, so add it slowly.
- Make sure you set the cut cookies in the refrigerator for two whole hours before baking to ensure they keep their shape.
- Do not remove the cookies from their baking sheet until they have completely cooled.
- Cookie monsters are always happy at my house with this delicious selection of my best cookie recipes to choose from! Nom nom nom!
- Speaking of cookies, don’t waste those leftover egg yolks! They can be used in these Margarita Cookies, Candy Cookies, or Rosemary Shortbread.
Share This Recipe