Too much leftover Halloween candy that you don’t know what to do with? I got you! These Leftover Halloween Candy Cookies are chewy, delicious, and totally versatile!
This foolproof cookie recipe works with a wide variety of different chocolate candies, combining their flavors into each mouthwatering chocolatey bite. Plus, they require no chilling time, just one bowl, and only 8 ingredients to whip up.
Every year my son brings home tons of Halloween candy after trick or treating (half of which he doesn’t even like!). And that’s on top of the bags of extra candy that we didn’t hand out to trick-or-treaters at our house.
Instead of letting it all expire in the back of my pantry, this leftover Halloween candy recipe has become an annual Halloween tradition that all of my neighbors, family, and friends look forward to every year.
Because, let’s face it, nothing says “I love you” like a batch of freshly baked cookies!

As an environmental scientist, reducing my contribution to food waste is always a top priority for me! Which means finding clever ways to use up leftovers is definitely in my wheelhouse!
These cookies answer the question: “what should I do with my leftover Halloween candy?” and turns it into a treat that certainly doesn’t taste like an afterthought.
Green tip: Of the billions of tons of food wasted annually, 50% of food waste happens at home. Reduce your contribution to food waste by properly storing, reheating, and consuming leftovers.
Leftover Halloween Candy Cookies Ingredients
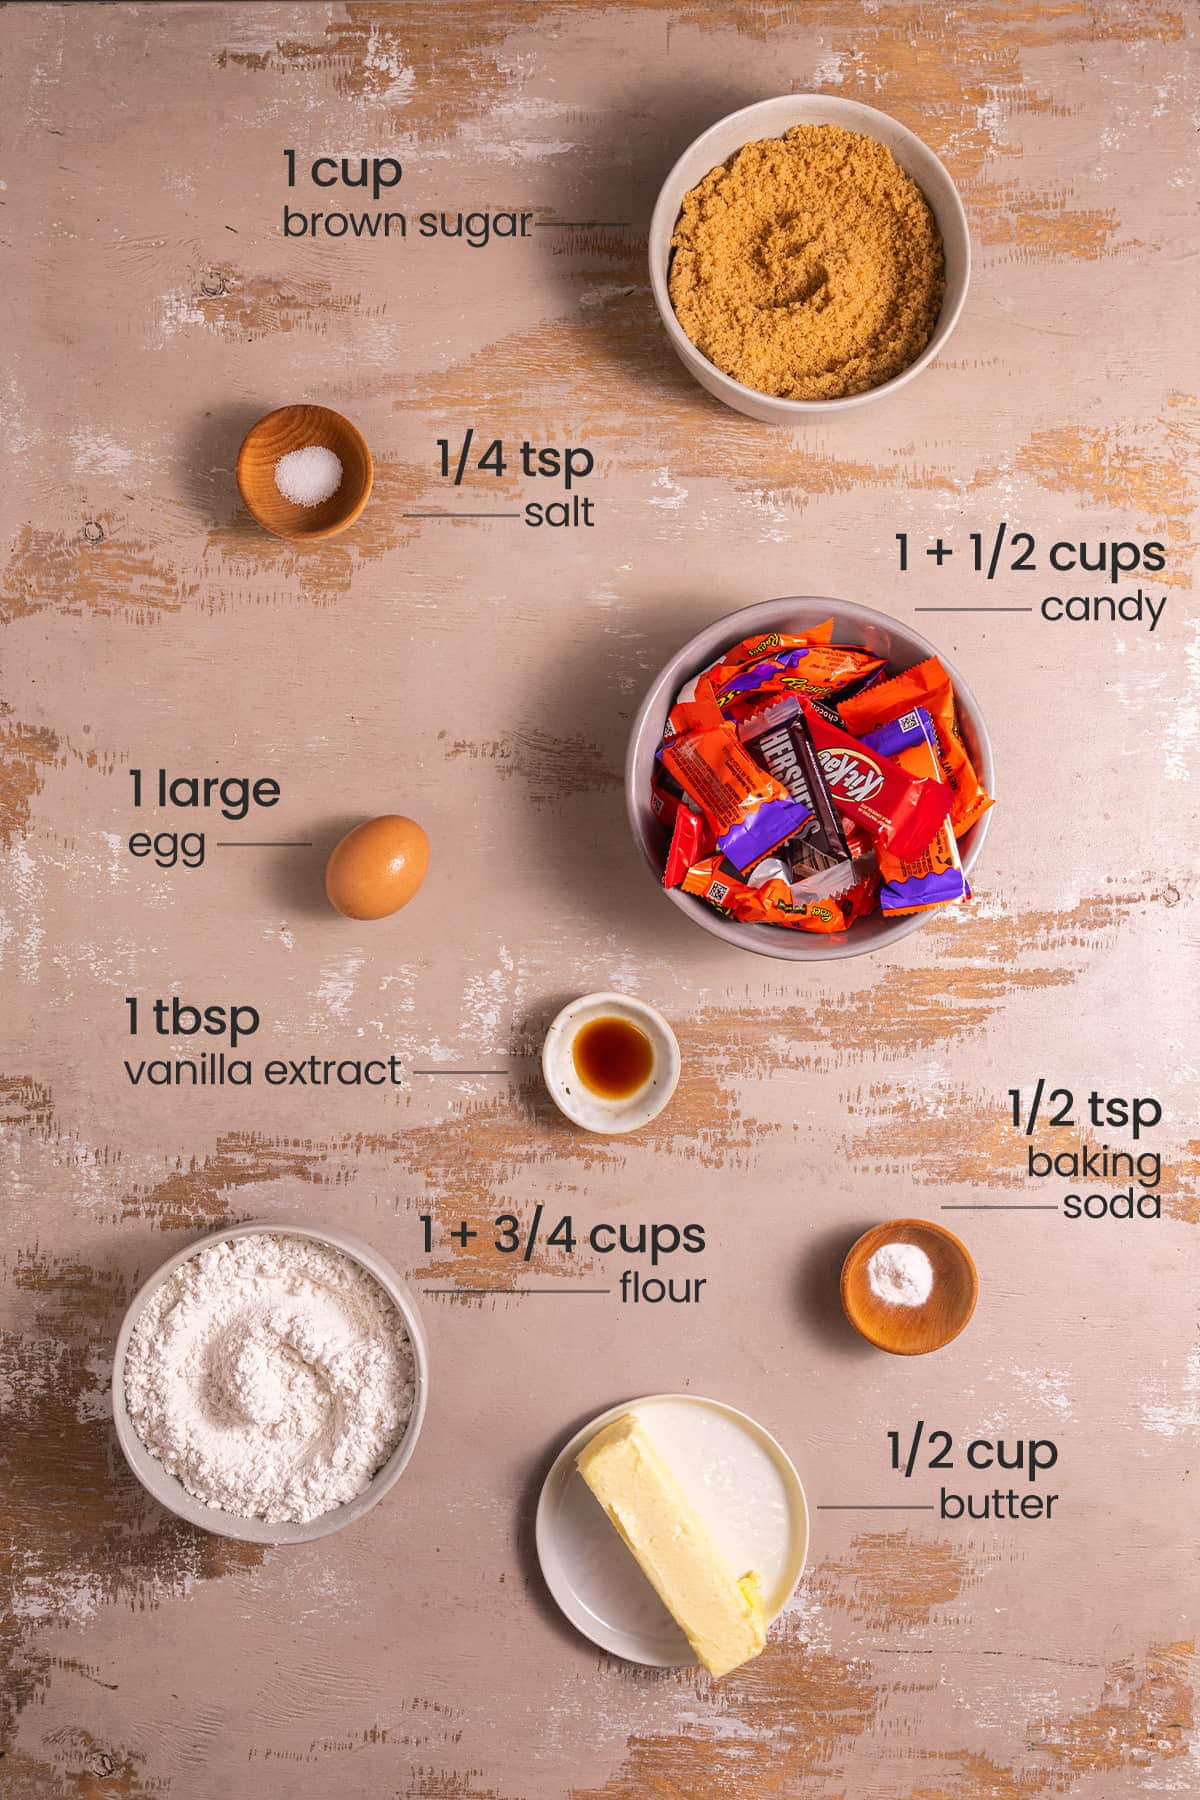
Here’s everything you need:
- Unsalted butter. Unsalted butter allows you to control the amount of salt being added to your cookies. Make sure your butter is softened in order to get the perfect consistency in your dough.
- Light brown sugar. This cookie recipe uses only brown sugar to give it more of that caramelly flavor that you look for in a classic chocolate chip cookie recipe.
- Vanilla extract. For a flavor boost.
- Egg. To bind your cookies together and work with the baking powder to give them a little lift.
- All-purpose flour. The base of your cookie dough.
- Salt. To enhance all of the other flavors.
- Baking soda. To help the cookies rise.
Leftover Halloween Candy Cookies Tips and Tricks
Why You Should Always Use Up Leftovers
It is estimated that a whopping 40% of food gets tossed annually in the United States. Of that 40%, half of food waste happens in our homes. This means that reducing our individual contributions to food waste can make a big impact!
But why should we really care about food waste, aside from the obvious economical advantage of actually consuming everything we purchase?
Well, the answer to this question it threefold: the production process puts a strain on the environment, the waste itself is problematic, and it poses an ethical issue.
Without getting too in the weeds, I’ll just elaborate on each of those points very quickly. For a full debrief on this subject, check out my article on Food Waste.
The food industry accounts for 25% of greenhouse gas emissions, is responsible for the destruction of ecosystems by way of air, water, soil, and noise pollution, and uses up a quarter of our global freshwater consumption annually.
For all that disruption in production, it’s best to make the most of our food products!
As for the waste itself, when food is diverted to the landfill, it no longer has access to the oxygen it needs to break down organically.
Additionally, 1 in 9 people in the world are hungry or malnourished, so to waste food that is desperately needed elsewhere poses an ethical dilemma.
Green tip: It is estimated that a whopping 40% of food gets tossed annually in the United States. Being cognizant of your contribution to waste can make an impact!
Set Yourself Up for Cookie Success!
Start by pre-heating your oven to 375°F and lining two large cookie sheets.
Green tip: Consider using reusable baking mats for a more sustainable option!
I personally like to measure and prep everything ahead of time, so my baking process is seamless, but that’s totally up to you!
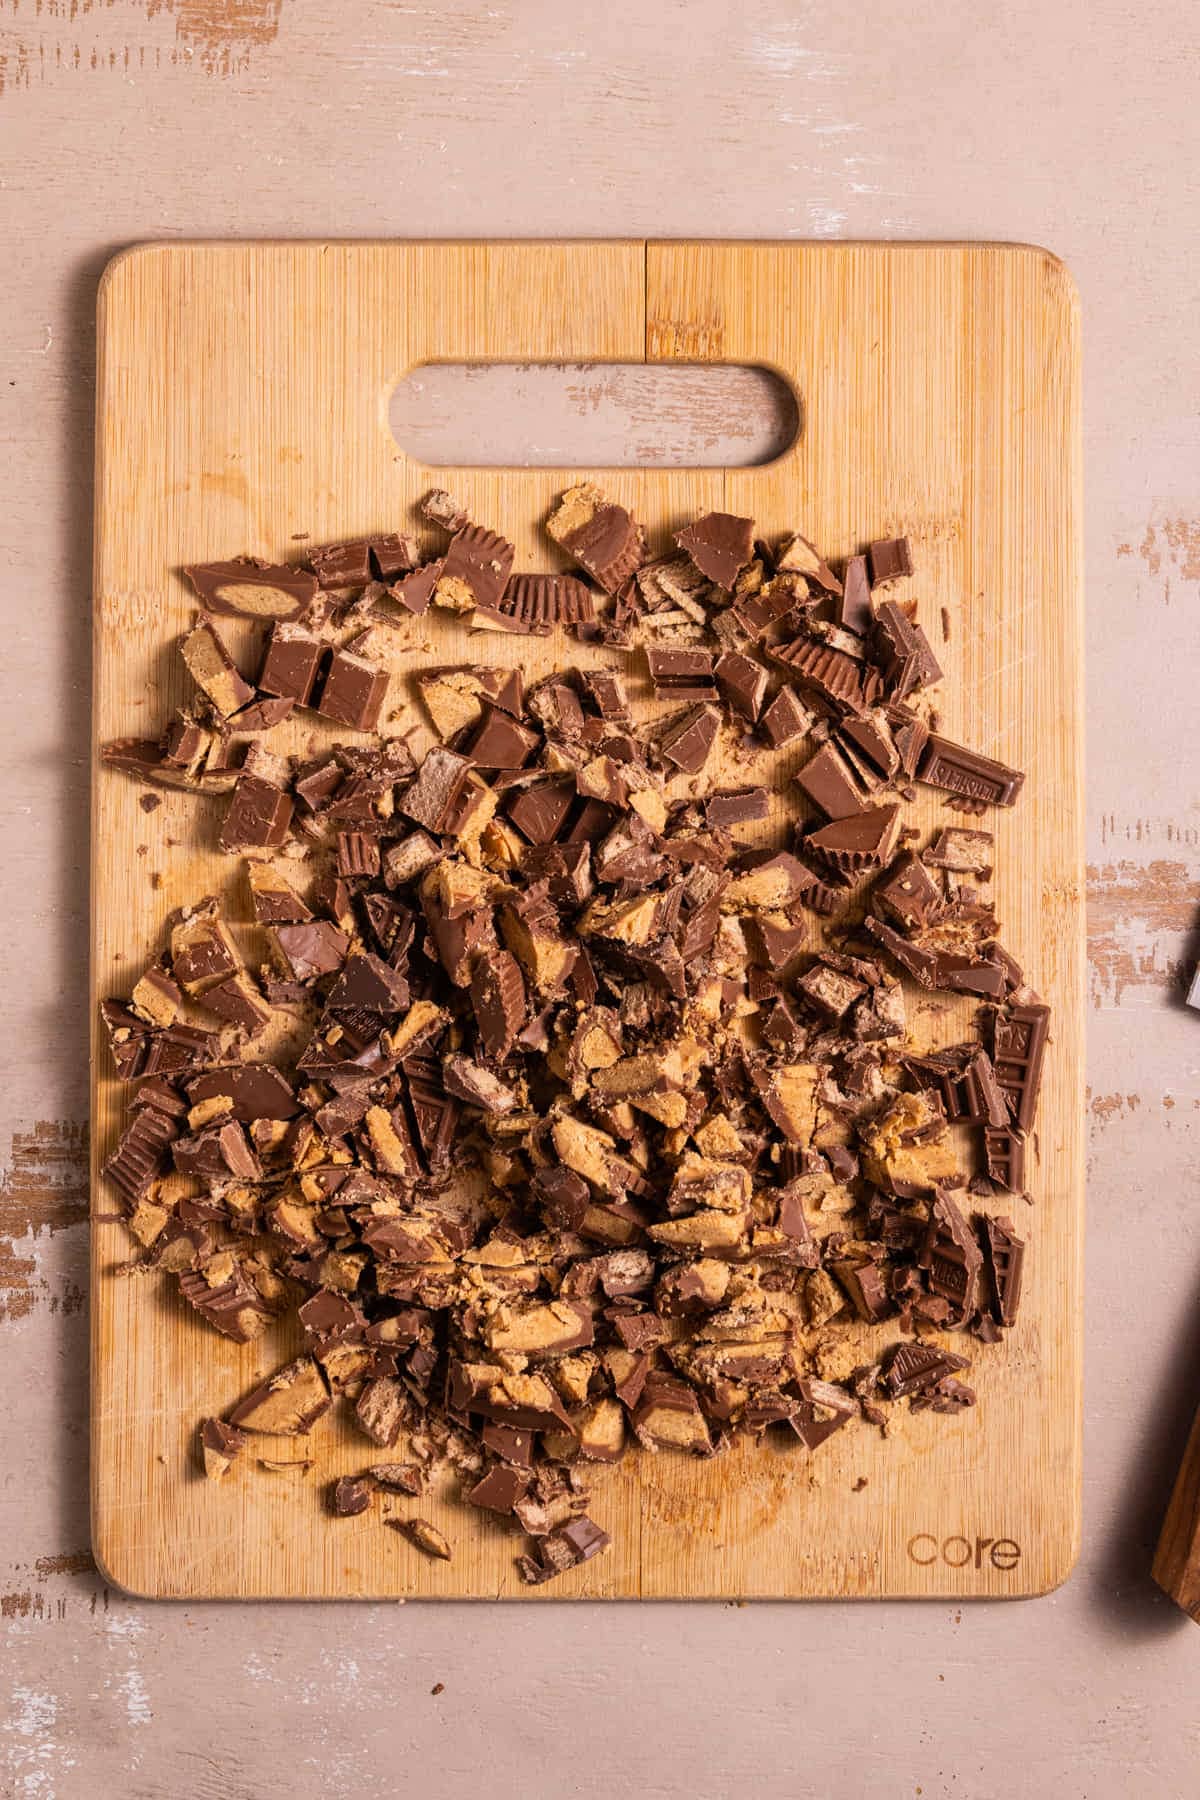
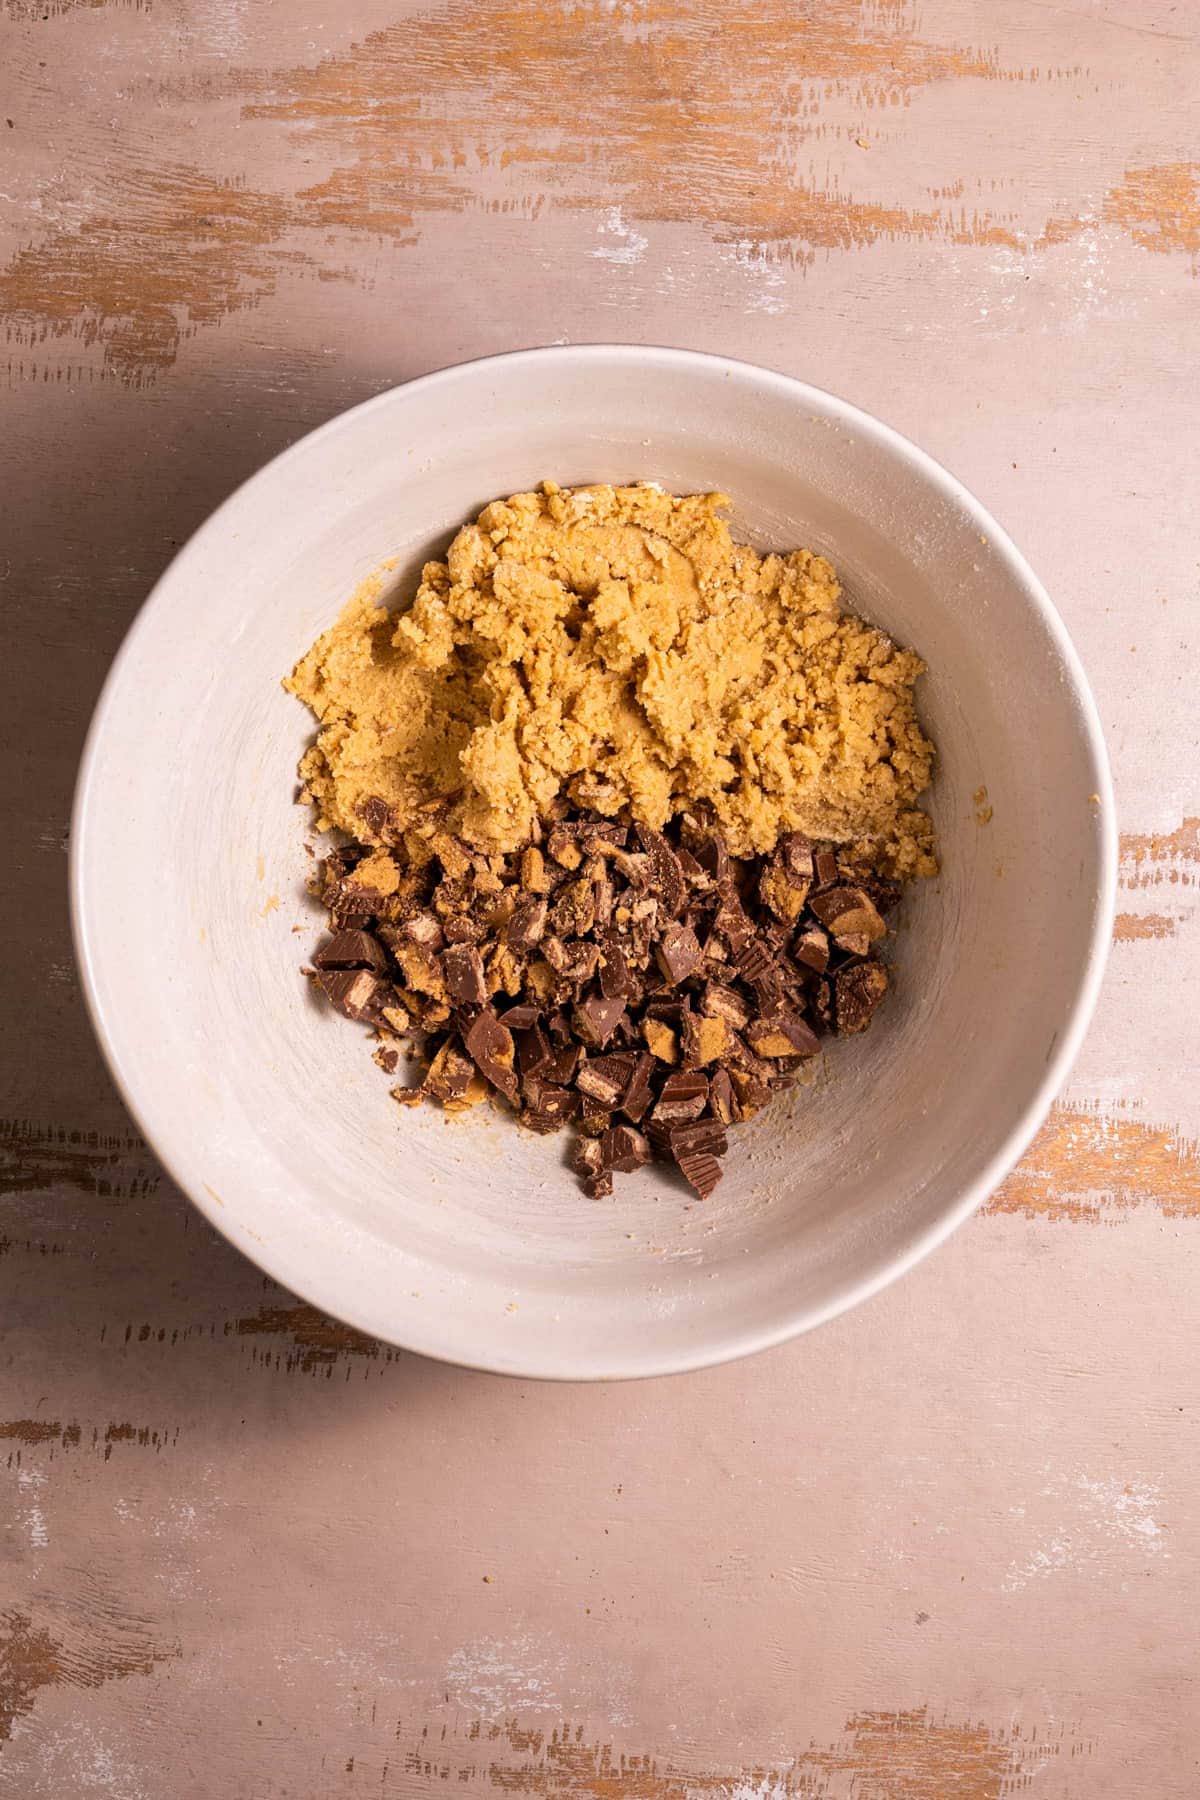
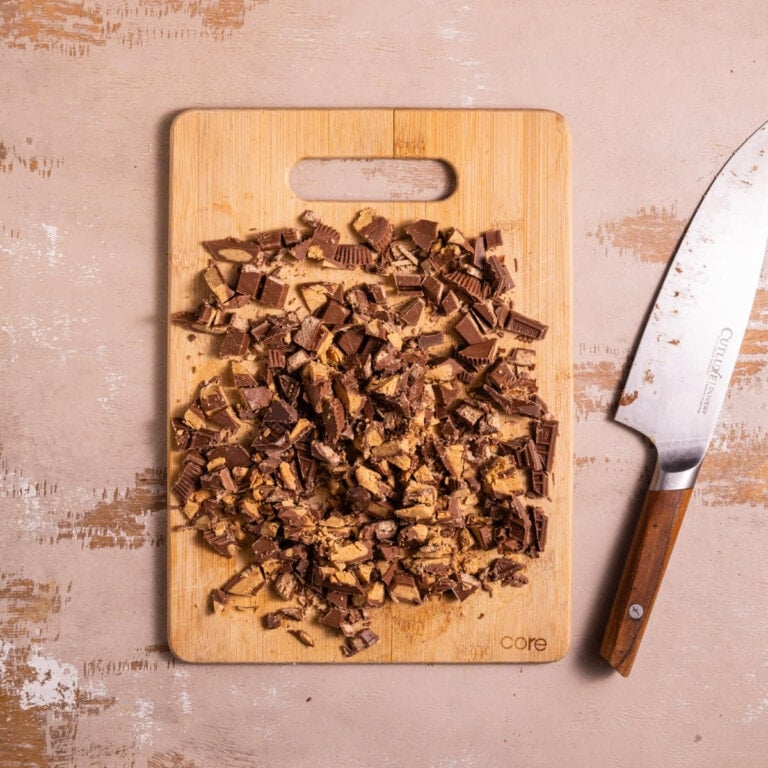
Start by roughly chopping your Halloween candy into various sizes. We want to end up with about 1 ½ cups.
My very favorite combo of candies to use is Kit Kats and Reese’s cups, but these cookies work with a wide variety of different Halloween candies, including (but not limited to):
- Hershey’s
- Kit Kat
- Reese’s
- Butterfinger
- M&M’s of any flavor
- Twix
- Milky Way
- 3 Musketeers
- Snickers
- Pay Day
- Almond Joy
- Baby Ruth
- Mounds
- Crunch
- Heath
- 100 Grand
- Mars Bars
- Take 5
- Whoppers
Start Your Cookie Dough by Creaming the Butter and Sugar
For the best-textured cookies, it’s imperative that your butter is softened! I find the easiest way to soften your butter is by taking it out of the refrigerator about 30-45 minutes before you start making your cookie dough.
This will allow the butter to rise to room temperature naturally. Of course, I understand there are times where you don’t want to wait! There are plenty of ways to expedite the softening process.
One easy way to do so is by microwaving your stick of butter on high for about 15 seconds. Poke it, and if your finger leaves an imprint in the butter, it’s ready!
If after 15 seconds it is still completely solid, continue to microwave in 5-second intervals until it’s softened, doing your poke test in between each time you heat it.
There are also other ways to soften the butter without the microwave! For 5 more simple butter-softening techniques, check out this article on how to soften butter quickly.
Green tip: Look for organic and palm oil-free butter if you can. Buying organic means you are supporting farms that do not use damaging pesticides and fertilizers, and palm oil production is a huge driver behind deforestation.
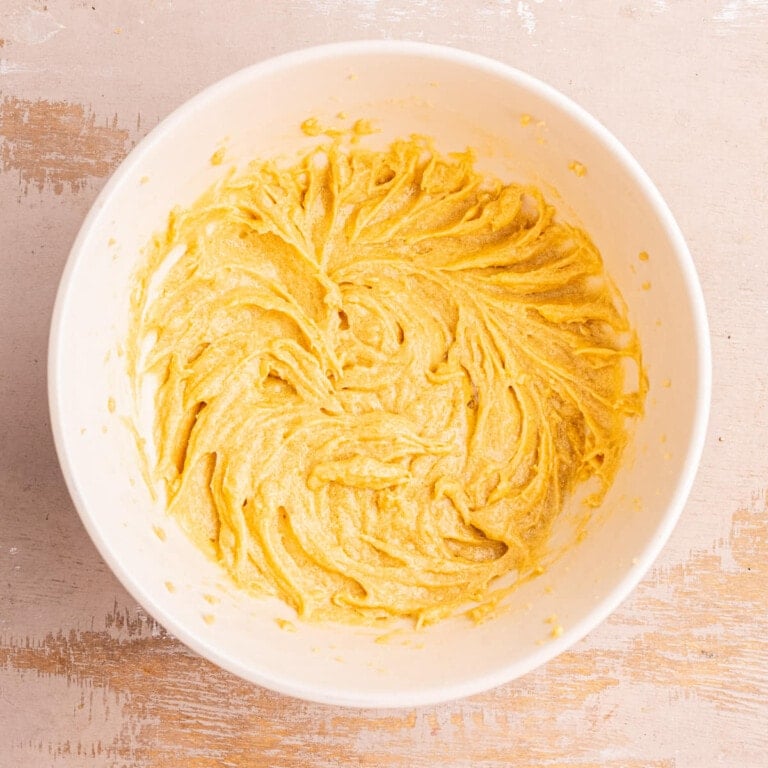
Once your butter is softened, cream it with the brown sugar. During this process, the sugar cuts into the butter, adding little air bubbles that ultimately make for a chewier cookie.
Use a hand mixer on high to whip the softened butter and brown sugar together for 2-3 minutes, until it’s airy and smooth.

Add the Egg and Vanilla Next
When it comes to one-bowl baking recipes, the order in which you add your ingredients matters for the overall success of your cookies.
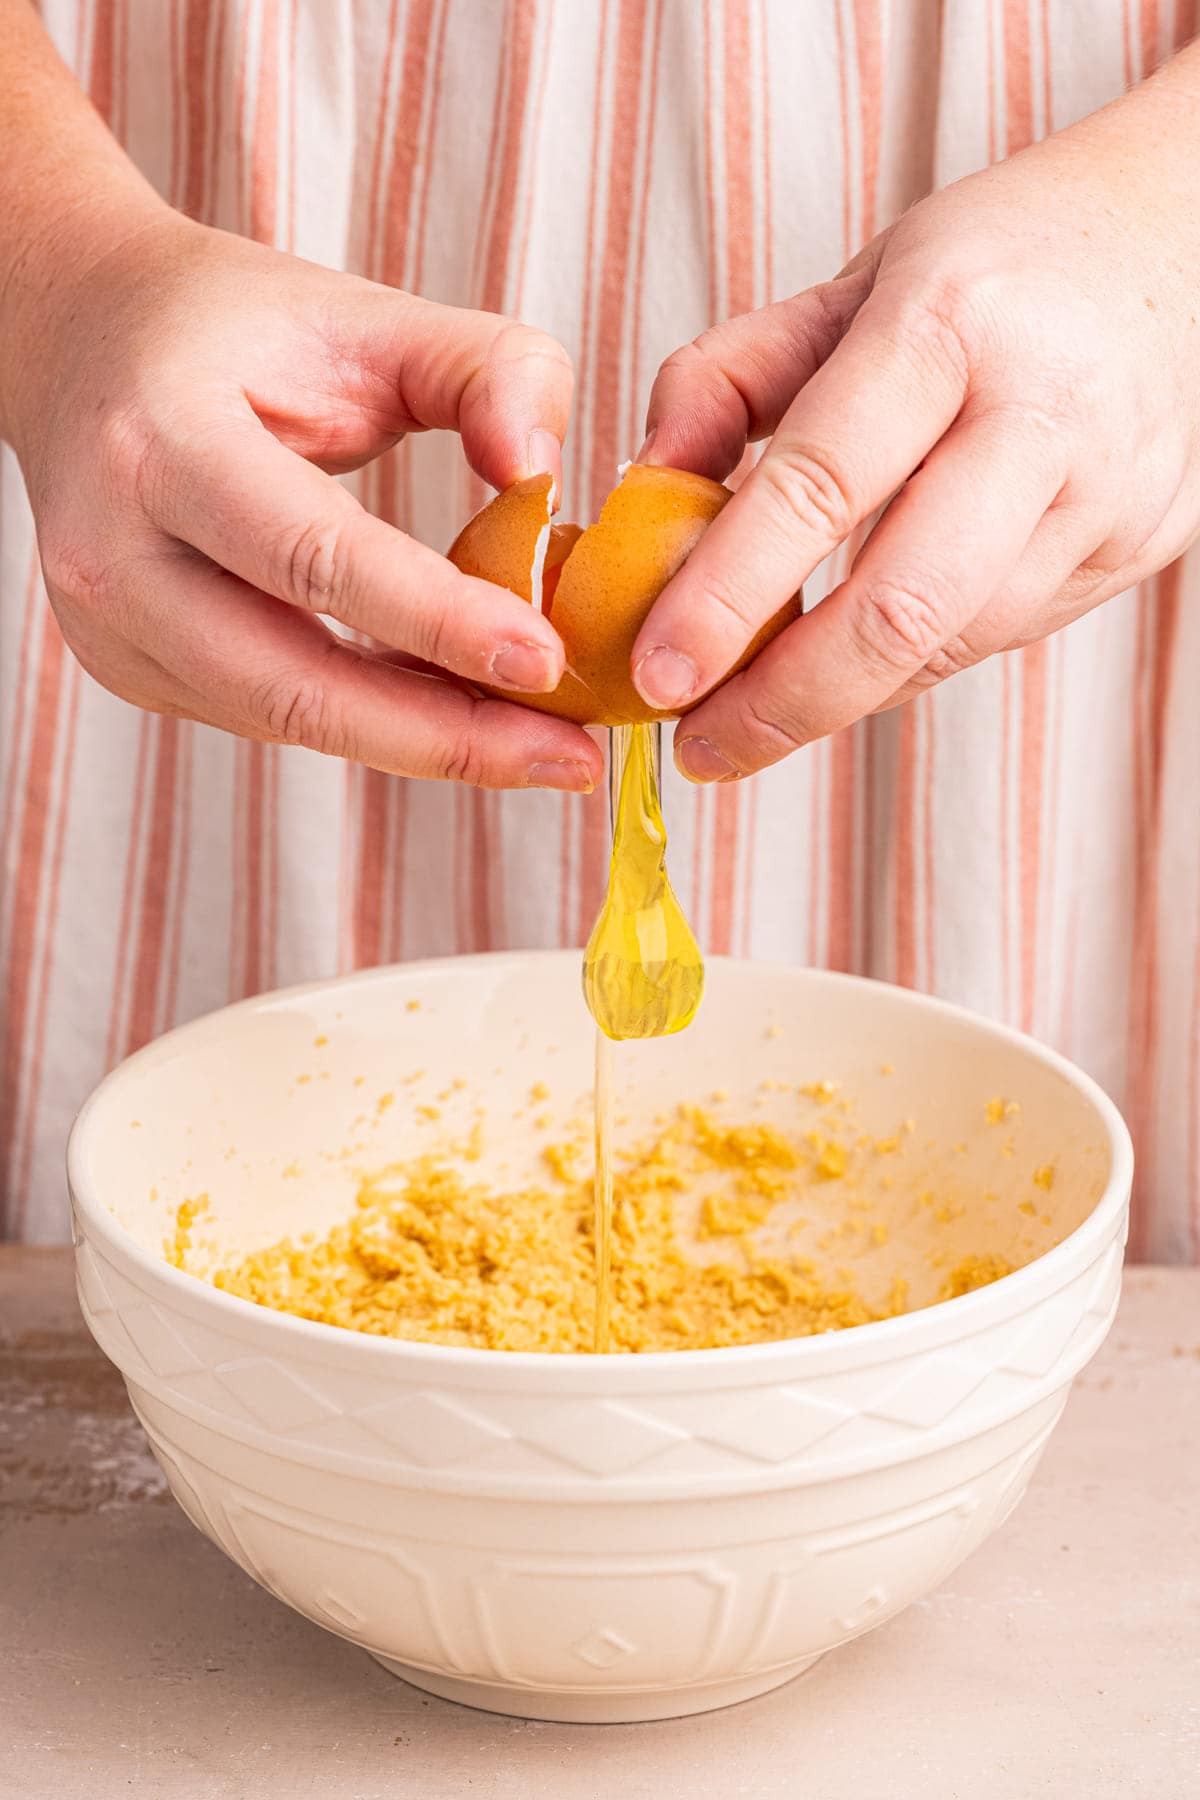
Once your butter and sugar are creamed together, it’s time to add the vanilla extract and egg.
Green tip: Look for pasture-raised eggs (over free-range or cage-free) to support agriculture that is less reliant on chemicals and fossil fuels.
Okay, it’s time for the obligatory reminder that best practice for baking is always cracking your egg into a separate dish rather than adding it directly to your cookie dough.
This will just give you a chance to extract any eggshells that accidentally fall into your dough and salvage your dough in the off chance you have a bloody or rotten egg.
Of course, if you’re like me and live your life on the edge, you can just risk it and crack it directly in your bowl. 😉
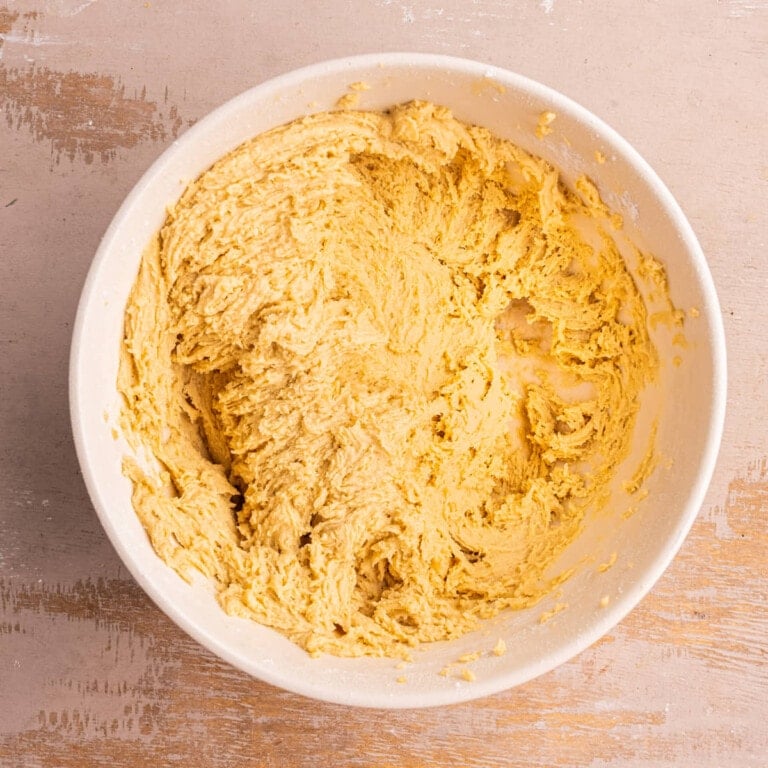
Once your vanilla extract and egg is added into your cookie dough, grab that trusty hand mixer! Mix on low, just enough to integrate the egg. Once the egg is in there, it’s best not to over-beat your dough.
Add your Dry Ingredients Next
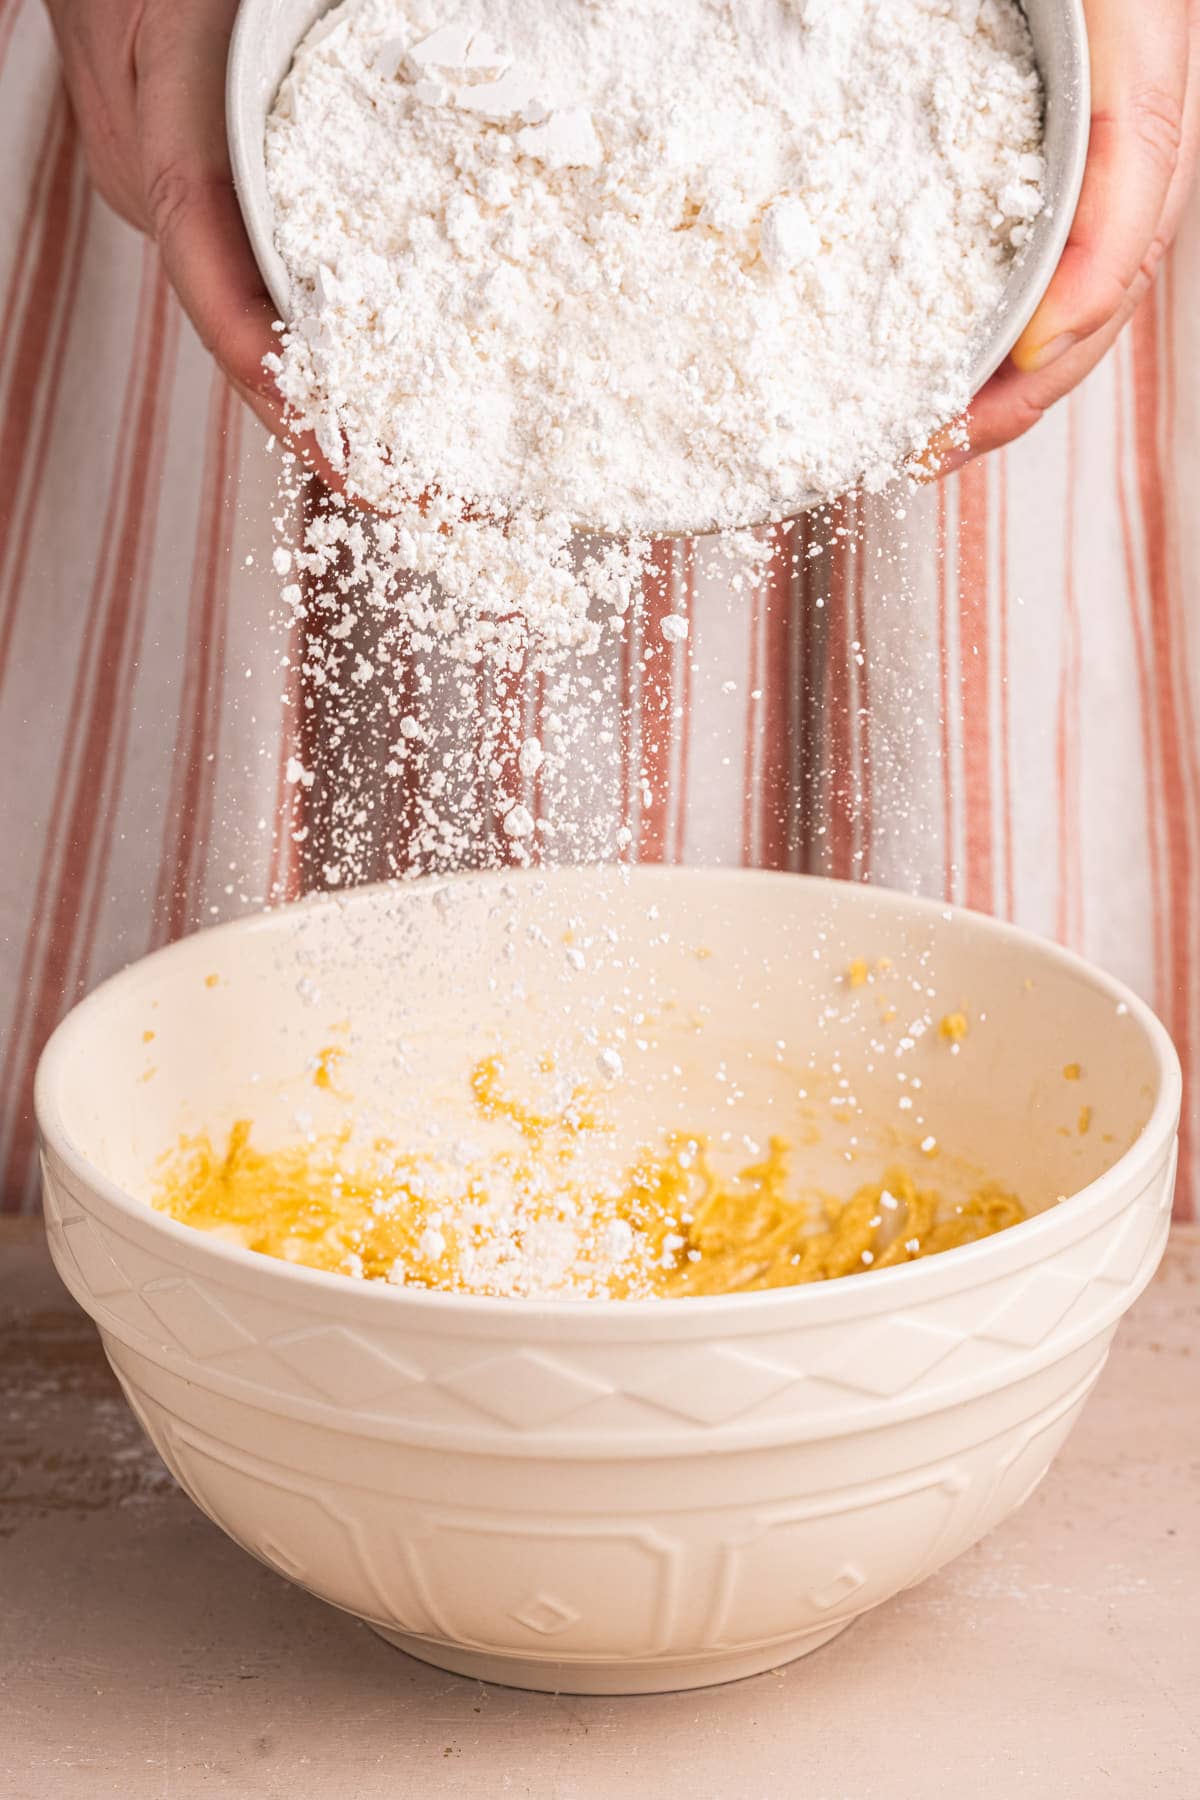
Now it’s time for the dry ingredients! Add your flour, salt, and baking soda to the dough. Grab your hand mixer again to combine the dry ingredients into your dough, ensuring there are no lumps left behind.
Use a rubber spatula to push any dry ingredients clinging to the sides of the bowl down into the dough, ensuring no ingredients are left behind.
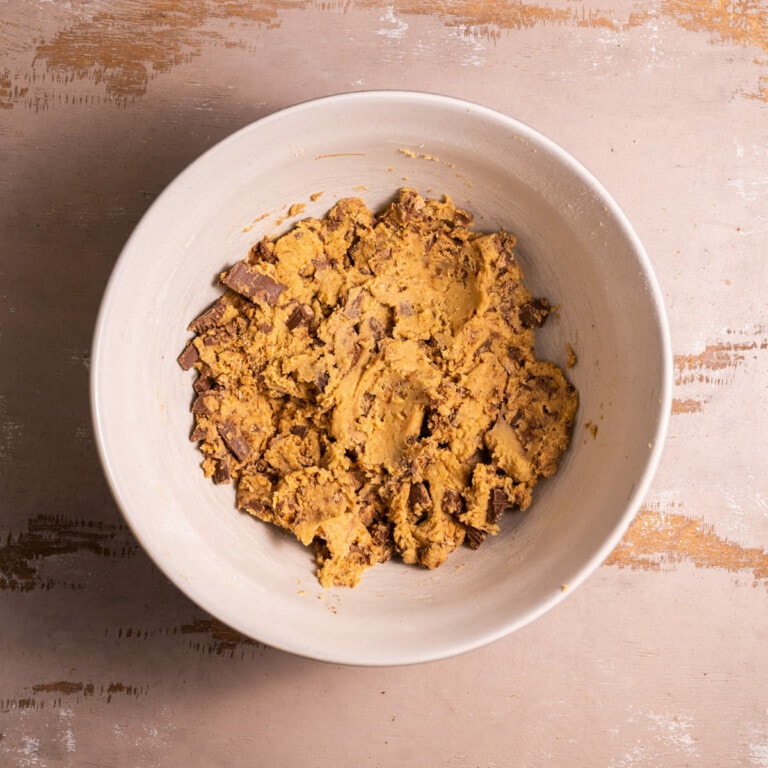
Fold Your Crushed Candy in Last
Once your dry ingredients are integrated, all that’s left to do is add your walnuts and chocolate chips!
I like to conserve just a handful of each to place on top of the cookie dough once it’s shaped into cookies. After all, we eat with our eyes first, and seeing those walnuts and chocolate chips on top is part of the overall indulgent experience!
Pour the rest of the chocolate chips and walnuts into the cookie dough and use a rubber spatula to gently fold them in, until they are evenly distributed throughout.
How to Bake Chocolate Halloween Candy Cookies
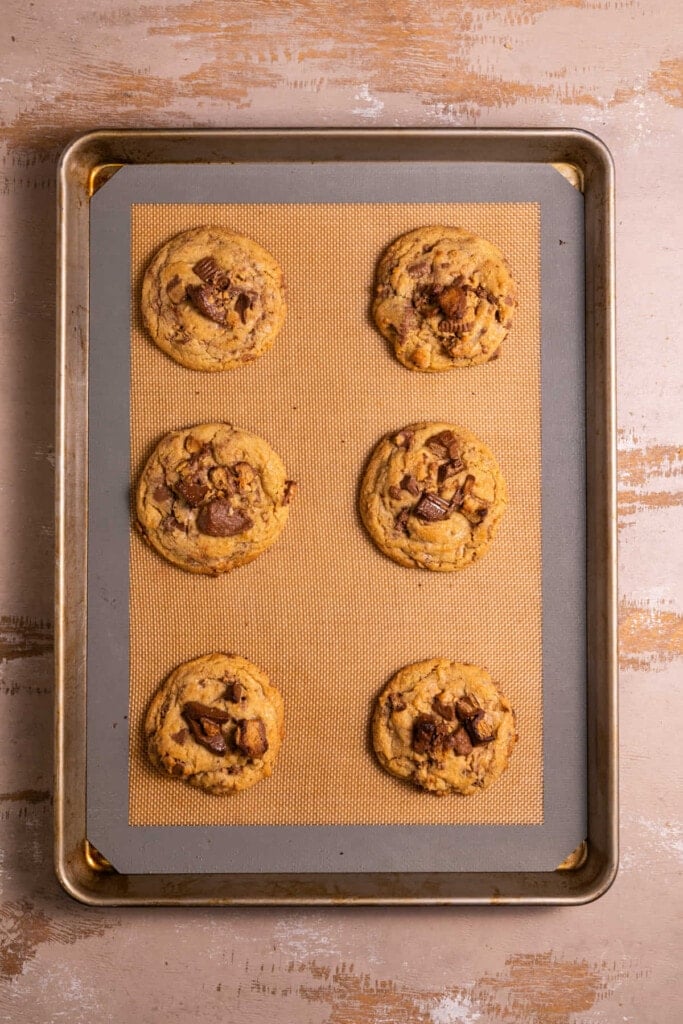
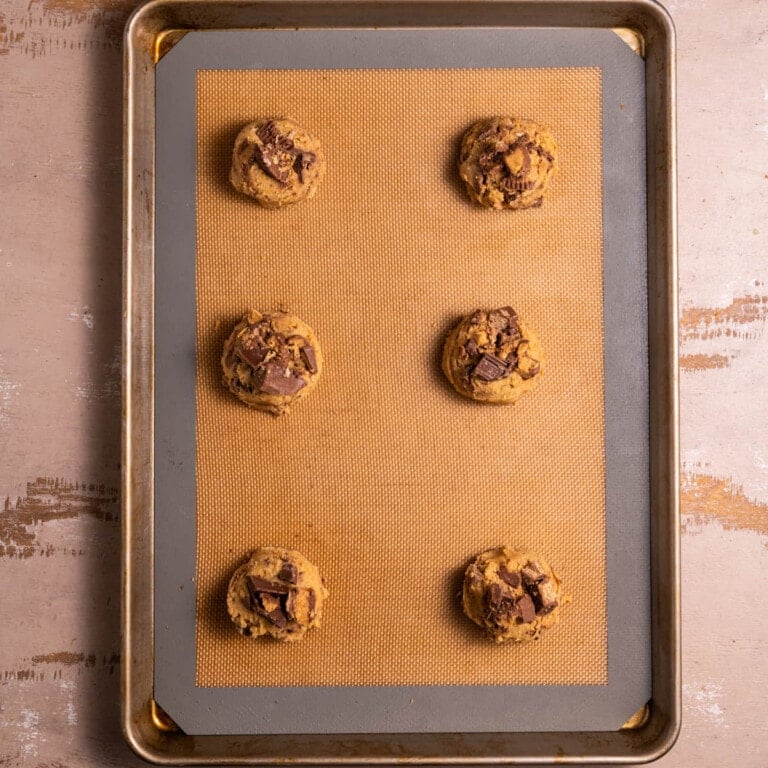
These Halloween cookies are easy and foolproof. Even without any chilling time there is very minimal spreading, but you still want to give them space to bake evenly. Keep that in mind as you line up your cookies on your prepped baking sheet.
But the true key to perfectly baked cookies? Always bake them on the top rack!
Heat rises, so the top rack of your oven is hotter than the bottom rack. So, if you place one cookie sheet on the top rack and one on the bottom, there will be a noticeable difference in baking time.
If you can’t fit both cookie sheets on the top rack at the same time, I recommend baking the cookies in two separate rounds, so that they can all bake on the top rack.
These chocolate Halloween cookies will bake beautifully at 375°F in just 8-10 minutes.
When the cookies are ready, the top and edges are a little bit crispy to touch and may even turn golden brown. It’s okay if the center is slightly underdone when you take the cookies out, as they will continue to bake as they cool.
If you want your cookies to be perfectly round, grab a round cookie cutter that’s a little bit larger than your cookies. While they’re still hot, scoot the cookie cutter around it in a circular motion. These will clean them right up!

Properly Storing Leftover Chocolate Candy Cookies
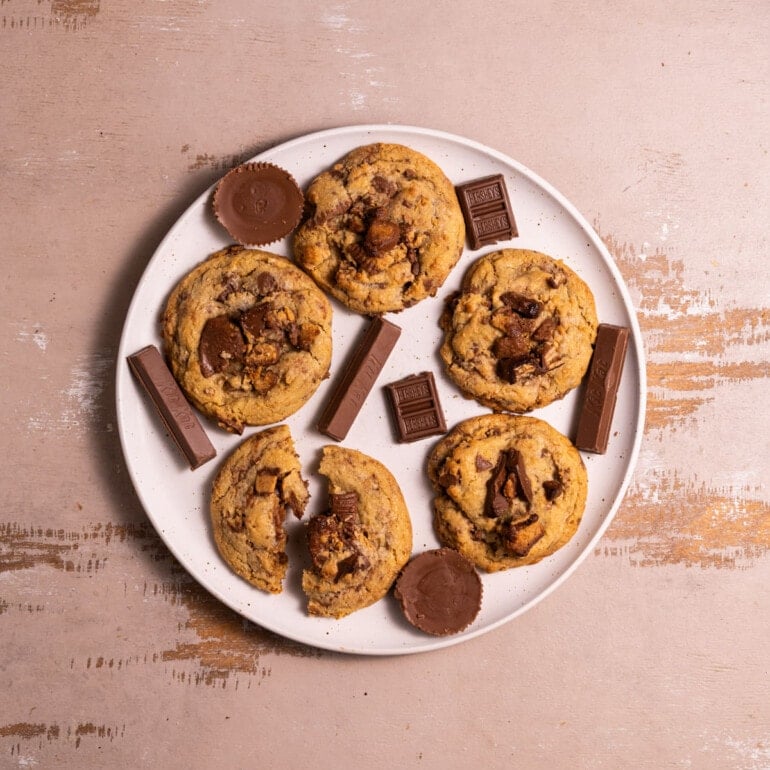
These chewy cookies with chocolate will last for 5-7 days at room temperature or up to three weeks in the refrigerator when covered or stored in an airtight container.
Quick tip: Storing your cookies with a piece of bread will keep them softer and chewier. This is the perfect use for the end piece!
These cookies do tend to firm up within a few days of storing them. If you want to keep them softer and chewier, store them in the container with a piece of bread. Believe it or not, moisture from the bread stops the cookies from drying out and keeps their texture.
You can also freeze the cookies once they’re baked for up to a year, but I recommend freezing the unbaked dough instead. More on that next.
Green tip: Of the billions of tons of food wasted annually, 50% of food waste happens at home. Reduce your contribution to food waste by properly storing baked goods!
Freezing Your Cookie Dough for Later
If you want to freeze some or all of the cookie dough, you can have freshly baked cookies at the drop of the hat! In the freezer, the dough will last up to a year.
Shape the cookie dough into cookies and store them in a freezer safe storage bag (consider reusable storage bags for a more sustainable option!). You can bake them on a lined baking sheet directly from the freezer.
Watch them closely when you bake them and add an extra minute or two to your baking time if need be.

Other Options for Leftover Halloween Candy
Leftover Halloween candy can be donated! Unopened candy typically lasts for about 6 months, so you can also include it in your Holiday gifts (it makes a great stocking stuffer) and put them out when entertaining over the Holiday season.
Why You Should Make these Leftover Halloween Candy Cookies
- They’re resourceful! Don’t throw out that leftover Halloween candy or let it expire! Make these delicious cookies!
- They’re easy. This recipe is versatile and works with any chocolate candy, and requires only 8 ingredients and one bowl to make!
- They’re quick. This cookie recipe requires no chilling time, so they come together in less than 30 minutes from start to finish!
If you’re loving these Leftover Halloween Candy Cookies and want more delicious cookies, check out these Gideon’s Bakehouse Cookies and these Chocolate Chip Walnut Cookies.

Leftover Halloween Candy Cookies
Equipment
- Cookie Scoop optional
Ingredients
- 1 ½ cups leftover Halloween candy, roughly chopped (*see notes)
- ½ cup softened unsalted butter (½ cup butter = 1 stick)
- 1 cup light brown sugar
- 1 tablespoon vanilla extract
- 1 large egg
- 1 ¾ cup all-purpose flour
- ¼ teaspoon table salt
- ½ teaspoon baking soda
Instructions
- Preheat your oven to 375°F and line two large baking sheets with parchment paper or a reusable baking mat. Roughly chop the Halloween candy into small chunks.
- To a large mixing bowl, add softened butter and brown sugar. Use a hand mixer on high to cream together until light and smooth (about 2-3 minutes).
- Add the egg and vanilla extract and use your hand mixer on low to combine.
- Add the flour, salt, and baking soda and mix to combine, careful not to overbeat. Use a spatula to scrape any flour off the sides of the bowl and integrate it into your dough.
- Add the chopped candy to your dough and use a rubber spatula to fold to combine. I like to keep a small handful of each out to place on top of the cookie dough once it's formed into cookies.
- Use a large cookie scoop or 2 heaping tablespoons of dough to form your cookies, adding them to the prepped baking sheets. Leave at least an inch of space in between each cookie for minor spreading. Add the conserved candy on top.
- Bake for 8-10 minutes on the top rack. It's okay if they are slightly underdone. Allow them to cool on the baking sheet so they continue to bake as they cool. If you want perfectly round cookies, use a round cookie cutter, scooting it around the cookie while they are still hot. Enjoy!
Pro Tips
- *You can make these with one or a combination of any of the following chocolate candy bars: Hershey’s, Kit Kat, Take 5, Mars Bars, Heath, Crunch, Mounds, Baby Ruth, Almond Joy, 3 Musketeers, Milky Way, Twix, M&M’s of any flavor, Butterfinger, Snickers, Reeses, Pay Day, and 100 Grand.
- You can freeze excess cookie dough before baking it to give you fresh baked cookies every time when the craving hits! Just bake them as normal straight out of the freezer.
- Cookie monsters are always happy at my house with this delicious selection of my best cookie recipes to choose from! Nom nom nom!
Share This Recipe






1 thought on “Leftover Halloween Candy Cookies”
Mmmmmm- very tasty!