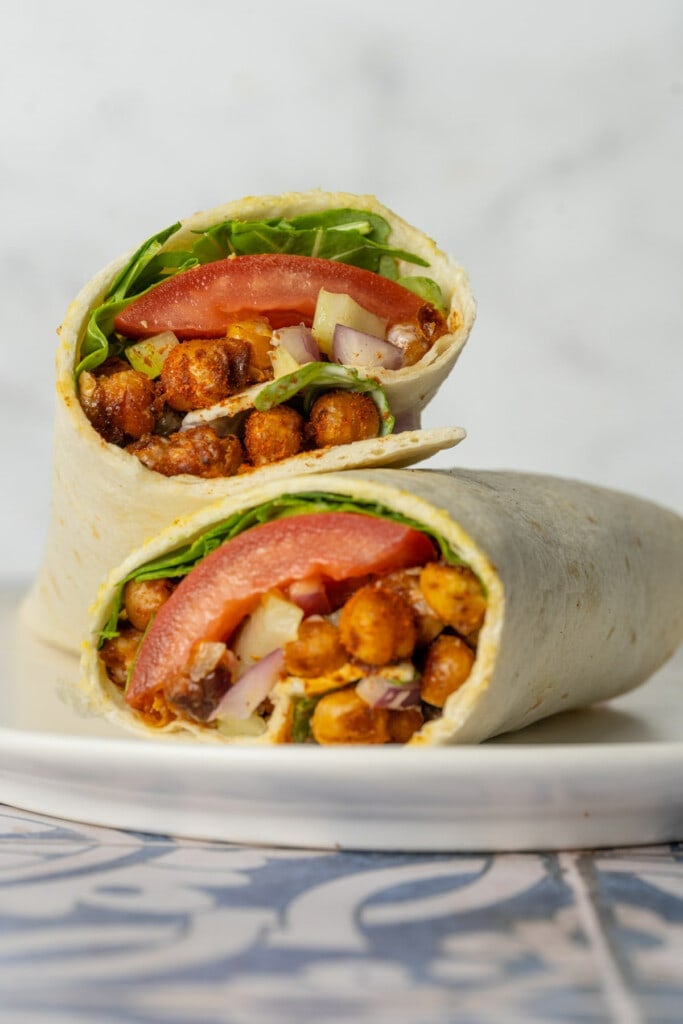
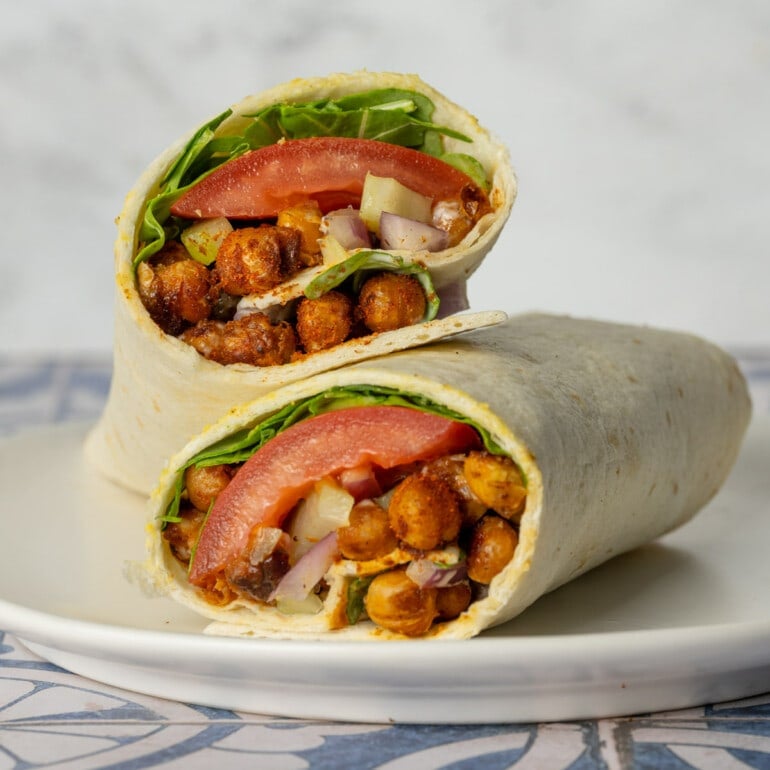
Looking for a flavorful, filling, and satisfying lunch? This Buffalo Chickpea Wrap hits all the right textures and flavors and is packed with protein and other healthful nutrients, keeping you full for hours.
And coming together in less than 30 minutes and with just 10 ingredients, this delicious meatless lunch wrap recipe is as quick and easy to whip up as it is to scarf down.
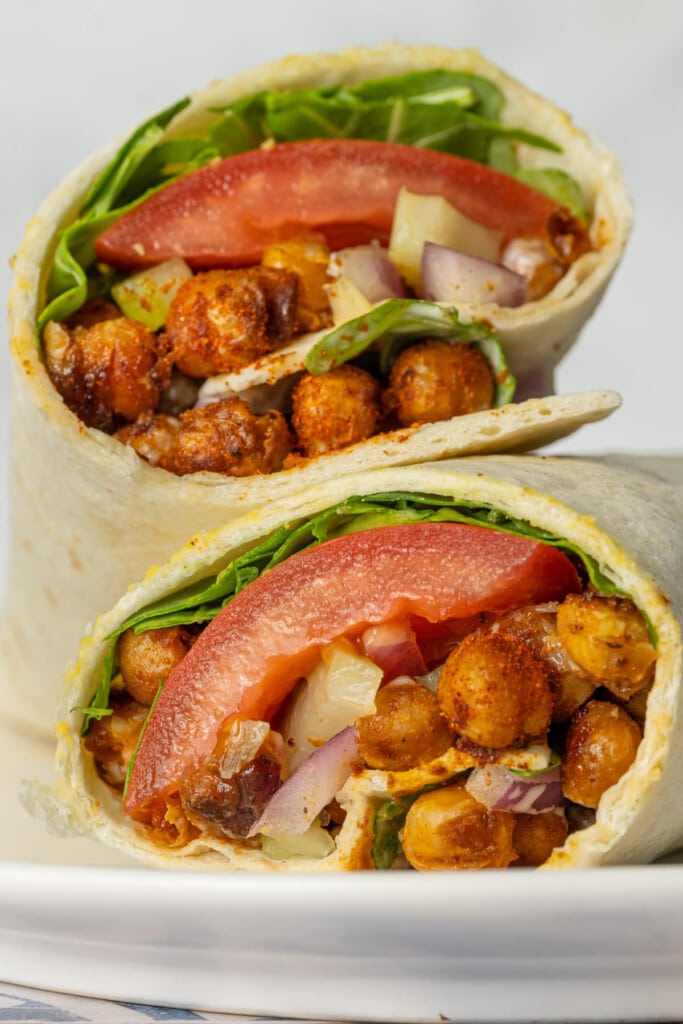
As an environmental scientist, I’m always looking for tasty meatless meals to help me improve my ecological footprint, and this Buffalo Chickpea Wrap is a great place to start!
The “meaty” texture of the roasted chickpeas and their natural abundance of protein makes them the perfect main ingredient for a wrap.
Green tip: Industrial meat production has a huge impact on the environment, especially because of the amount of land it takes to sustain and its high amount of greenhouse gas emissions. Reducing your meat consumption is one great way to improve your ecological footprint.
Buffalo Chickpea Wrap Ingredients
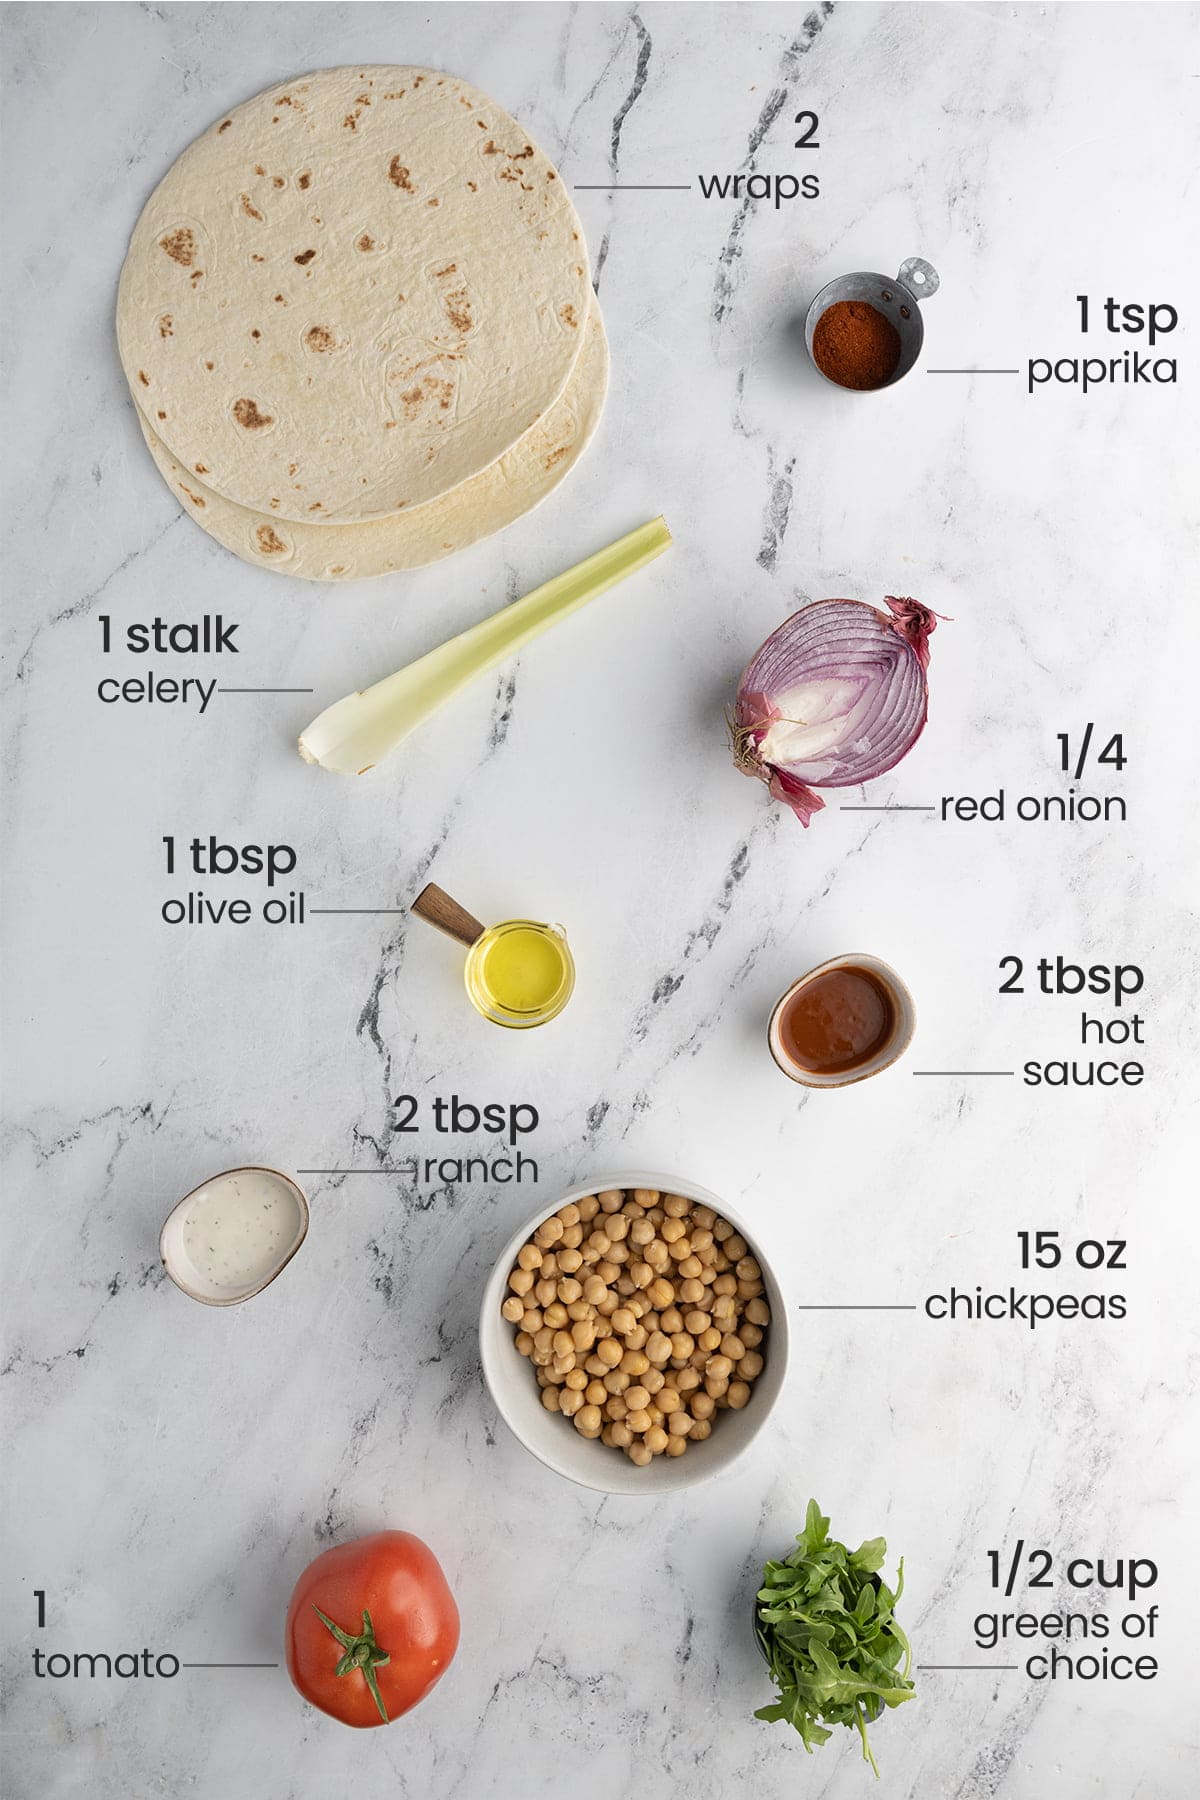
Here’s everything you need:
- Wraps. Tortillas or any other wrap of your preference.
- Chickpeas. Aka Garbanzo beans. Canned is quickest and easiest, but of course you can use raw chickpeas. They will need to be soaked or cooked before use in this recipe.
- Hot sauce. For that signature buffalo taste. Use your favorite kind! I like Tabasco.
- Olive oil. To roast the chickpeas in and get the perfect crunch.
- Paprika. For color and a very subtle hint of sweetness.
- Greens. My favorite is arugula, but any green works! Spinach, lettuce, spring mix, watercress all works.
- Red onion. For extra savory flavor.
- Celery. For extra crunch.
- Tomato. For flavor, texture, and acidity.
- Ranch. The perfect complement to the buffalo chickpeas.
Buffalo Chickpea Wrap Tips and Tricks
Drain and Rinse Your Chickpeas
When making this buffalo chickpea wrap it’s easiest (and quickest!) to use canned chickpeas, since they have already been soaked and are soft and ready to roast.
If you have raw chickpeas, you can certainly use those too, but you will have to soak or cook them first to prep them.
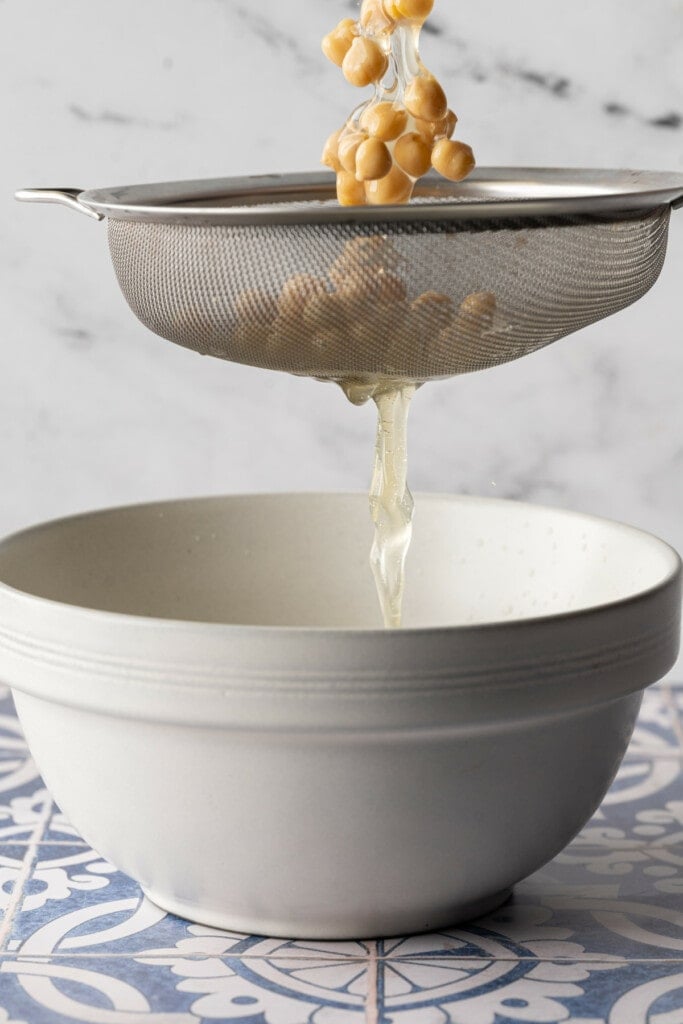
Drain your canned chickpeas. I love to catch the aquafaba (the liquid that the chickpeas are suspended in) in a bowl. That way, I can save it for later use. It’s an especially useful ingredient in vegan baking, like in this Vegan Dark Chocolate Oreo Pie.
Green tip: Paper products contribute to deforestation. Consider these bamboo paper towels! Bamboo naturally regenerates every few months, whereas trees cannot regrow once harvested.
Once you’ve drained the chickpeas, make sure to rinse them. Then, pat them dry lightly with a kitchen towel or a paper towel to dry them.
Oil & Season Your Garbanzo Beans
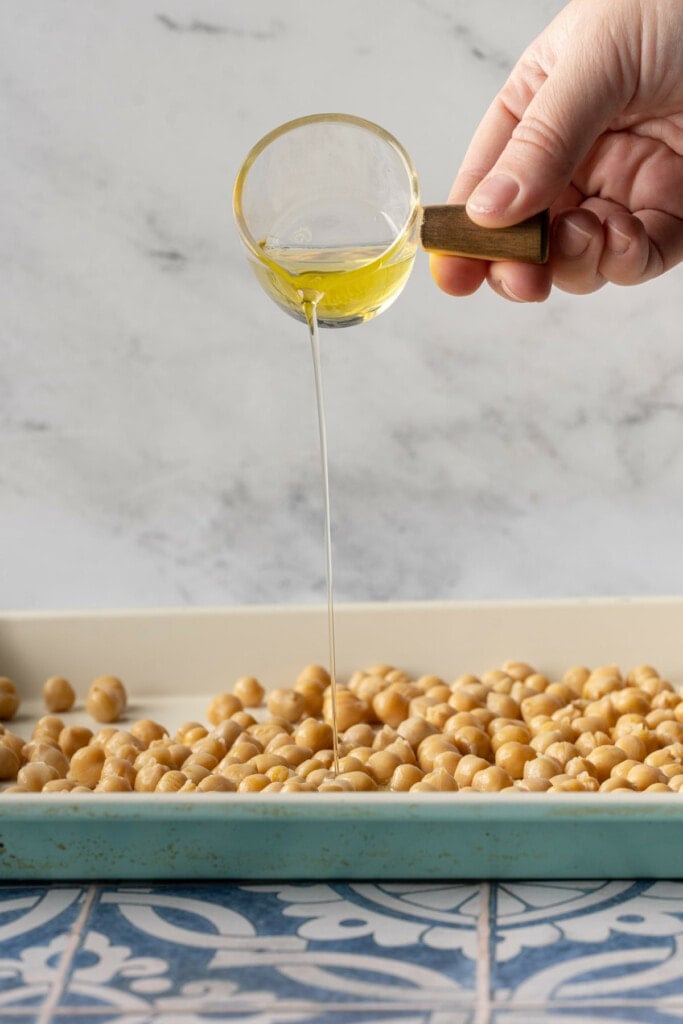
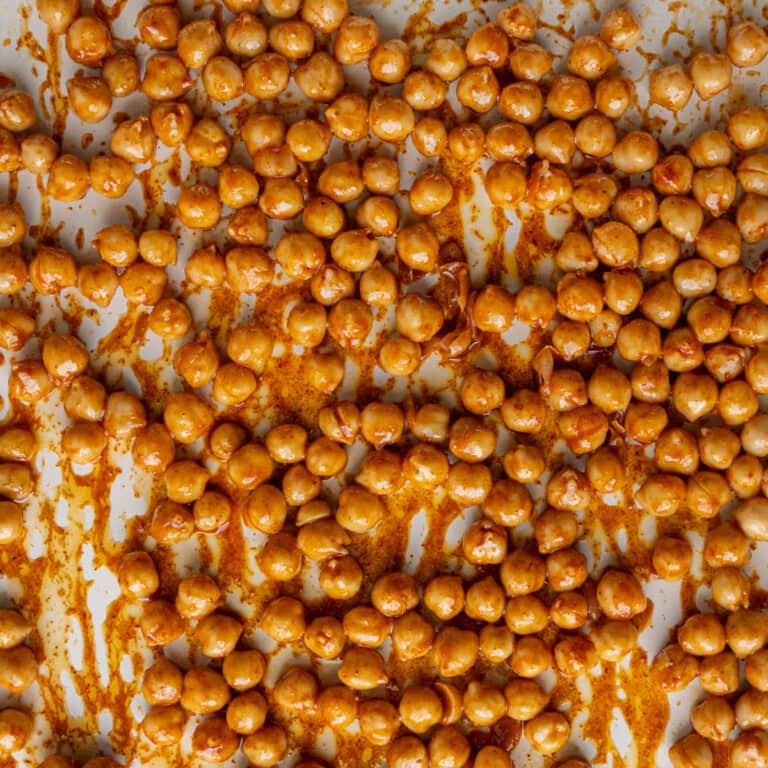
Next, spread your rinsed and dries chickpeas out on a baking sheet. Drizzle the olive oil and hot sauce over top and add the paprika.
Use clean hands or two spoons to toss the chickpeas, ensuring they are evenly coated in the oil, hot sauce, and paprika.
Roast ‘Em
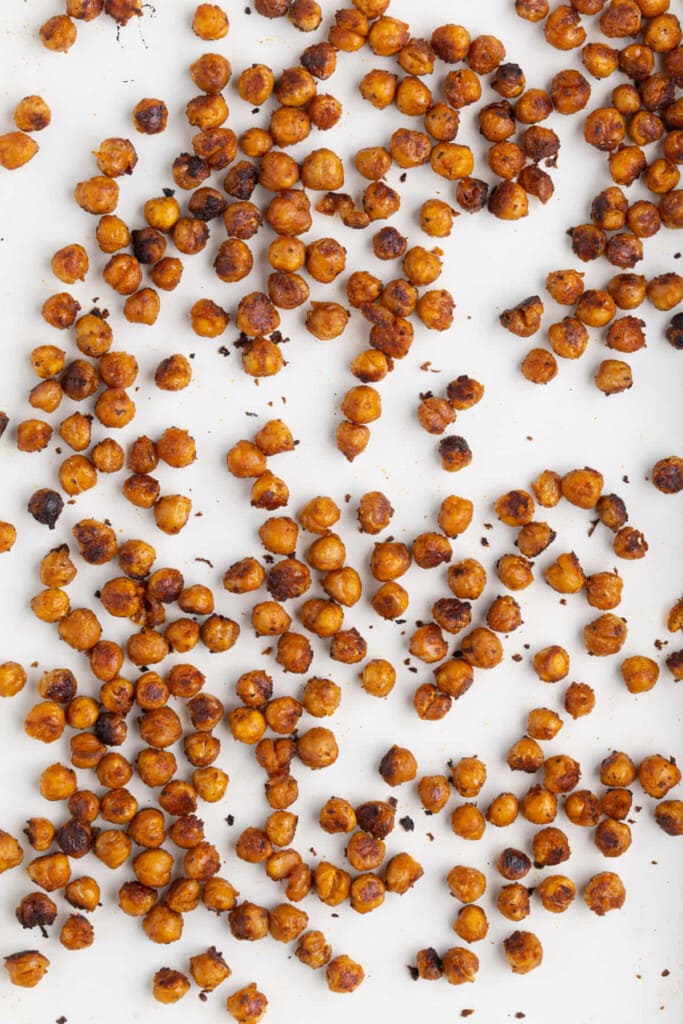
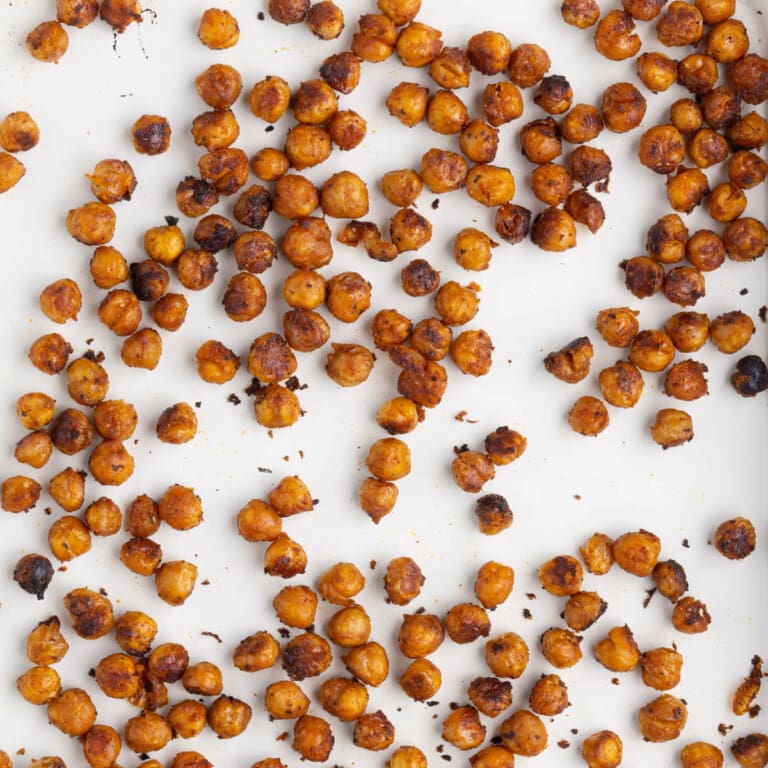
Then, roast the oiled and seasoned chickpeas at 425°F for 15-20 minutes, until crispy and starting to turn brown.
Prep Your Add Ins
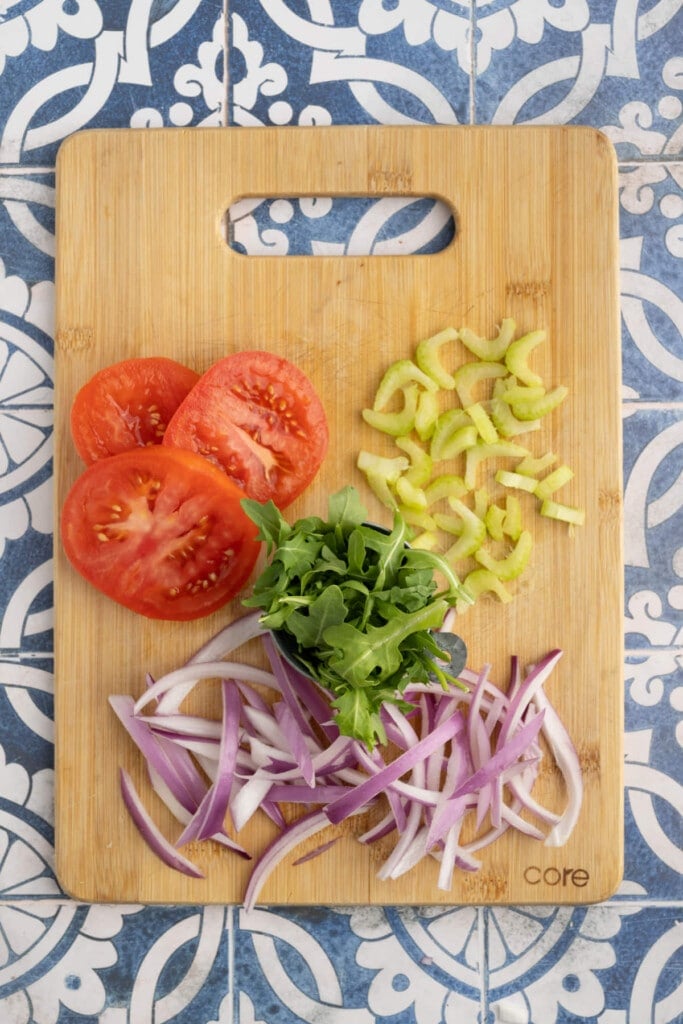
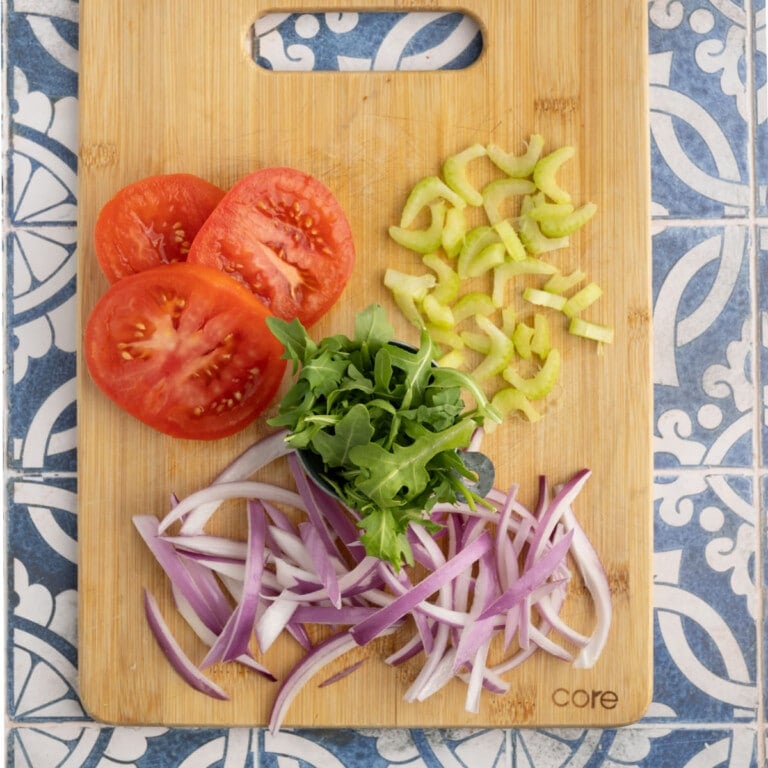
Dice your celery, slice your tomatoes and red onion, and rinse your greens if necessary. You can adjust the add-ins to your taste, adding or substituting to make your perfect wrap.
Aside from the tomato, celery, red onion, and arugula listed in the recipe, here are some of my other favorite add-ins:
- Quinoa or other grains.
- More leafy greens like spinach, lettuce, watercress, cabbage, chard, and/or kale.
- Shredded carrots, snow peas, green or red peppers, broccoli or other raw veggies for crunch.
- Hemp seeds, almonds, walnuts, sunflower seeds, pecans, or other seeds and nuts.
- Hummus, cheese, or another protein and flavor booster.
Assemble Your Wrap
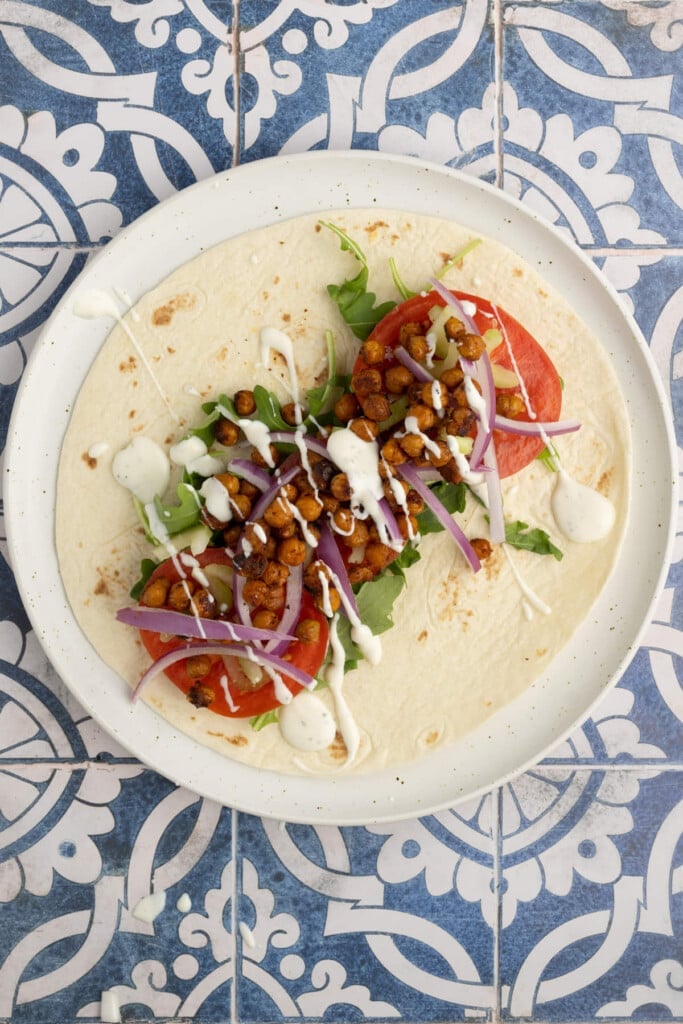
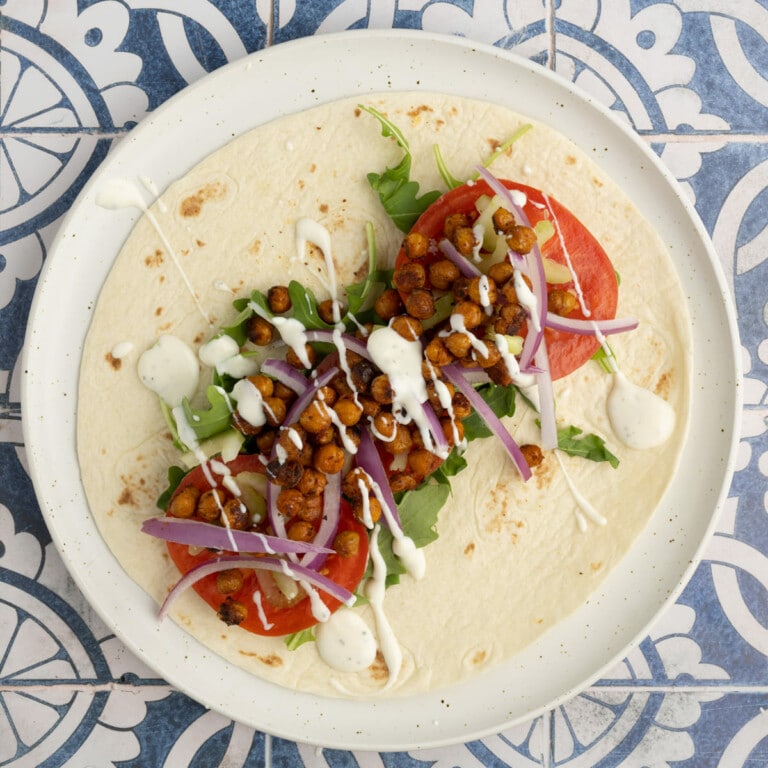
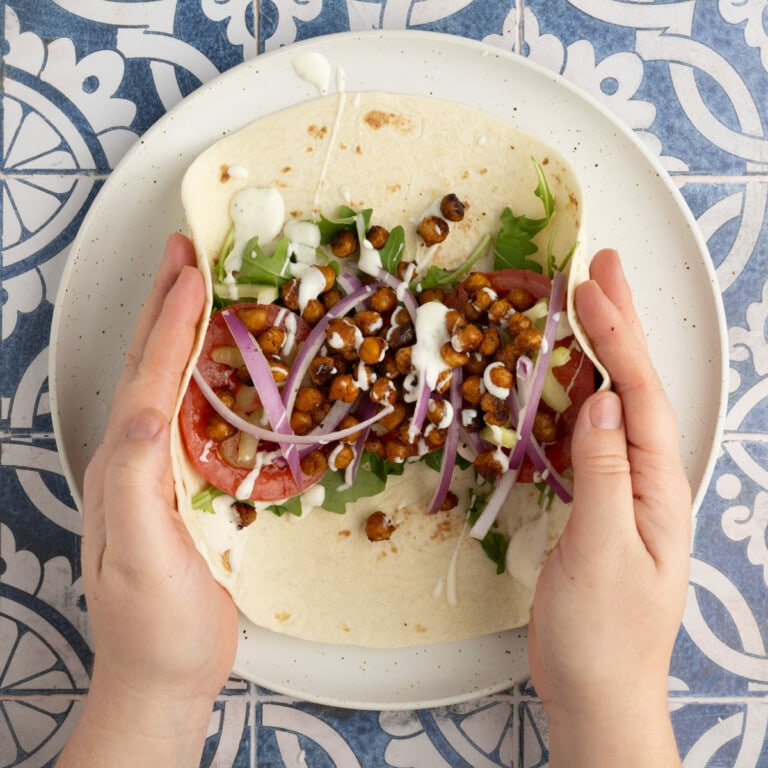
Stack all your add-ins in the center of the wrap. I like to start with the greens, then add the tomato, celery, onion, and roasted buffalo chickpeas.
Then, drizzle your ranch on top.
Roll Up Your Wrap
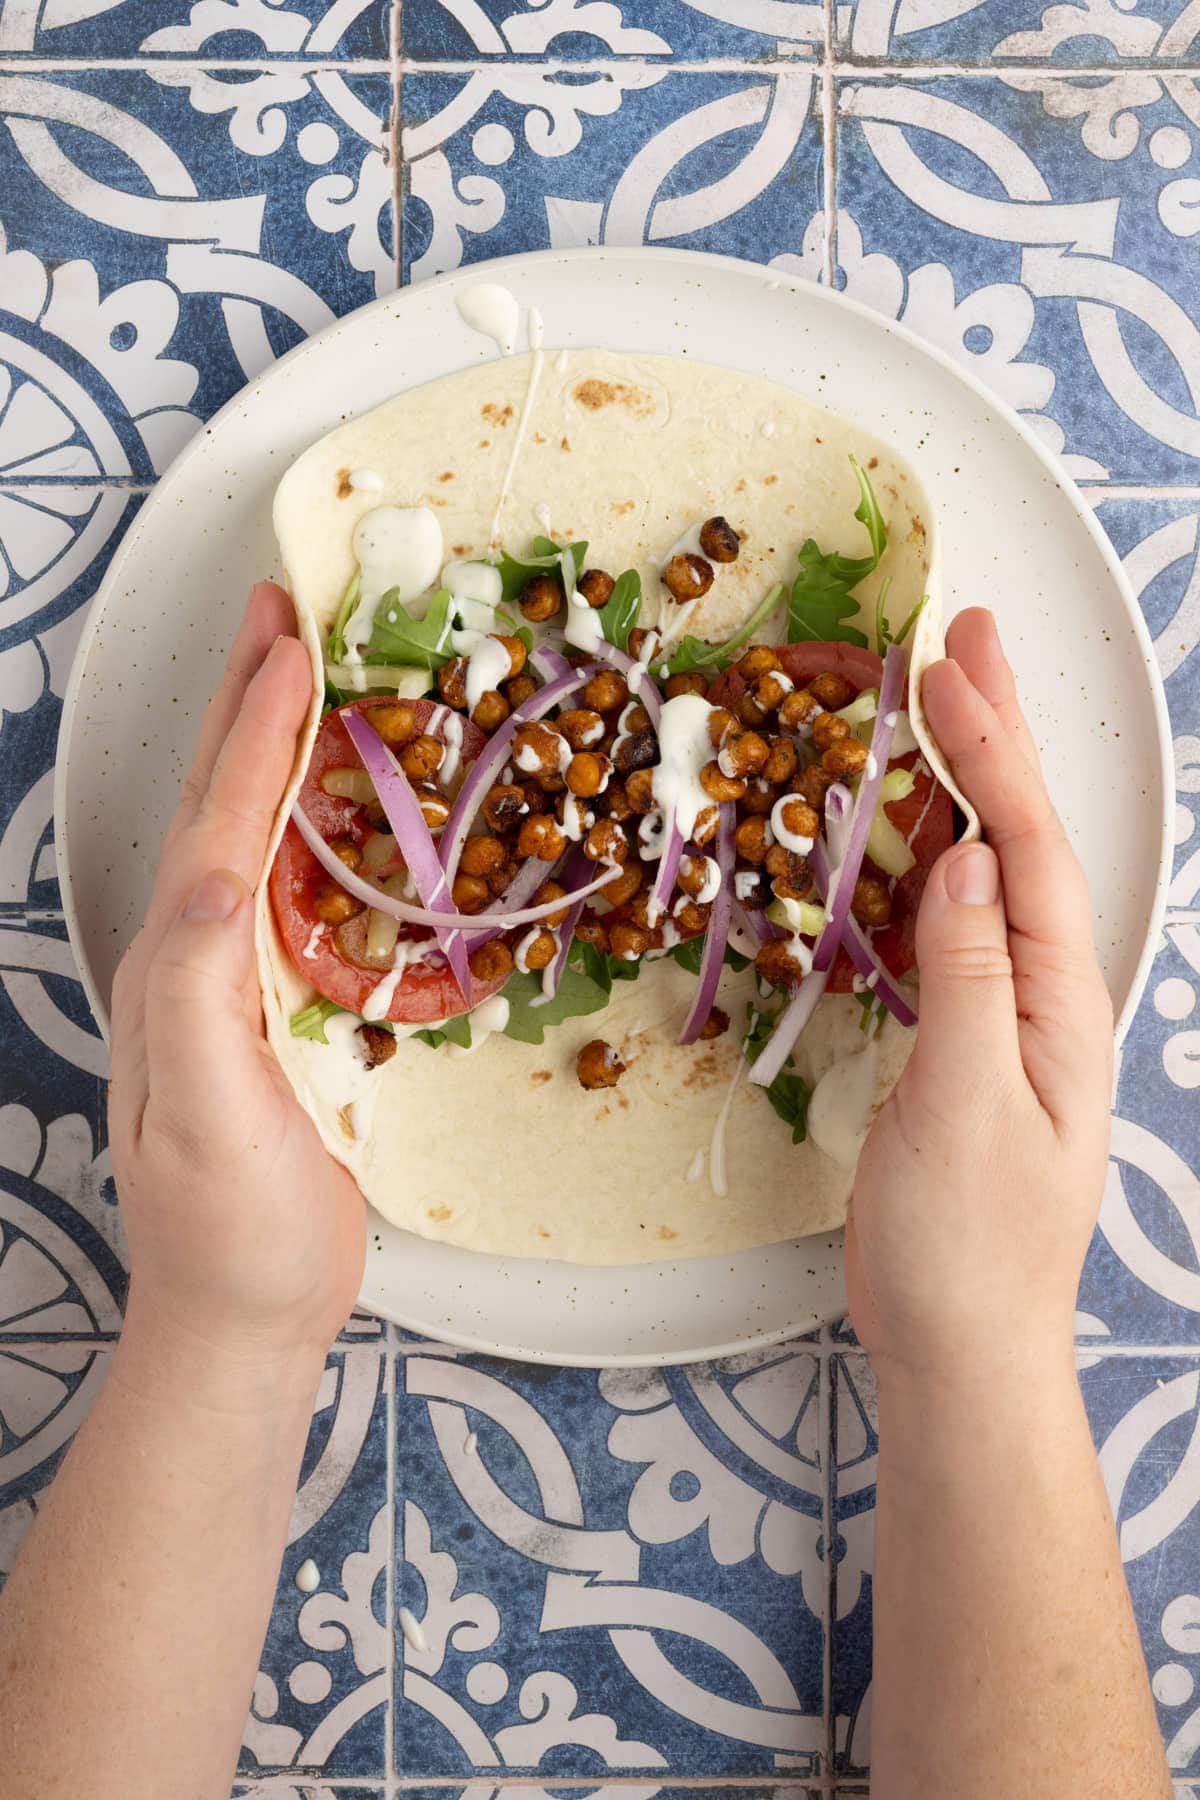
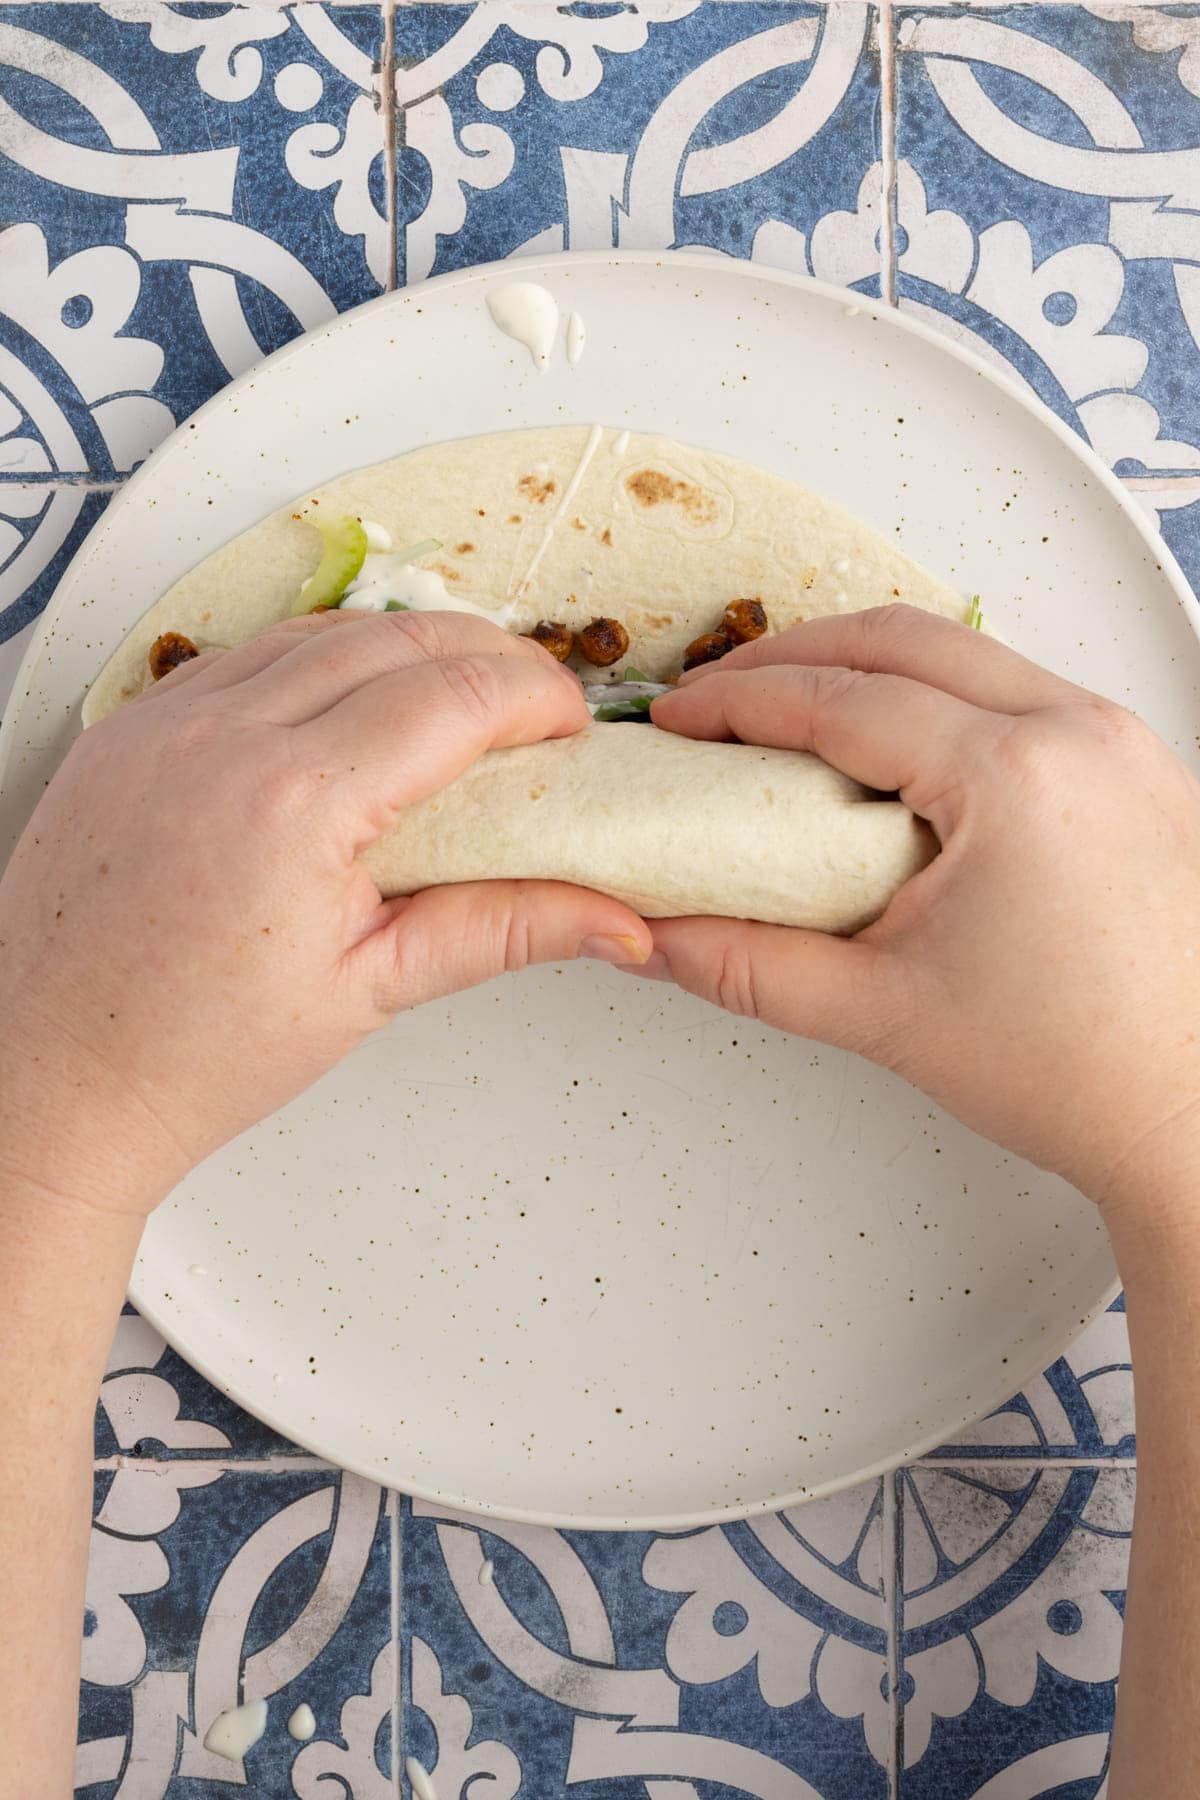
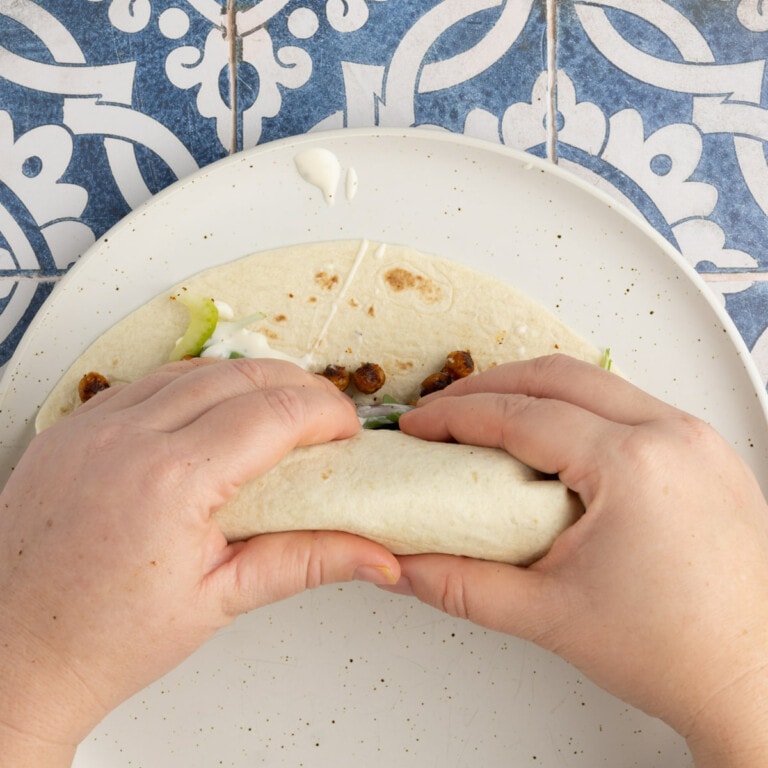
To roll up your wrap, rotate your plate so the contents are running horizontally across the wrap. Fold both sides over the fillings simultaneously with both hands as pictured below.
Then, fold the side of the wrap closest to you over the fillings, continuing to roll away from you until you’re left with a tight buffalo chickpea wrap.
Storing and Saving Buffalo Chickpea Wraps
This recipe will make just enough for two large wraps. If you have some wrap leftover, it will last in the refrigerator in an airtight container for up to two days.
If you only make one wrap and have leftover roasted buffalo chickpeas, you can keep them in a reusable storage bag or airtight container at room temperature for up to two weeks. Use them to make another wrap or just munch on them on their own!
Buffalo Chickpea Wrap Frequently Asked Questions
How do you cook canned chickpeas?
The easiest way to cook canned chickpeas is to roast them. Coat them in olive oil and your seasonings of choice and roast them on a baking sheet at 425°F for 15-20 minutes until crunchy.
Why You Should Make This Buffalo Chickpea Wrap
- It’s filling. Packed with protein and nutrients, this wrap keeps you full for hours.
- It’s quick. Comes together in less than 30 minutes start to finish.
- It’s bold! Between the spicy buffalo chickpeas, veggie add-ins and cooling ranch, this wrap hits all the right flavors and textures.
If you’re loving this Buffalo Chickpea Wrap and want more delicious recipes with chickpeas, check out this 5-Minute Hummus and this Vegan Egg Salad Substitute.
25-Minute Buffalo Chickpea Wrap
Equipment
Ingredients
- 15 ounces chickpeas aka Garbanzo beans (1 can chickpeas = 15 ounces )
- 1 tablespoon olive oil
- 2 tablespoons hot sauce
- 1 teaspoon paprika
- ½ cup greens (arugula, spinach, chopped lettuce, etc)
- 1 small tomato
- 1 stalk celery
- ¼ large red onion
- 2 large tortillas or other wraps of choice
- 2 tablespoons ranch dressing (vegan options work great!)
Instructions
- Preheat your oven to 425°F.
- Drain and rinse your chickpeas and lightly dab them dry with a clean kitchen towel or paper towel (use these bamboo paper towels for a more sustainable option).
- Add your chickpeas to a small baking sheet with the olive oil, hot sauce and paprika. Toss to evenly coat the chickpeas in the oil, sauce, and seasoning.
- Roast the chickpeas for 15-20 minutes until crispy and starting to brown.
- Meanwhile, rinse your greens (if necessary), slice your tomato, dice your celery, and peel and slice your red onion.
- Once your buffalo chickpeas are ready, lay your wrap down flat on a clean surface and stack it with your fillings. I like to start with the greens, then add tomato slices, the diced celery, sliced red onion, the chickpeas and finally the ranch dressing.
- To roll your wrap, rotate your plate so the fillings are horizontal, reaching from one side to the other. Then, fold the sides of the wrap over the fillings with two hands.
- Lastly, fold the side of the wrap closest to you over the fillings. Continue to roll away from you until your left with a tidy wrap. Enjoy!
Pro Tips
- This recipe is meant for canned chickpeas. If you have raw chickpeas, they will need to be soaked or cooked beforehand.
- For more meatless lunch ideas, check out these recipes for lunch.
Share This Recipe




2 thoughts on “25-Minute Buffalo Chickpea Wrap”
Nutrition facts? I want to try this, but I have to watch my sodium intake
Hi Paris! The ingredients in this recipe that contain any significant amount of sodium are the tortilla, the hot sauce, and the ranch! So, the amount of sodium will depend entirely on the brand you use for each of those things. La Banderita has low sodium tortillas, and there are also a number of low sodium hot sauces! As for the ranch, “light” ranch usually actually has more sodium than regular ranch! Choosing lower sodium options in this recipe will still give you a delicious and flavorful wrap 🙂 Hope that helps!