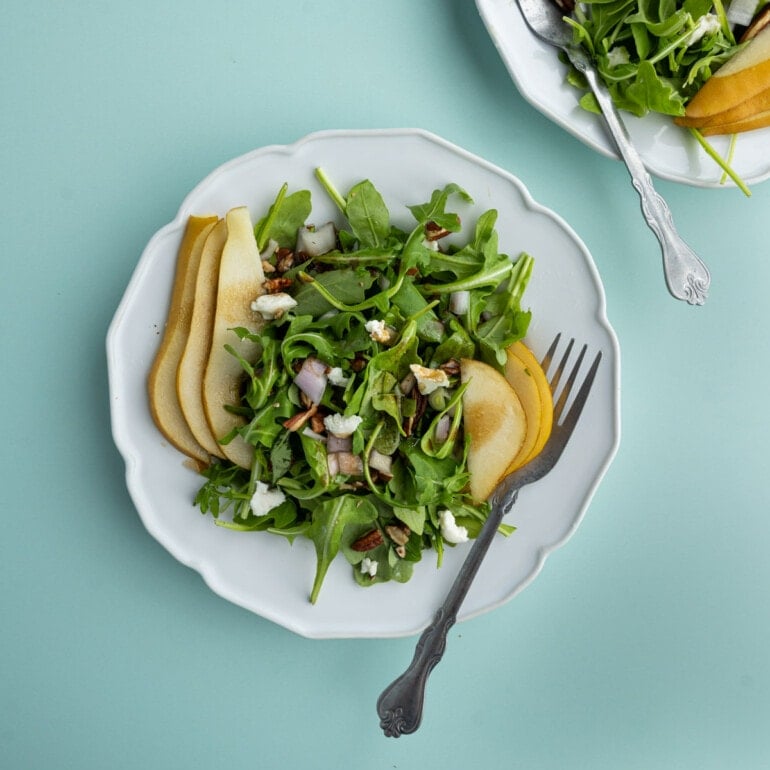
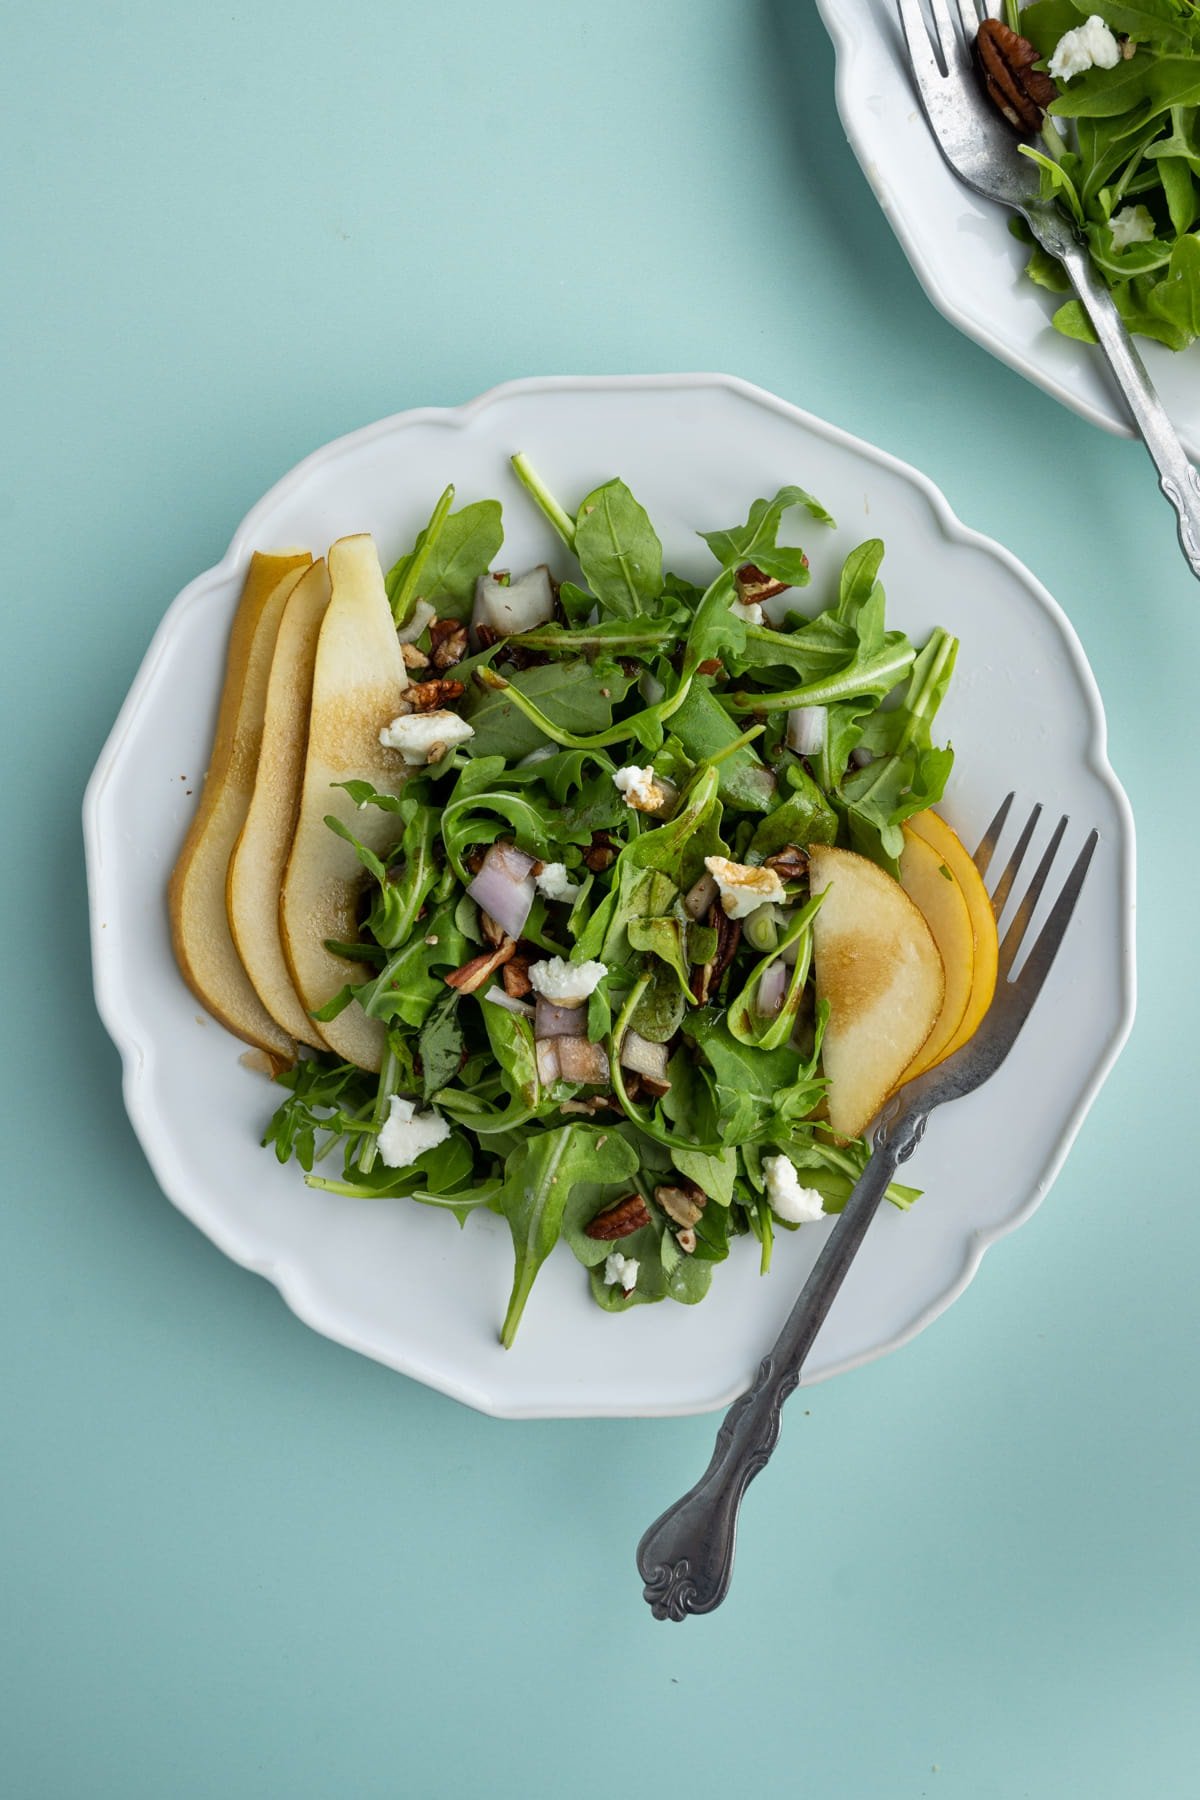
Looking for a crisp and fresh salad to accompany any meal? This Arugula Pear Salad is equally easy, delicious, and vibrant!
With just 8 dynamic ingredients that hit all the right tasting notes, this simple yet flavorful homemade arugula salad recipe will quickly become your go-to during pear season!
In this recipe, you will learn the easiest way to prep pears, shallots, and basil for a salad, how to mellow out the flavor of raw shallots, and how to make a quick oil and vinegar emulsion.
As an environmental scientist, I always try to stick to seasonal eating! It’s one of the easiest (and most delicious!) ways to support local farmers and improve your carbon footprint.
Green tip: Seasonal and local foods have less associated transportation costs and fuel emissions. Check when pears are in season in your area with this Seasonal Food Guide.
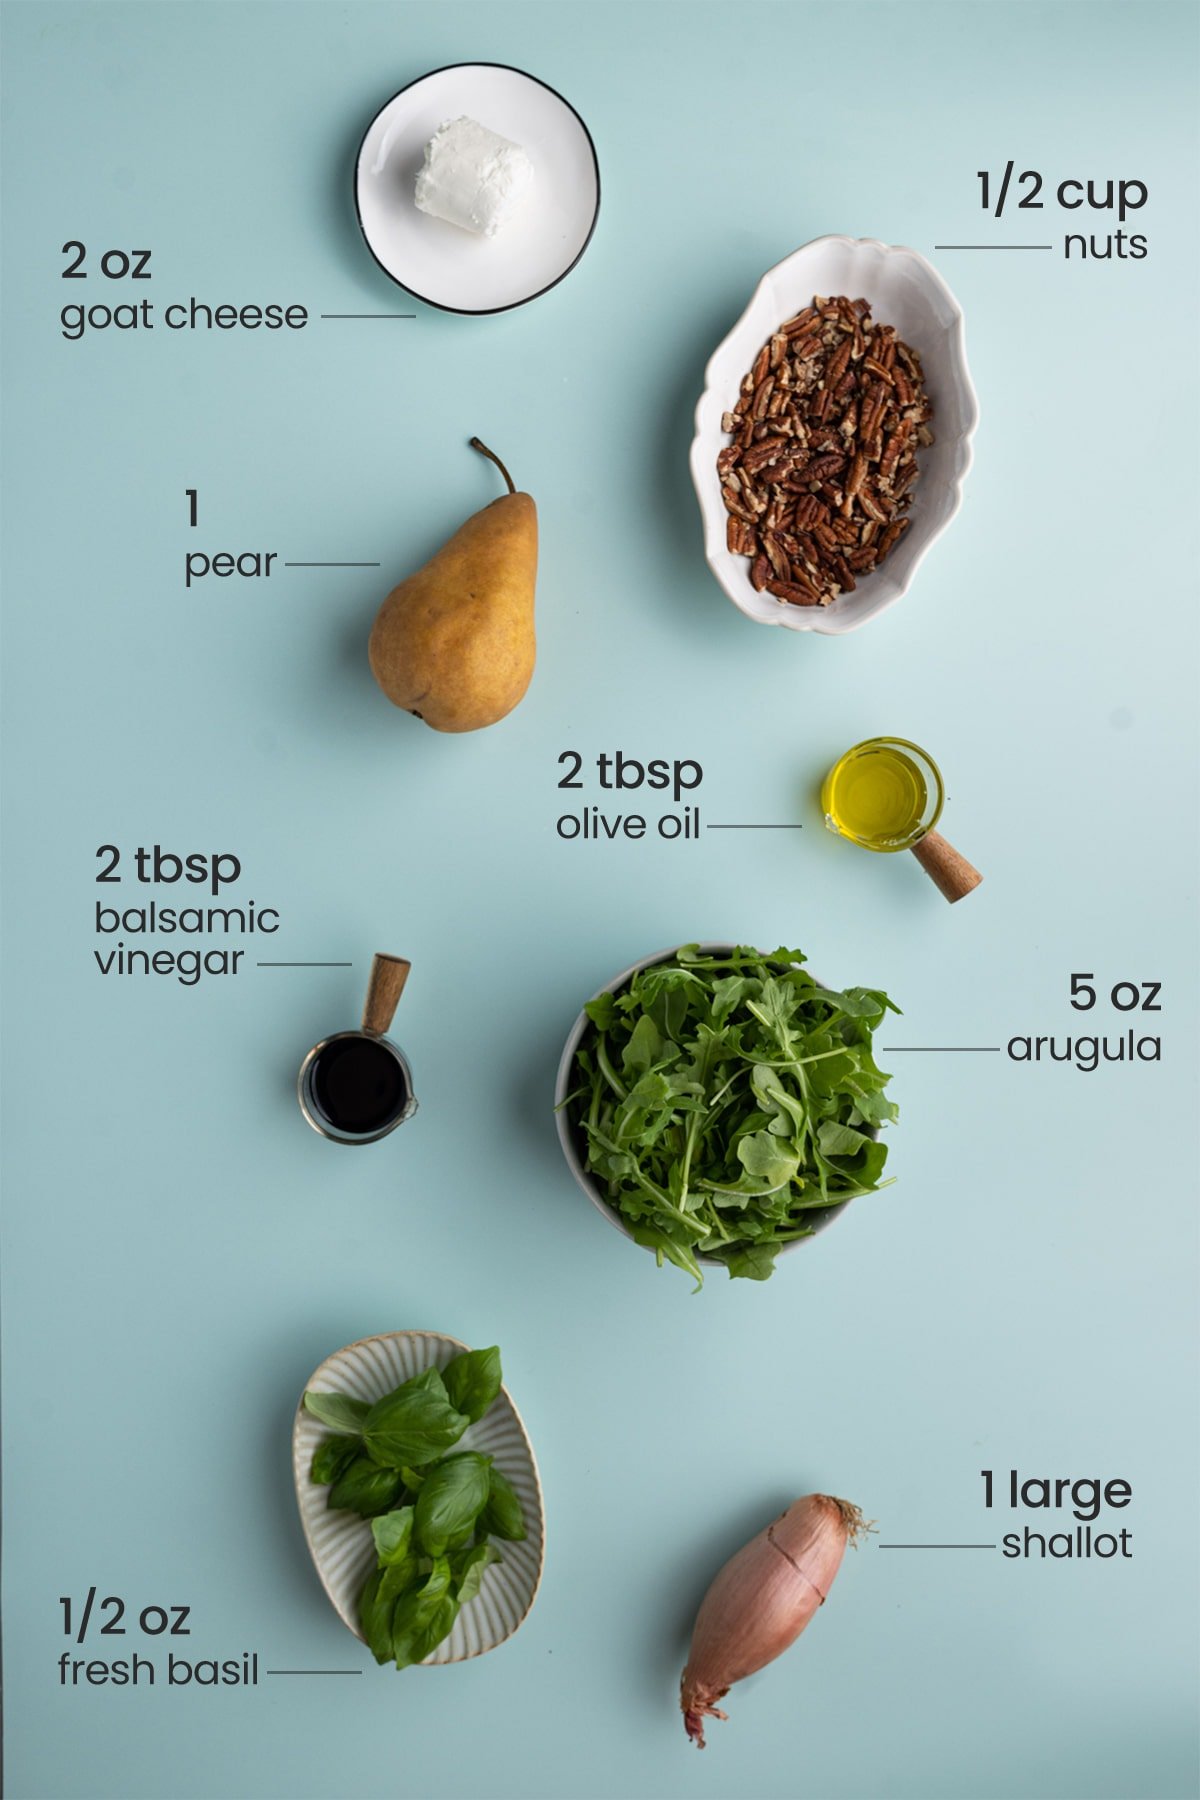
Arugula Pear Salad Ingredients
Here’s everything you need:
- Arugula. Also known as rocket. It has a distinct peppery taste that brings tons of flavor to this salad.
- Basil. In contrast to the peppery arugula, basil is subtly sweet. The combination of the two brings a great balance to make a delicious base to this salad.
- Pear. The star of this dish! Bosch and Bartlett pears preferred.
- Shallot. To bring extra crunch and earthiness to the salad.
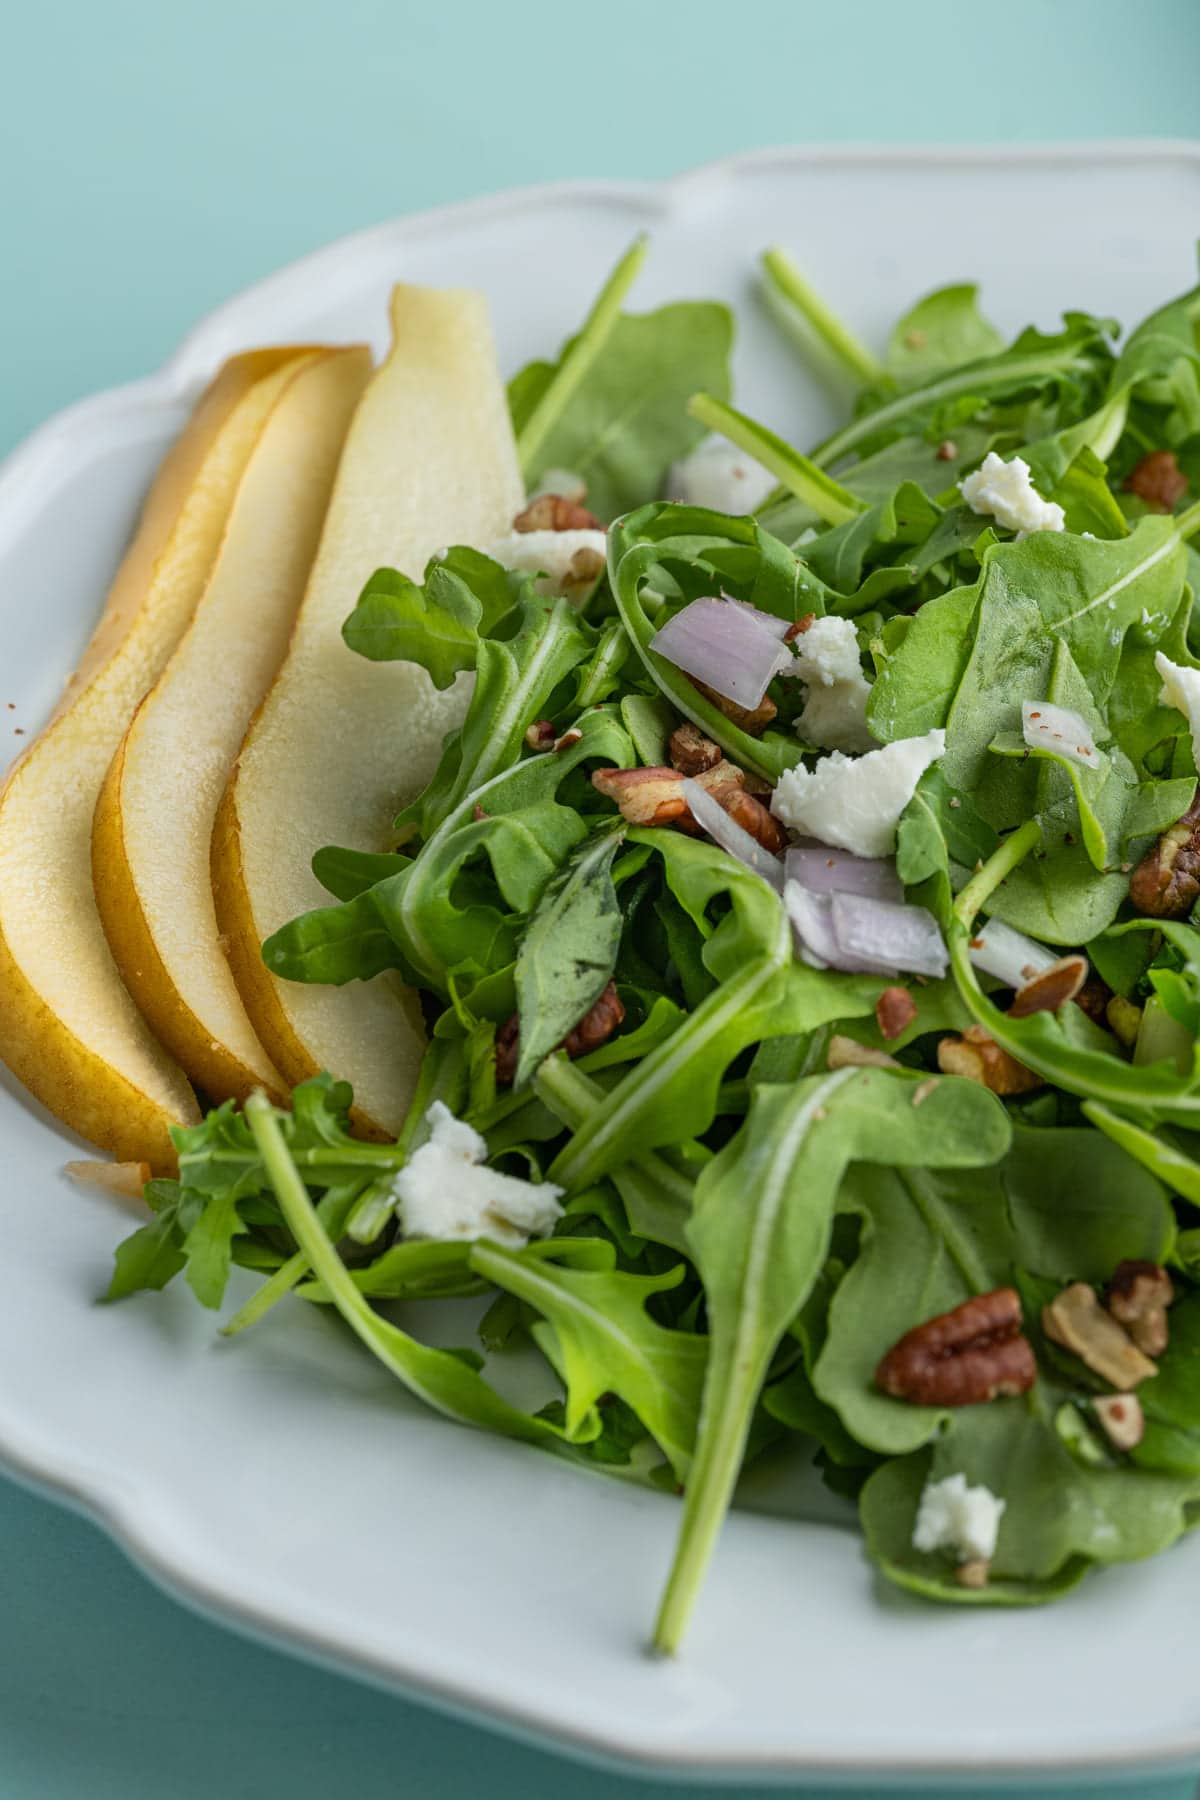
- Nuts. Like pecans (as pictured), walnuts, almonds, or macadamia nuts.
- Goat cheese. It adds just the right amount of tang and a little creaminess.
- Oil & vinegar. The simplest way to dress a bright salad.
Additional add-in ideas:
- Candied nuts
- Red onion
- Snow peas
- Raisins or craisins
- Avocado
- Apple slices
- Berries
- Grapes
- Hemp seeds or Chia Seeds
- Chickpeas
- Cucumbers
Arugula Pear Salad Tips and Tricks
How to Tell if Pears Are Ripe
Testing is pears are ripe is very similar to testing if avocados are ripe! Apply gentle pressure to the pear right next to the stem. Ripe pears will give in a little bit to the pressure.
If apply pressure to the pear yields absolutely no give, the pear is not quite ripe. If you apply gentle pressure and the pear quickly and dramatically squishes, your pear is likely over-ripe.
Pears are best stored in the refrigerator in your crisper drawer until ready for use and will last up to a week depending on how ripe they are when you bring them home.
Green tip: Organic farms rely on biodiversity to generate rich soil, avoiding the use of pesticides and fertilizers, which means no toxic runoff. Consider organic ingredient for this salad if you can.
How to Easily Slice a Pear
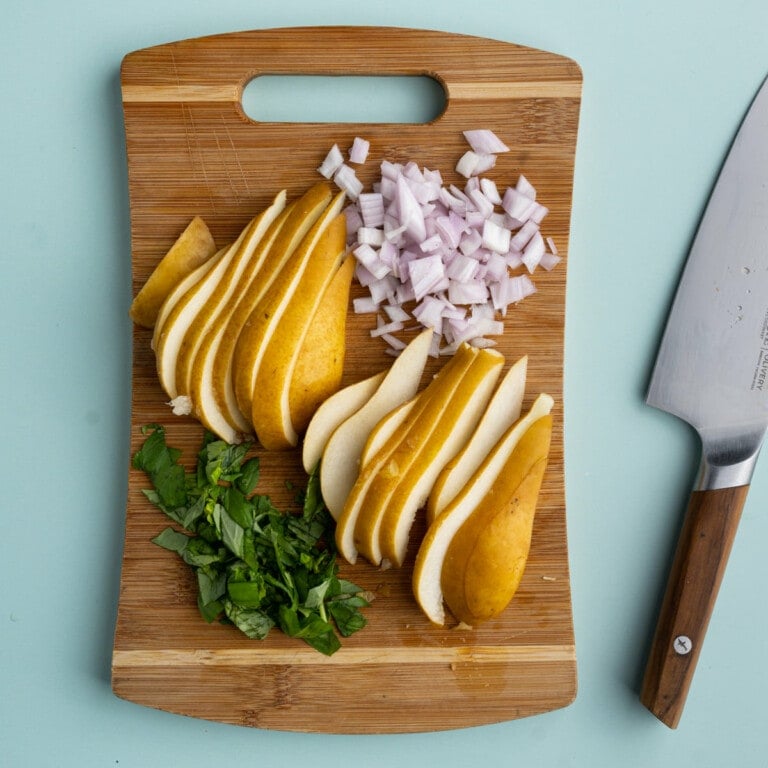
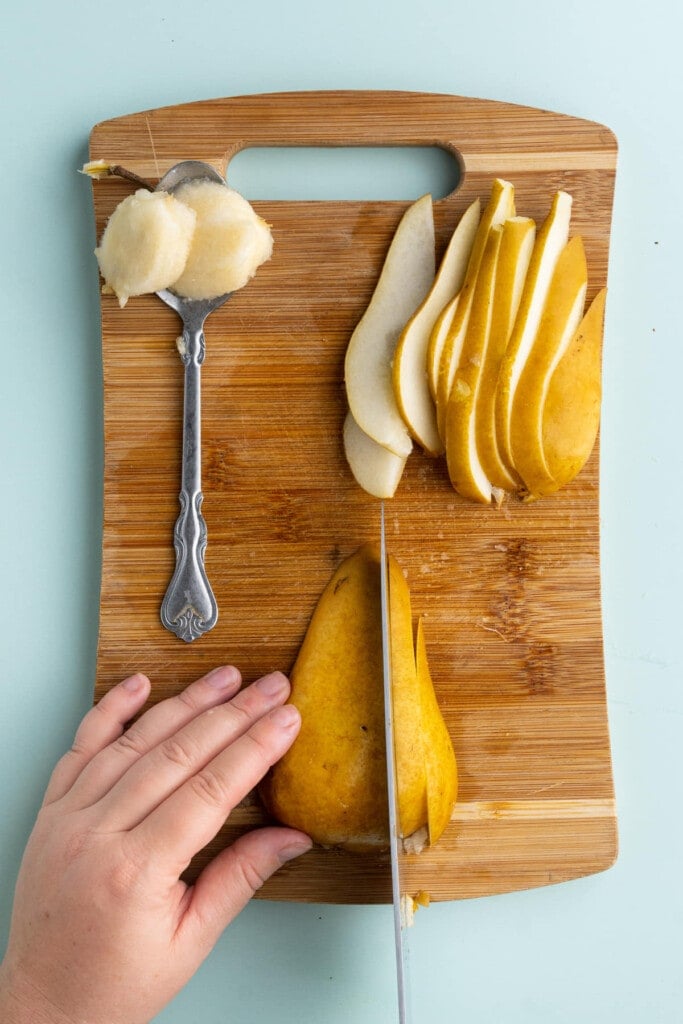
The pear is the star of this salad! You can leave it in long thin slices as pictured or chop it up into bite-sized pieces. You can also opt to peel the pear or keep the peel on.
I like to keep the peel on to combat food waste and retain all of the pear’s flavor and nutrients. However, the peel of the pear can be slightly tough, so it’s up to you whether or not you want to peel it.
If you do decide to peel the pear, you can easily compost the peels.
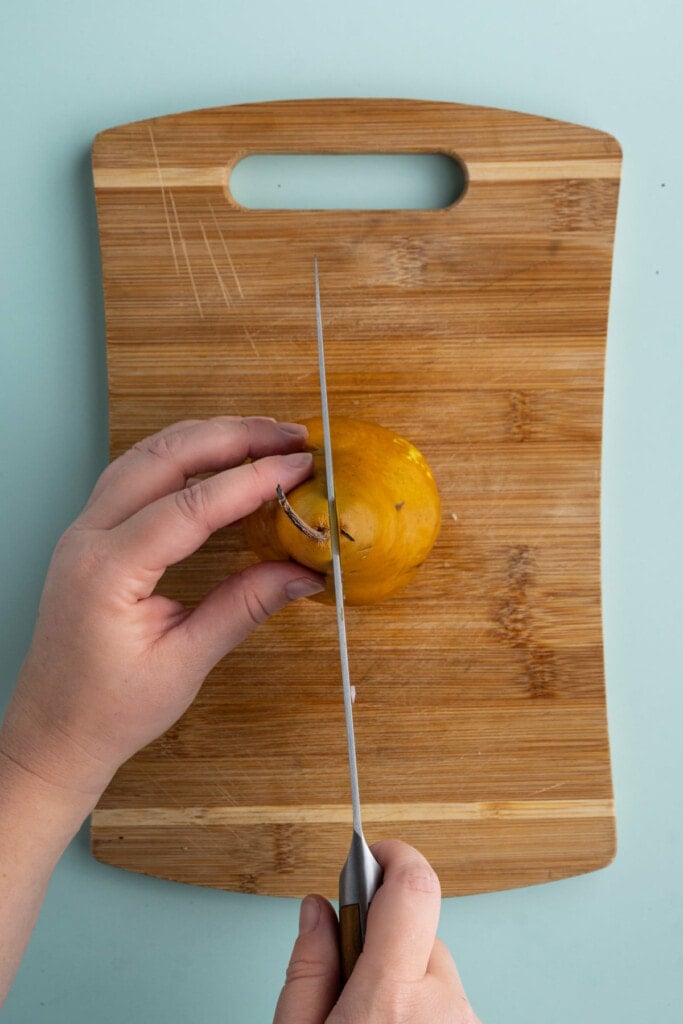
The easiest way to slice a pear is in three simple steps. First, stand the pear upright and use a sharp knife to slice the pear in half lengthwise.
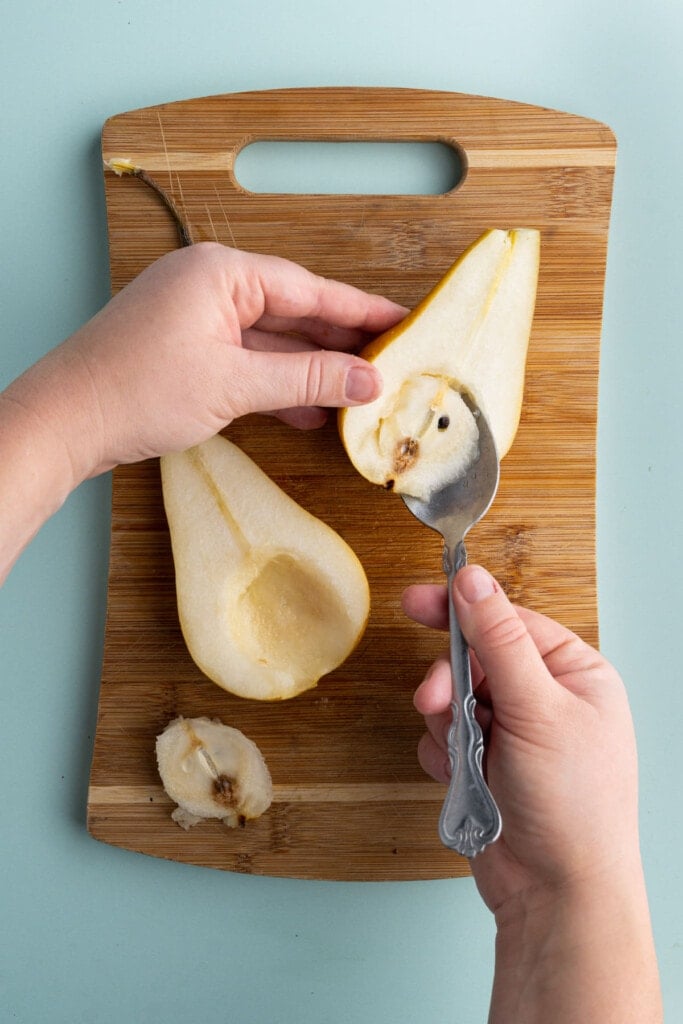
Next, use a spoon to scoop out the seeds and discard them. From there, the two halves of the pear will lay flat on your cutting board, making it easy to slice.
At this point you can leave the slices as they are, or you can opt to dice the pear into bite-sized pieces.
How to Easily Dice Shallots
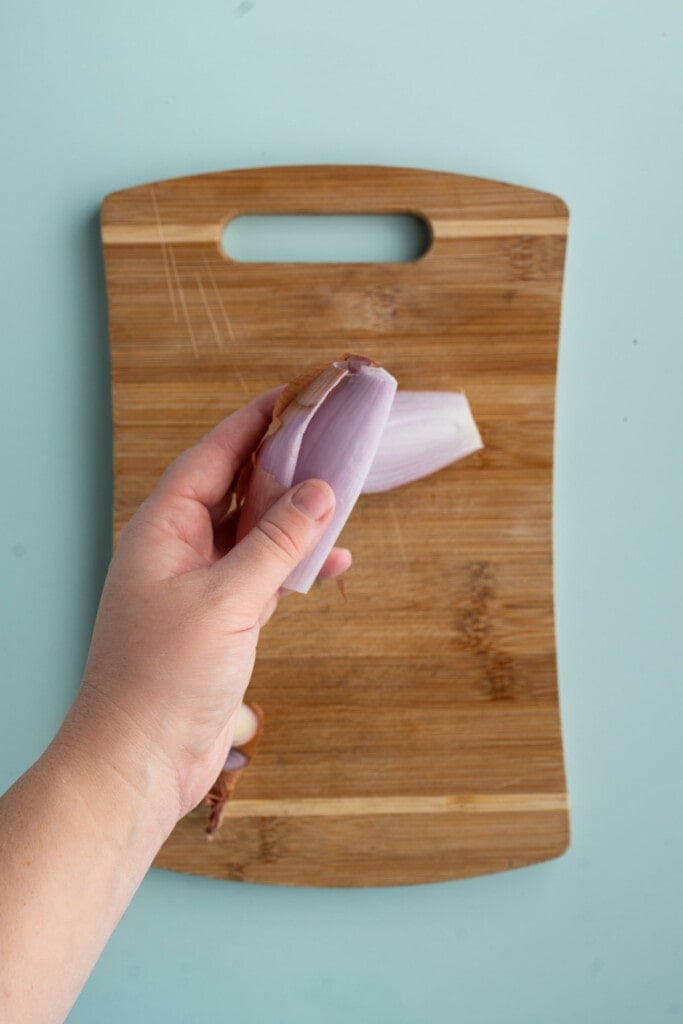
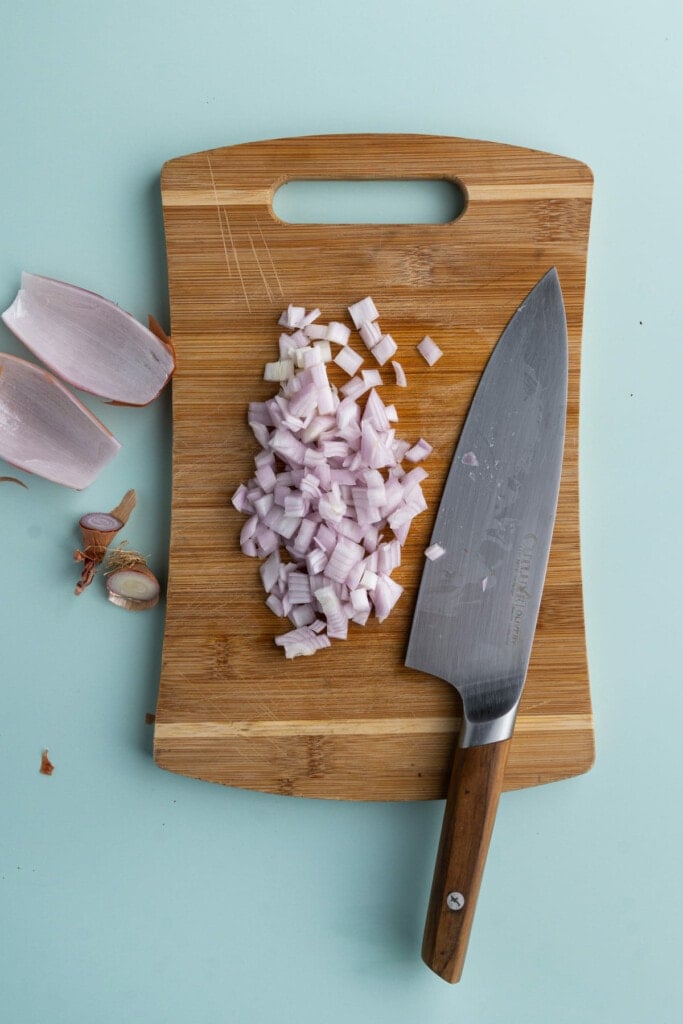
Just like other onions, shallots have many layers, making them easy to dice (except for all the eye tearing, of course 😆). Start by chopping off both ends of your shallot. Then, slice it in half lengthwise.
Now you should be able to easily peel off and discard the outermost, paper-thin layer of the shallot. Again, you can compost the ends and peels. You can also save the ends and peels to make your own veggie scrap broth.
Once you’ve peeled the outer layer off, you can easily lay both halves flat and dice them. Once diced, used clean hands to peel the layers apart until your left with small, individual pieces.
How to Mellow the Taste of Raw Shallots in Water
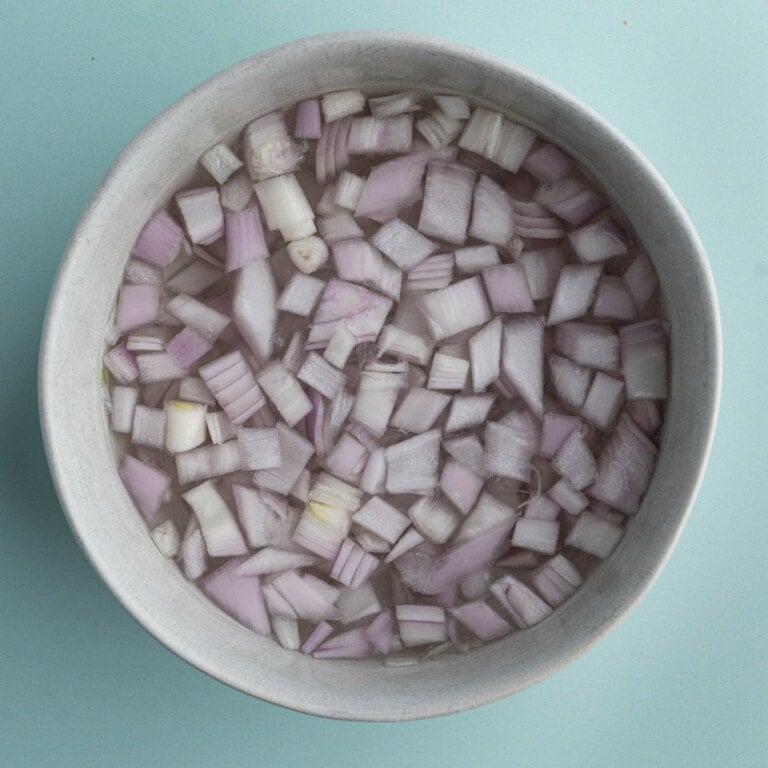
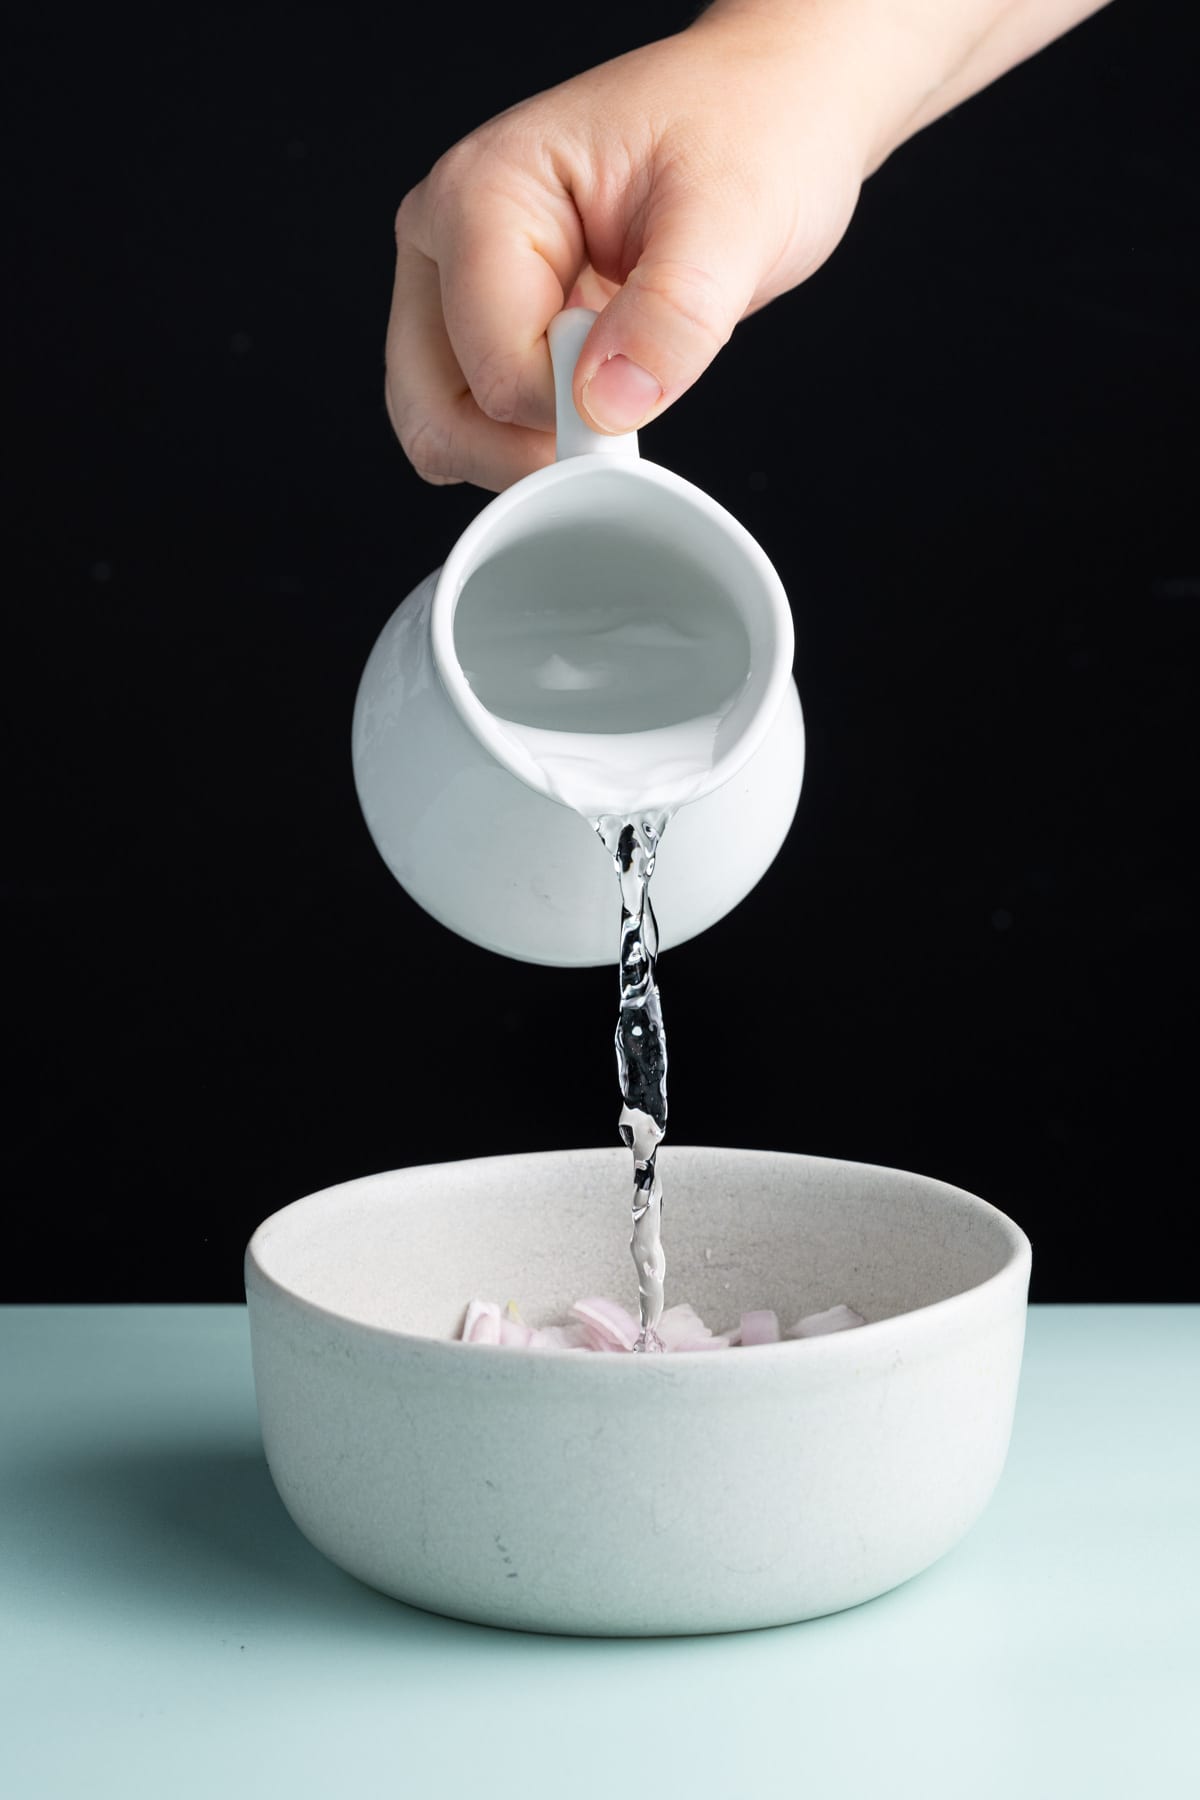
Shallots have a pungent, earthy, savory flavor and add tons of taste and texture to this salad. If you find raw shallots overpowering, you can easily mellow them out by soaking them in water.
This step is completely optional, depending on your preference. If you do want to mellow it, add the diced shallot to a small bowl and pour enough water on top to cover and completely submerge the pieces.
Set the soaking shallots aside for at least 5 minutes before straining out the water and patting them dry with a clean kitchen towel or paper towel. Consider these bamboo paper towels for a more sustainable option!
How to Easily Chop Fresh Basil
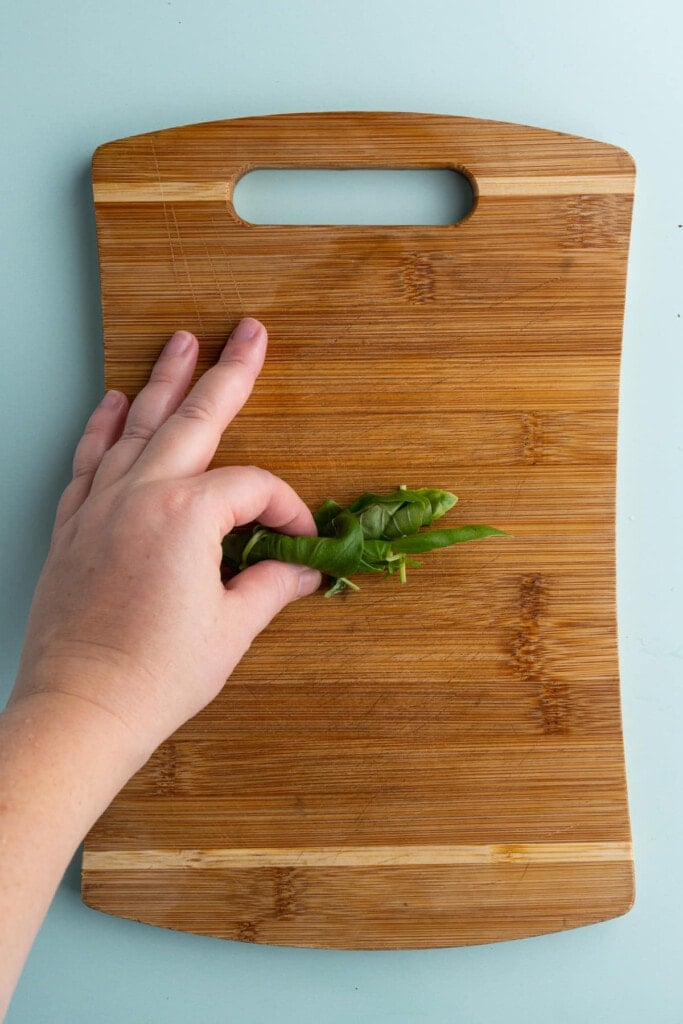
If need be, rinse your basil and set it aside or pat it dry.
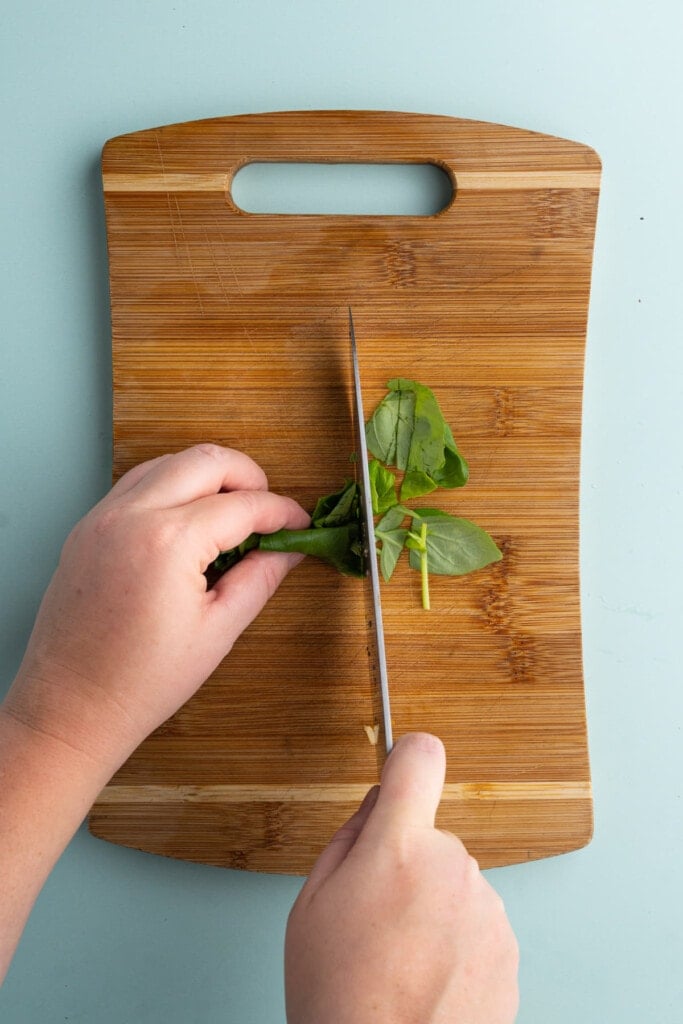
Layer your basil leaves on top of one another and roll the basil into a long cylinder. This will just bunch the basil up and make it easier to chop all at once.
Use a sharp knife to slice into the rolled-up basil, chopping into the layers for an efficient method for chopping the fresh herb.
Toss Your Arugula and Basil Together
Adding fresh basil to salad is a great way to add extra flavor! The combination of arugula and basil is fresh and herbaceous. The basil has a subtle sweetness to it that meshes beautifully with the peppery arugula.
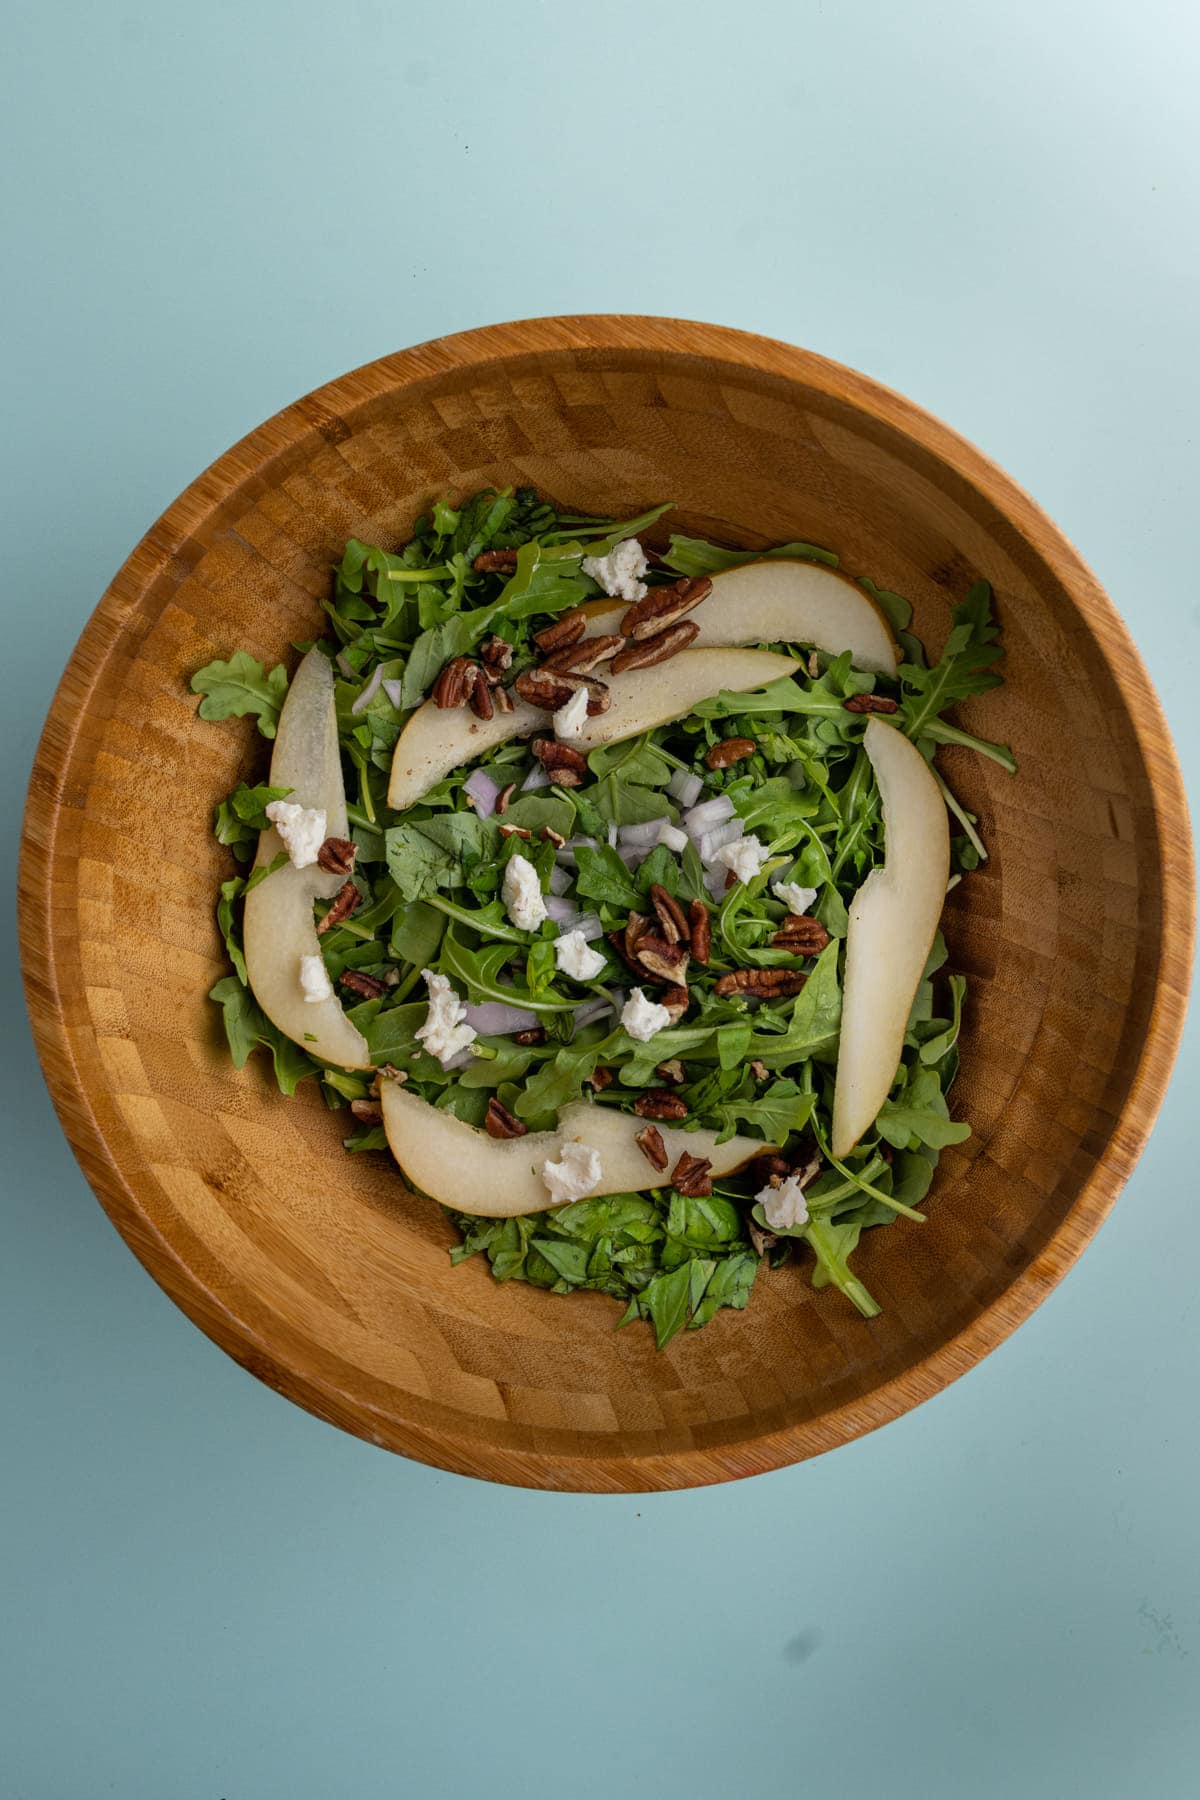
This delicious combination of leafy greens is best in every bite. Tossing the two greens together in a large bowl will help to evenly distribute the greens throughout the salad.
Green tip: Growing your own basil is a delicious way to reduce your environmental footprint. Homegrown herbs have zero associated food miles, no pesky plastic packaging, and are free of damaging fertilizers and chemicals. Plus, they are just so fresh and flavorful.
Mix in All Your Salad Ingredients
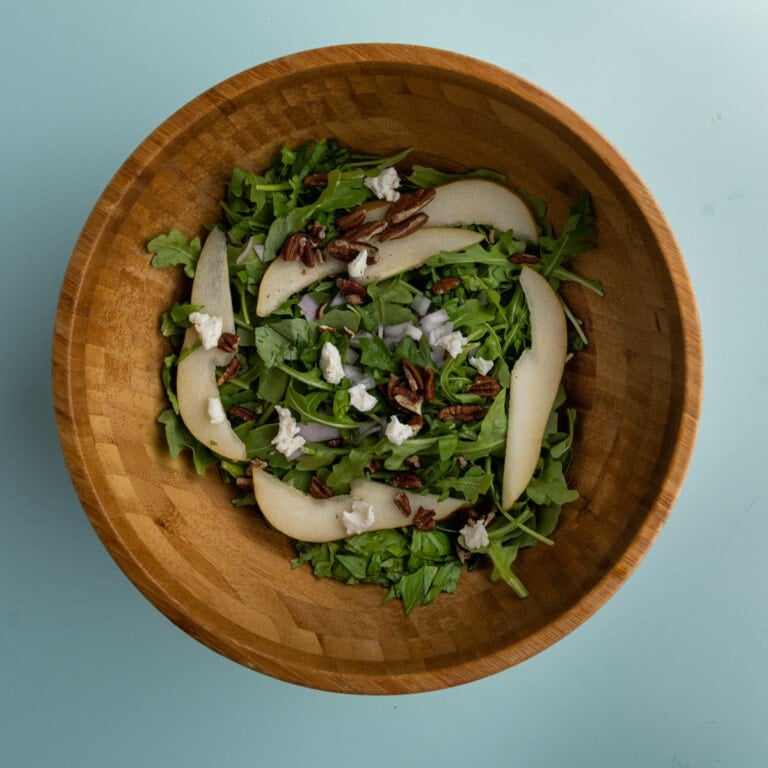
Once your basil and arugula are mixed together, add the prepped pear and shallots.
I like to chop my nuts into smaller bite-sized pieces, but that’s up to you! Whether you chop them or leave them whole, add them to the salad now, too.
Use clean hands to crumble the goat cheese on top.
Once all of your ingredients (minus the dressing) are added to the bowl, toss to distribute evenly.
Emulsify Your Oil & Vinegar
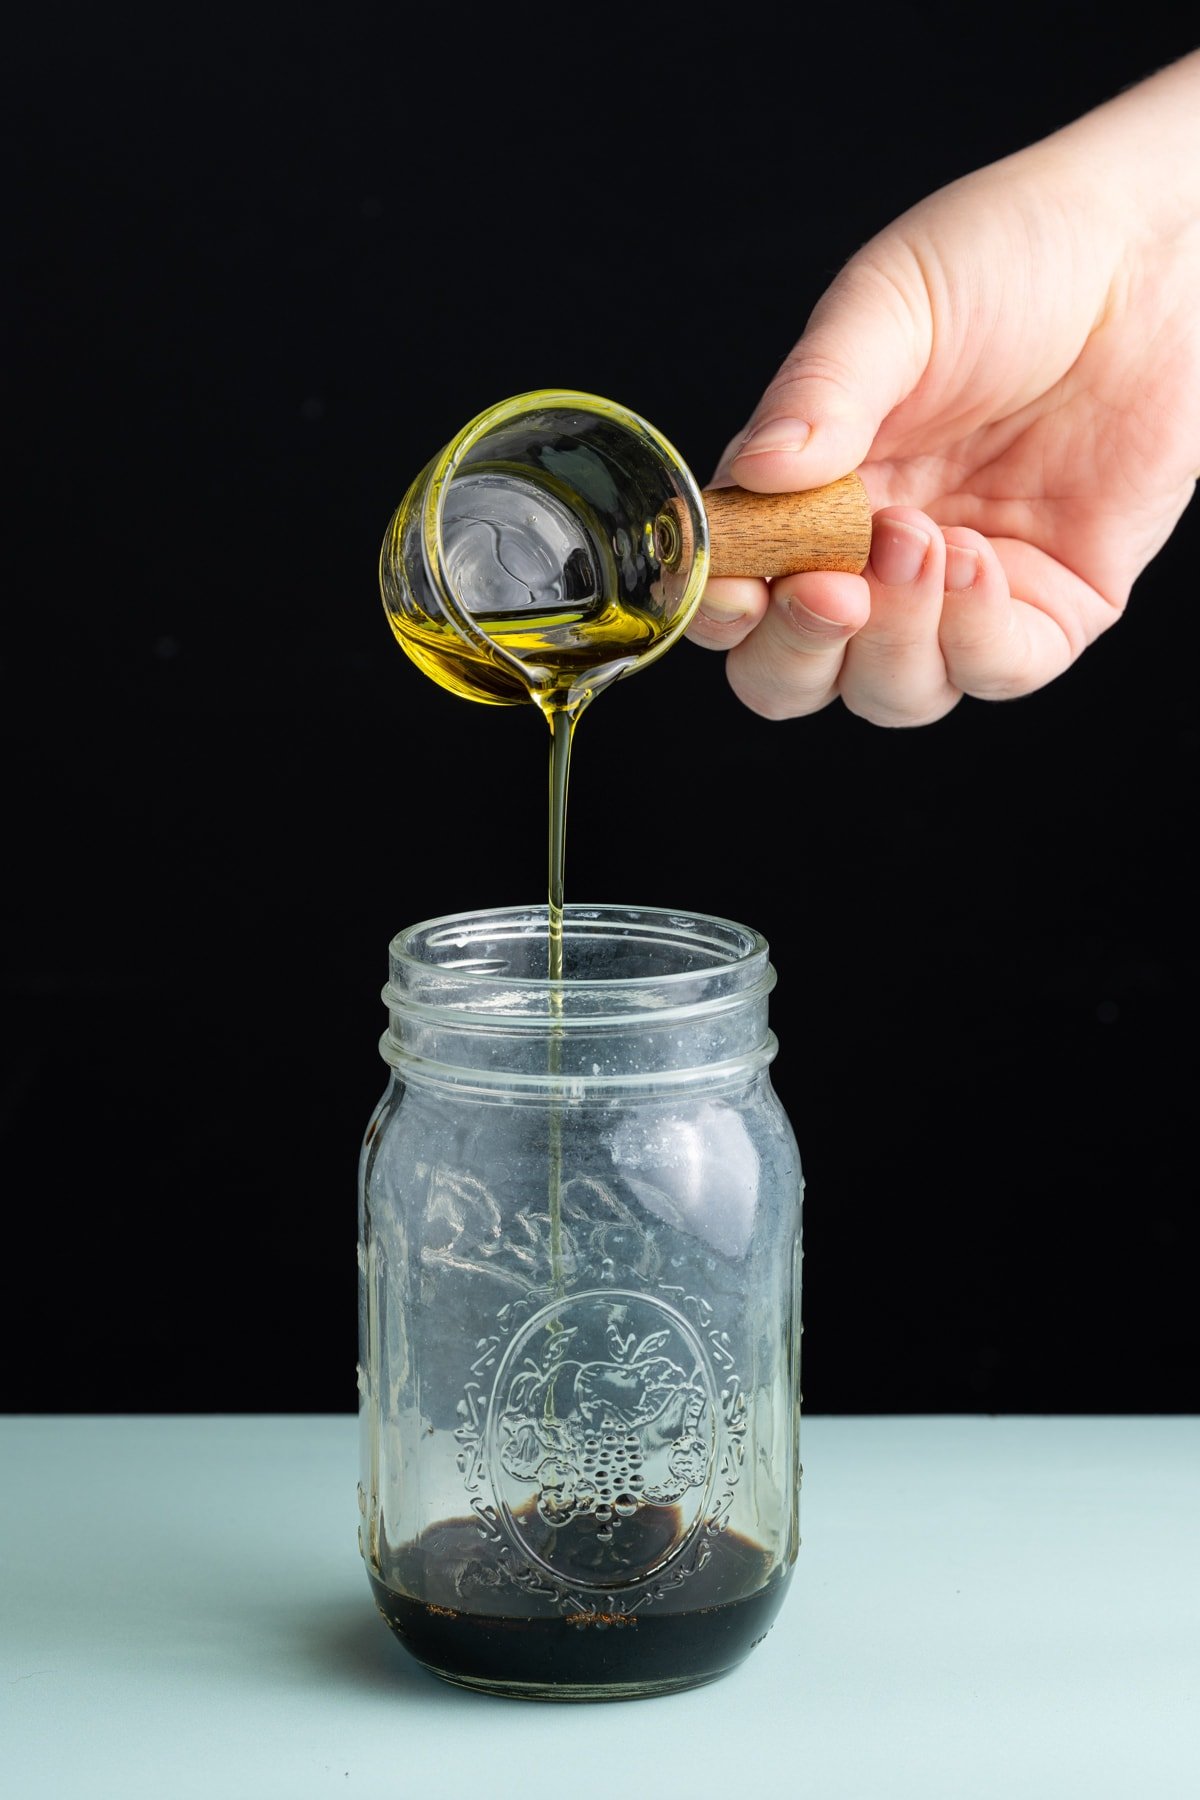
Oil and vinegar are notoriously tough to combine, but when they do it’s magic! When the water content from the vinegar mixes with the fat content of the oil it makes something called an emulsion, which has an almost creamy texture.
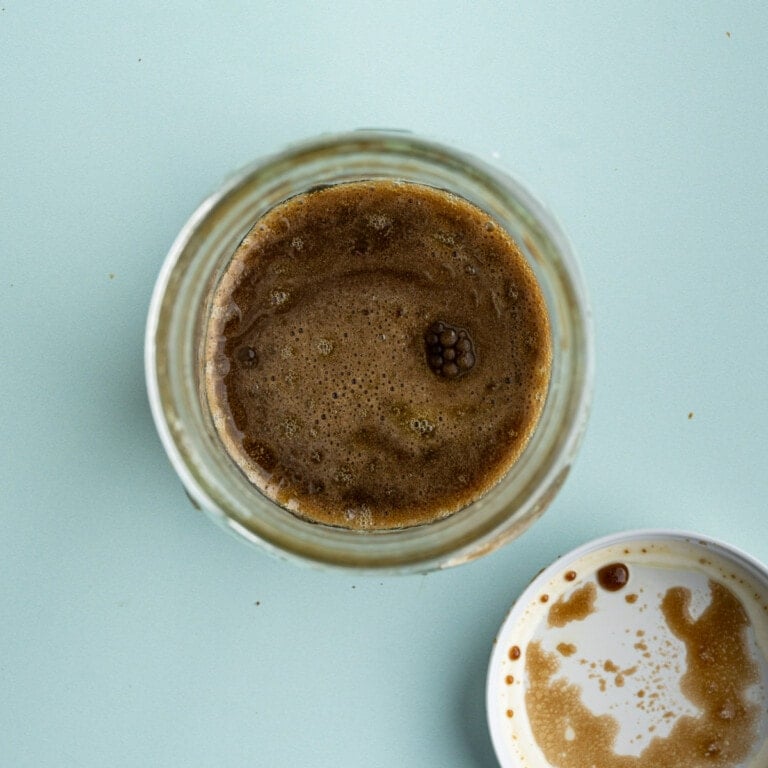
I find the easiest way to emulsify olive oil and balsamic vinegar is by adding it to a glass jar with a lid. Secure the lid tightly on the jar and then shake vigorously to combine.
Dress Your Salad Right Before Serving
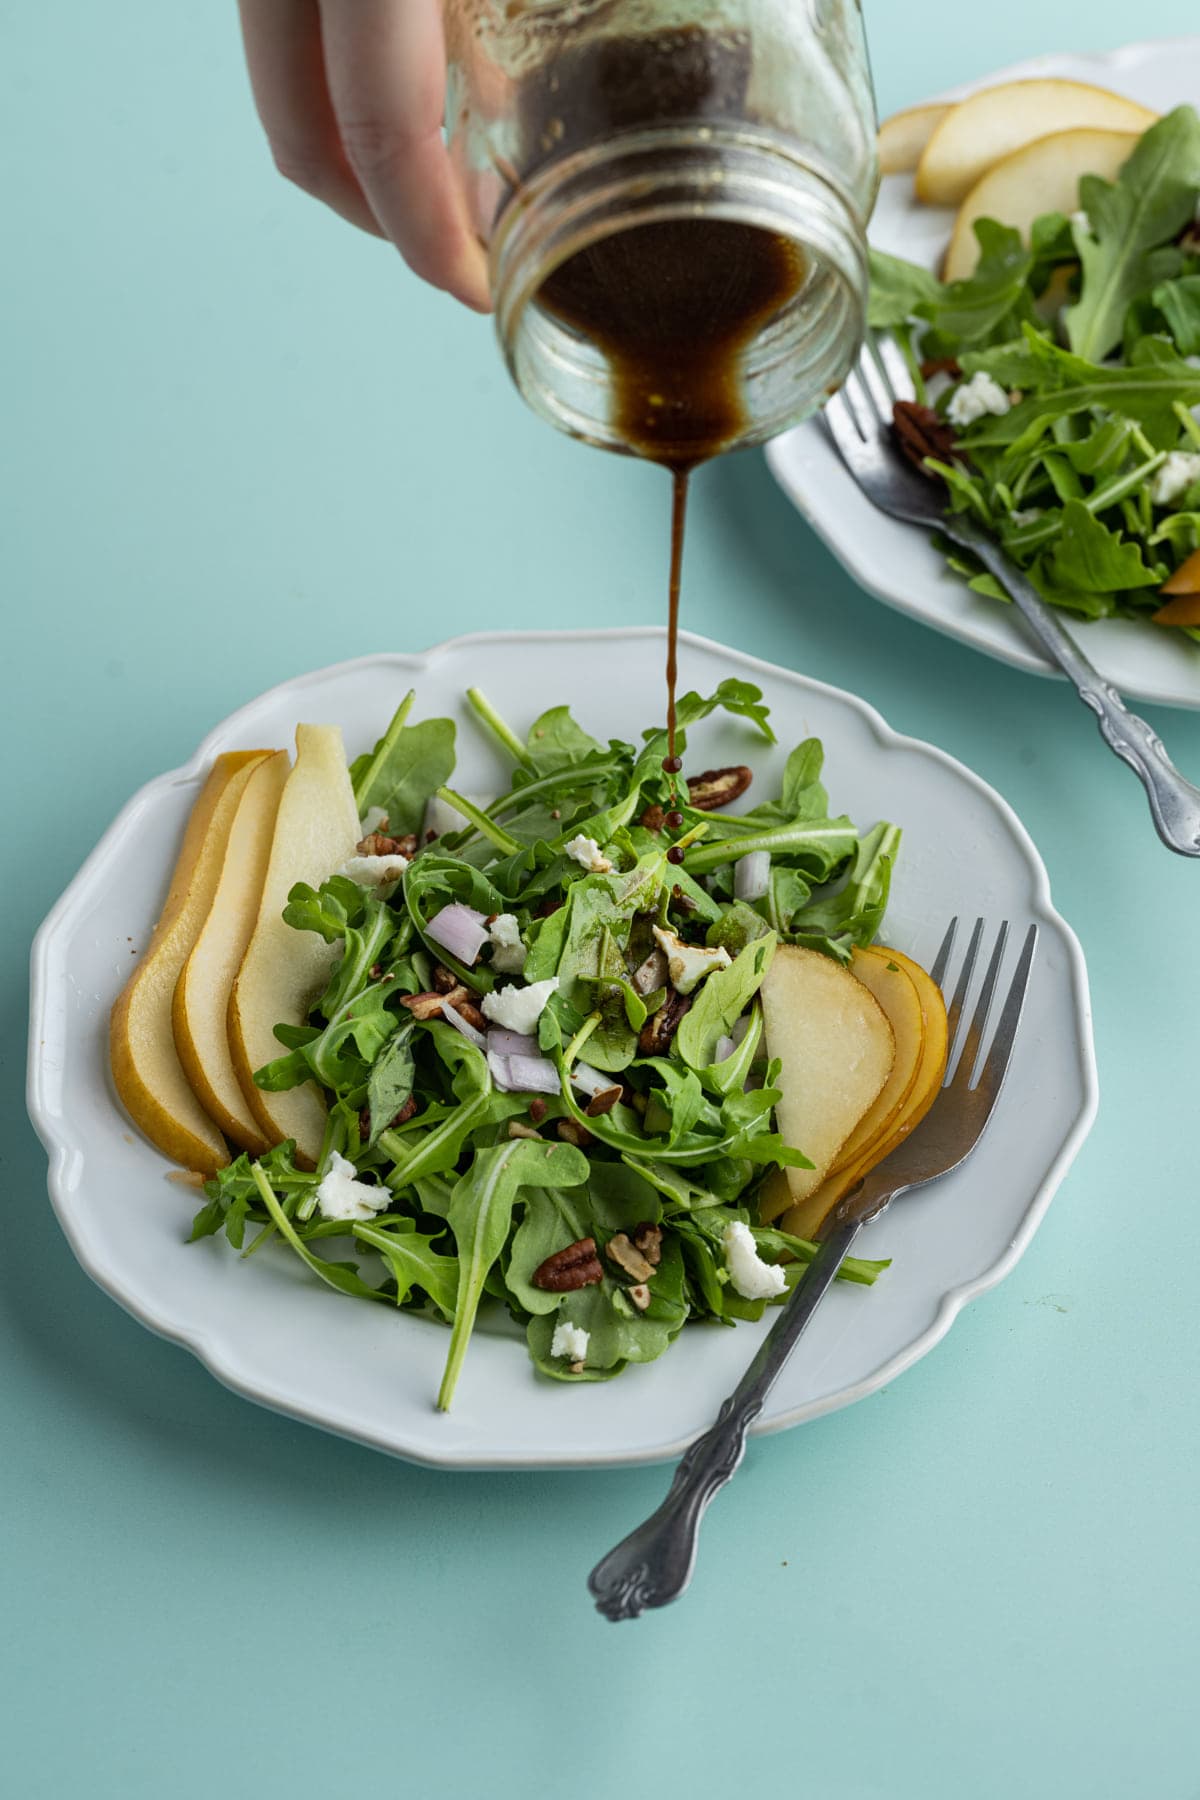
I highly recommend serving the oil and vinegar emulsion on the side and allowing everyone to dress their own individual salad. this is for three compelling reasons.
For one, some people may like more dressing than others. Secondly, the longer the salad sits with the dressing on it, the more likely it is to get soggy.
And thirdly, leftover salad without the dressing will last longer in the refrigerator than leftover salad that is already dressed.
Storing Leftover Pear and Arugula Salad
Arugula salad without any dressing will last on the counter at room temperature for about four hours. If you plan to make the salad ahead of time, you can squeeze some fresh lemon juice on the sliced pear to keep it from browning.
In an airtight container in the refrigerator leftover un-dressed salad, will last up to three days in the refrigerator.
If your salad has the oil and vinegar on it, it’s best to enjoy it within a couple of hours before it gets too soggy.
Green tip: Did you know that of the billions of pounds of food wasted annually, it is estimated that 50% of it happens in our homes? Reduce your contribution to food waste by properly storing and enjoying your leftovers!
How to Serve Arugula Pear Salad
If you want to add extra flavor to this salad, you can serve it with a vinaigrette other than the quick and easy olive oil and balsamic vinegar combo. Try this Raspberry Vinaigrette or Pesto Vinaigrette.
This Pear and Arugula Salad is delicious on its own as a side salad, but if you want to elevate this to main dish status, consider adding one of the following roasted veggies or fish dishes:
- Roasted Asparagus and Carrots
- Roasted Honey Gold Potatoes
- Roasted Broccoli and Carrots
- Blackened Cod
- Almond Crusted Salmon
Arugula Pear Salad Frequently Asked Questions
What cheese pairs best with arugula?
Arugula has a bold, peppery flavor and pairs best with rich, salty cheeses like Feta or Goat Cheese that can hold their own against the vibrant green.
What nuts go well with pears?
The sweetness of pears make them super versatile and a great pairing with a variety of different nuts, including walnuts, pecans, almonds, and even macadamia nuts.
Why You Should Make this 10-Minute Arugula Pear Salad
- Its’ fresh. Between the fresh fruit, herbs, and crisp leafy greens this salad is crisp and vibrant in both taste and texture.
- It’s simple. As easy as prepping your add-ins. mixing oil and vinegar and tossing it all together.
- it’s quick. This salad comes together in 15 minutes or less.
If you’re loving this Arugula Pear Salad and want more fresh salads, check out this Strawberry Goat Cheese Salad and Quinoa Arugula Salad.
10-Minute Arugula Pear Salad
Ingredients
- 5 ounces arugula
- ½ ounce fresh basil
- 1 large shallot
- 1 large pear (bosc or bartlett)
- ½ cups nuts of choice (like pecans, walnuts, or almonds)
- 2 ounces goat cheese
- 2 tablespoons extra-virgin olive oil
- 2 tablespoons balsamic vinegar
Instructions
- Rinse and dry your arugula (if necessary) and slice your pears, dice your shallots, and chop your basil. You can chop your nuts or leave them whole.
- Optional: If you want to mellow out the raw shallot, add the diced shallot to a bowl and cover it with room temperature water. Allow it to soak for 5 minutes and then drain the water and dab the shallots dry with a clean kitchen towel.
- To a large mixing bowl, add the arugula and basil and toss to combine. Then, add the prepped pears and shallots. Add the nuts and crumble the goat cheese on top. Toss everything together to evenly distribute.
- Add the olive oil and balsamic vinegar to a jar fit with a lid. Close the lid tight and shake vigorously to emulsify. Serve on the side or dress the salad just before serving it.
Pro Tips
- If you want to add a warm element, consider these Roasted Asparagus and Carrots, these Roasted Broccoli and Carrots, or these Roasted Honey Gold Potatoes to keep it vegetarian.
- And if you want to add a fish protein to this salad, consider this Blackened Cod and Almond Crusted Salmon.
- Enjoy this recipe? You have to check out my other homemade salad recipes!
Share This Recipe
